Add a Training Intervention

Training interventions are used to track a learner's academic progress. Each learning activity or assessment will have its own training intervention. Training interventions can be created in two ways:
- Manually through the training intervention builder
- Automatically through the training intervention import functionality
Both methods will be shown below.
Method 1: Add training interventions manually
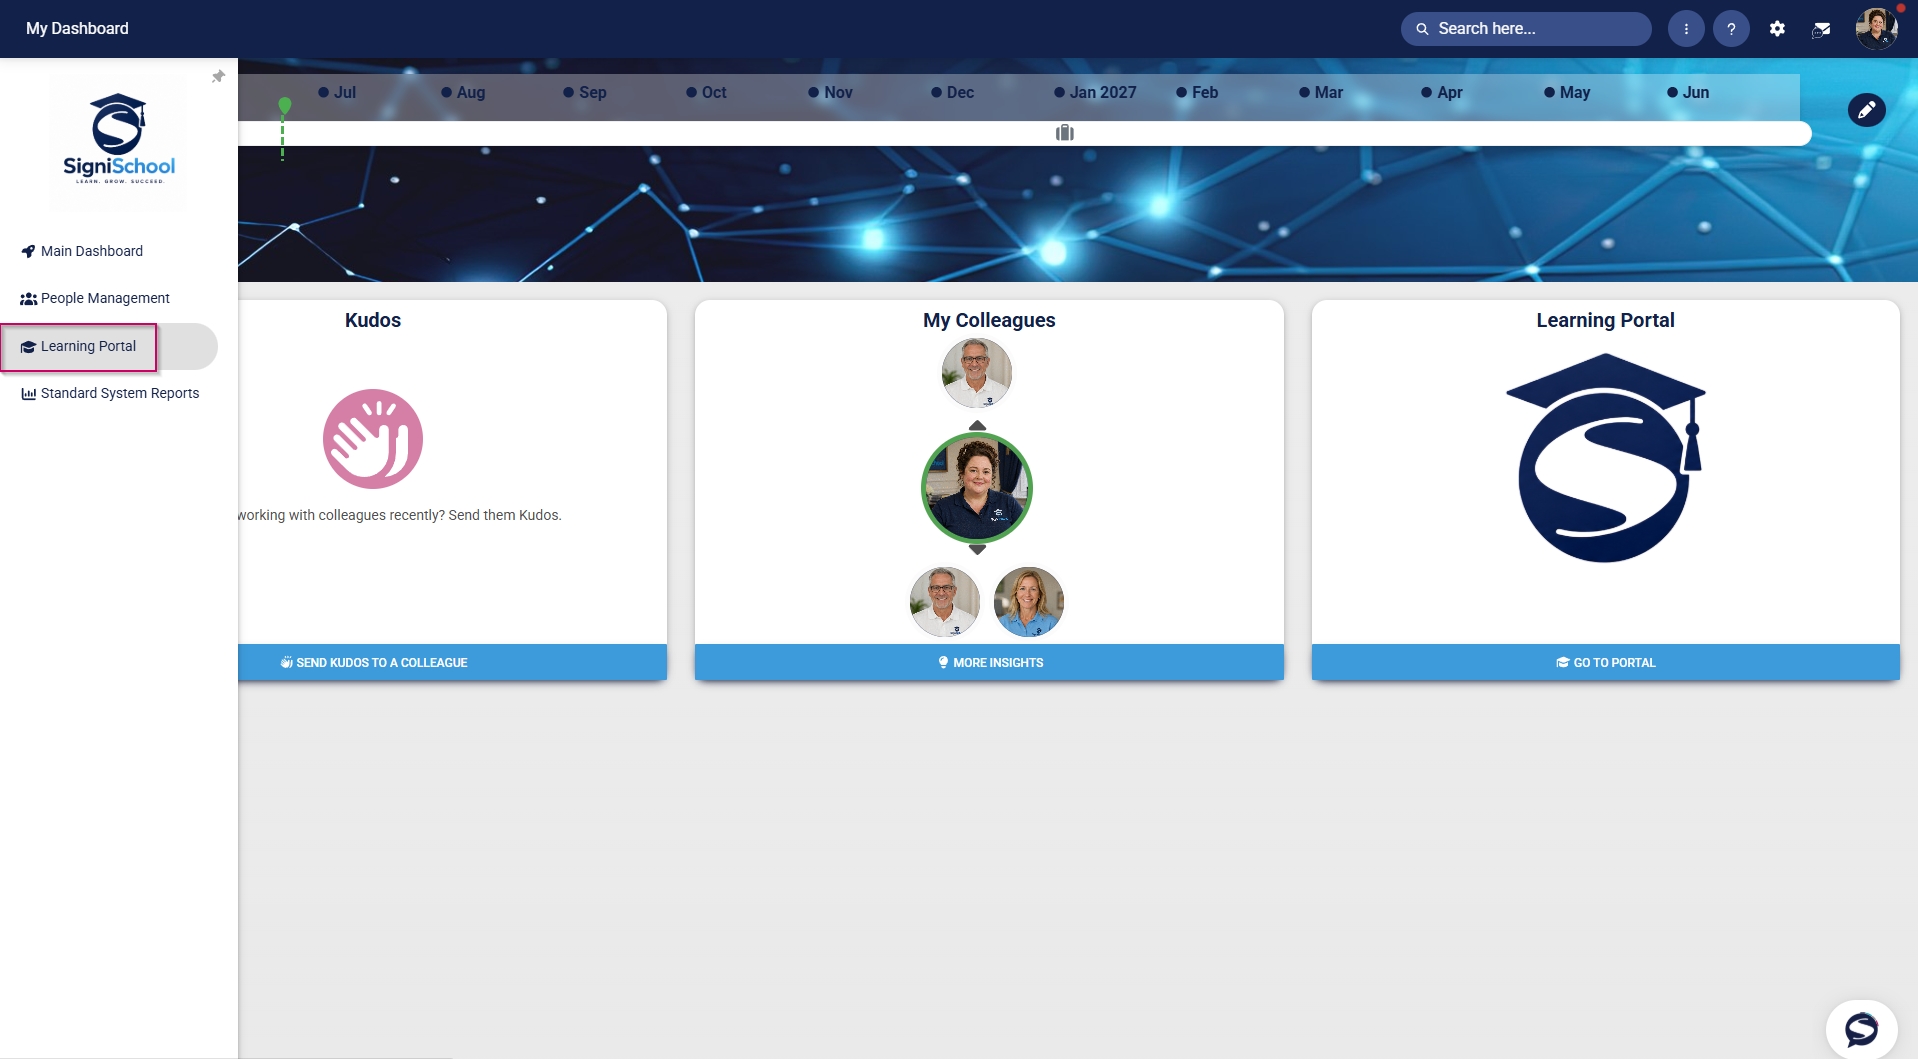
- Hover over the sidebar menu, then click Learning Portal.
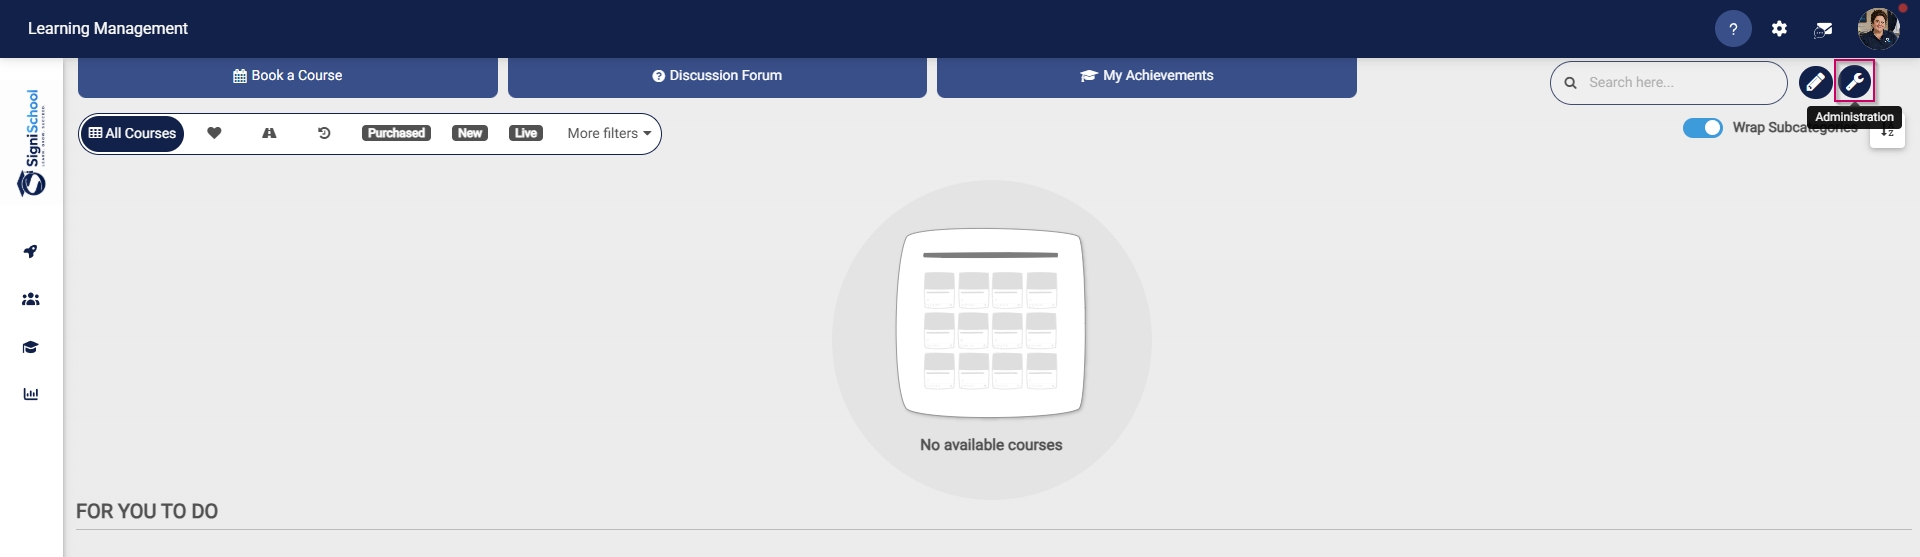
- Click the spanner icon to access the system's Administration menu.
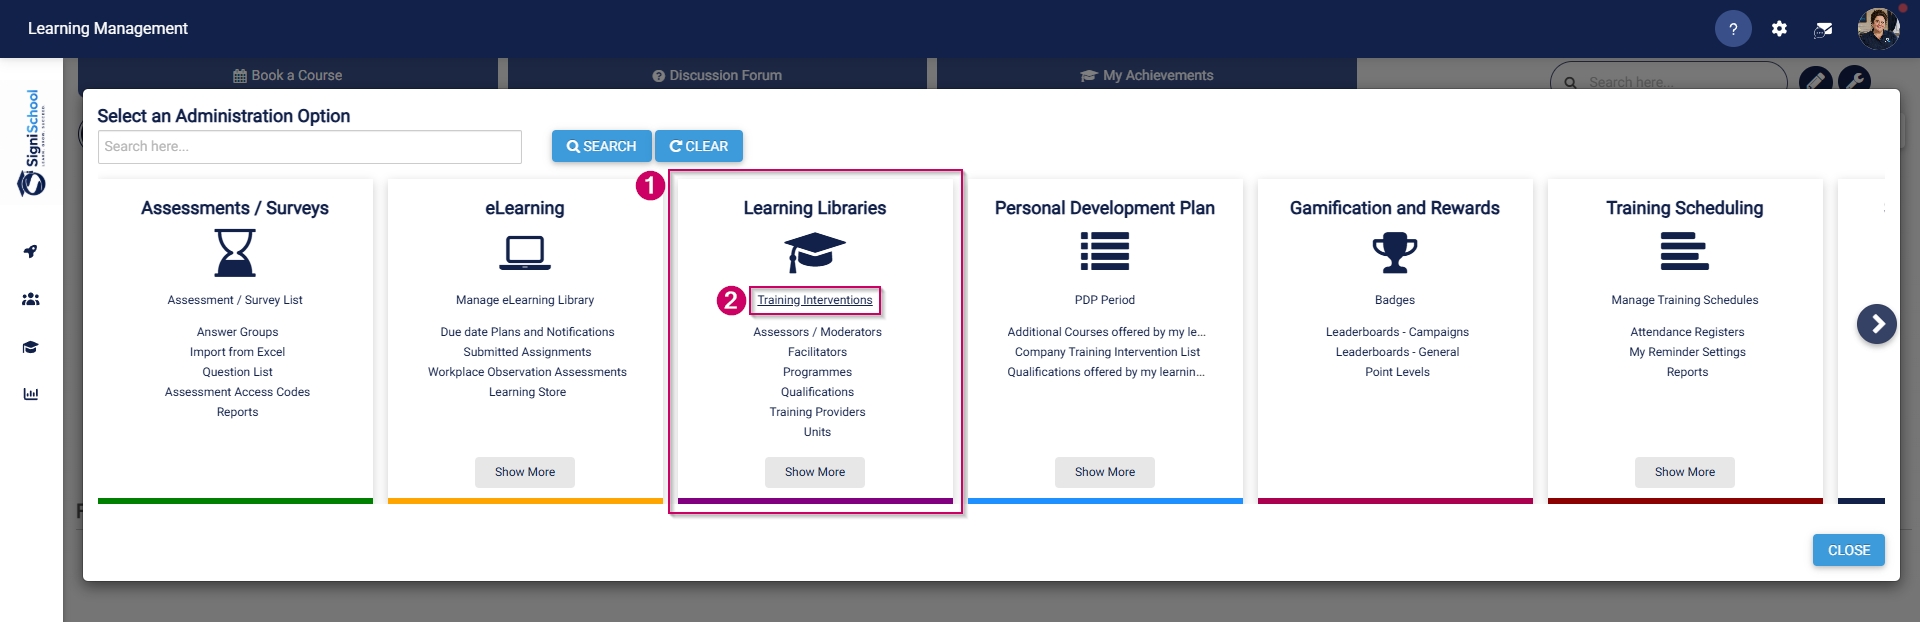
- On the Learning Libraries card, click Training Interventions.
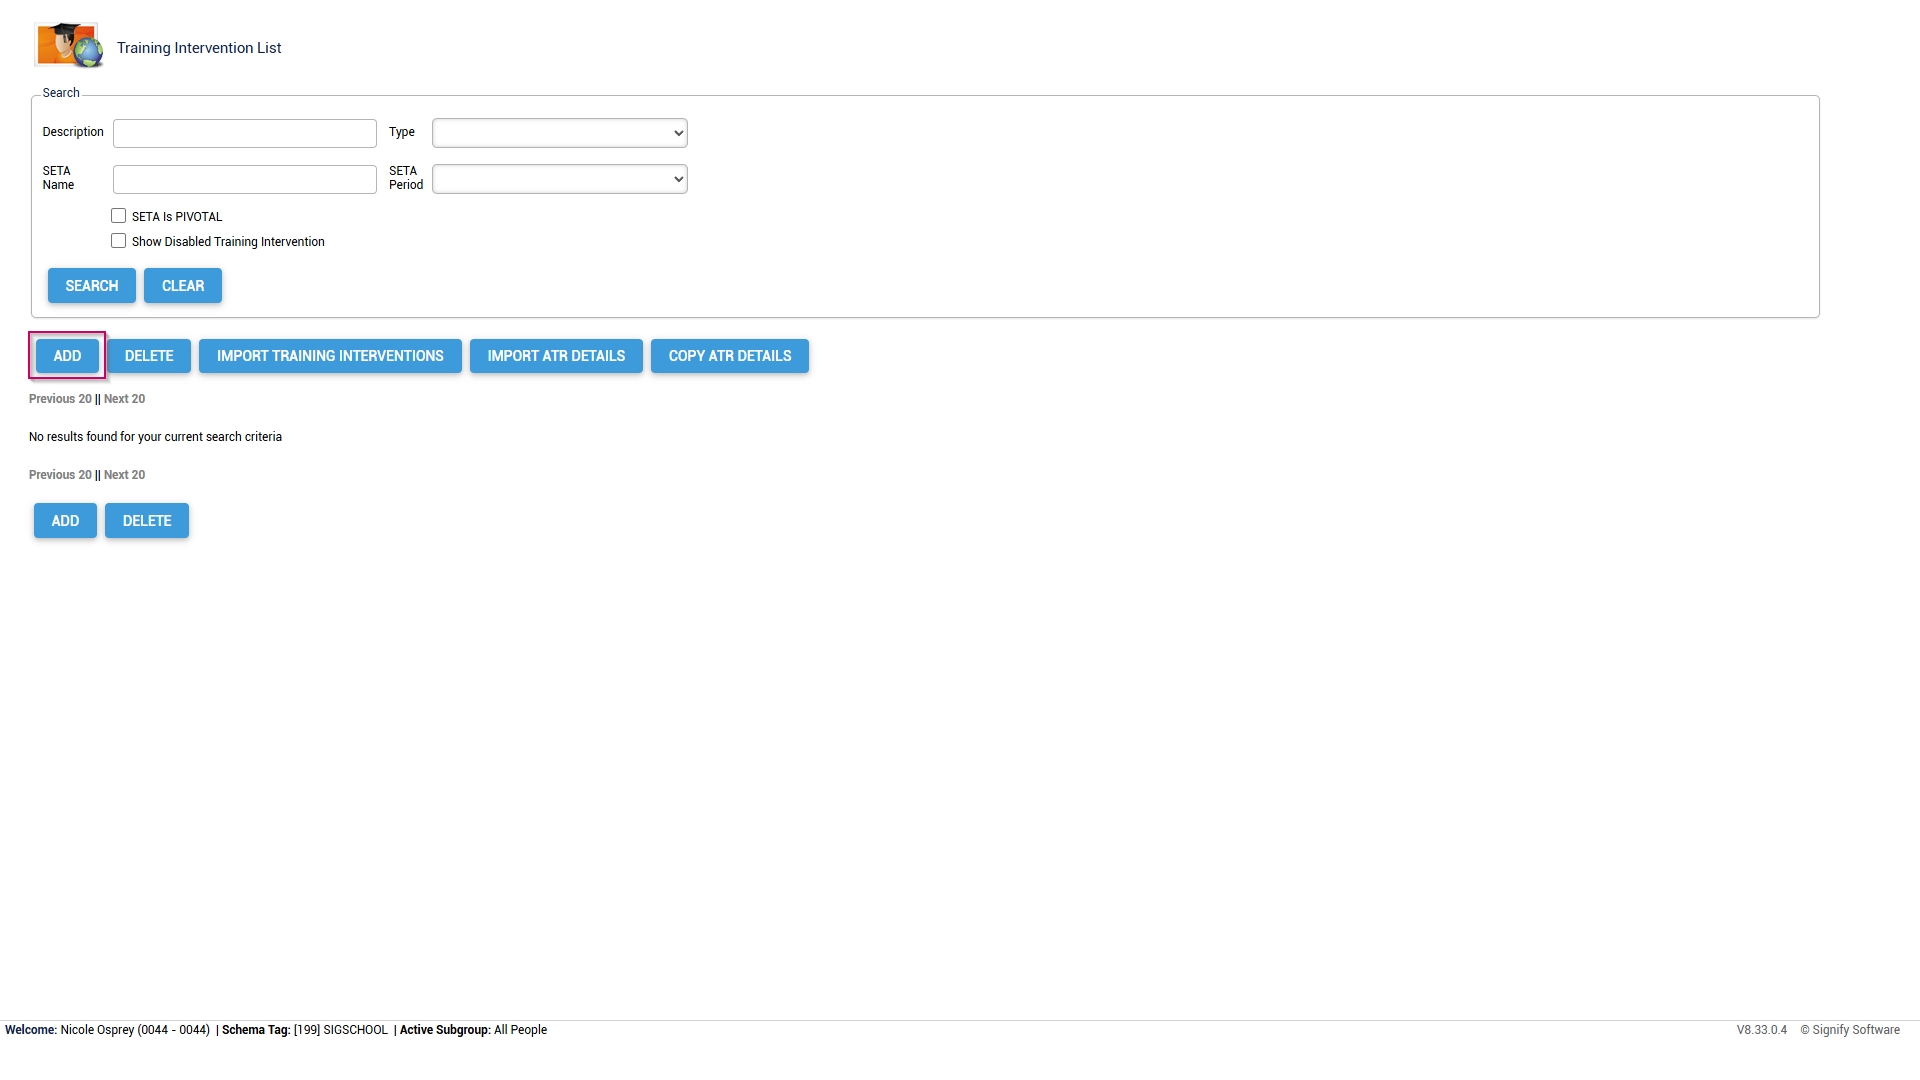
- The Training Intervention Library will open. This is where training interventions can be created, edited, or deleted. To add a new training intervention, click ADD.
- The training intervention editing screen will open.
-
- Please note that all the fields marked with an asterisk (*) are required.
- For our example, we will only fill out the necessary fields, but you can add more details if desired.
-
It is recommended to use a naming convention to standardise the training interventions. This ensures it is easy to maintain the data integrity of the Training Intervention Library while also improving the quality of system report outputs.
- Add an appropriate name for the training intervention.

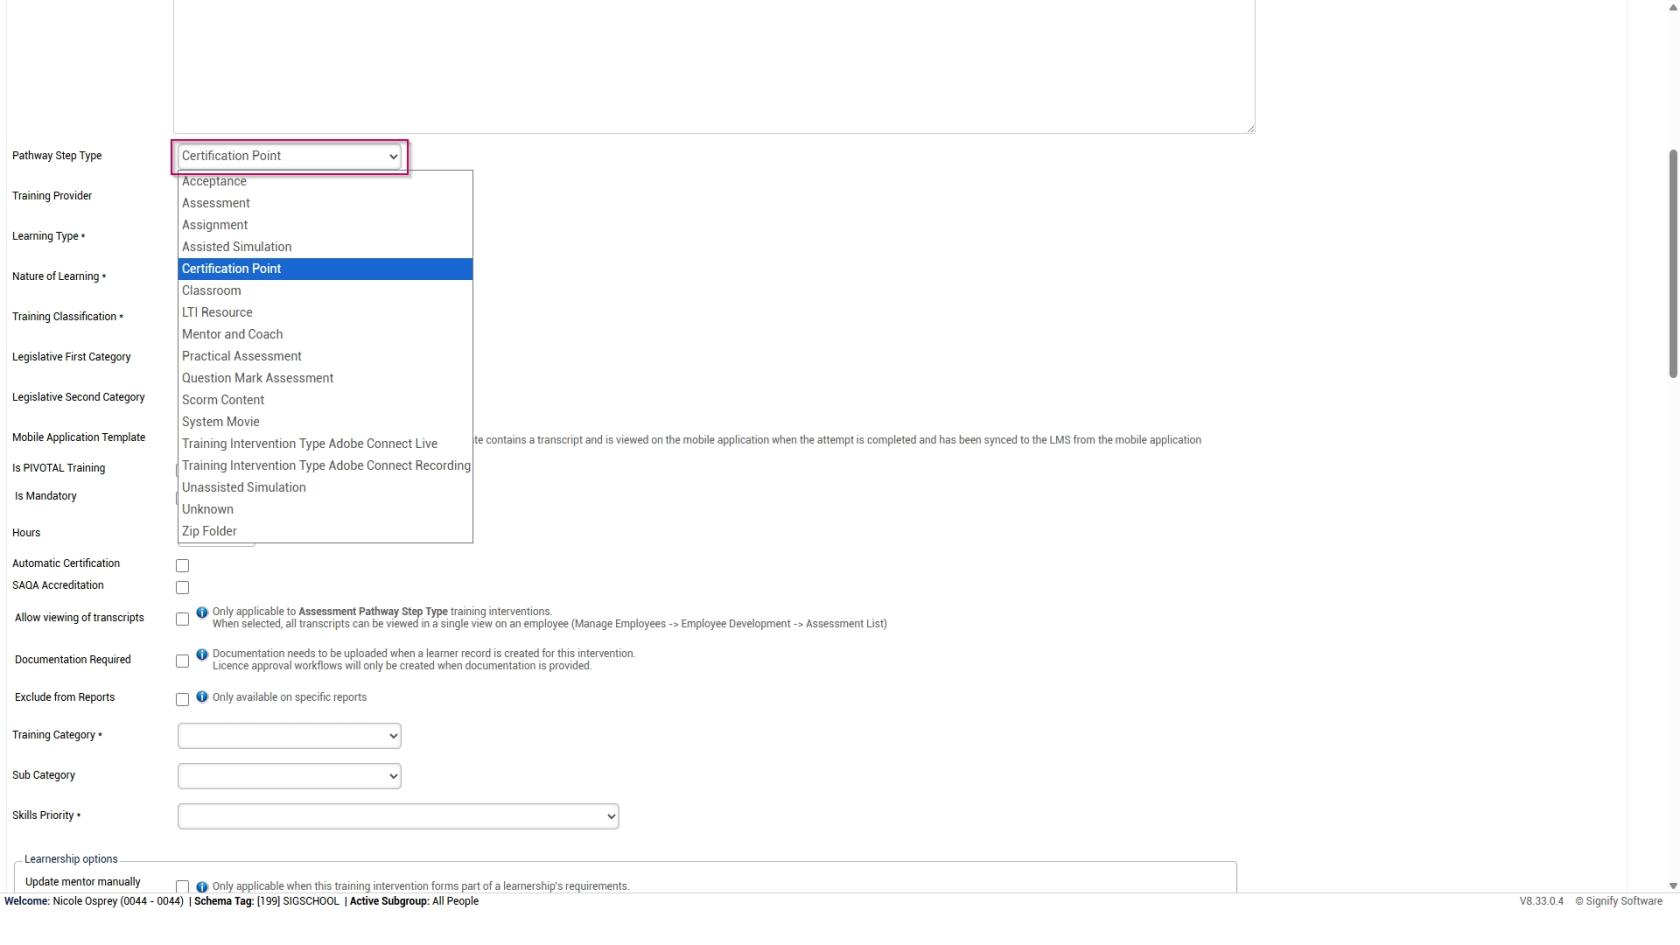
- Select the type of training intervention from the Pathway Step Type drop-down menu.
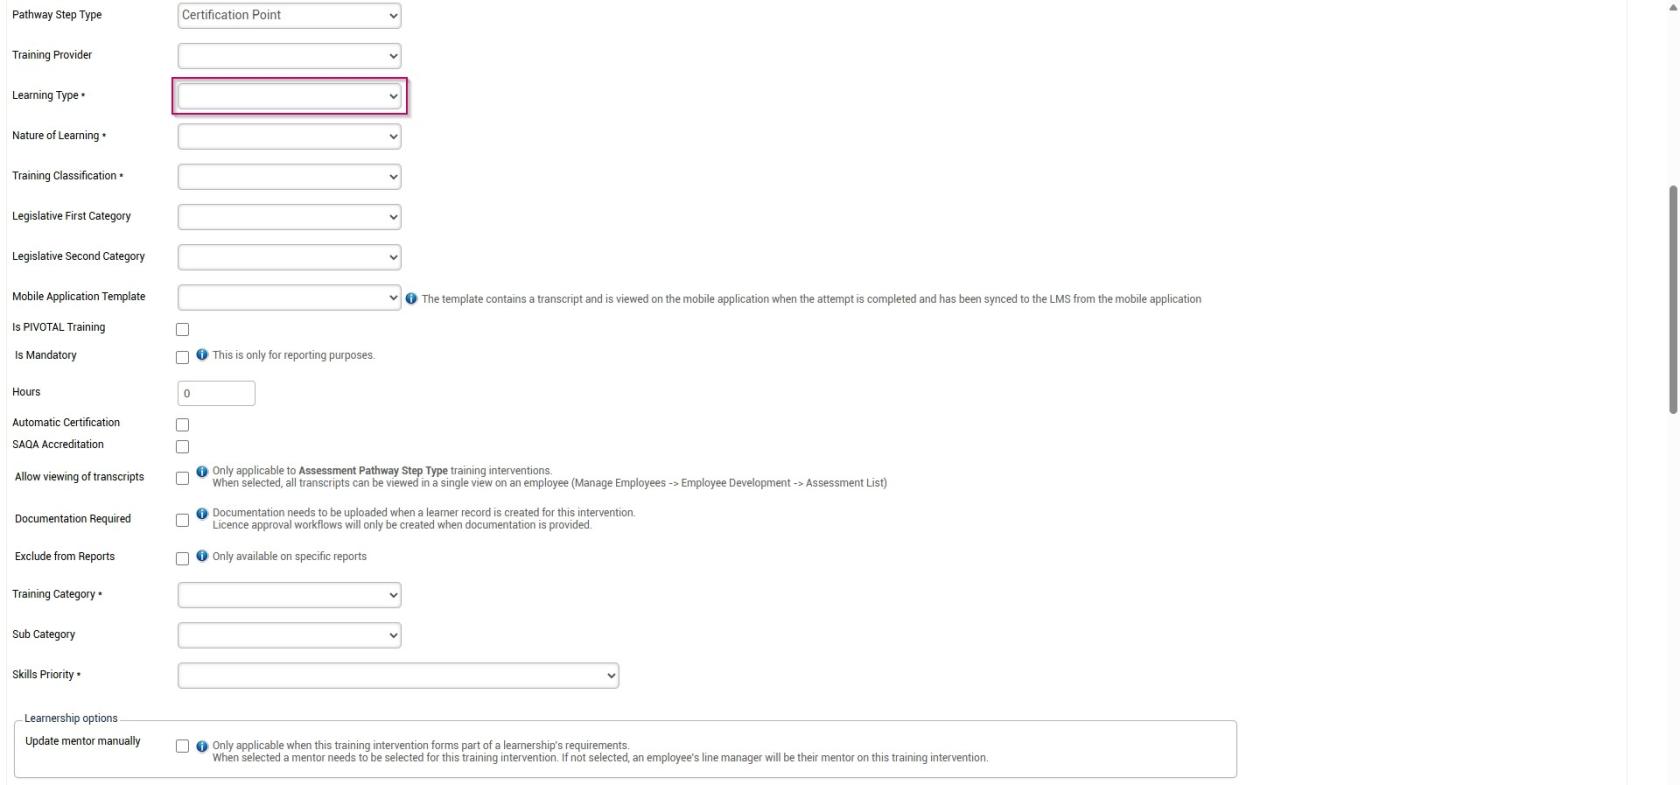
- Select the Learning Type from the drop-down menu.
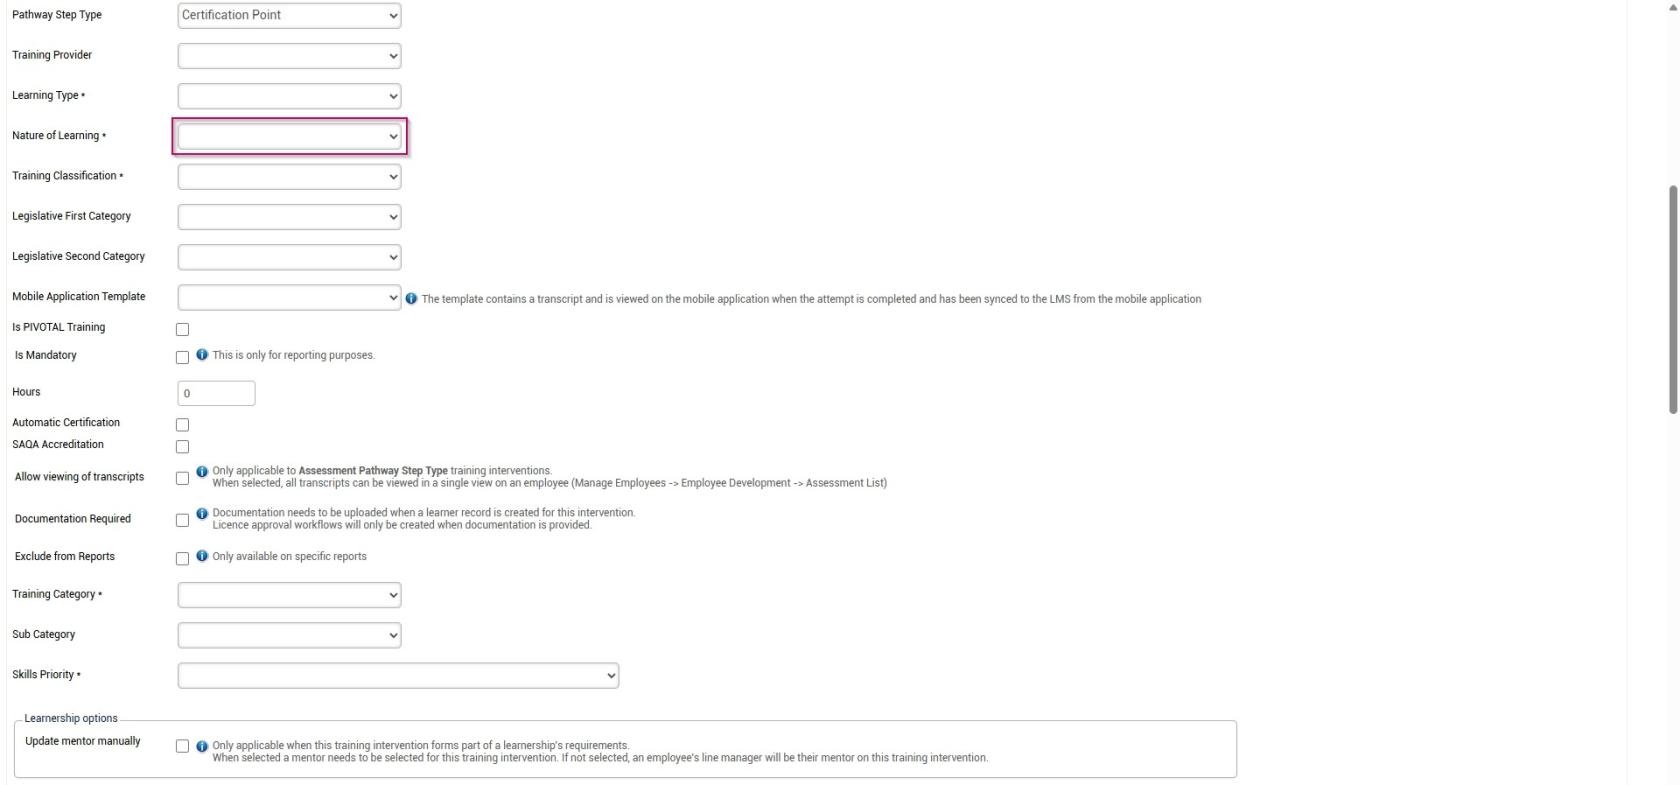
- Select the Nature of Learning from the drop-down menu.
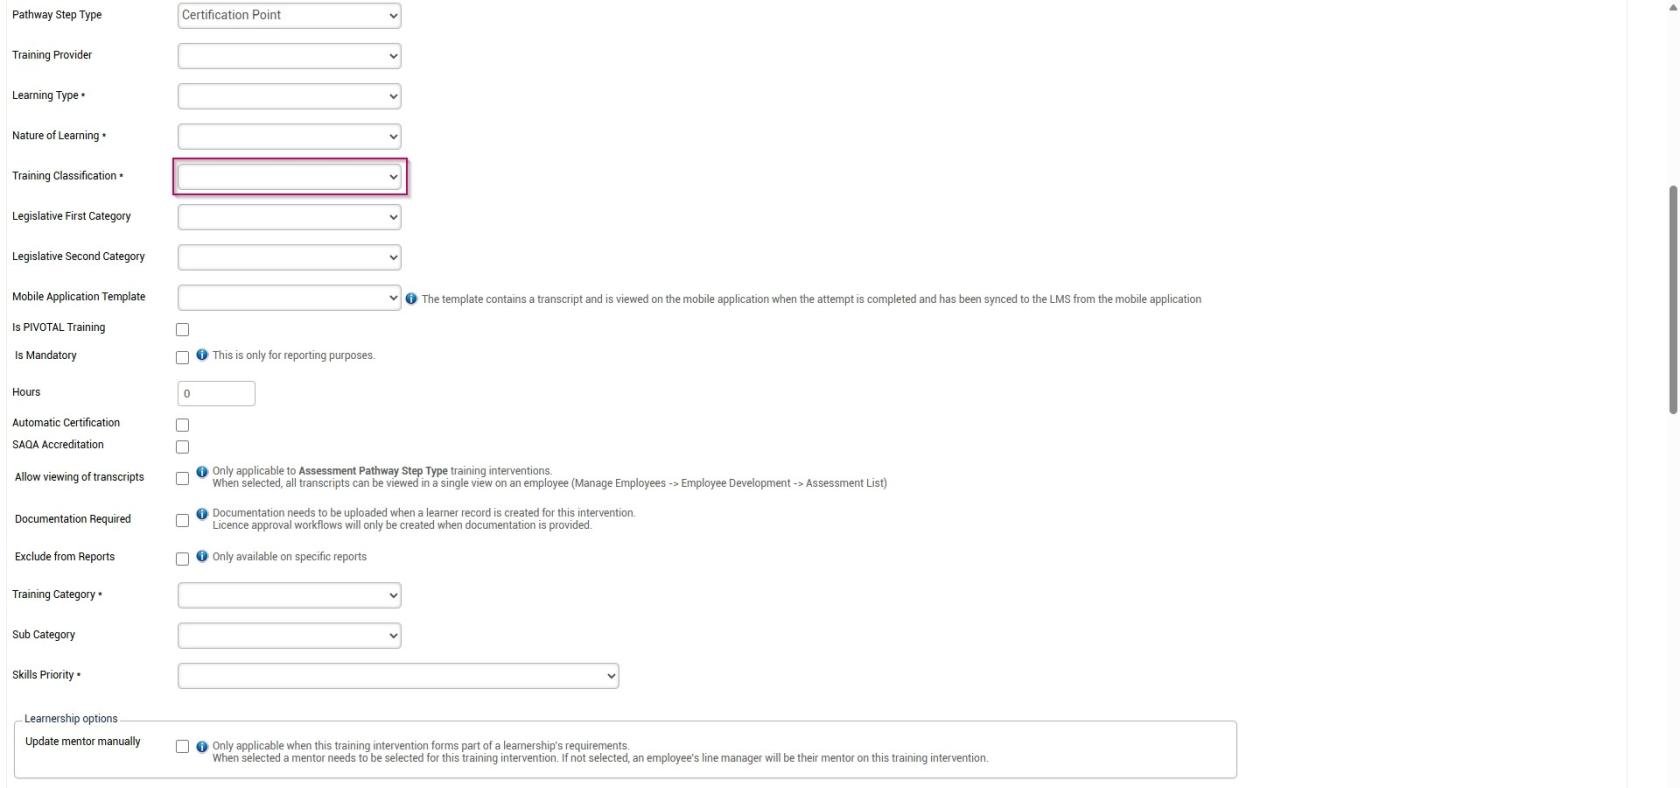
- Select the Training Classification from the drop-down menu.
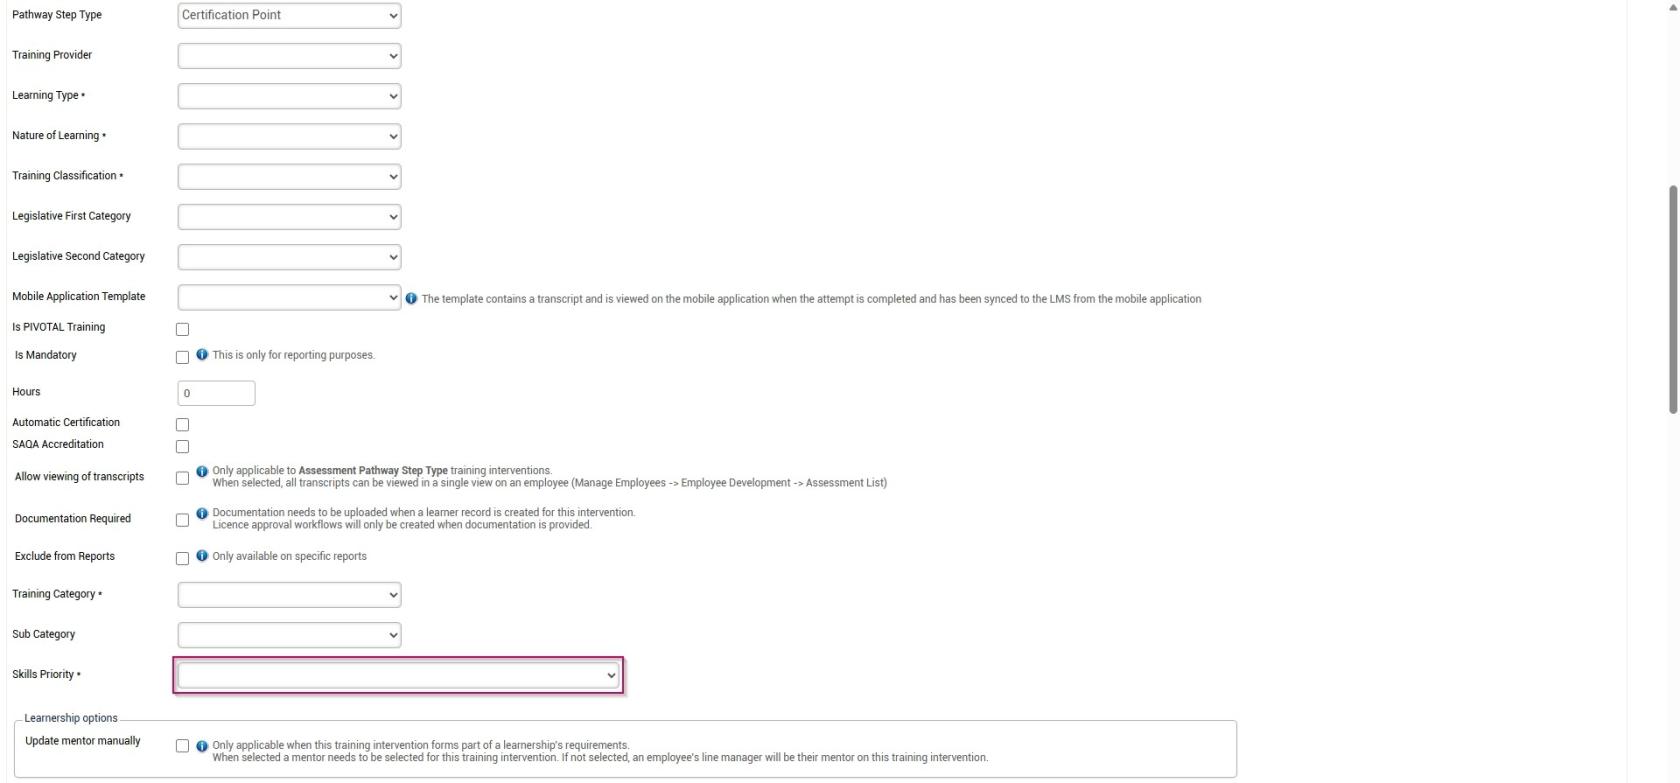
- Select the Training Category from the drop-down menu.
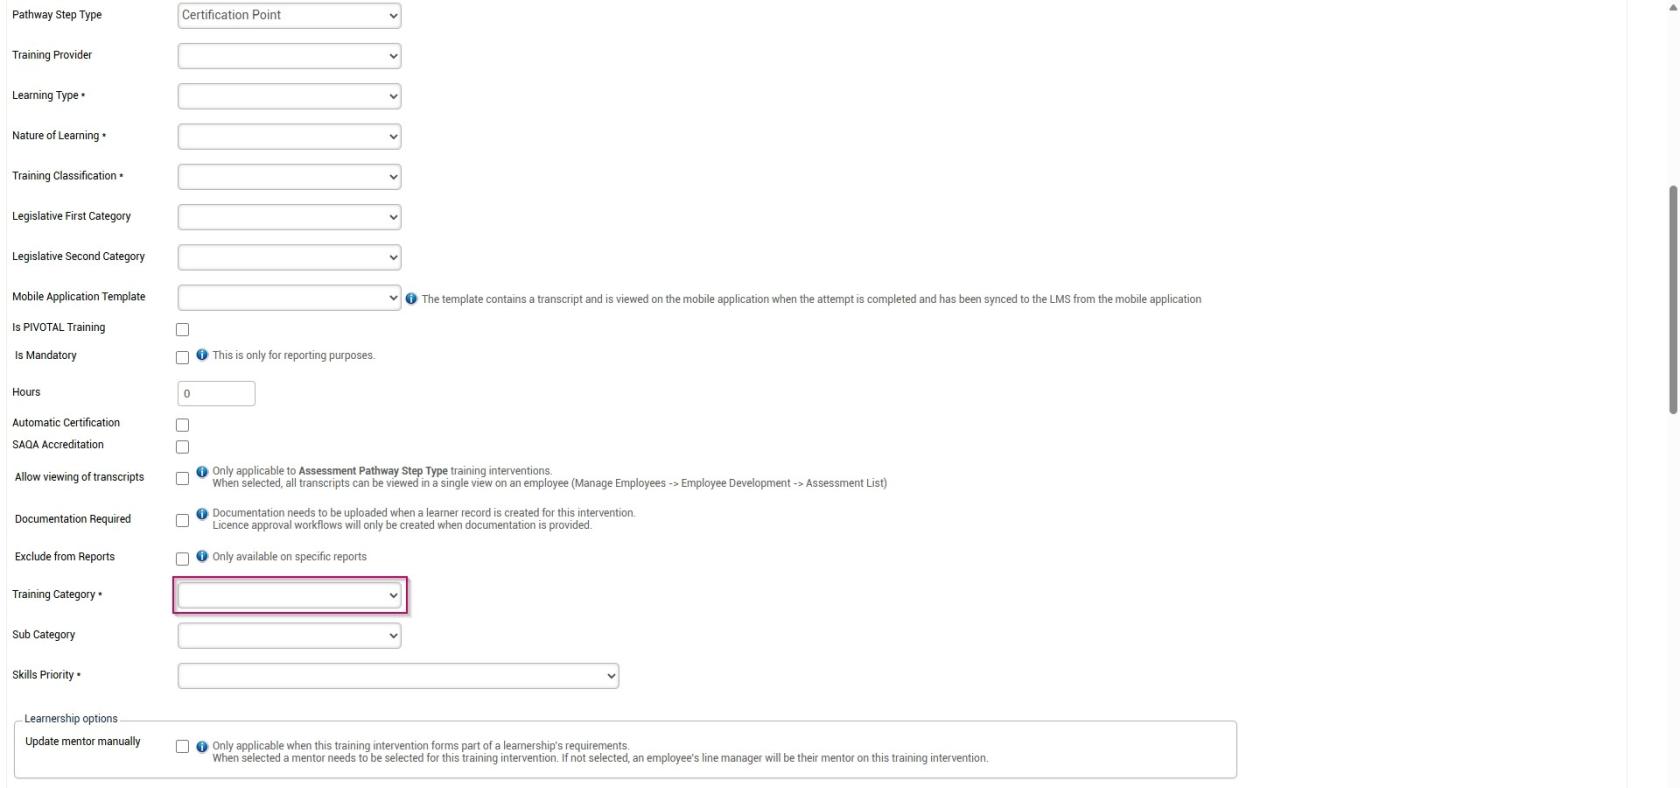
- Select the Skills Priority from the drop-down menu.
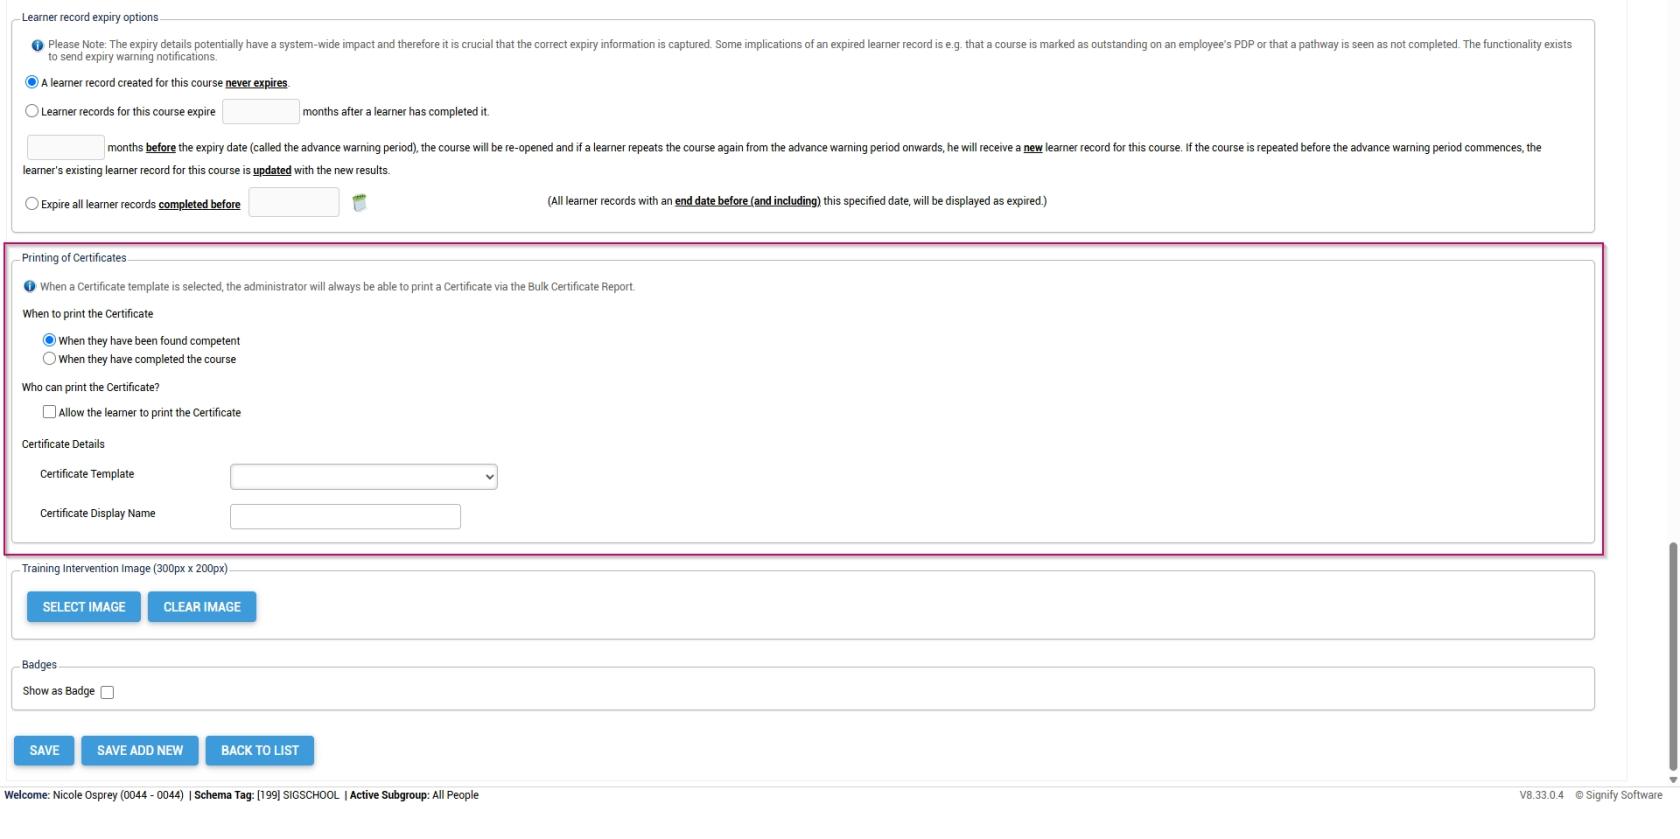
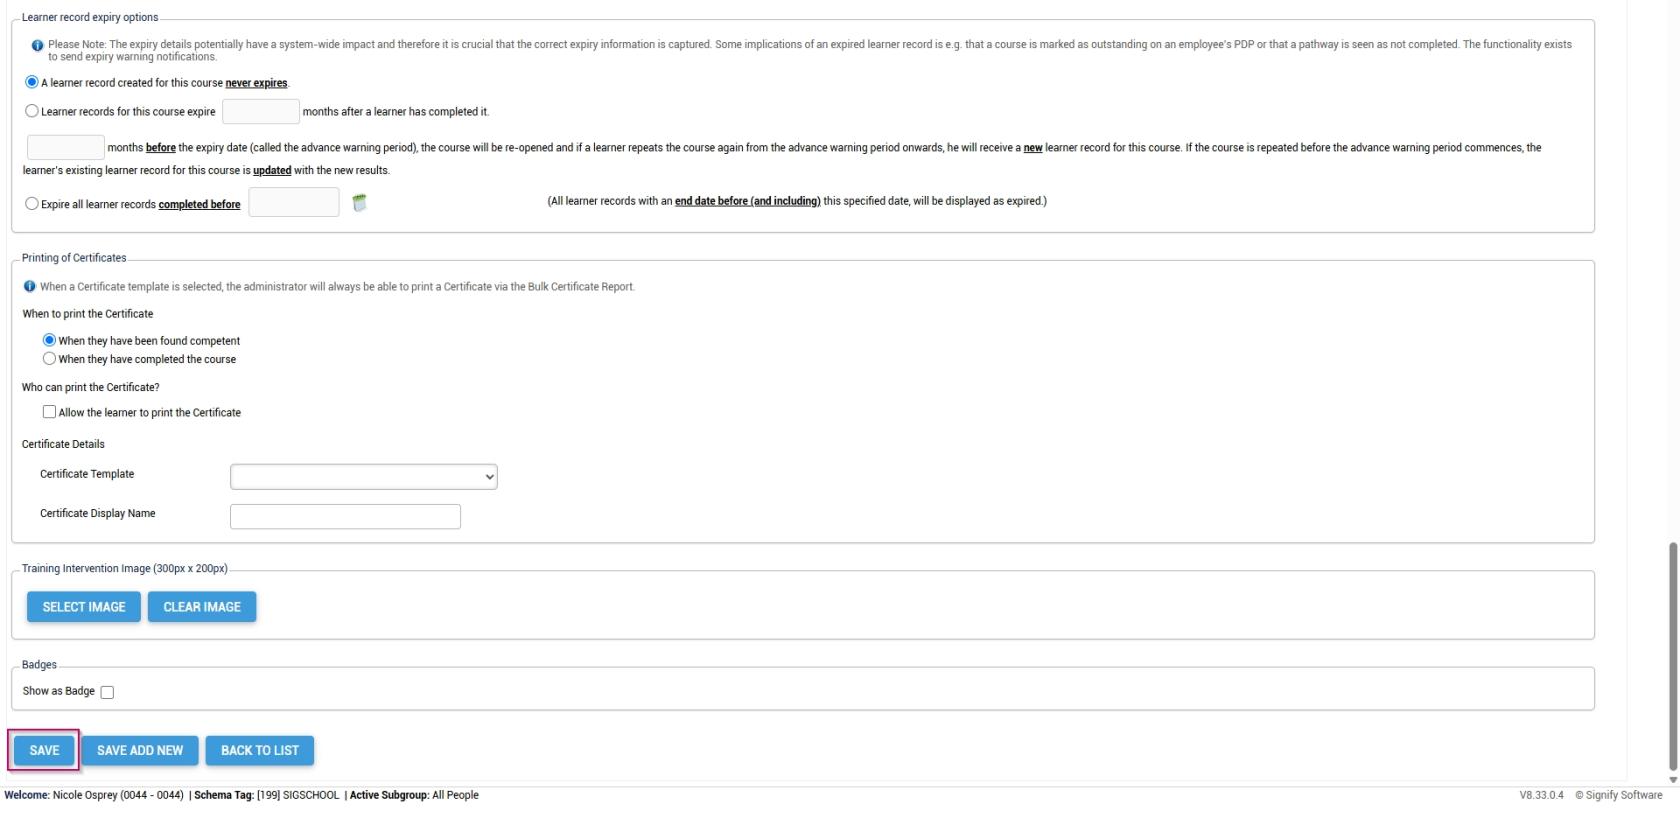
- Configure the settings for the expiry of learner records.

- Configure the settings for the printing of certificates.
- If you employ a gamification strategy in your learning environment, you can display a completed course as a badge and assign points for leaderboard tracking.
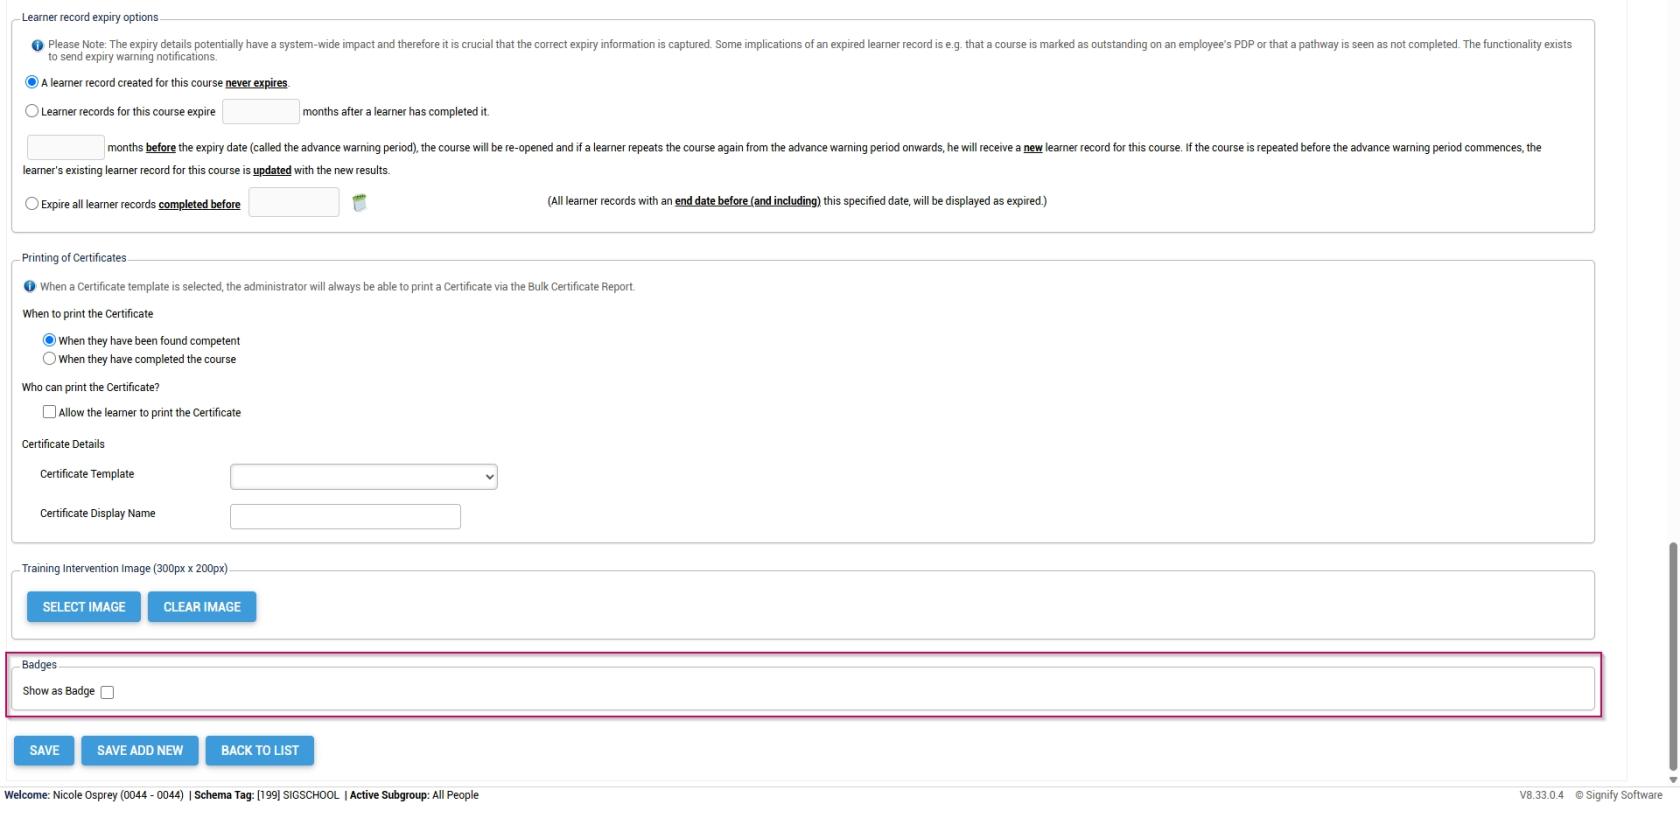
- Click SAVE when you are finished, SAVE ADD NEW to add another training intervention or click BACK TO LIST to discard your edits.
Method 2: Add training interventions using the import
- Hover over the sidebar menu, then click Learning Portal.
- Click the spanner icon to access the system's Administration menu.
- On the Learning Libraries card, click Training Interventions.
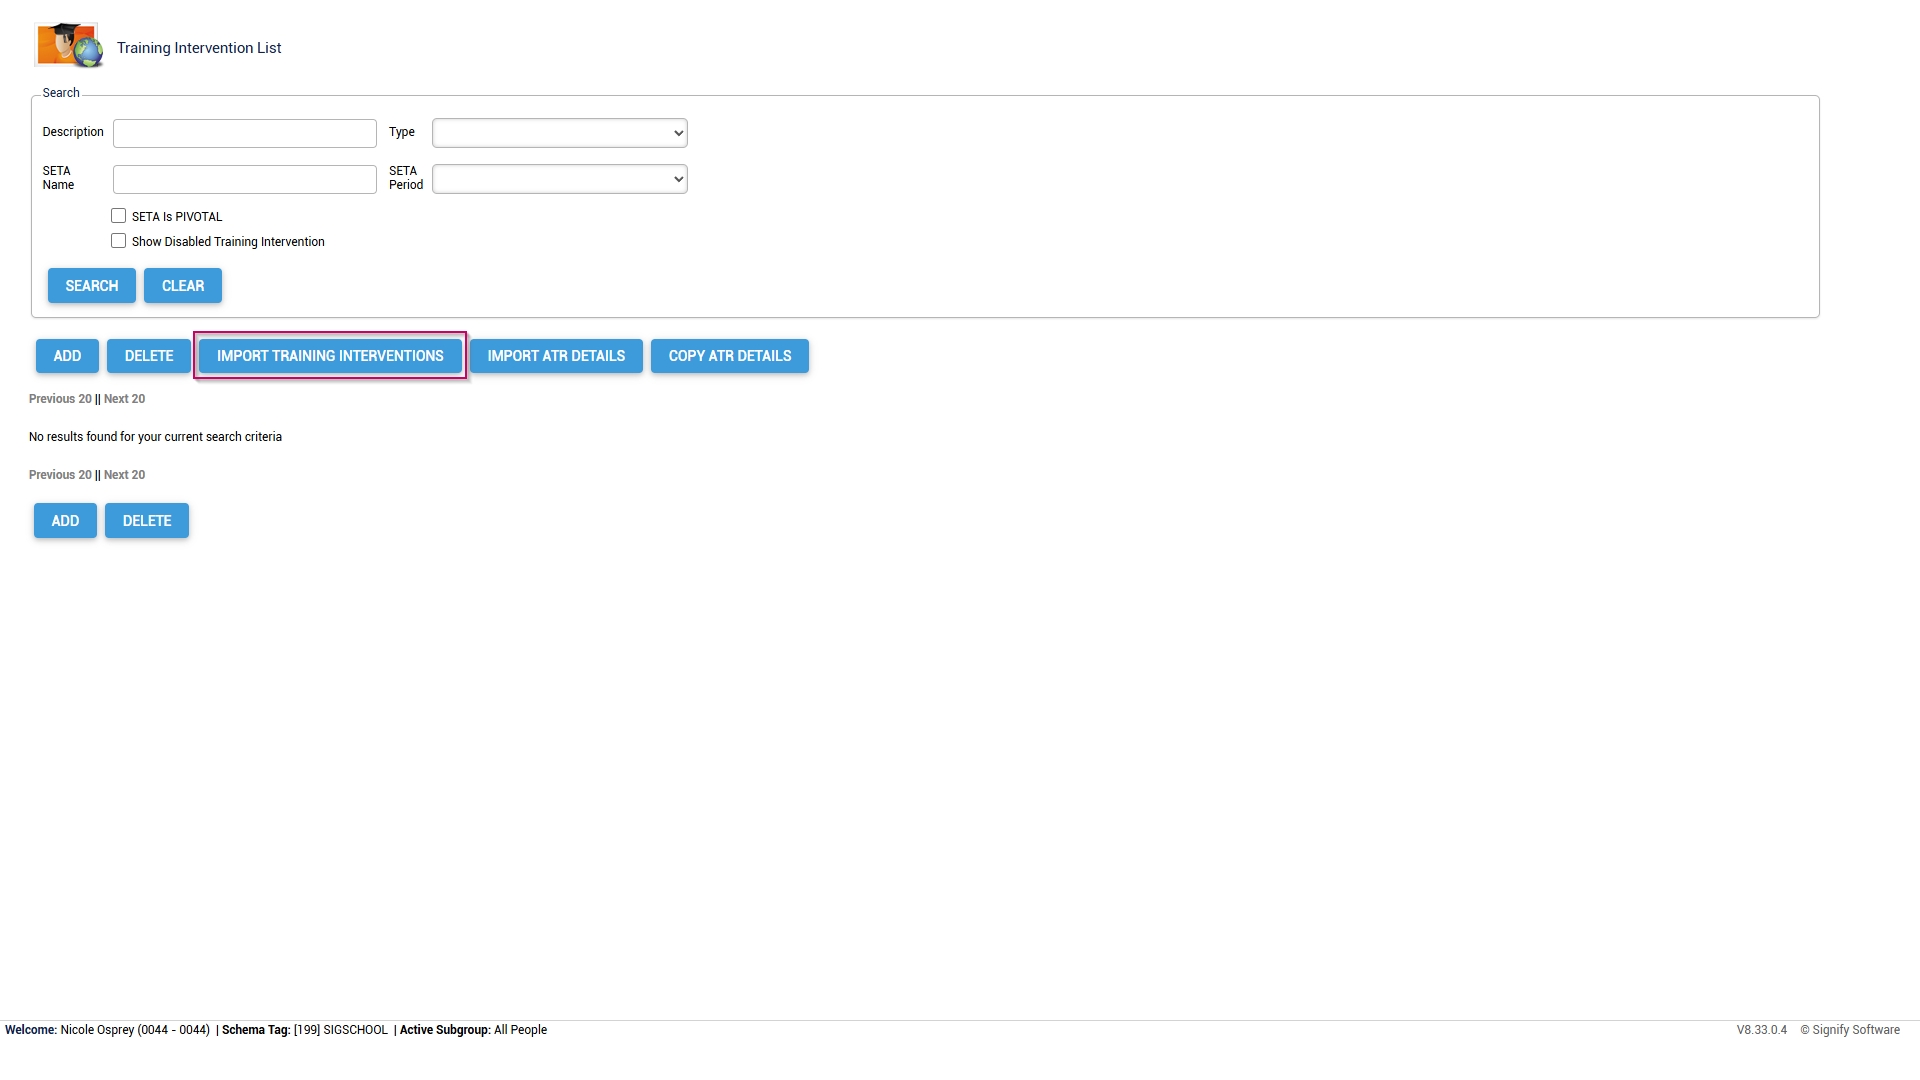
- The Training Intervention Library will open. This is where training interventions can be created, edited, or deleted. Click IMPORT TRAINING INTERVENTIONS to begin.
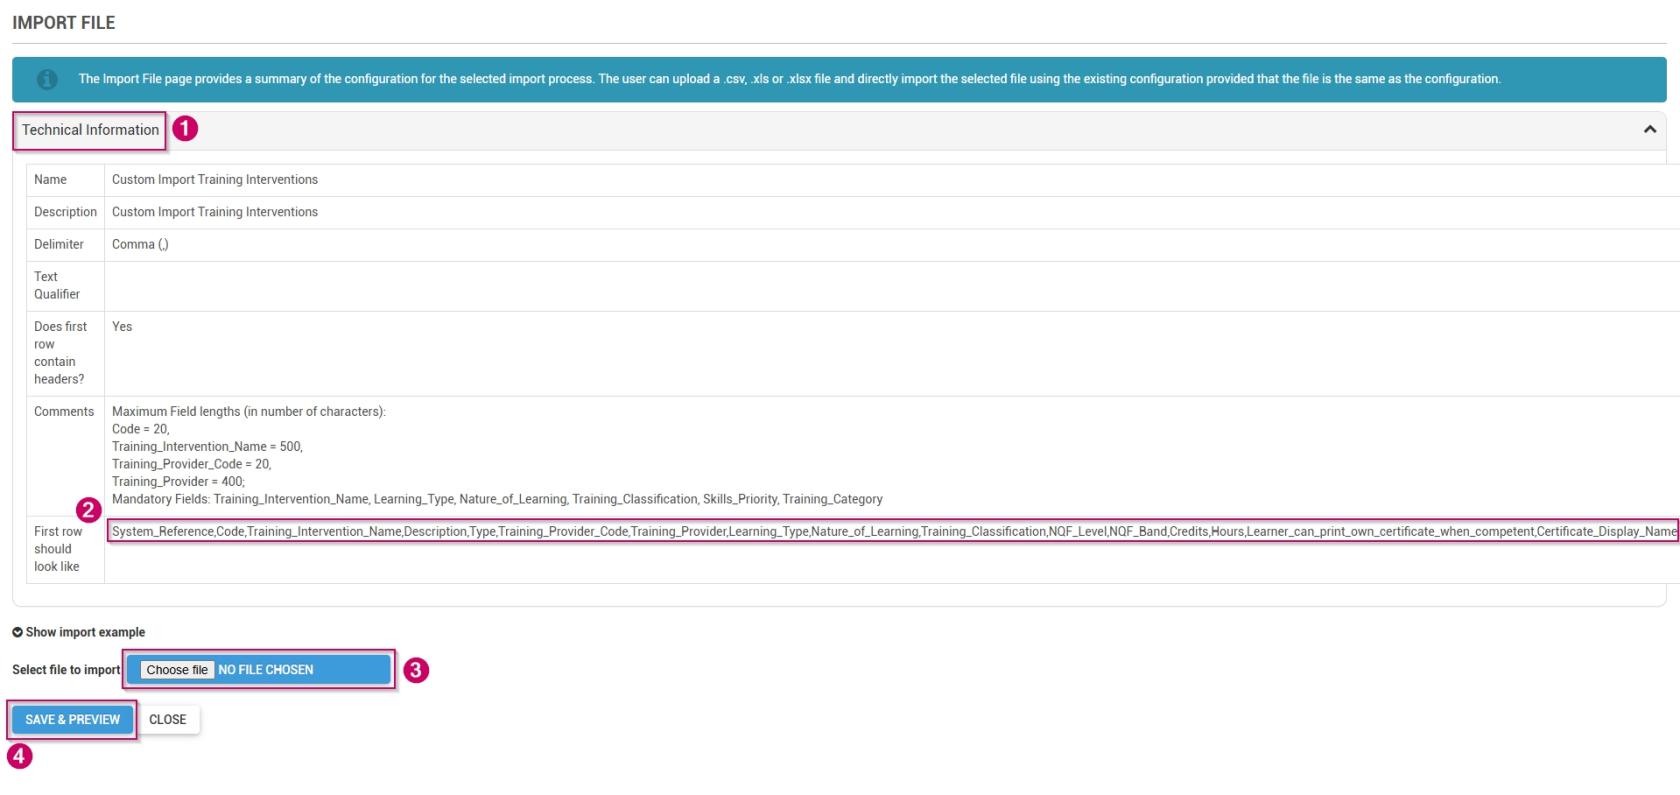
- Click on the Technical Information section.
-
- Take note of the maximum field lengths for each category.
-
- Copy the data in the section titled First row should look like.
-
- Use this data to construct a training intervention import file.
- For more information and a step-by-step guide on how to do this, go to the next section: Create a custom Training Intervention file in Excel.
-
- Once you have populated your training intervention document, click CHOOSE FILE to upload your import file as a .csv, .xls, or .xlsx.
- Click SAVE & PREVIEW.
- Review the preview of your data import. If the data appears correct, tick the checkbox to confirm it.
- You are now ready to kick off the import.
-
- You can execute a mock import to ensure all the data displays correctly. This is recommended for very large import files. To do this, click EXECUTE MOCK IMPORT.
- If the data is ready to be imported, click EXECUTE IMPORT.
-

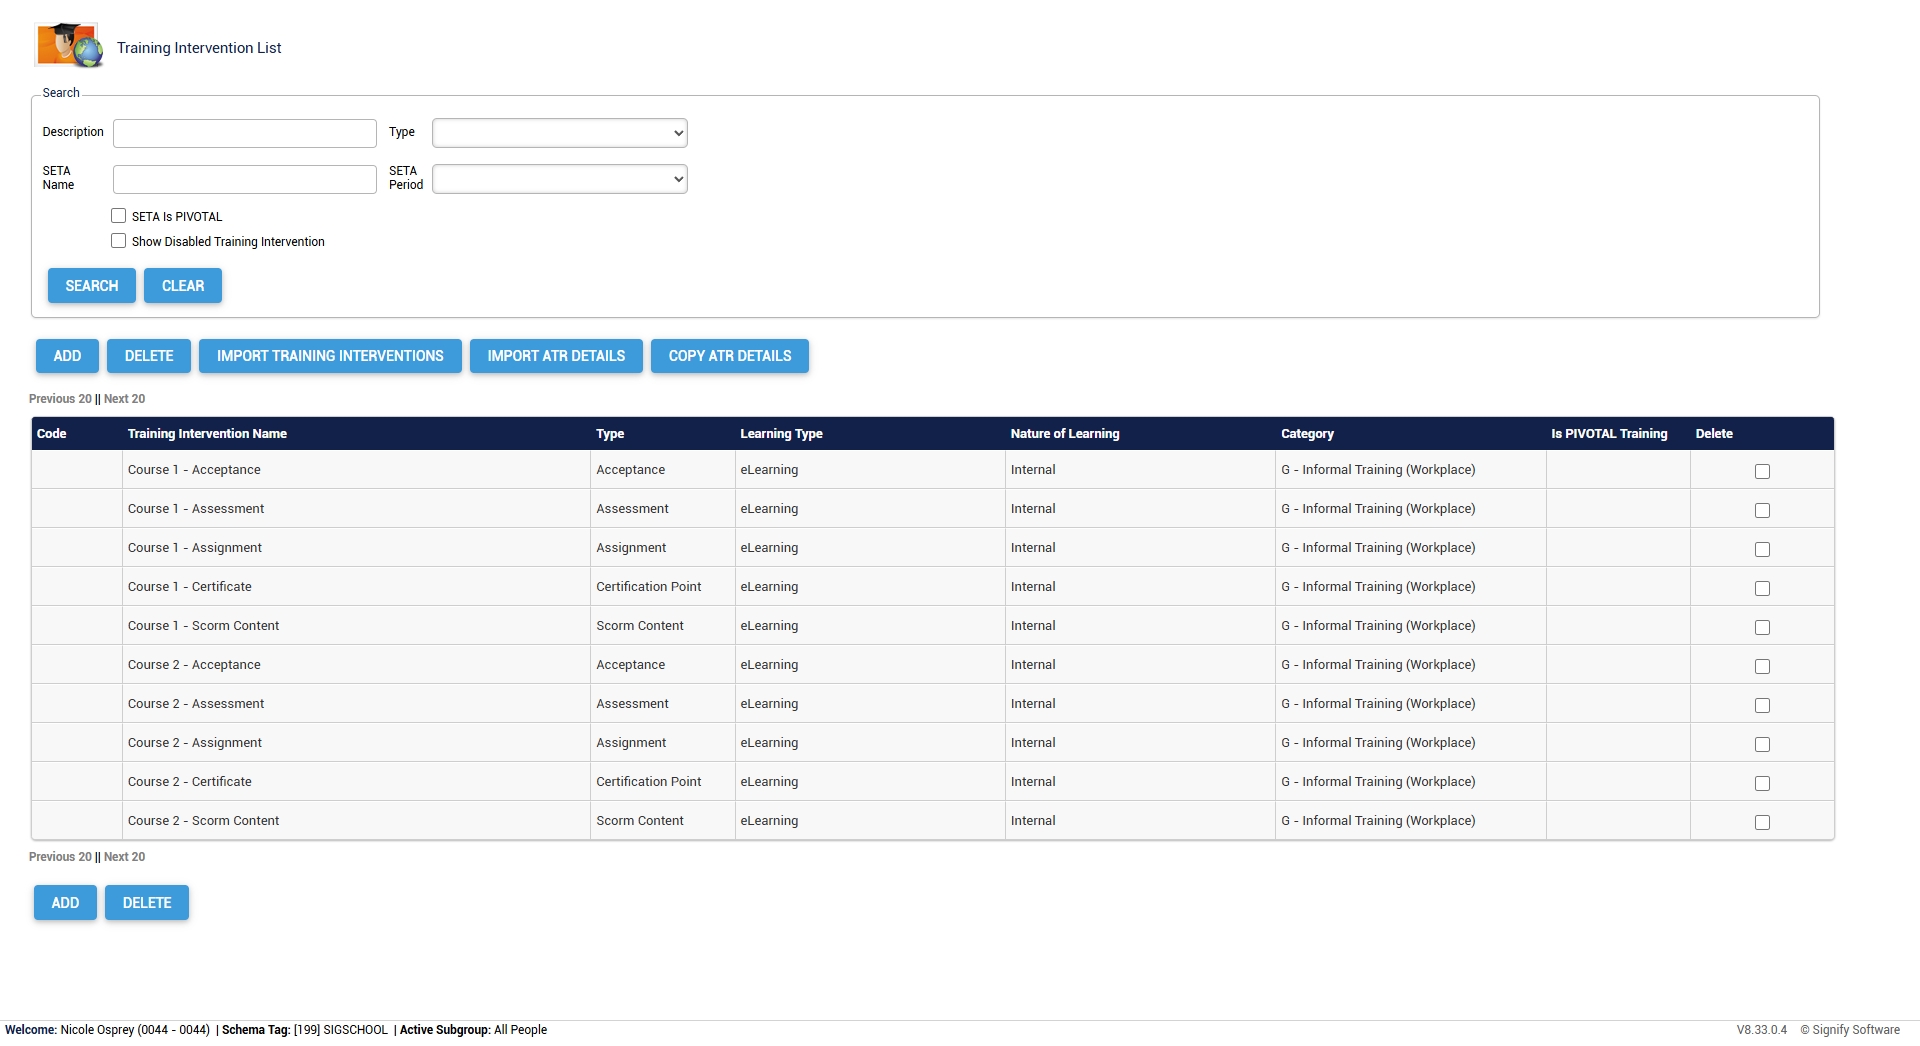
- Your Training Intervention Library is now populated with your new training interventions. If you do not see your training interventions, please refresh your browser window.
Create a custom Training Intervention file in Excel
- Copy the following information to your clipboard:
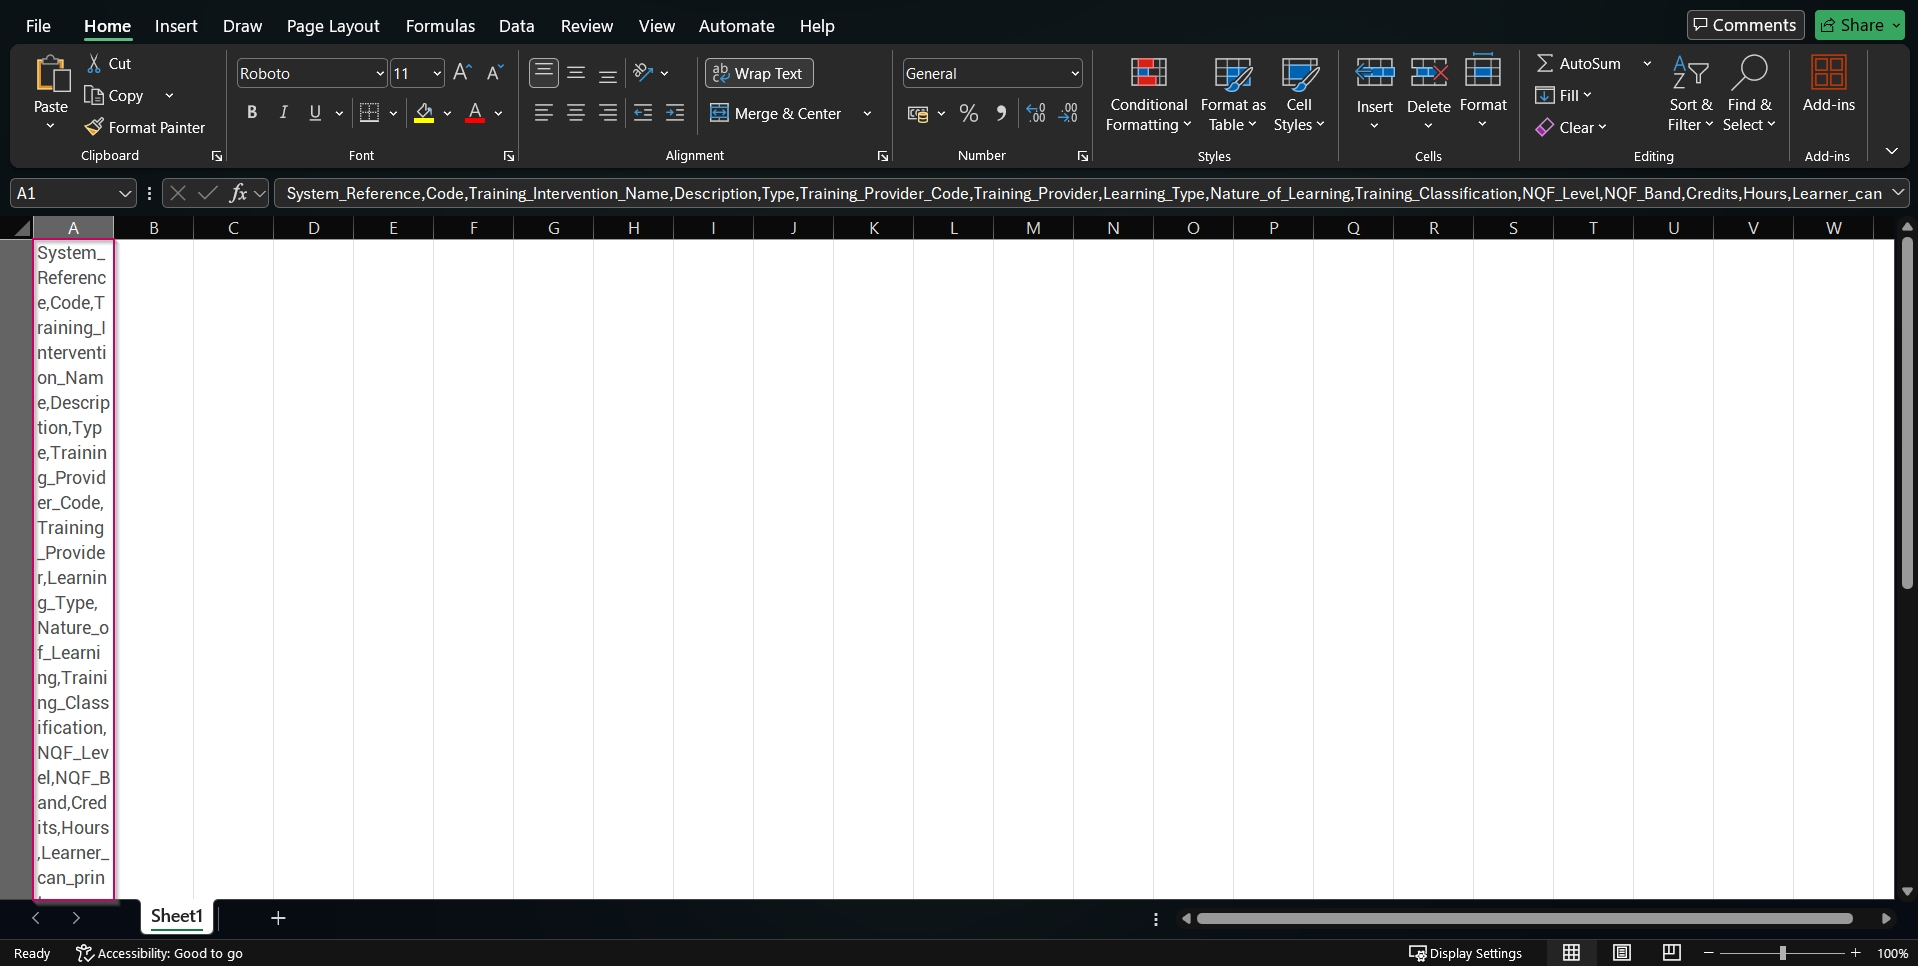
System_Reference,Code,Training_Intervention_Name,Description,Type,Training_Provider_Code,Training_Provider,Learning_Type,Nature_of_Learning,Training_Classification,NQF_Level,NQF_Band,Credits,Hours,Learner_can_print_own_certificate_when_competent,Certificate_Display_Name,Training_Scheduling_Category,Participants_Min,Participants_Max,Outcomes,Skills_Priority,Prerequisite,Training_Category,Log_to_Learner_Record,Learner_Record_Never_Expires,Advanced_Warning_Period,Expire_All_Learner_Records_Completed_Before,Learner_Records_Expiry,Exclude_From_Reports,WSP_ATR_Category,PTP_PTR_Category,DocumentationRequired,AllowViewingTranscripts,IsPivotalTraining,IsMandatory,Mobile_Application_Template,Automatic_Certification,SAQA_Accredited,Update_Mentor_Manually,ImageUrl,BadgeUrl,ShowBadgeWhen,MinPoints,MaxPoints,MinScore,MaxScore,BadgeExpiryMonths,BadgeShowScoreDistributionGraph,BadgeShowLeaderboard
- Open the Excel application and create a new workbook.
- Paste the information into the first cell of the new workbook.
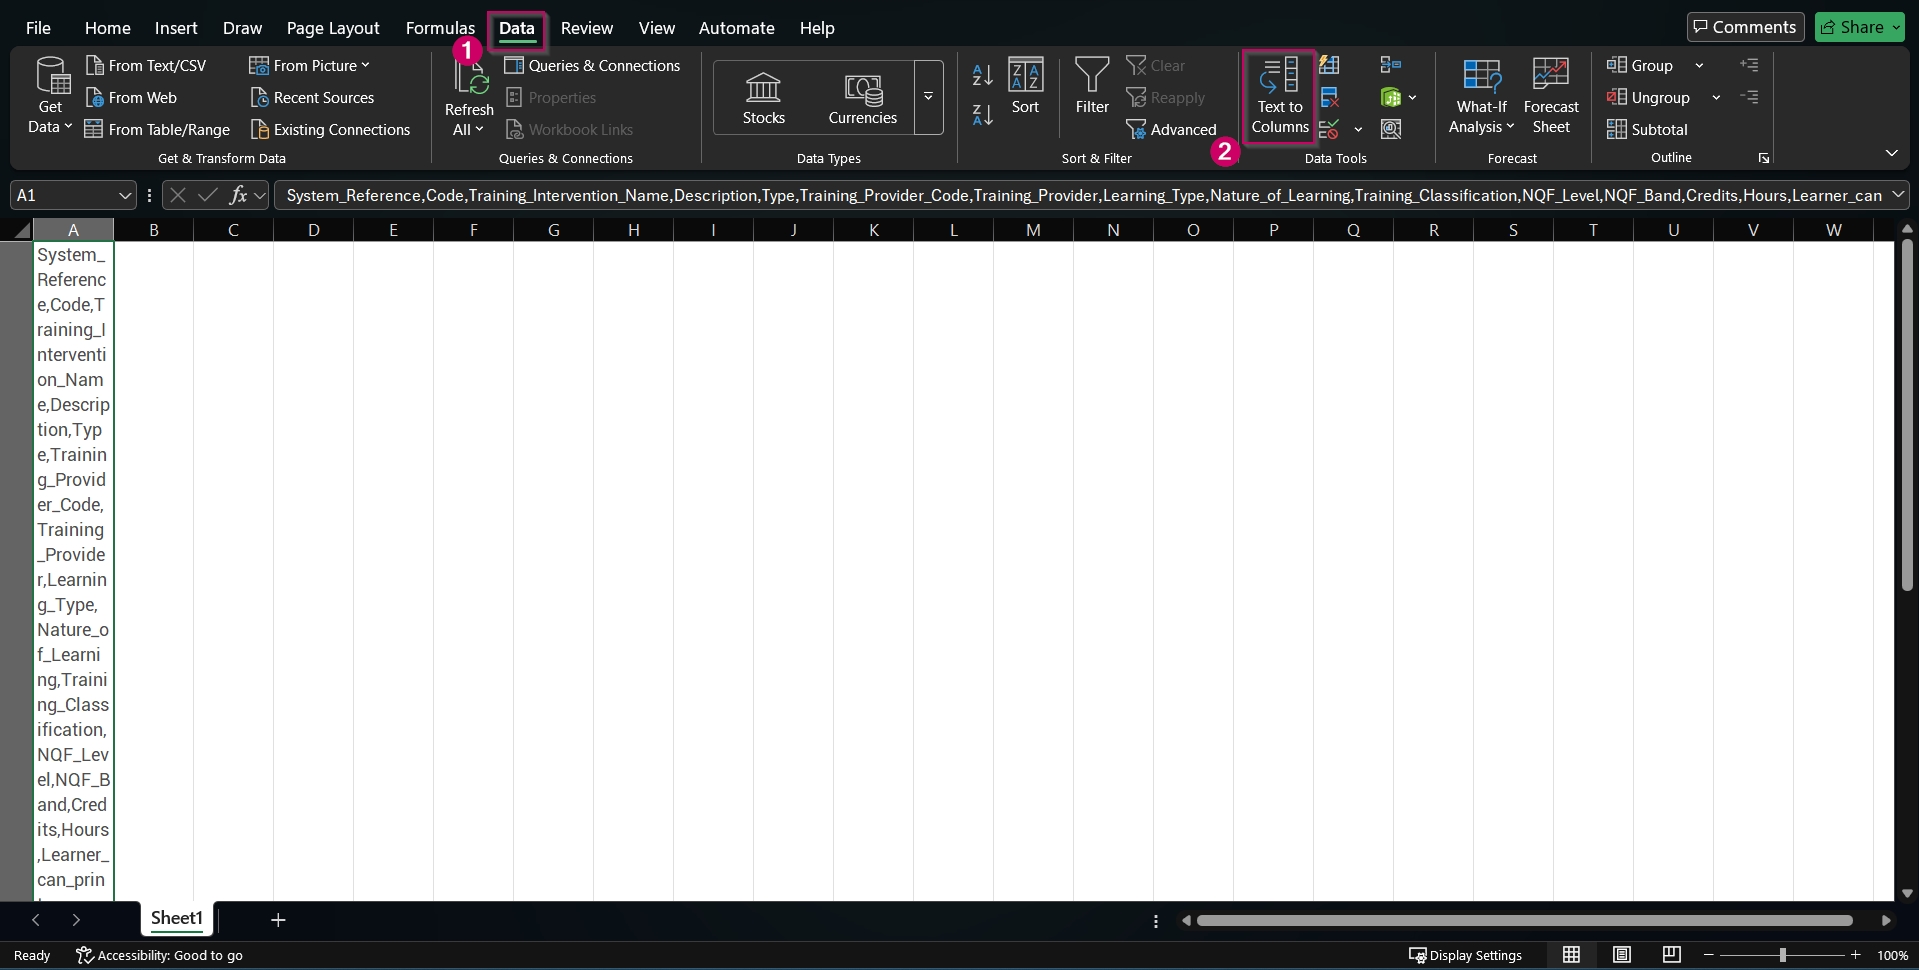
- Ensuring the first cell is selected, navigate to the Data tab. Click the Text to Columns option in the Data Tools section.
- The Convert Text to Columns Wizard will pop up. Click the Delimited radio button, then click Next.
- In the Delimiters section, ensure ONLY the Comma checkbox is ticked, then click Next.
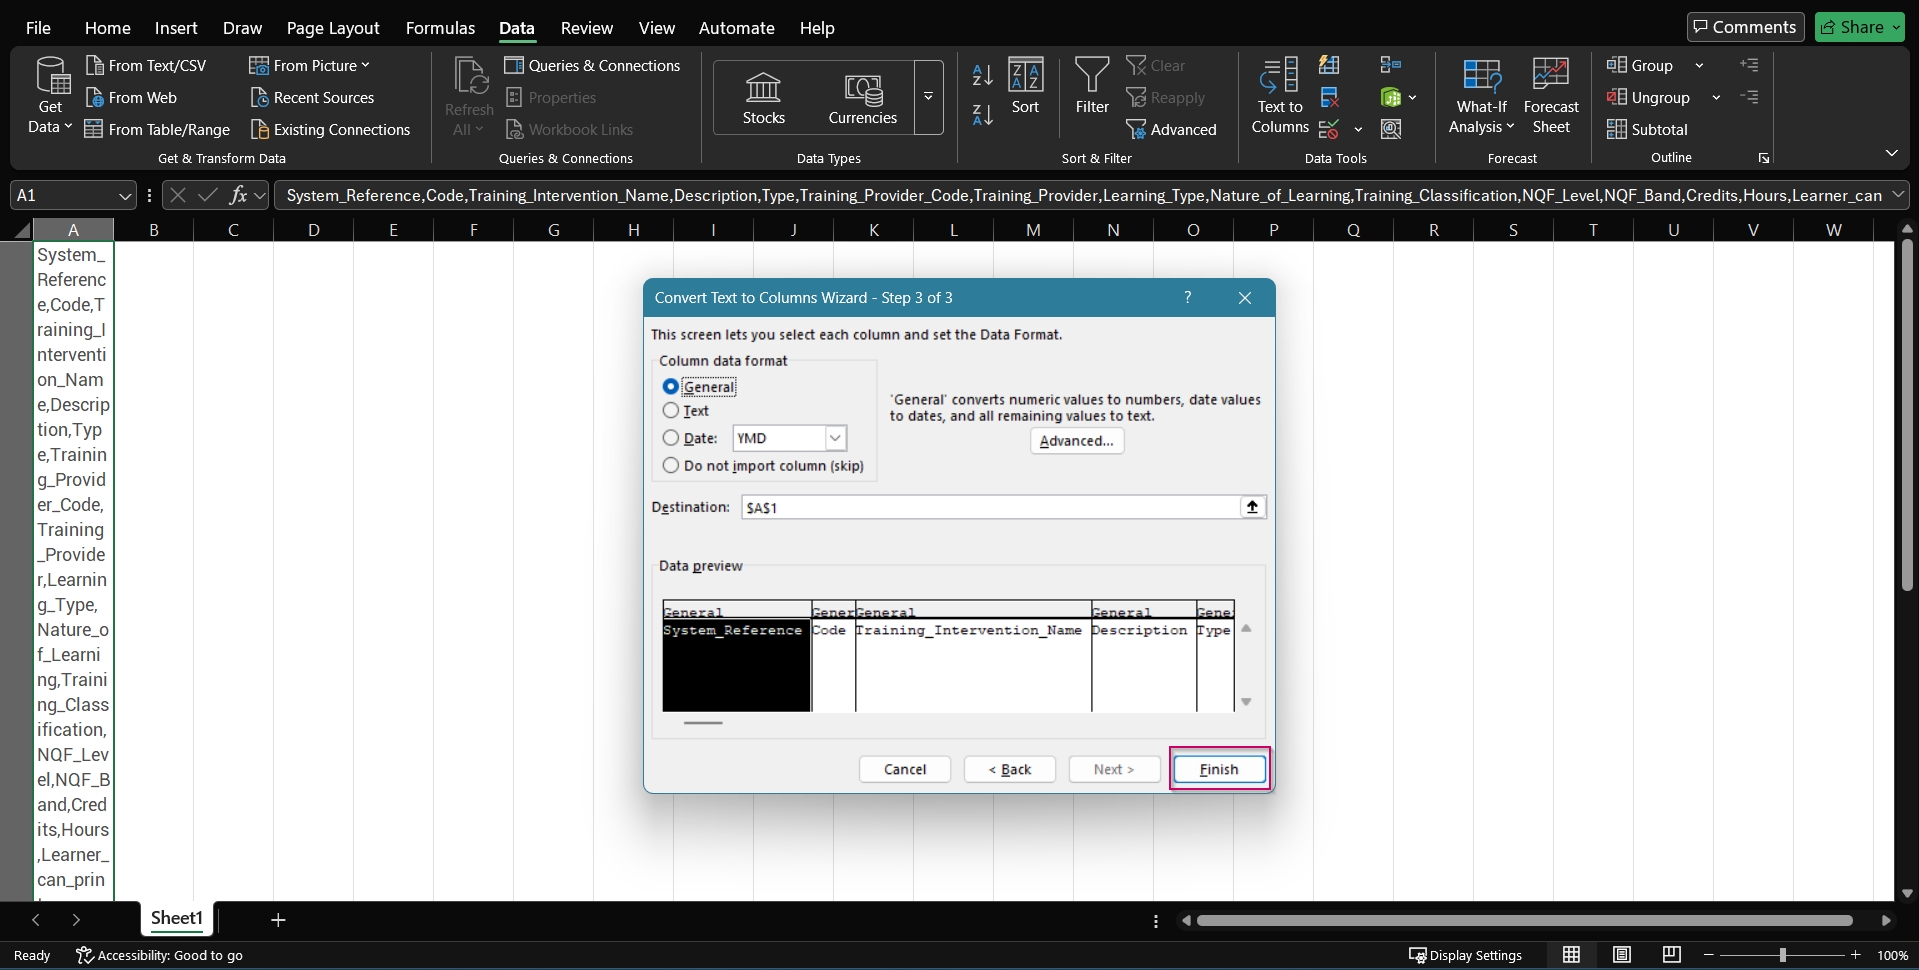
- Click Finish.
- Your file is now ready to be populated.
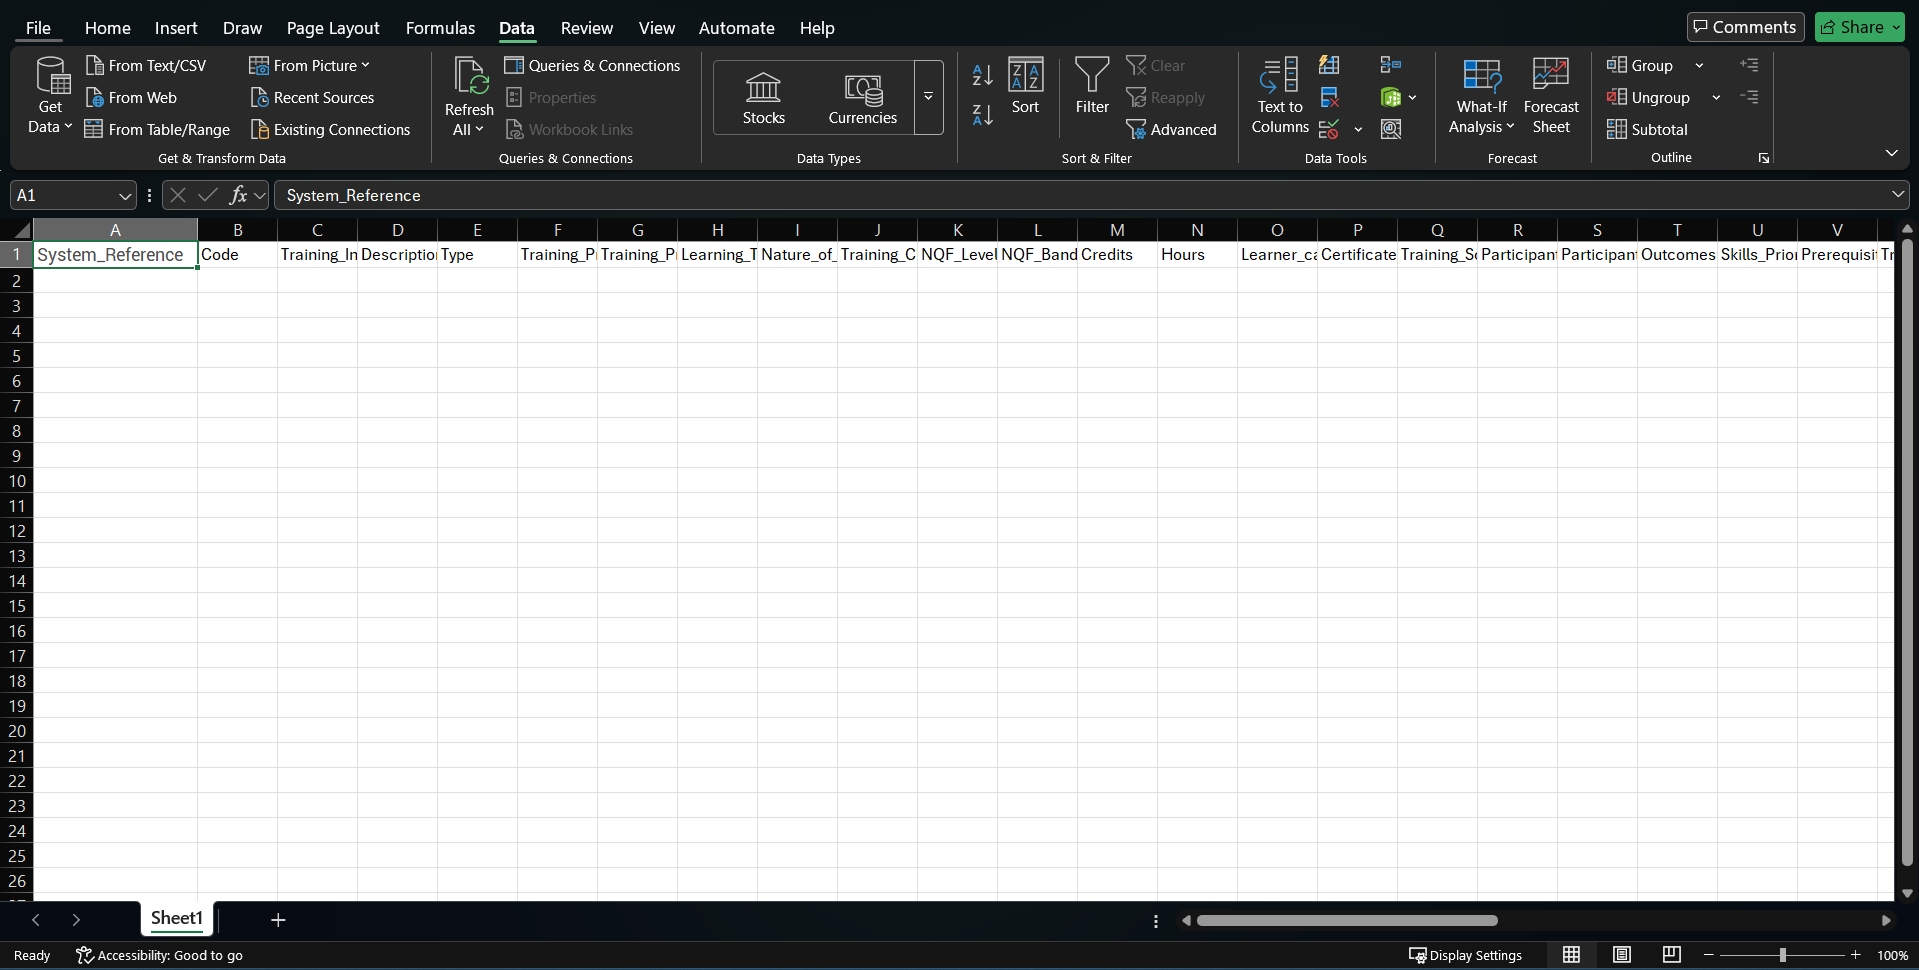
- Please do not enter any data into the System_Reference or Code columns, as these will be updated automatically.
- Save the Excel workbook as a .csv, .xls, or .xlsx file, then use it to import training interventions.
