Use the SCORM Library
This guide focuses on the Learning Management module, the Learning Content Library, and the features available to the Administrator. By following the outlined procedures, Administrators can:
• Upload eLearning content to the Learning Content Library,
• Update or remove existing content, and
• Add SCORM steps to eLearning pathways.

1. LEARNING CONTENT LIBRARY
SCORM and xAPI are files that allow interactive eLearning content to be easily uploaded to a Learning Management System (LMS). SCORM files are packaged into zip files, to ensure the eLearning content imports and launches correctly.
A Learning Content Library is provided on the SignifyHR platform, which allows administrators to:
• Upload new eLearning content, and
• Update or remove existing content.
This guide will show both methods.
UPLOAD SCORMs
It is essential to note that the blue circles in the screenshots indicate where you must click on the screen.
1. Log in to the system using the URL, username, and password provided to you.

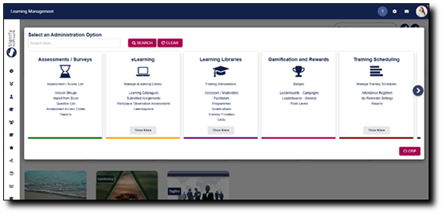
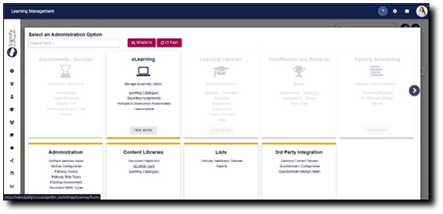
3. Click the spanner icon to access the System Administration menu.

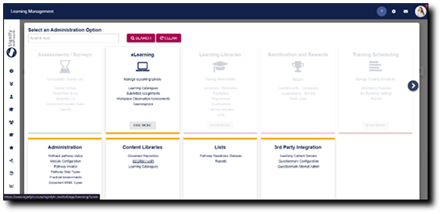
4. Click on Show More under the eLearning menu.
5. Click on SCORM / xAPI under the Content Libraries menu.
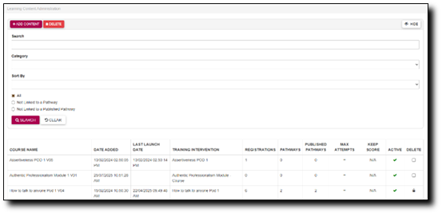
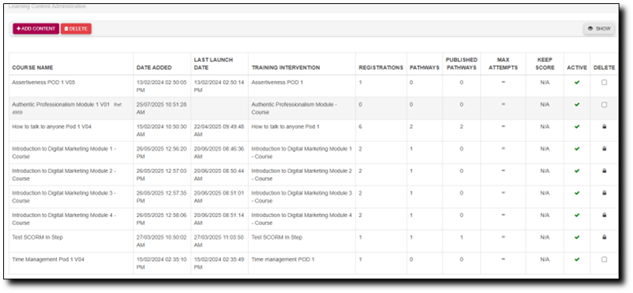
6. The Learning Content Library stores and organises all the eLearning content that has been uploaded onto the system.
You can search for a specific SCORM file by using the panel at the top of the page. Filter search results using specific search criteria, such as categories or whether they have been linked to a pathway.
To add a new SCORM file, click on Add Content.
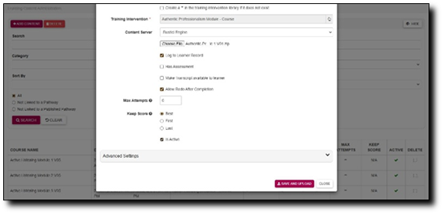
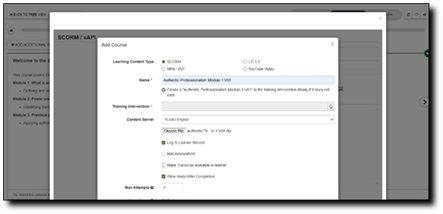
7. Select a SCORM zip file from your local storage by clicking Choose File.
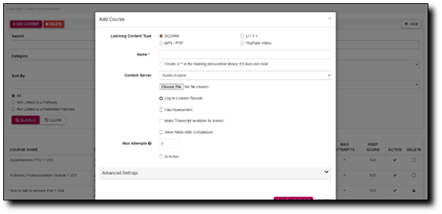
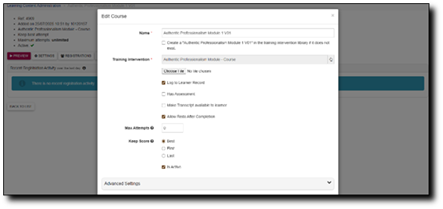
8. Populate the fields with the SCORM’s information, such as the
• Learning content type,
• Name of the SCORM,
• Content server, and
• Maximum number of attempts.
You can also select checkboxes, which will:
• Create a training intervention with the same title as the SCORM in the Training Intervention library if one does not exist already.
• Log this eLearning activity to the person’s learner record.
• Show whether the activity contains an assessment.
• Make the transcript available to the person.
• Allow the person to redo the activity.
• Mark the SCORM as active.
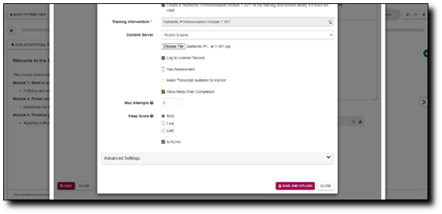
Click Save and Upload when you are finished or click Close to discard your edits.
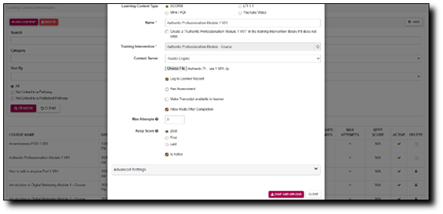
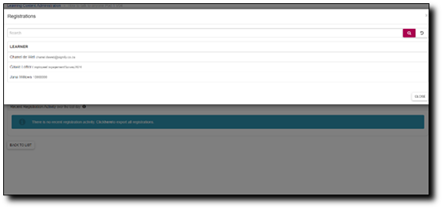
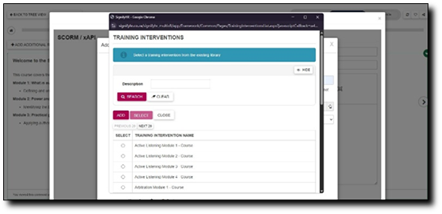
9. If you have selected the checkbox that logs the eLearning activity to the person’s learner record, you can select the training intervention by clicking on the hand icon.
Select the training intervention from the training intervention library, or click Add to add a new training intervention.
Once you have selected the training intervention, click Save and Upload or click Close to discard your edits. The SCORM file is now ready to be linked to a pathway.
UPDATE OR REMOVE SCORMs
It is essential to note that the blue circles in the screenshots indicate where you must click on the screen.
2. Click the spanner icon to access the System Administration menu.
3. Click on Show More under the eLearning menu.

4. Click on SCORM / xAPI on the Content Libraries menu.
5. The table provides an overview of the information linked to each SCORM, such as:
• the date added,
• training intervention linked,
• number of registrations, and
• number of pathways to which it is linked.
Administrators can also get an overview of the settings for each file, such as:
• the status,
• maximum number of attempts, and
• which score to log to keep.
Click on a SCORM file to edit.
6. Click Preview to preview the eLearning file.
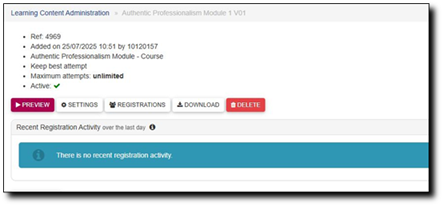
7. Click Settings to update the SCORM’s settings, such as
• maximum number of attempts,
• which score to keep, and
• whether the SCORM is active or not.
8. Click Registrations to view the people that have attempted the SCORM.
9. Click Download to save a local version of the file.
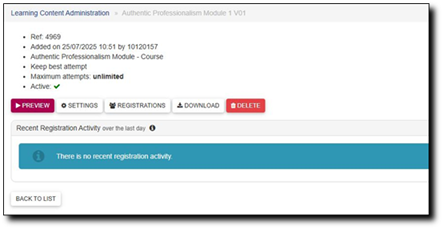
10. Click Delete to remove the file from the Learning Content Library, then click Confirm to complete the deletion.
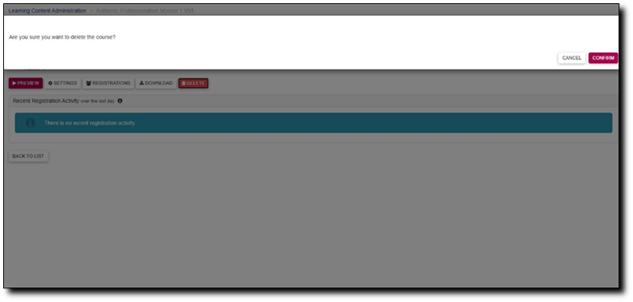
Please note, only a SCORM that is not linked to a pathway can be deleted.
11. From the Learning Content Library screen, checkboxes can be ticked to delete multiple SCORMs at a time.
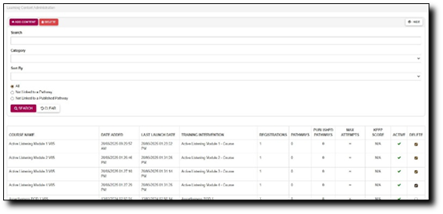
Click Delete to complete the deletion.

Please note, only SCORMs that are not linked to a pathway can be deleted.
2. ADDING A SCORM STEP TO A PATHWAY
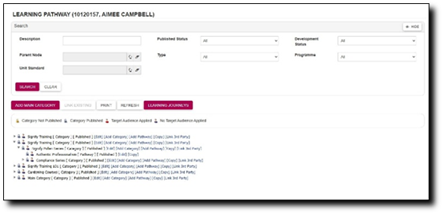
2. Click on the plus icon to add a new pathway step.
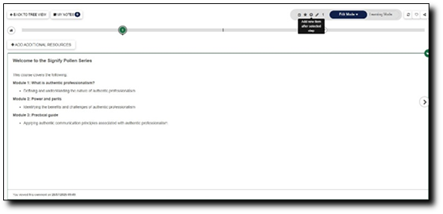
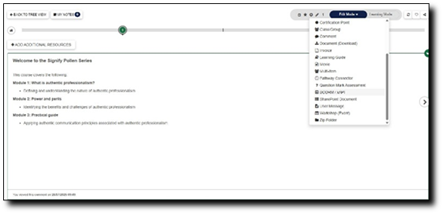
3. Click on SCORM / xAPI.
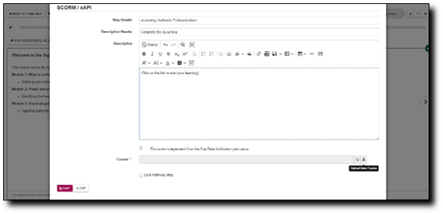
4. Populate the fields with the SCORM’s information, such as the:
• step header,
• description header, and
• the eLearning content’s description.
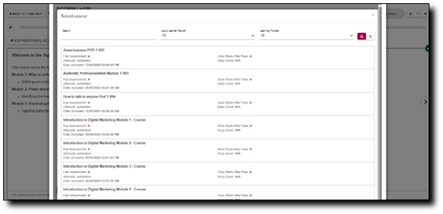
5. Once you are done, click the hand icon to link a SCORM file.
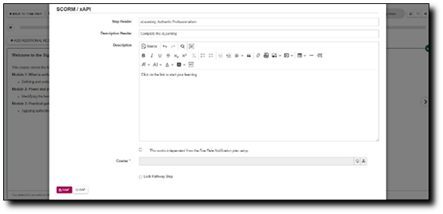
Select the SCORM file from the Learning Content Library.
6. Alternatively, click to upload a new SCORM file.
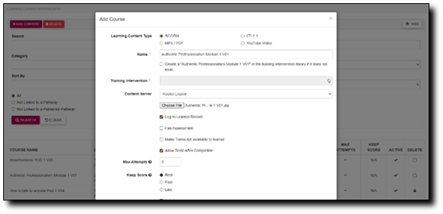
7. Populate the SCORM file’s information, such as the
• Learning content type,
• Name of the SCORM,
• Content server, and
• Maximum number of attempts.
You can also select checkboxes, which will:
• Create a training intervention with the same title as the SCORM in the Training Intervention library if one does not exist already.
• Log this eLearning activity to the person’s learner record.
• Show whether the activity contains an assessment.
• Make the transcript available to the person.
• Allow the person to redo the activity.
• Mark the SCORM as active.
Click Save and Upload when you are finished or click Close to discard your edits.

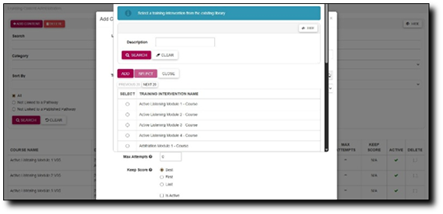
8. If you have selected the checkbox that logs the eLearning activity to the person’s learner record, you can select the training intervention by clicking on the hand icon.
Select the training intervention from the training intervention library or click Add to add a new training intervention.
Once you have selected the training intervention, click Save and Upload or click Close to discard your edits.
The SCORM file will now be uploaded to the Learning Content Library.
9. Once you have linked the SCORM file, click Save to proceed, or Close to discard your edits.
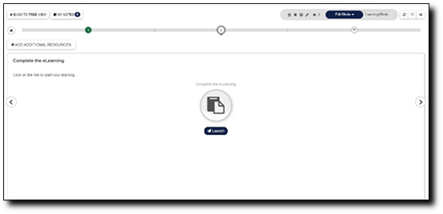
10. Your SCORM step has now been added to the pathway.