Settings Explained: Performance Agreement Templates

Creating performance agreement templates can greatly enhance the efficiency of developing performance agreements, making the process smoother and more organised. This not only ensures consistency in format but also helps minimise administrative burdens. By following this guide, you’ll be equipped to craft reusable performance agreement templates that can serve effectively across multiple performance cycles.
To begin, ensure you are on the Templates screen in the review setup's settings.
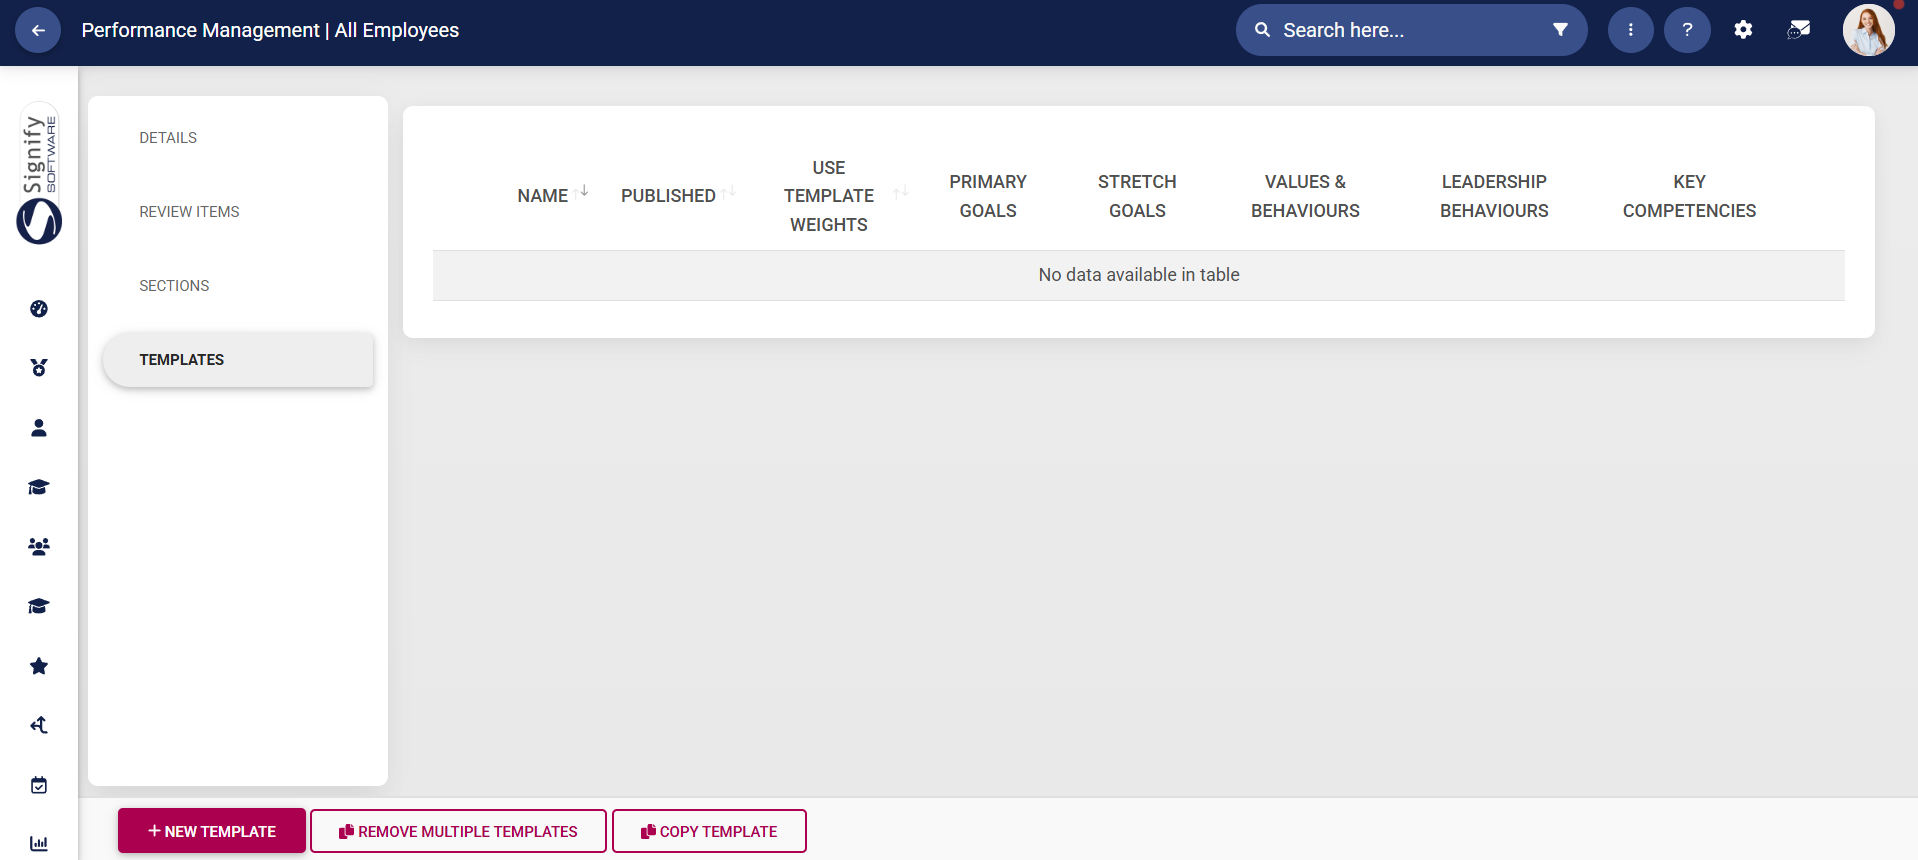
Create New Template
to
load
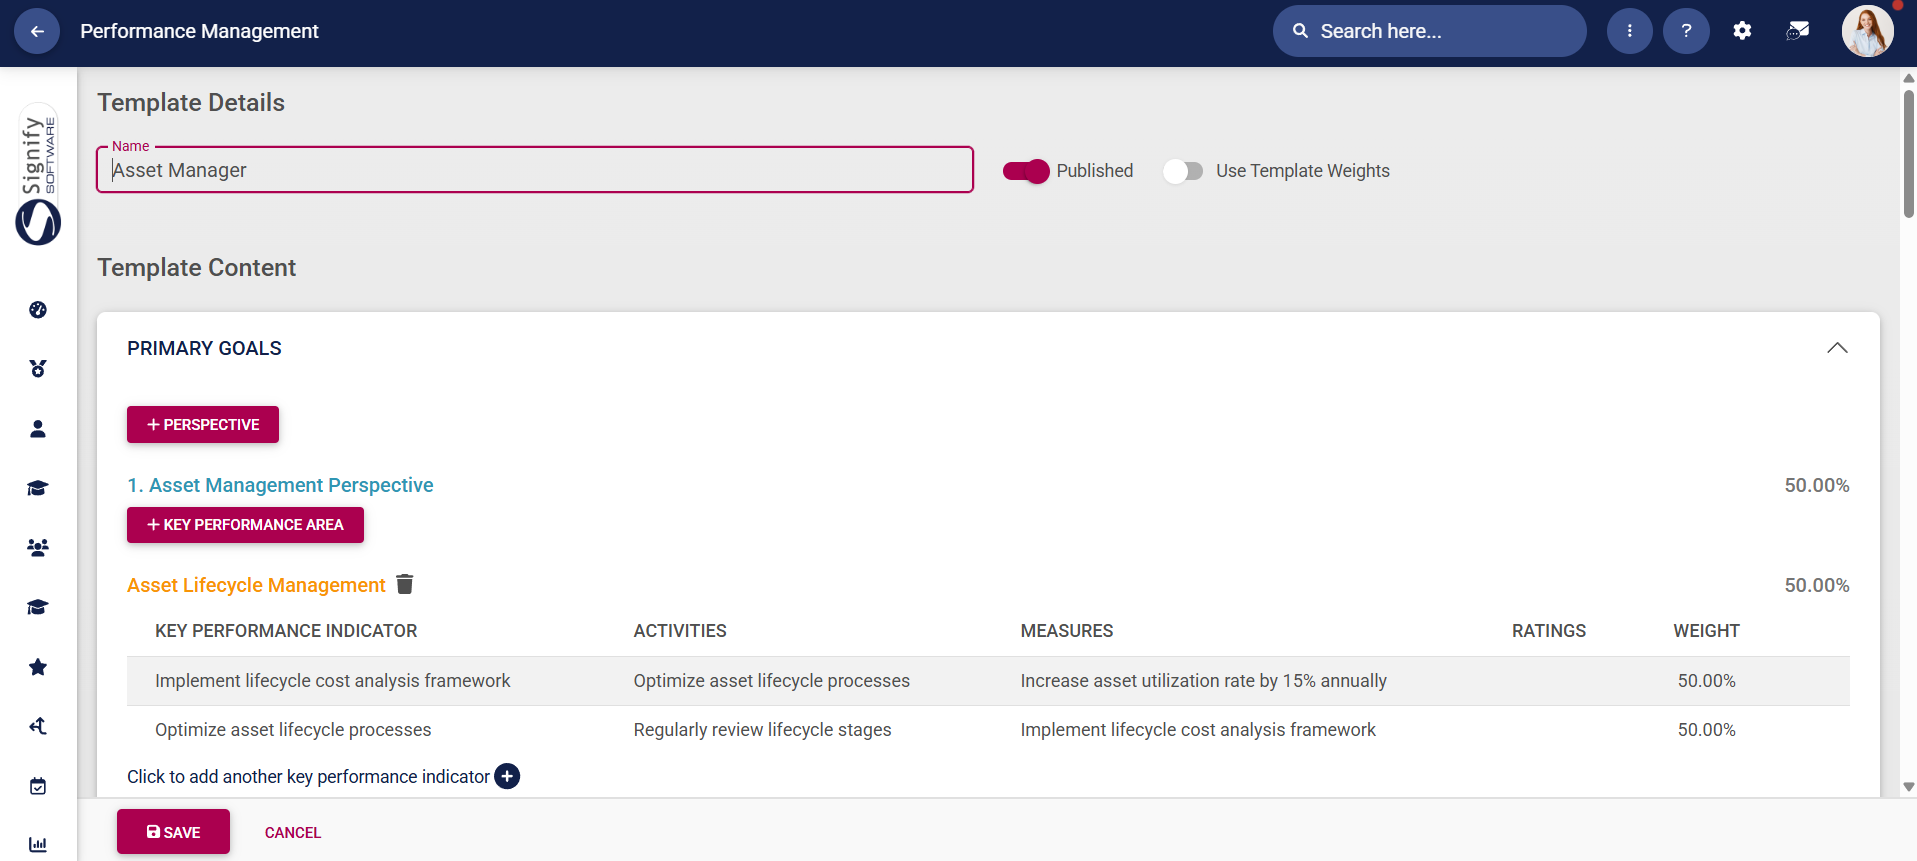
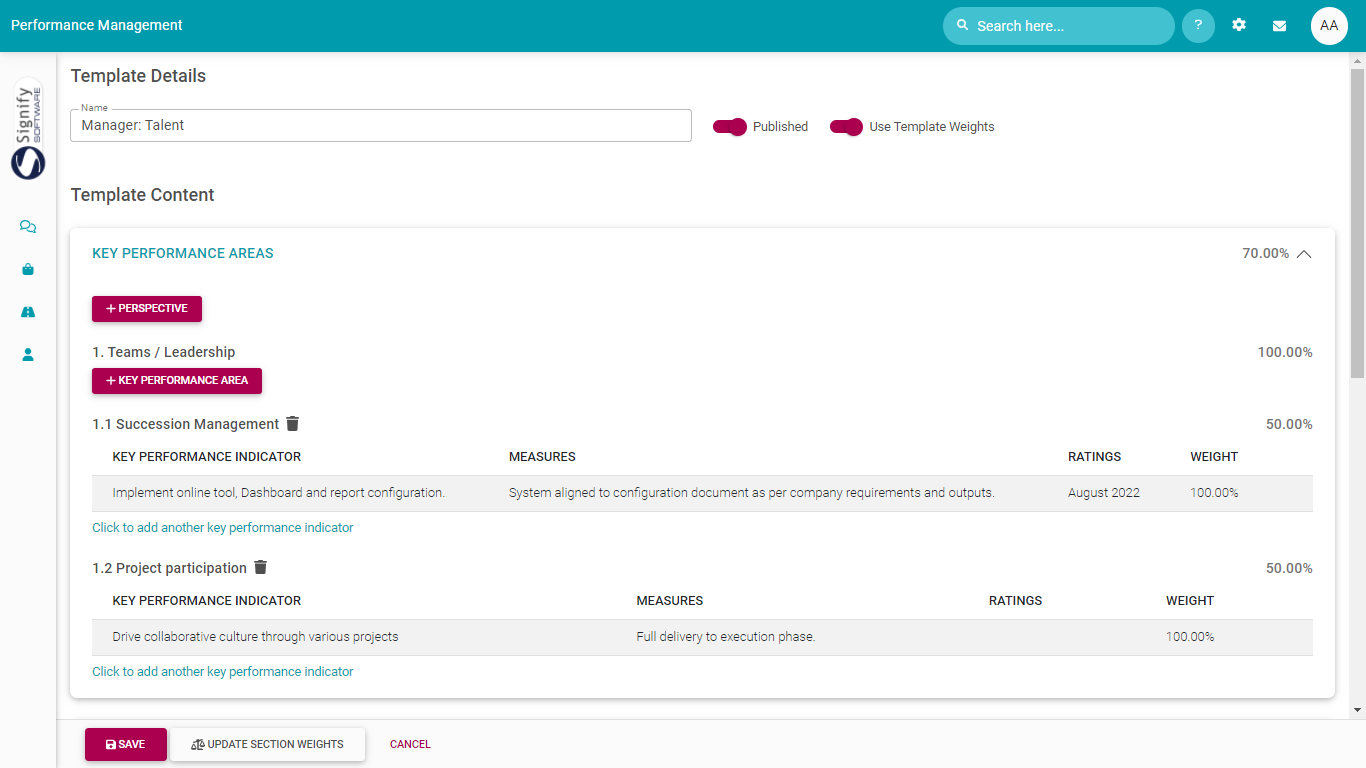
Add a descriptive title for this performance agreement
templatestemplate. fromChoose whichwhether employeesthe andtemplate managersshould canbe choosepublished whenor creatingwhether theirthe contracts.weights of this template should override the weights configured in the review setup's settings.

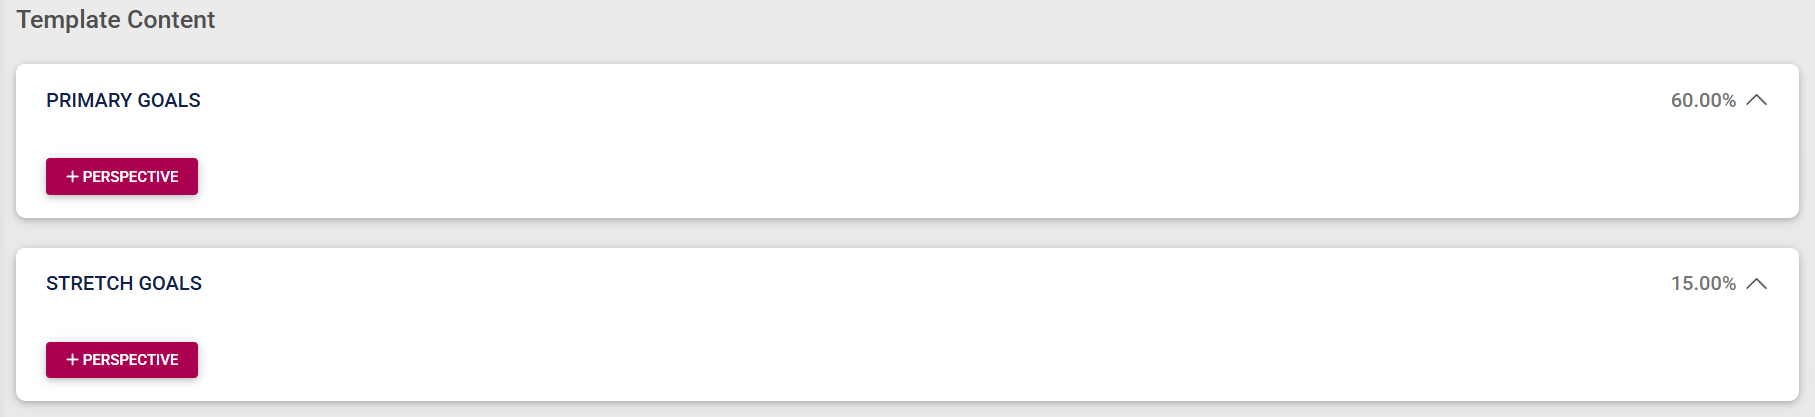
Add Primary Goals and Stretch Goals
The process for adding primary and stretch goals is the same for both sections. Follow the steps below to add primary goals, then repeat them for stretch goals.
Add perspectives
If you are using perspectives, click +PERSPECTIVE. If not, skip ahead to adding a key performance area.
Select a perspective from the drop-down menu and assign a weight. Click SAVE ADD NEW to continue adding more perspectives to this section, or click SAVE if you are done.
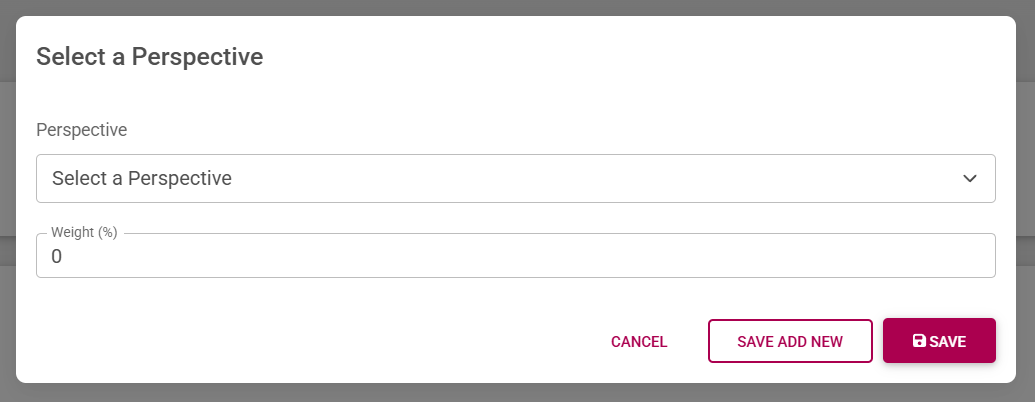
Your added perspectives and their assigned weights will display on the screen.
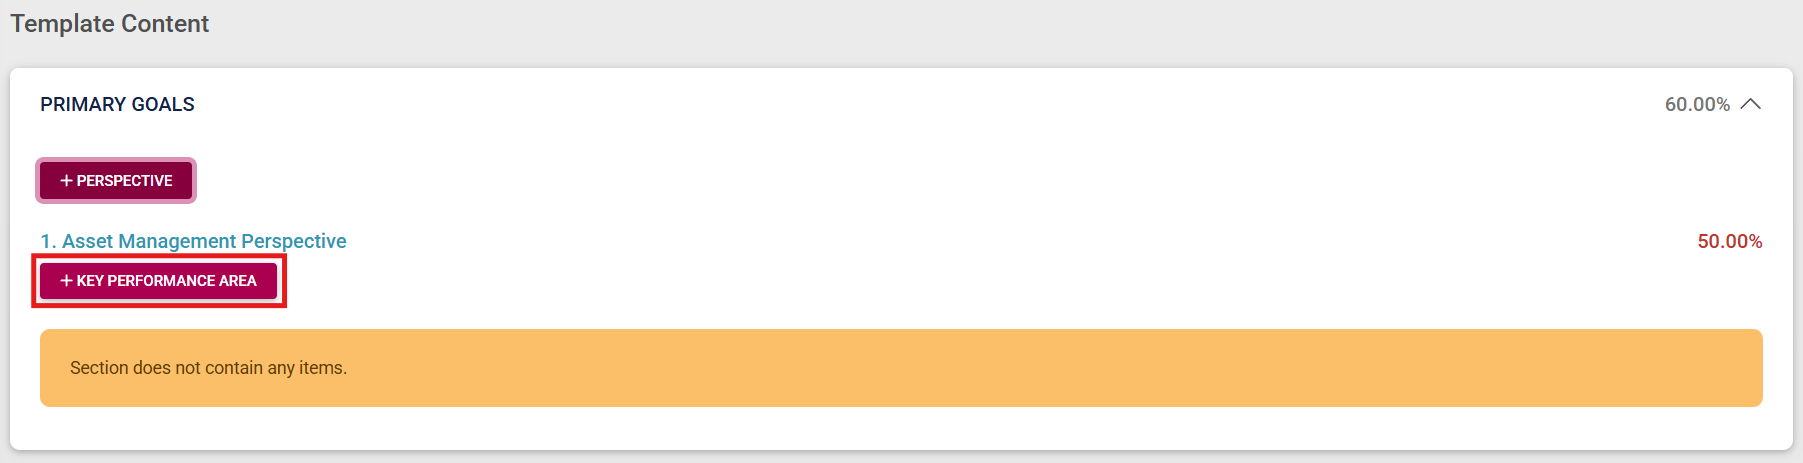
Add KPAs
Click +KEY PERFORMANCE AREA to add a KPA.
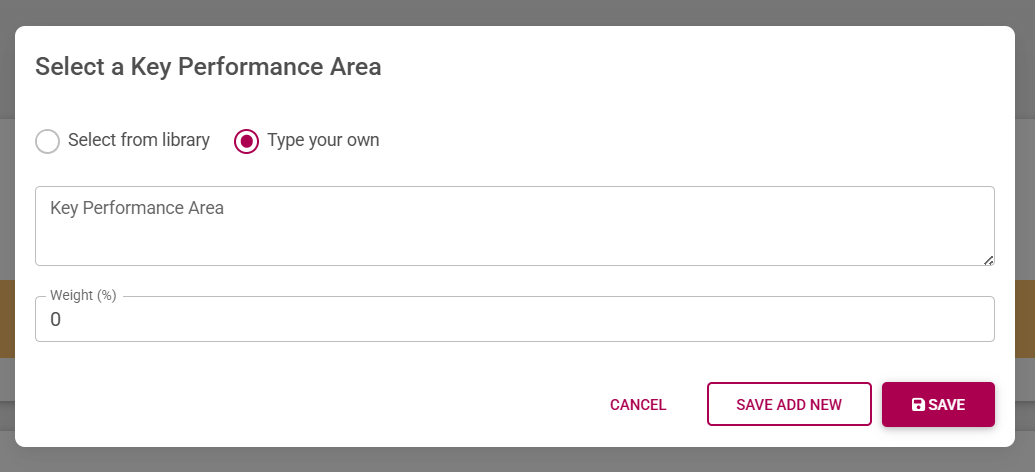
Type in your own KPA, or select one from the Master Data Library. Assign weights to the KPAs, ensuring that their total for each perspective (or section, if not using perspectives) equals 100%. Click SAVE ADD NEW to continue adding more KPAs, or click SAVE if you are done.
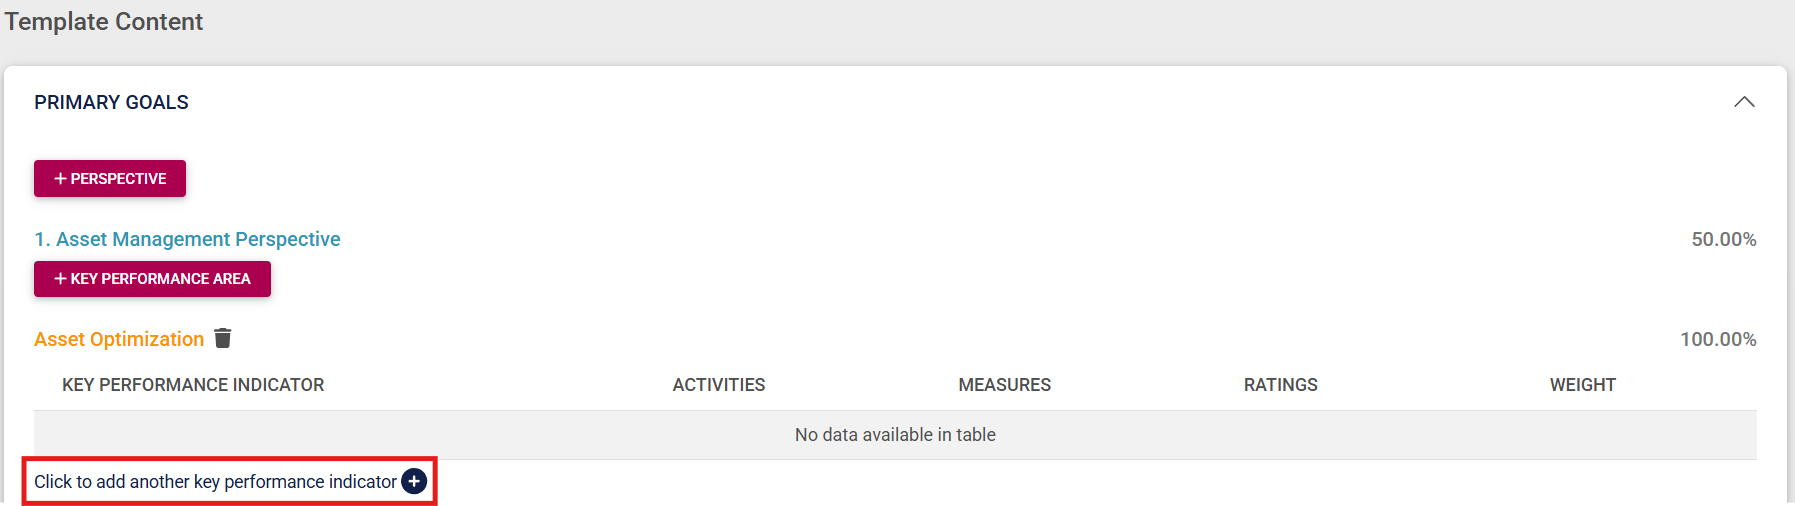
Your added KPAs and their assigned weights will display on the screen.
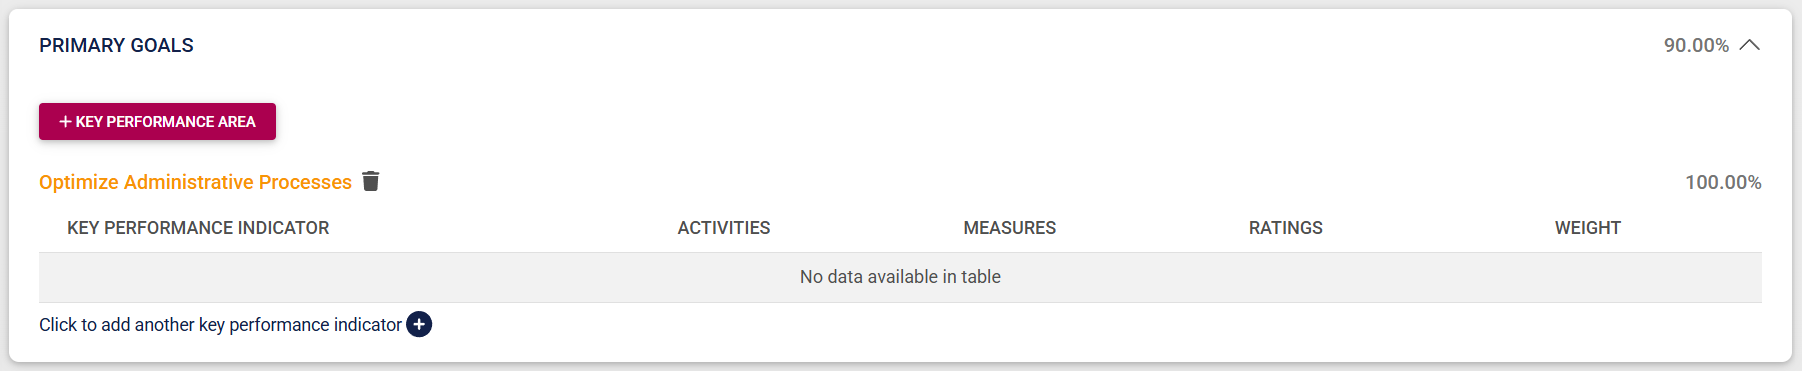
Add KPIs
Click KEY PERFORMANCE INDICATOR+ to add a KPI to a KPA.
Type in your own KPI, or select one from the Master Data Library. Complete details of the KPA, such as a description, related activities, measures, and an apt rating scale.
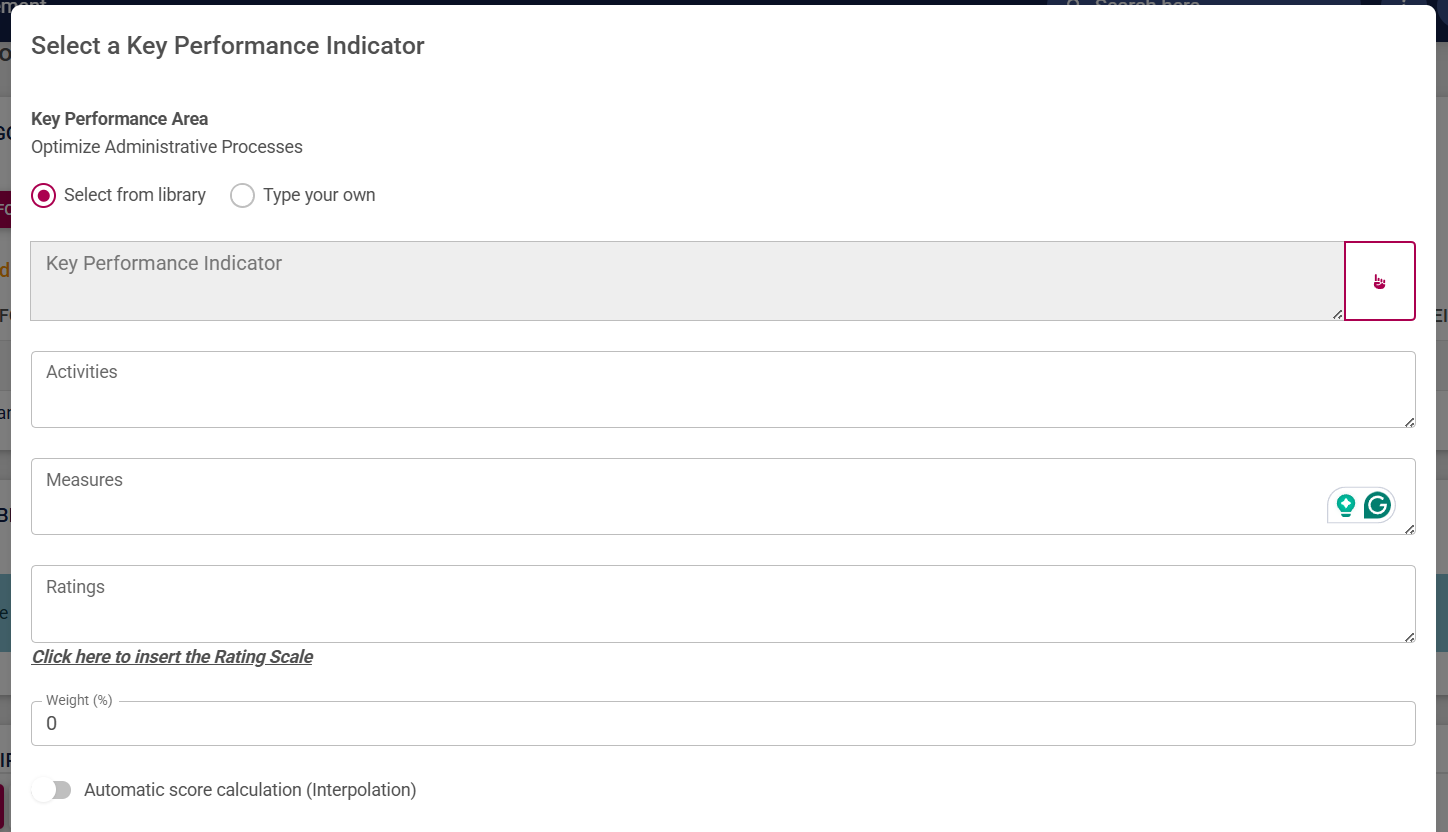
Click SAVE ADD NEW to continue adding more KPAs, or click SAVE if you are done.

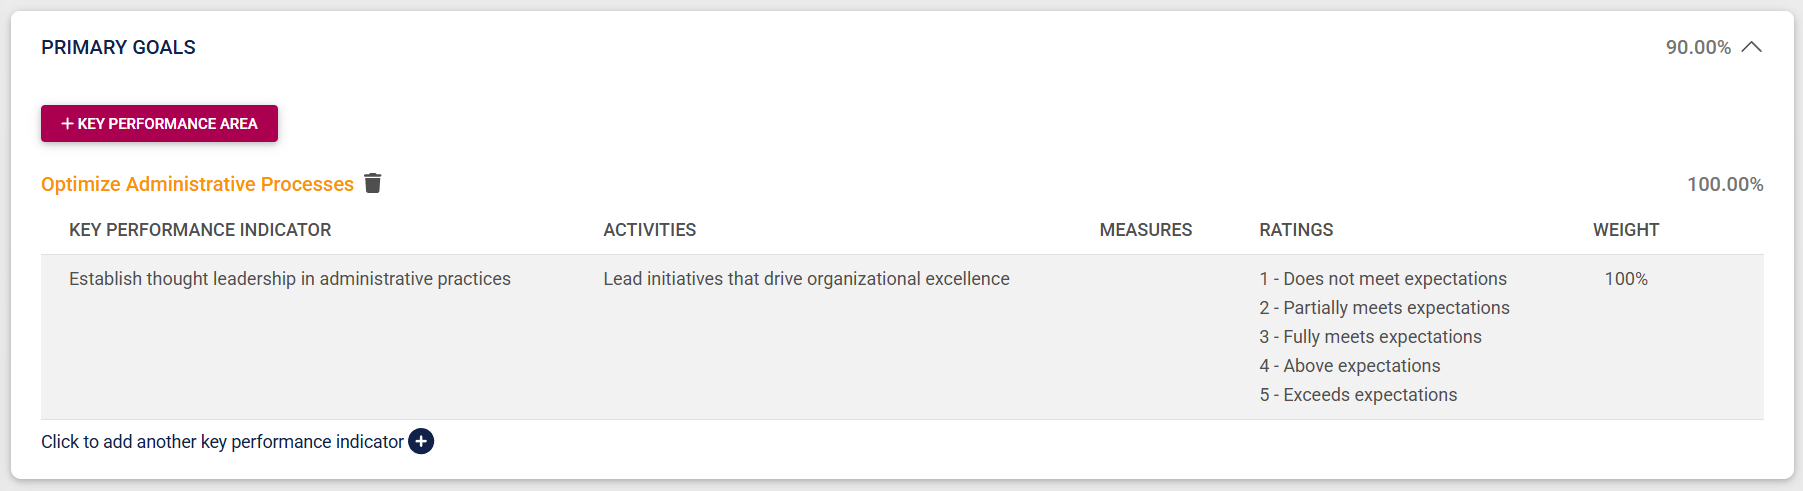
Your added KPIs and their assigned weights will display on the screen.
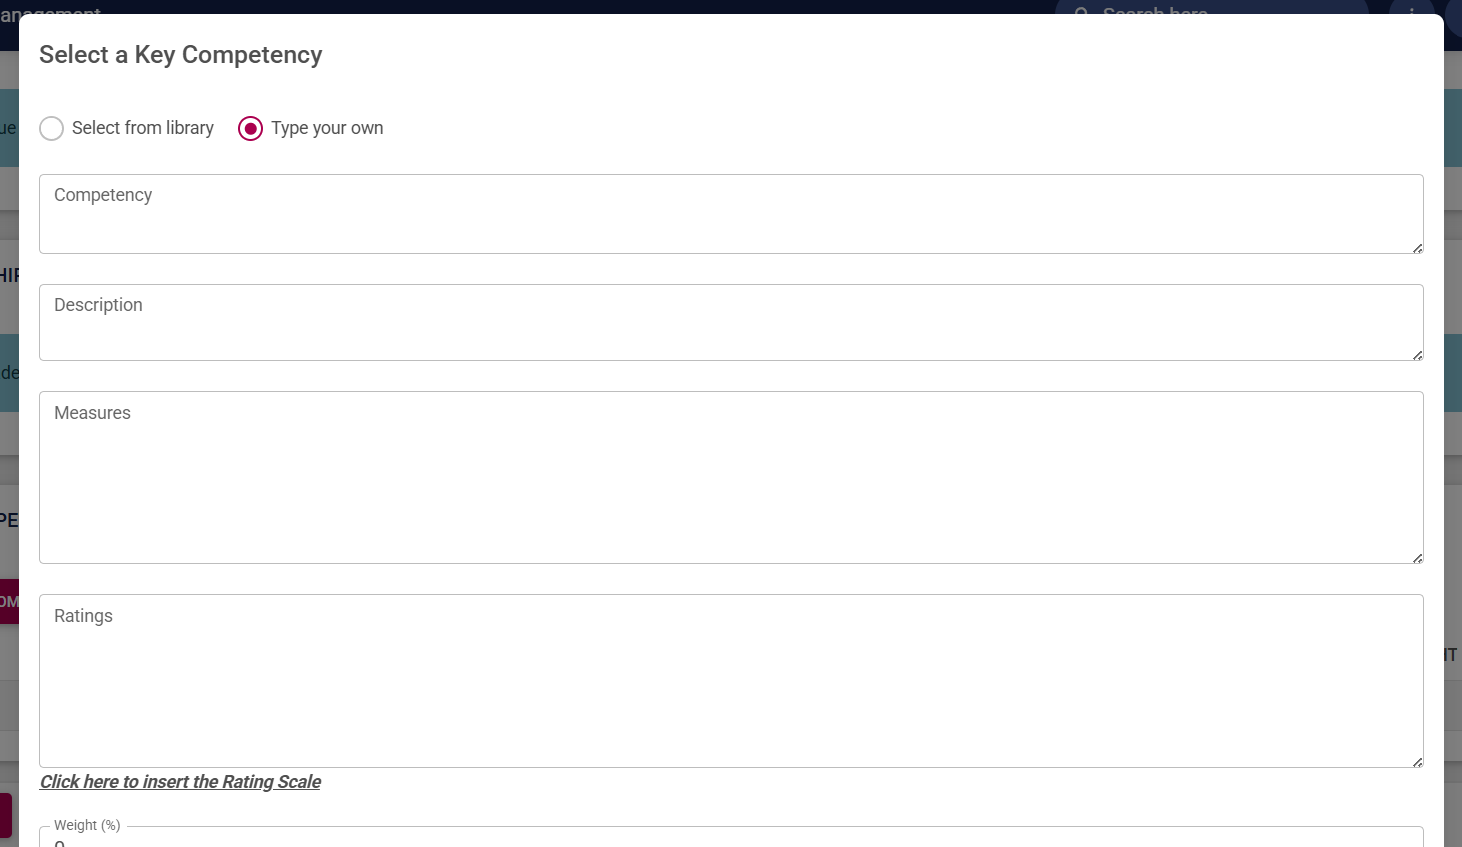
Add Values and Behaviours, Leadership Behaviours, and Key Competencies
Values and Behaviours are configured in the review setup's settings and will automatically be populated when the performance agreement is created.

ForThe eachsame will happen with Leadership Behaviours.

Key Competencies can be linked to the performance agreement template by either creating your own, or selecting one from the Master Data Library.

Save a created template
Before you save the template you have created, ensure the following is in place:
Template
createdThe withtemplate has a descriptive
namename.
e.g., Engineering - Financial Clerk - Salaried - Gr10. The more templates you create and the smaller their differences the more descriptive their names should be.
The template is published (
madeif visibleit is ready to
employees)be whenused ready.in Stipulateyour ifreview thesetup).
company'The template's
default section weights are
used,correct.
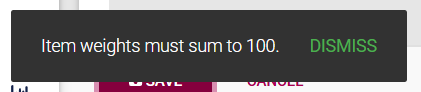
orifAll the weights
assignedof the perspectives in a section should add up to
sections100%.
inAll the weights of the KPAs linked to a perspective (or to a section, if not using perspectives) should sum to 100%.
All KPI weights linked to a KPA should total 100%.
Click SAVE.
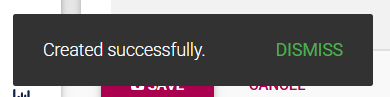
A message indicating the successful creation of the template
getwill precedence.display.

Sections
containIf appropriatelythe describedweights objectives.of the template are not balanced, an error message will display.
Import a Template
Templates can also be imported using an import sheet. The template will be populated using Excel, staged for import into the Performance Management module, and automatically linked to a review setup.
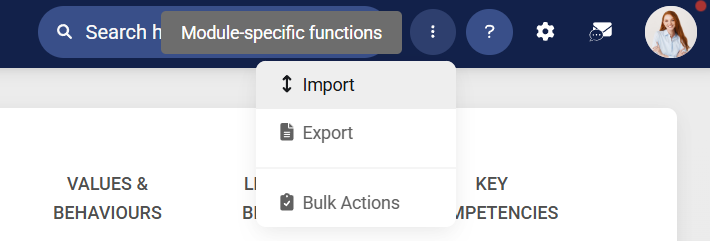
To begin importing a template, access the Module-Specific Functions menu.

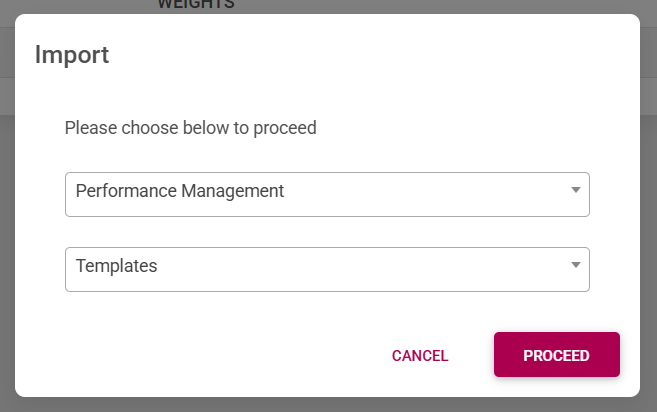
Click Import.
Select Performance Management from the drop-down menu, and ensure it is set to import templates. Click PROCEED to continue.
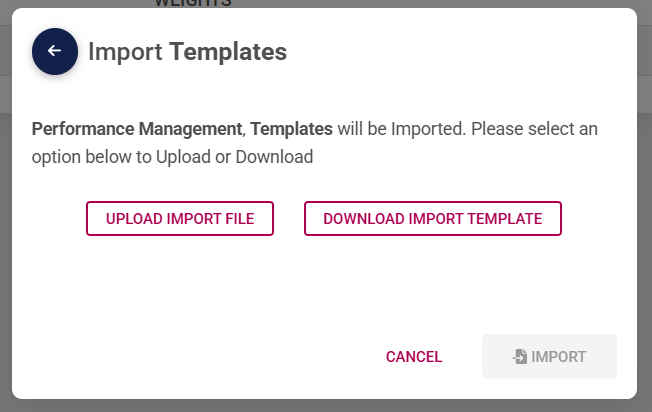
Download the Excel import file and populate it with the template's details. When you have completed this step, click UPLOAD IMPORT FILE to upload your import file.
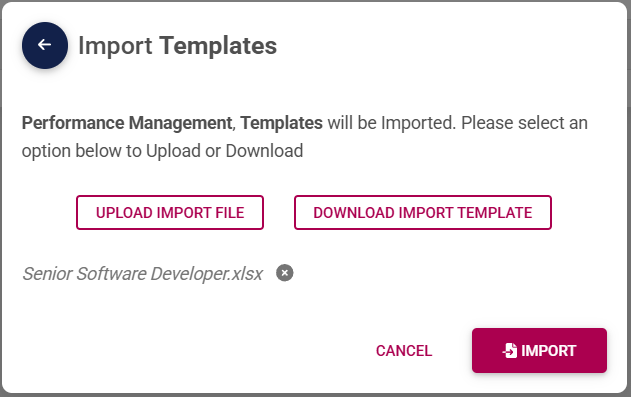
Once the file has successfully uploaded, click IMPORT.
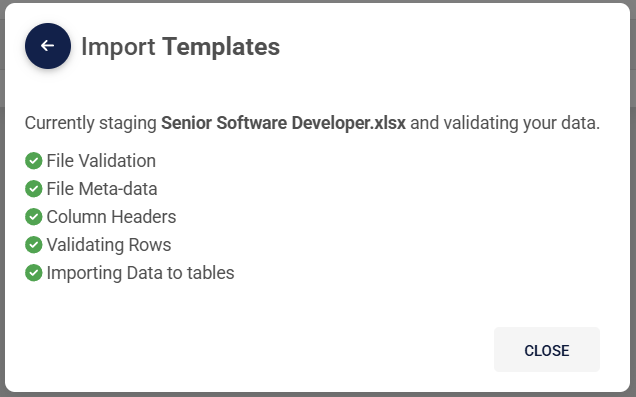
The import results will be displayed. If the file was successfully staged for import, the results will all show green ticks.
To view the status of the template's import, navigate to the system inbox.

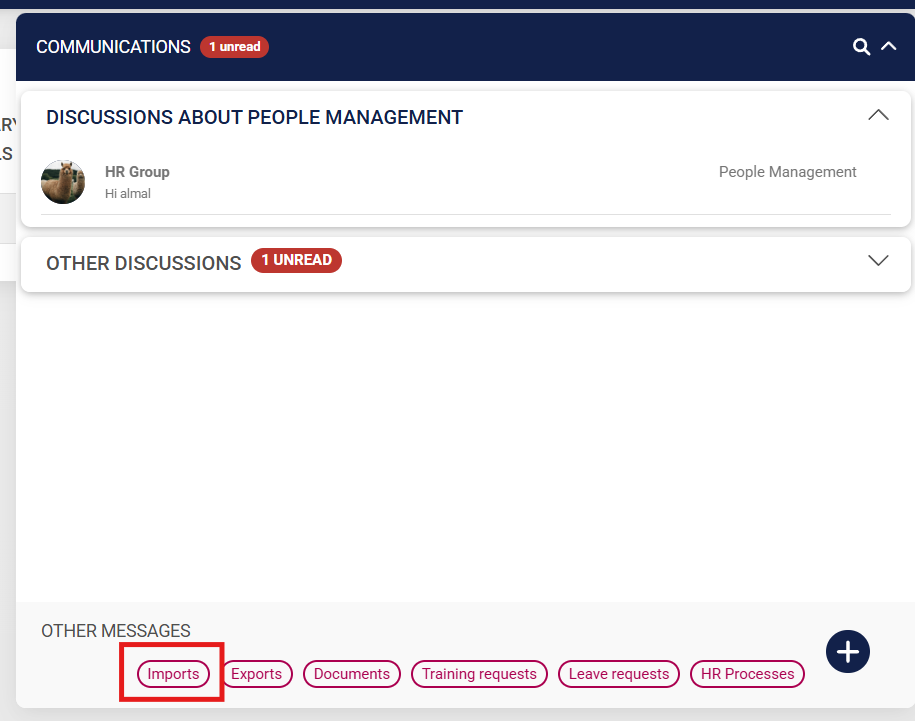
Click Imports.
The table will show all the results of recent system imports. Locate your performance template import entry, and view the status.
Staged: The import is still in progress.
Completed: The import has completed successfully.
CompletedWithErrors: There are errors in your import file.

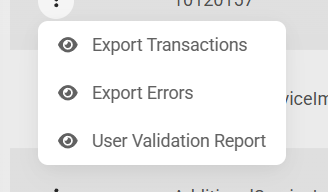
To view the errors with your import file, find the CompletedWithErrors entry and hover over the three dots.

Click Export Errors to investigate why the template did not complete the import process.
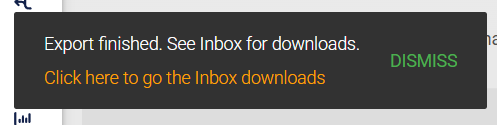
The export document containing the errors will be located in your system inbox.
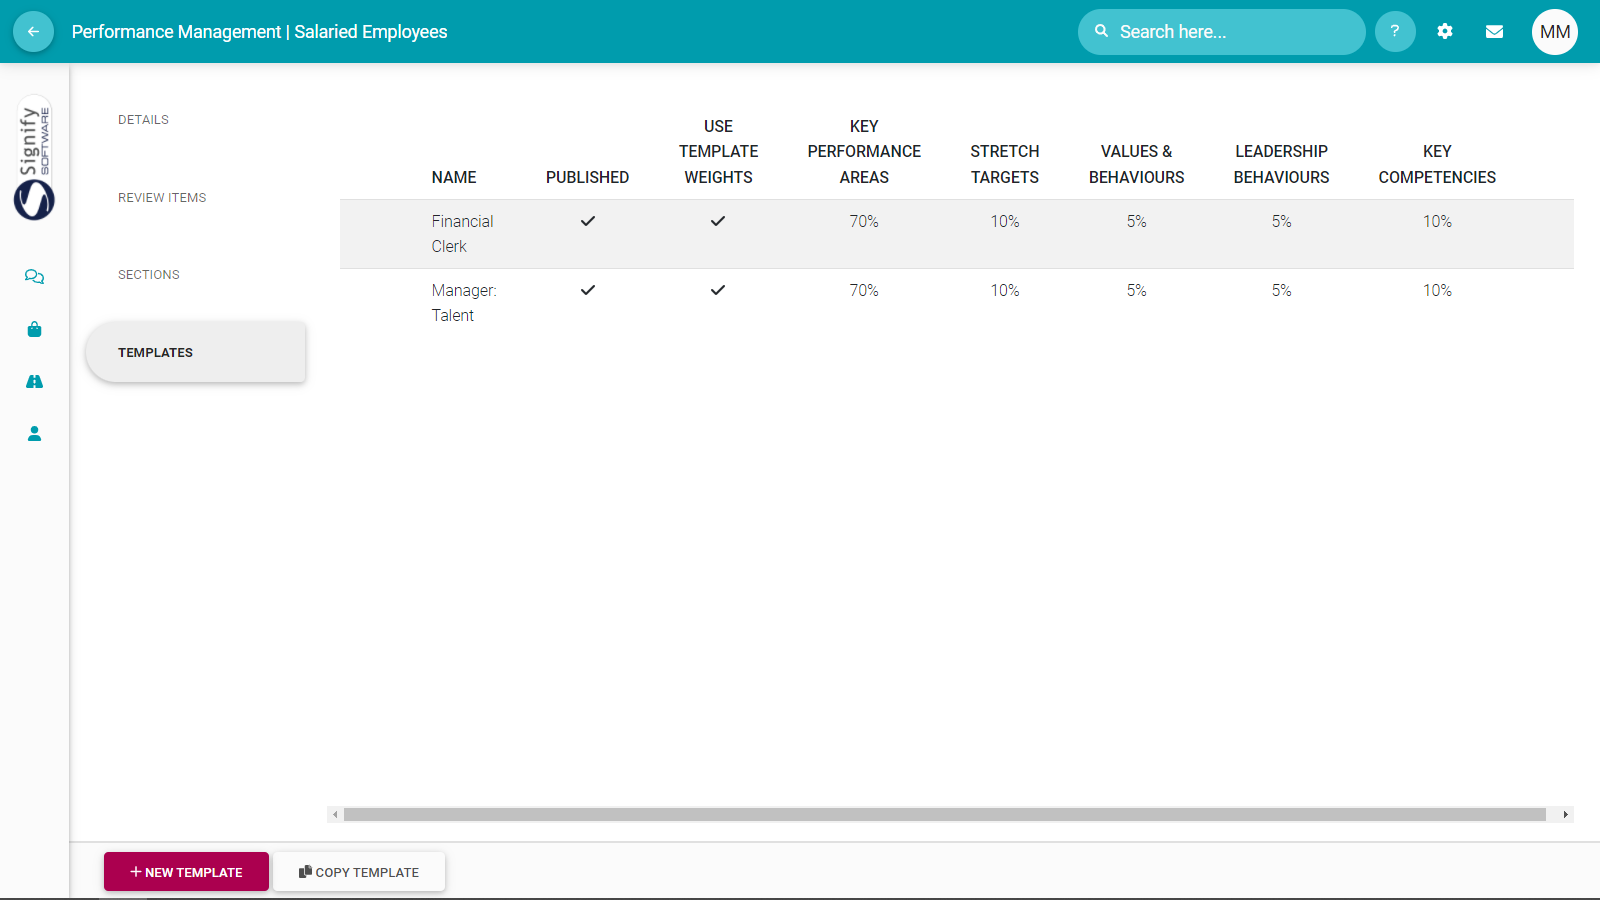
Once you have reviewed all errors with your imported templates, they should import successfully, and your template library should look like this:
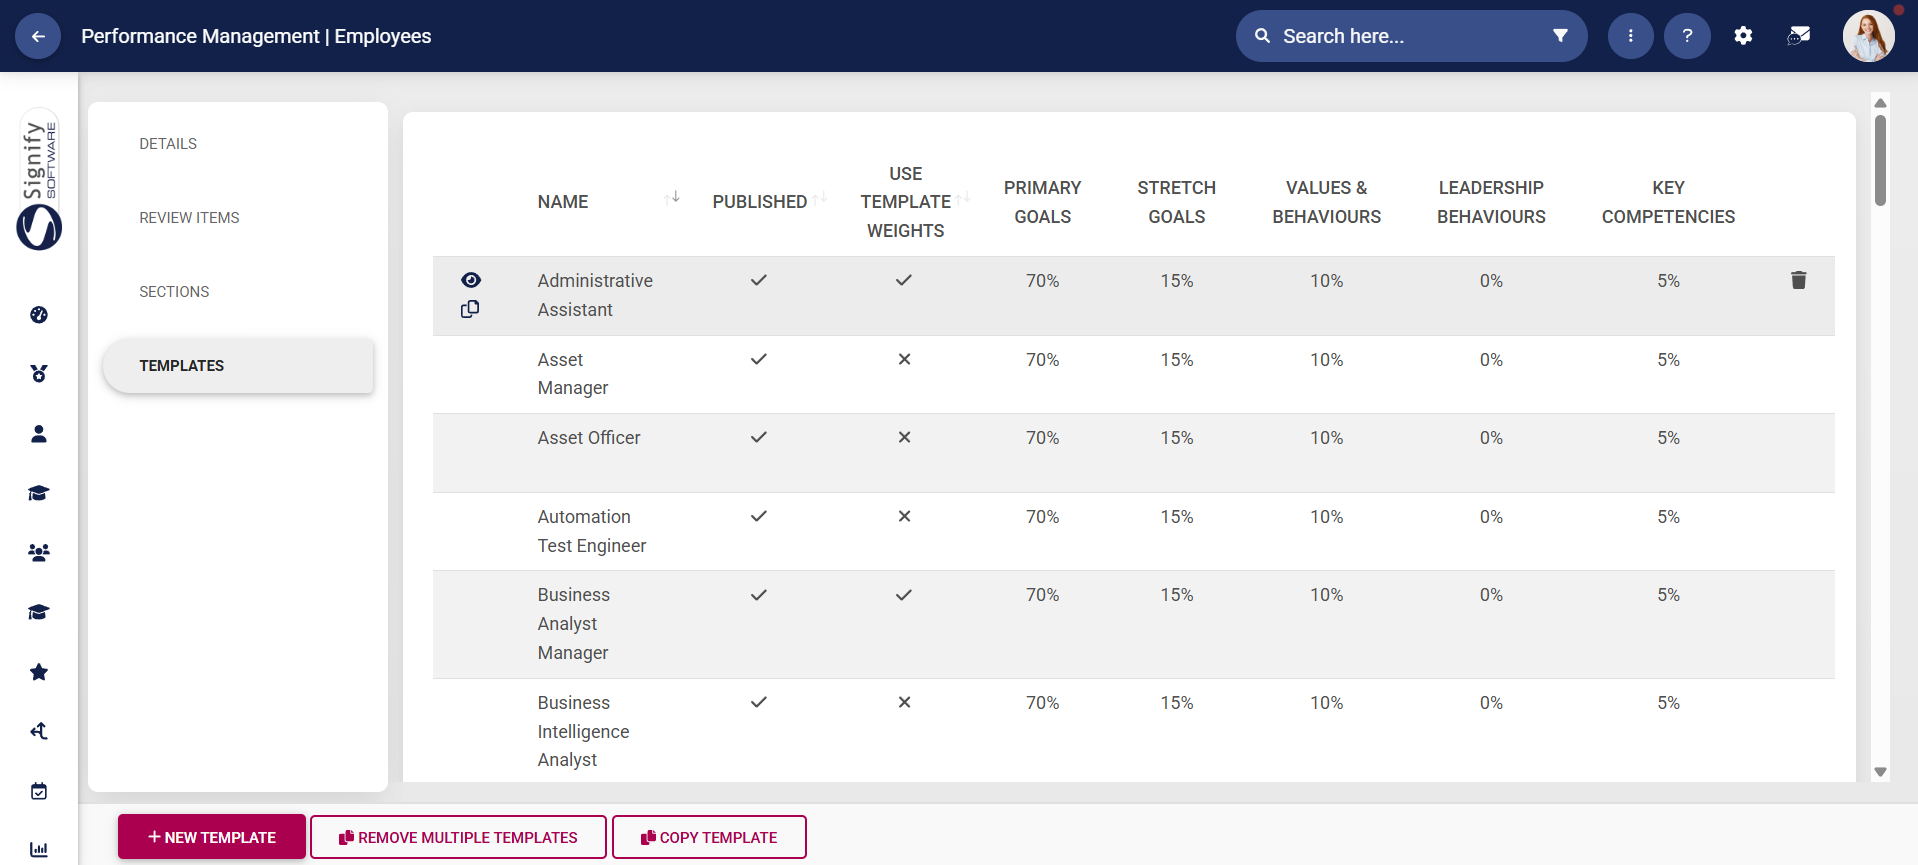
Templates can easily be copied or deleted by hovering over the desired template and either clicking the copy or the dustbin icon.


