Payspace - Payroll Connector setup
The following steps describe the Payroll Connector setup.
After selecting the ruleset:
- Select Integrations
- Select Payroll and click + Payroll Connector
- Choose between Push to Payroll or Pull from Payroll
- Enter Name - a descriptive name to distinhguish the connector
- Enter Client ID
- And Client Secret- this is obtained from Payspace
> Login to Payspace @ https://identity.yourhcm.com/account/login
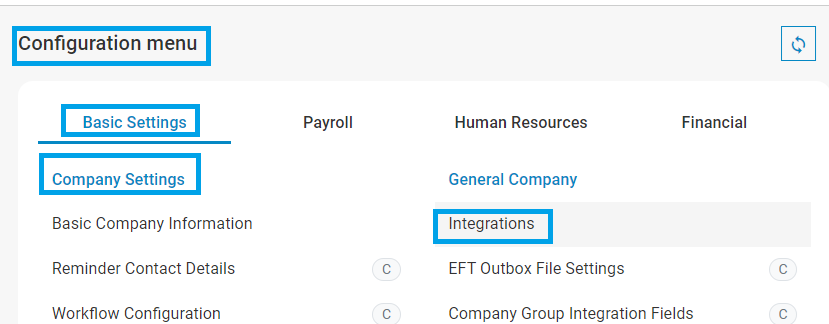
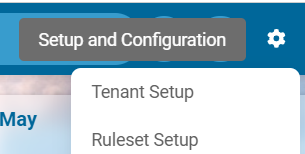
> Go to Config menu | Company settings | General Company | Integration | API Credentials

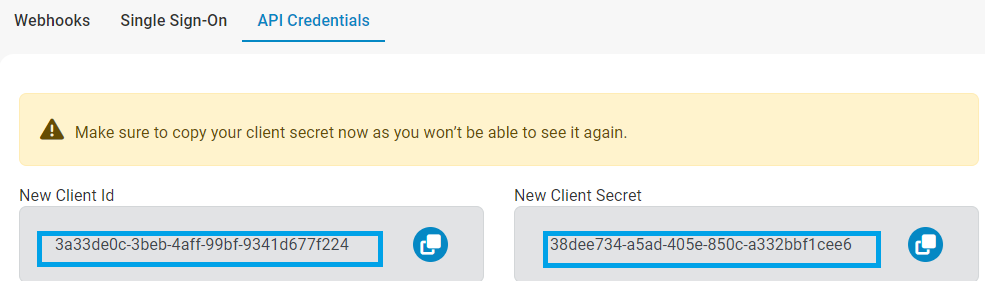
> Click + to add a new API credential
> Enter the Name, leave Client Id on Autogenerated, select User to impersonate (if needed) and leave Scope on Read-only accees and click on Save.
Copy the New Client Id and New Client Secret to the Client ID and Client Secret field on Signify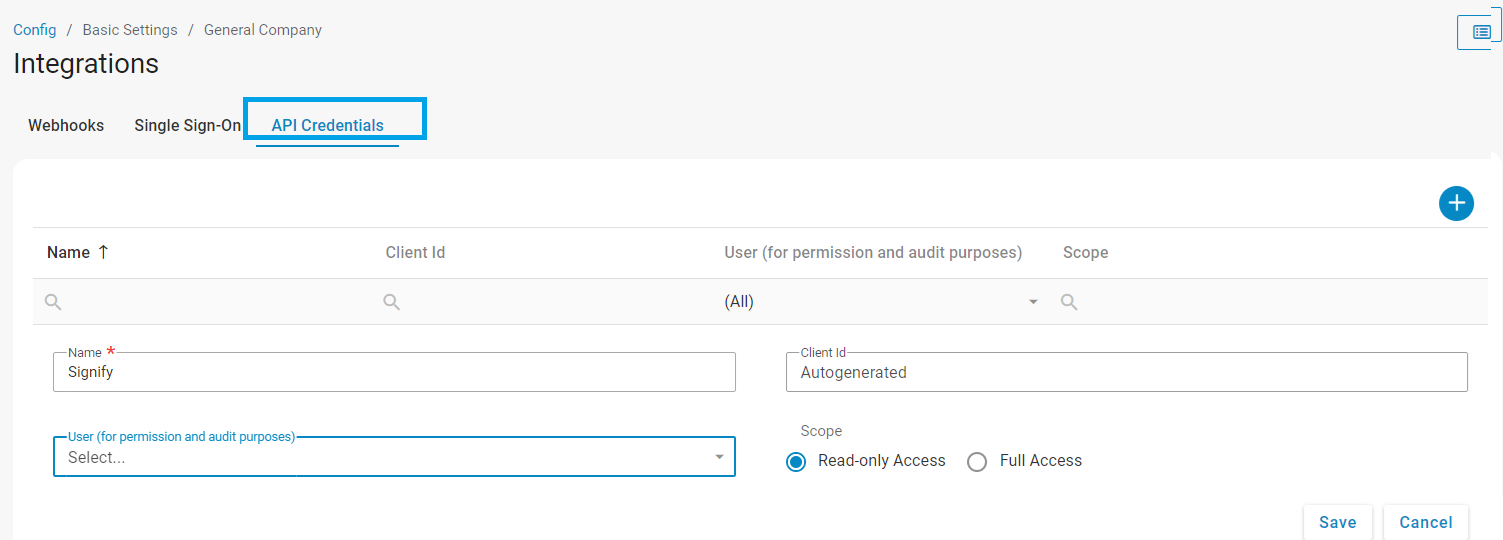

- Base URL - see below
Production Testing https://api.payspace.com/odata https://apistaging.payspace.com/odata - Authentication URL - see below
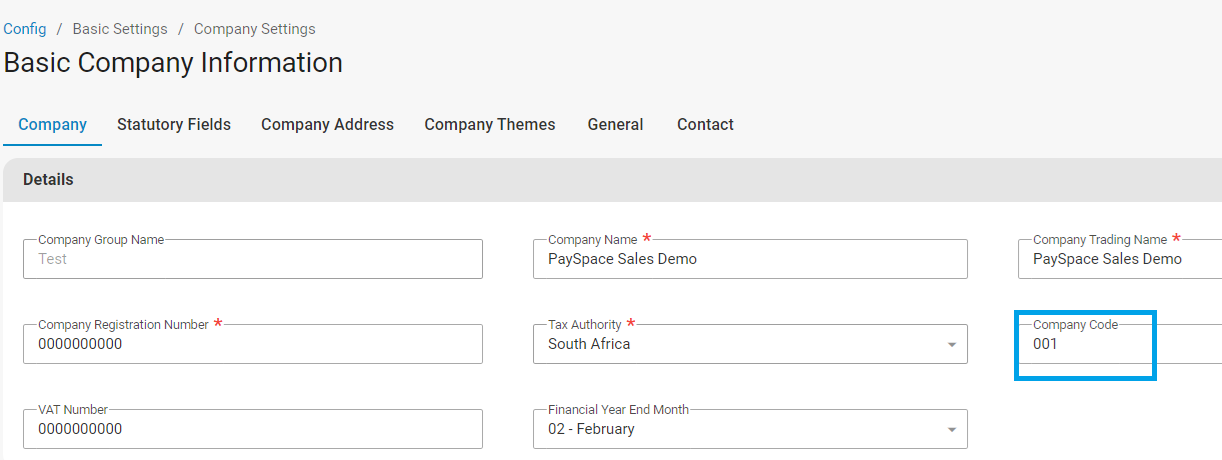
Production Testing https://identity.yourhcm.com https://staging-identity.yourhcm.com - Company ID - obtained from Payspace
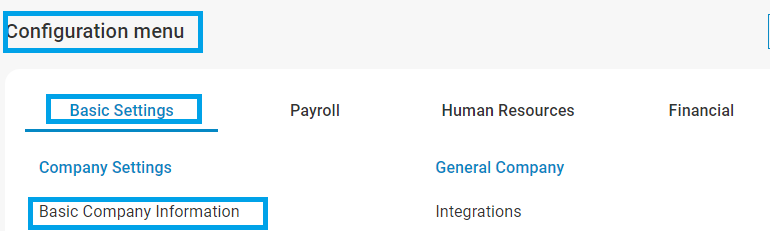
Go to Config menu | Basic Settings | Company settings | Basic Company Information | Company code


- Finally, click on Save.
NOTE: During the Save action, the connection to Payspace will be tested and if saved successfully, means the credentials supplied are correct.
When not successful, you will be notified and the credentials, especially the Client ID, Client Secret and Company ID need to be verified carefully before trying to Save again.