Skip to main content
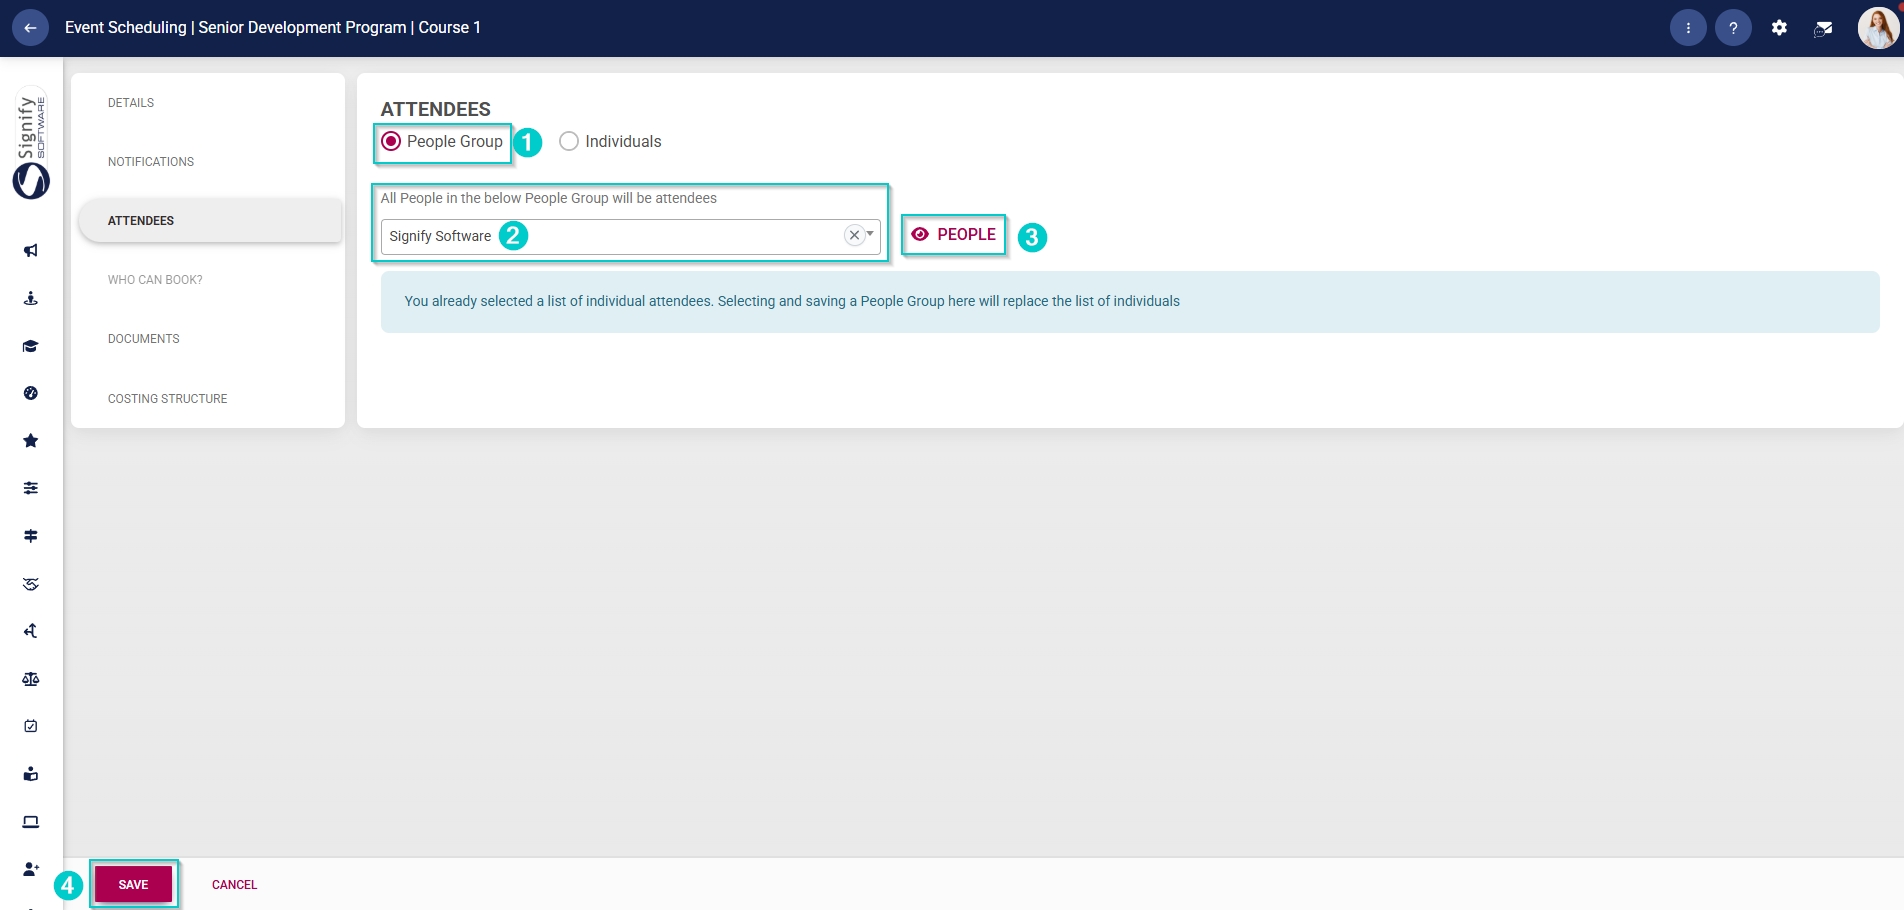
Add Attendees

- Hover over the sidebar menu, then click Event Scheduling.
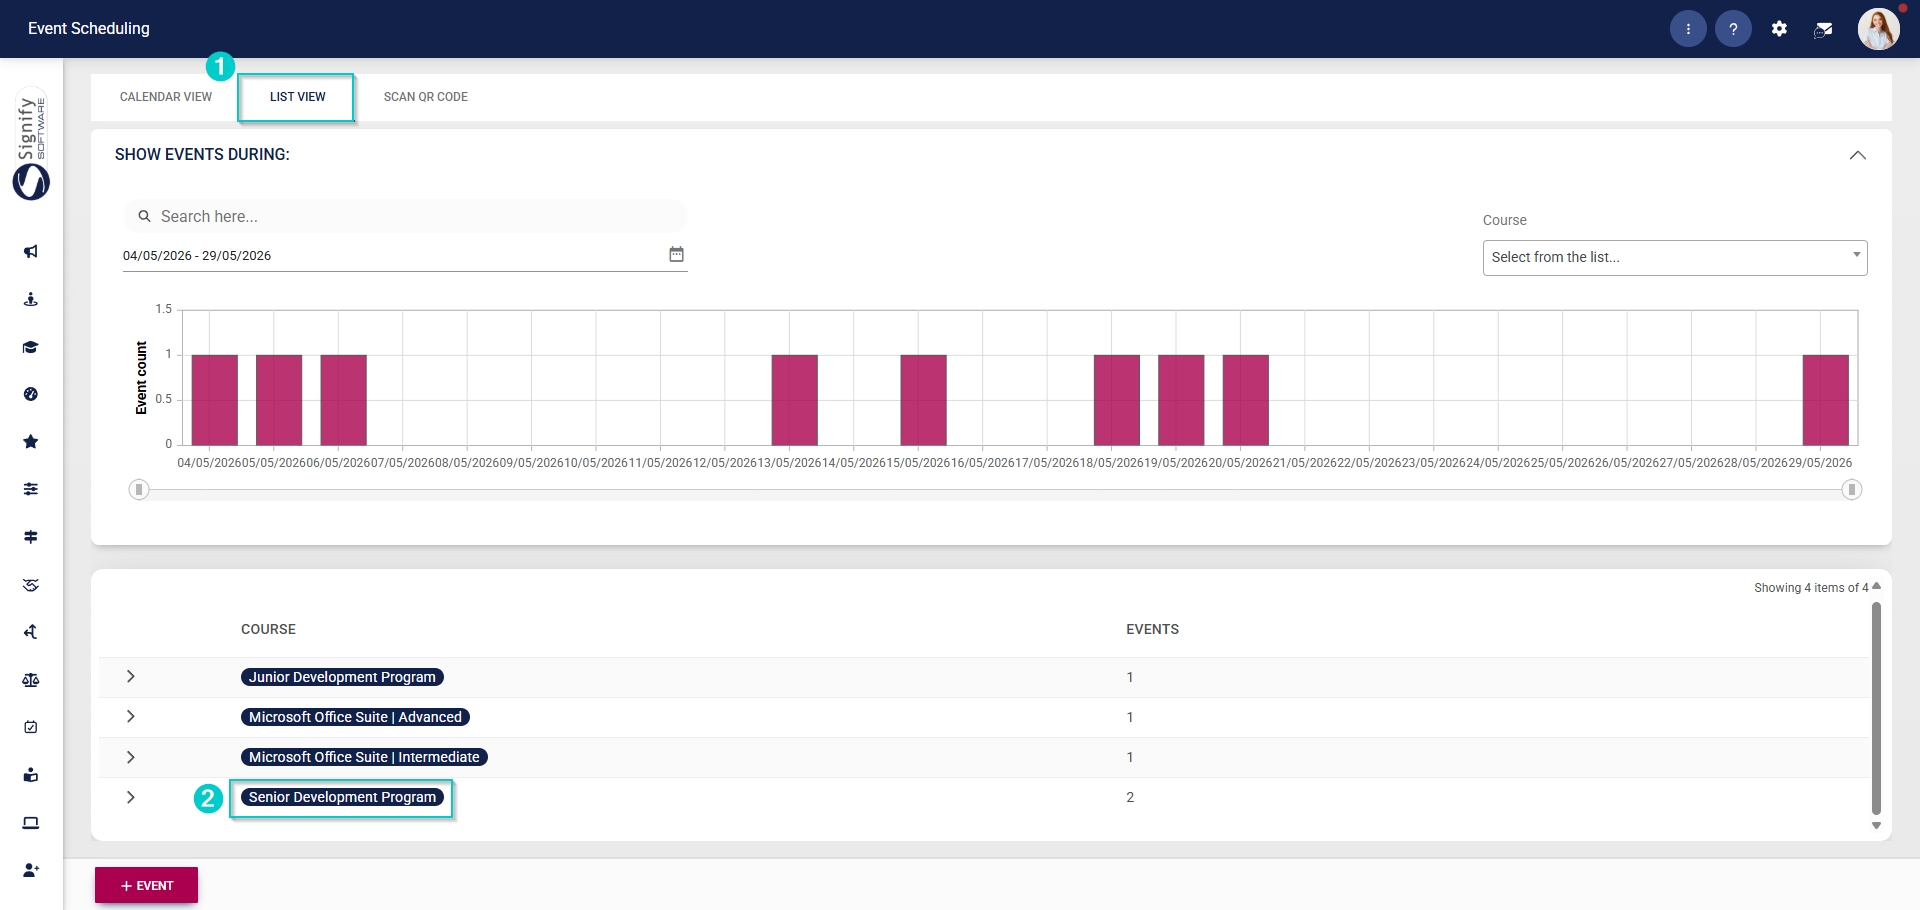
- Navigate to the List View tab and expand the course you would like to edit by clicking on its name.
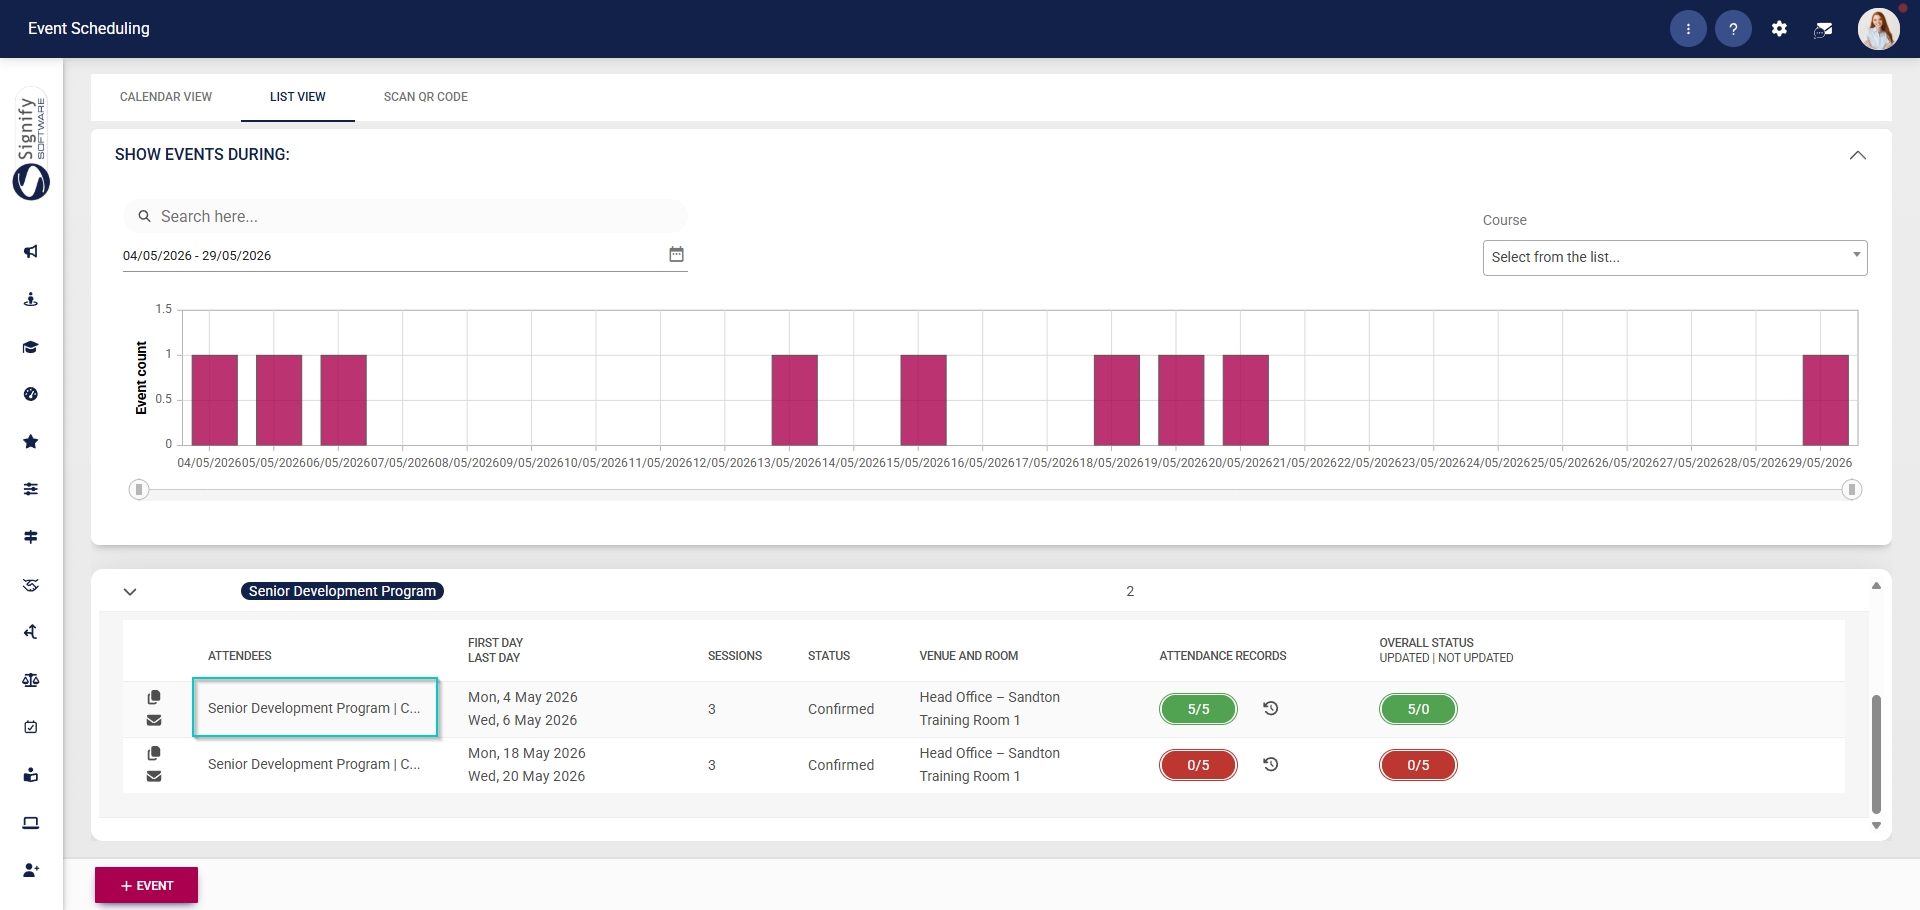
- Click on the name of the event you would like to edit.
In the left-hand menu, click Attendees.
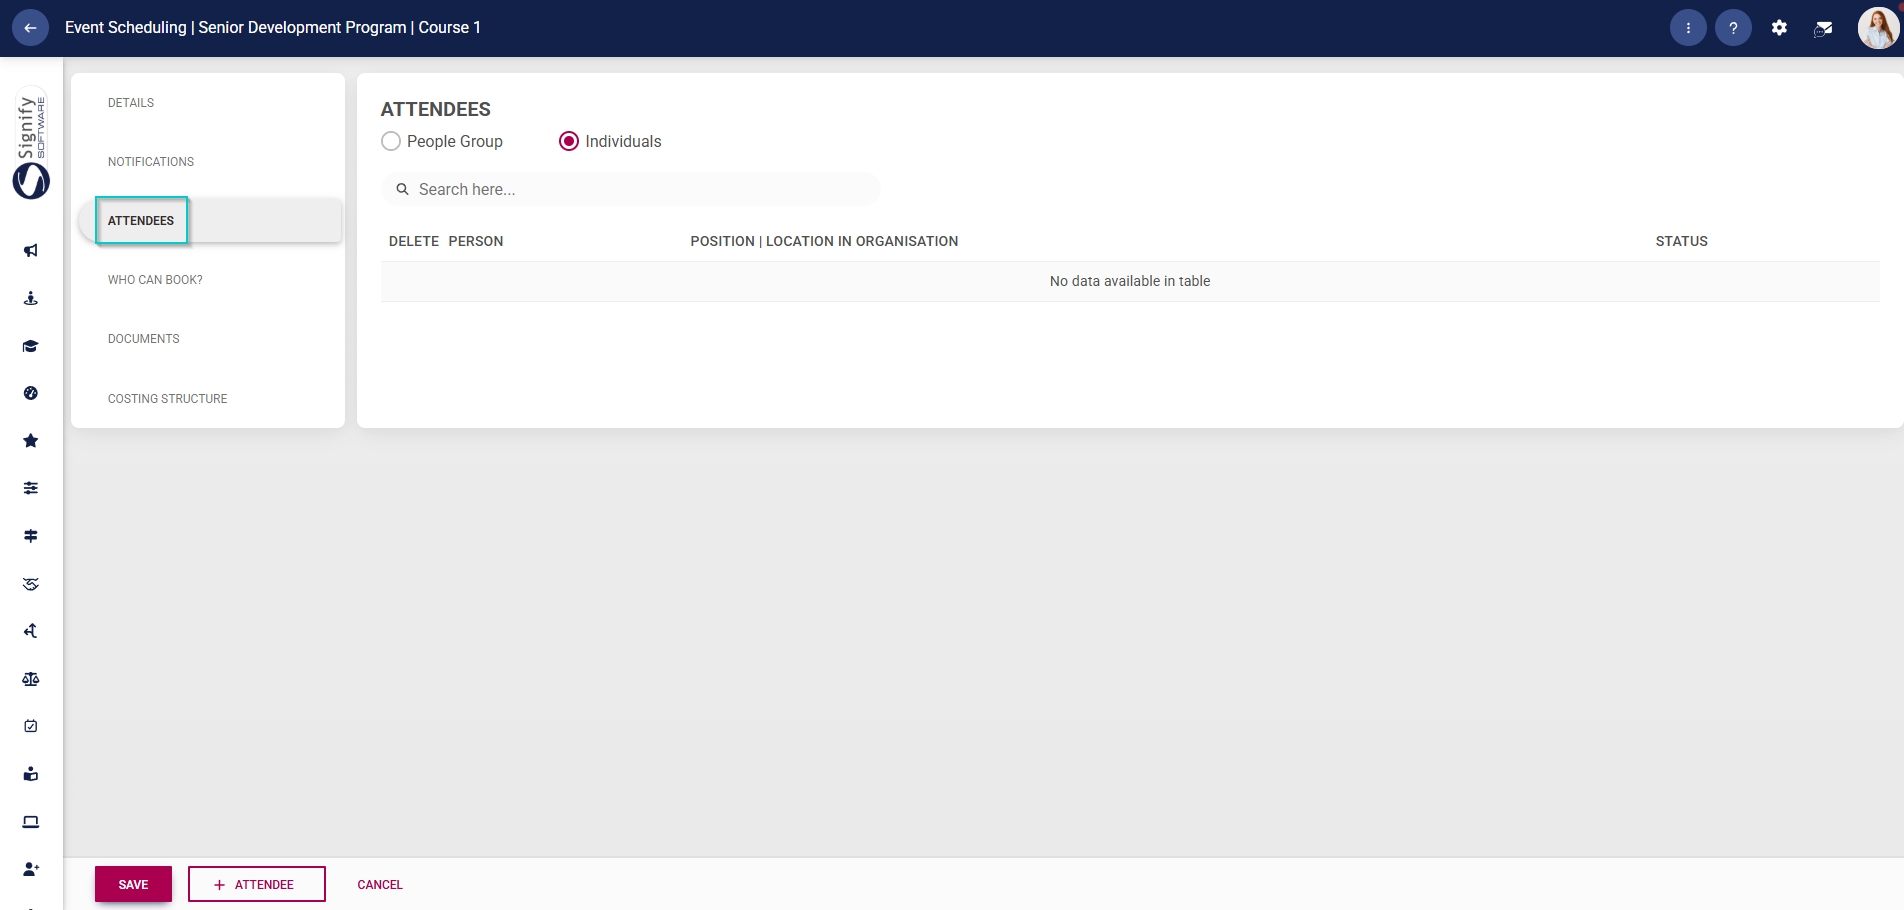
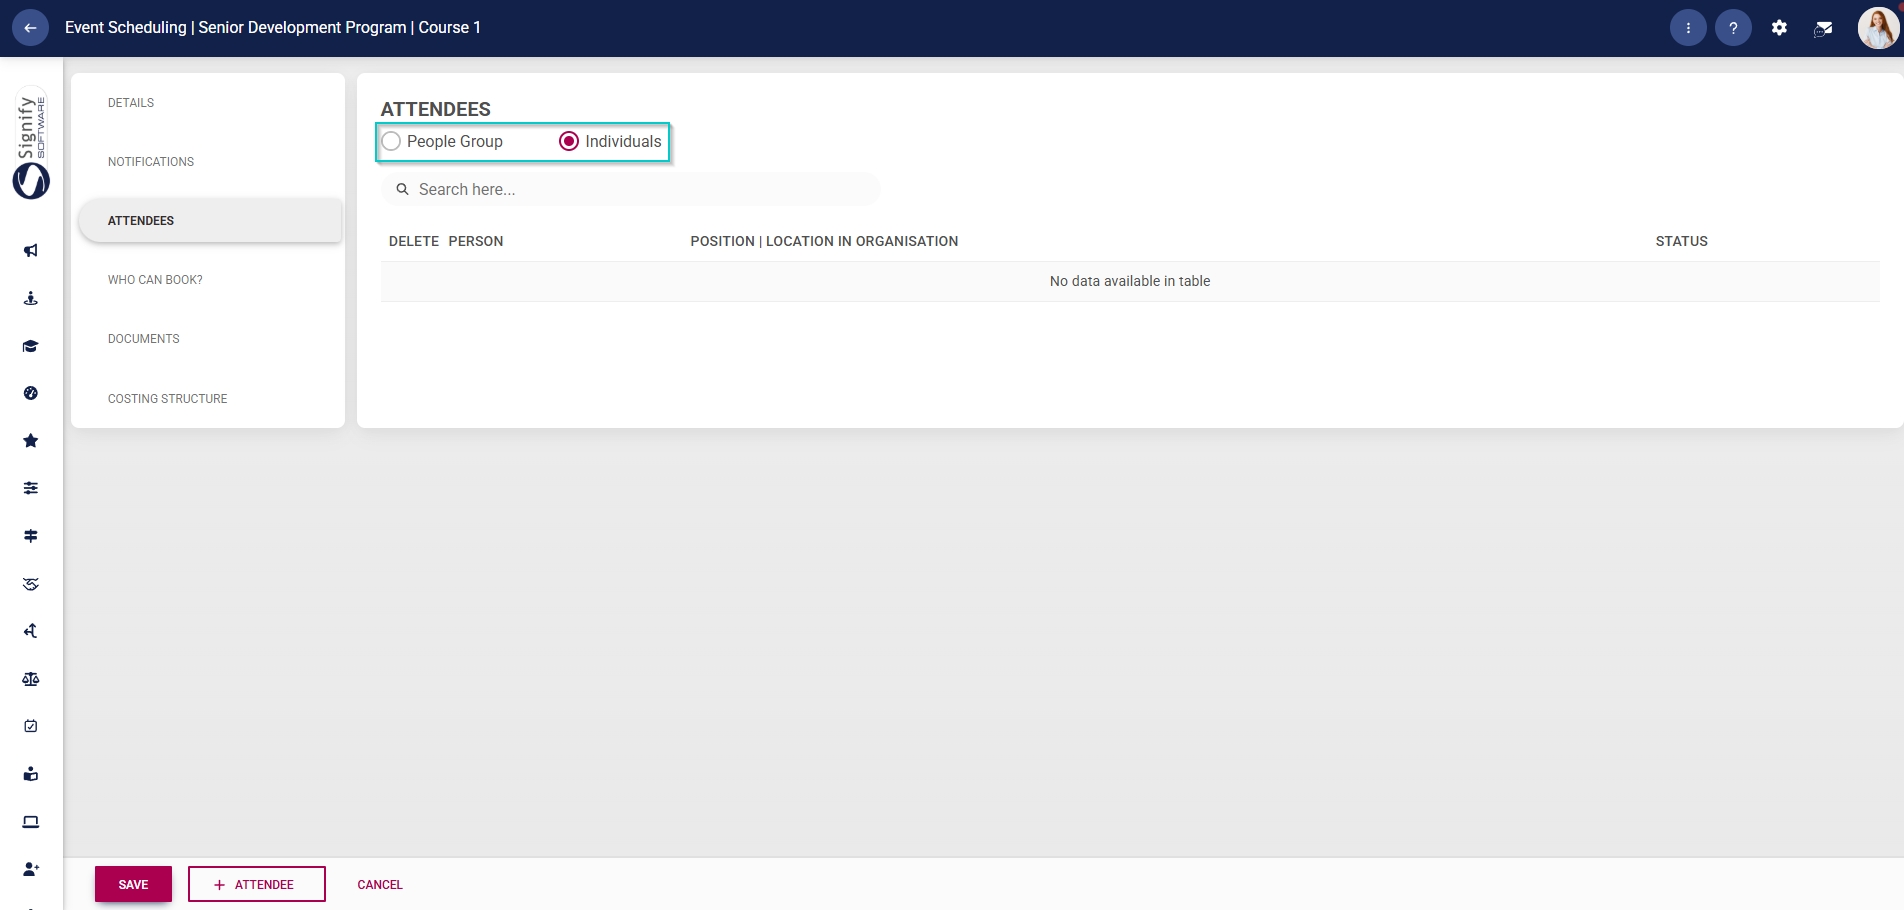
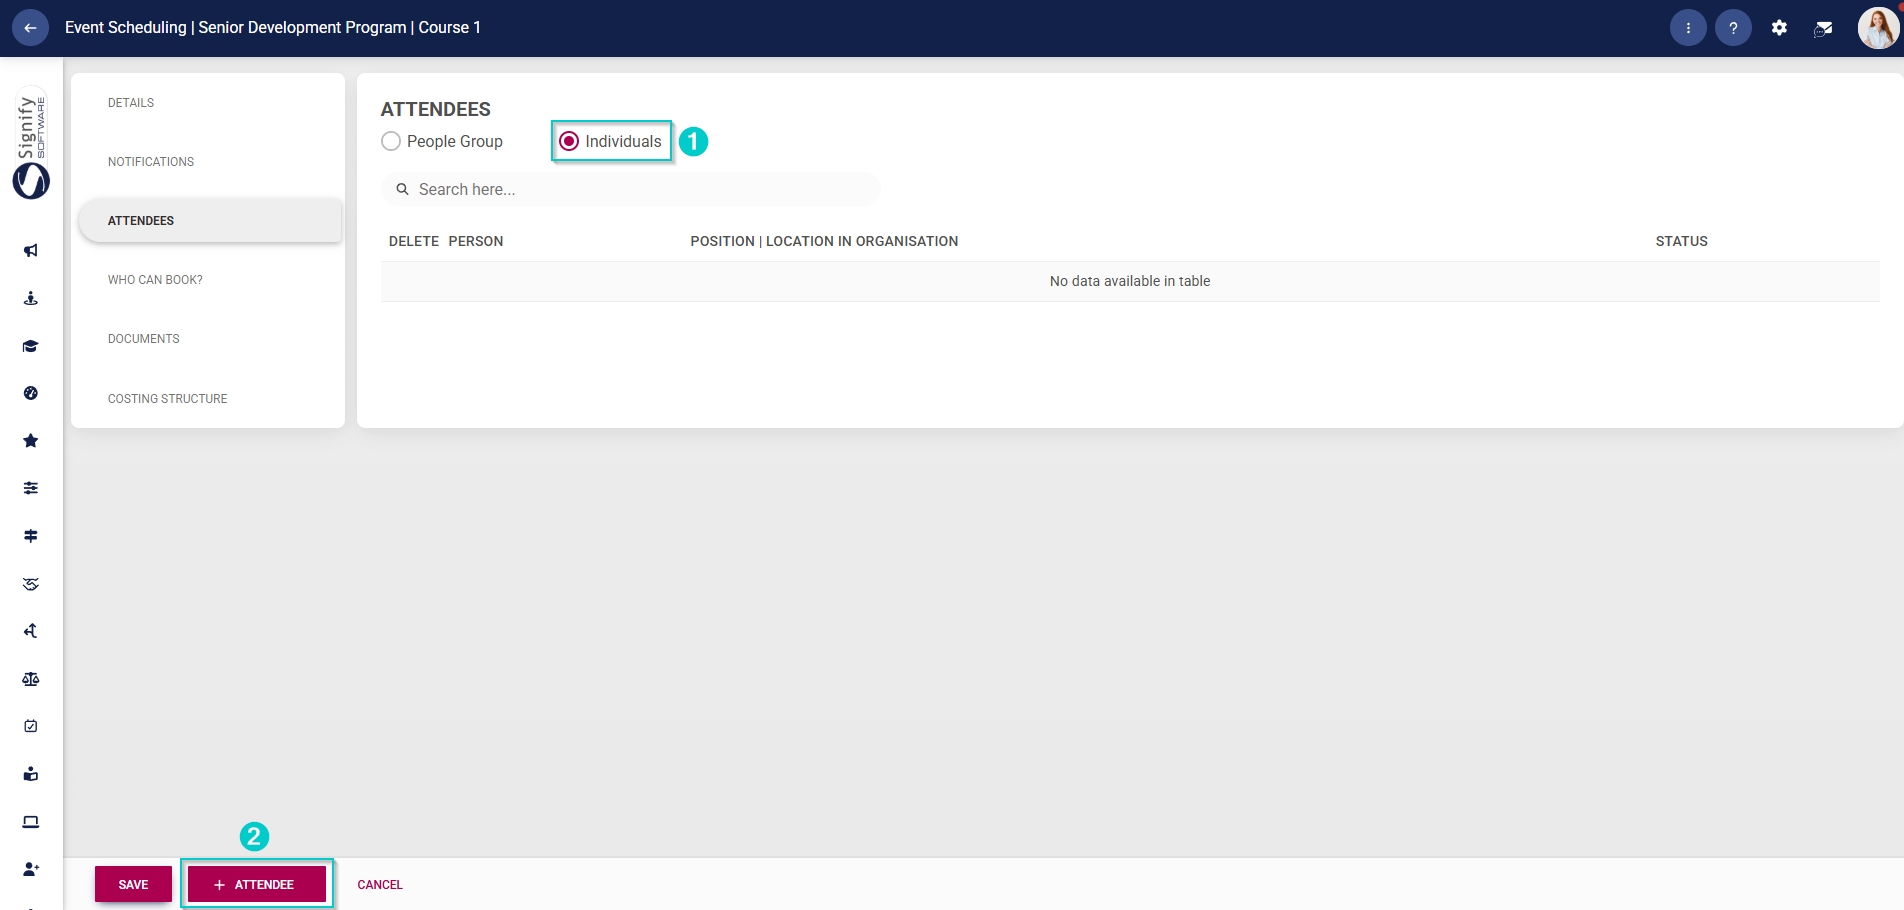
Use the radio buttons to select people groups or individuals to link.
To add individual attendees, click +ATTENDEE.
In the pop-up window, select the people group from the dropdown menu to filter people.
Click the toggle button to add everyone in the people group.

Use the search bar to find a specific person, job position, or location within the organisation.
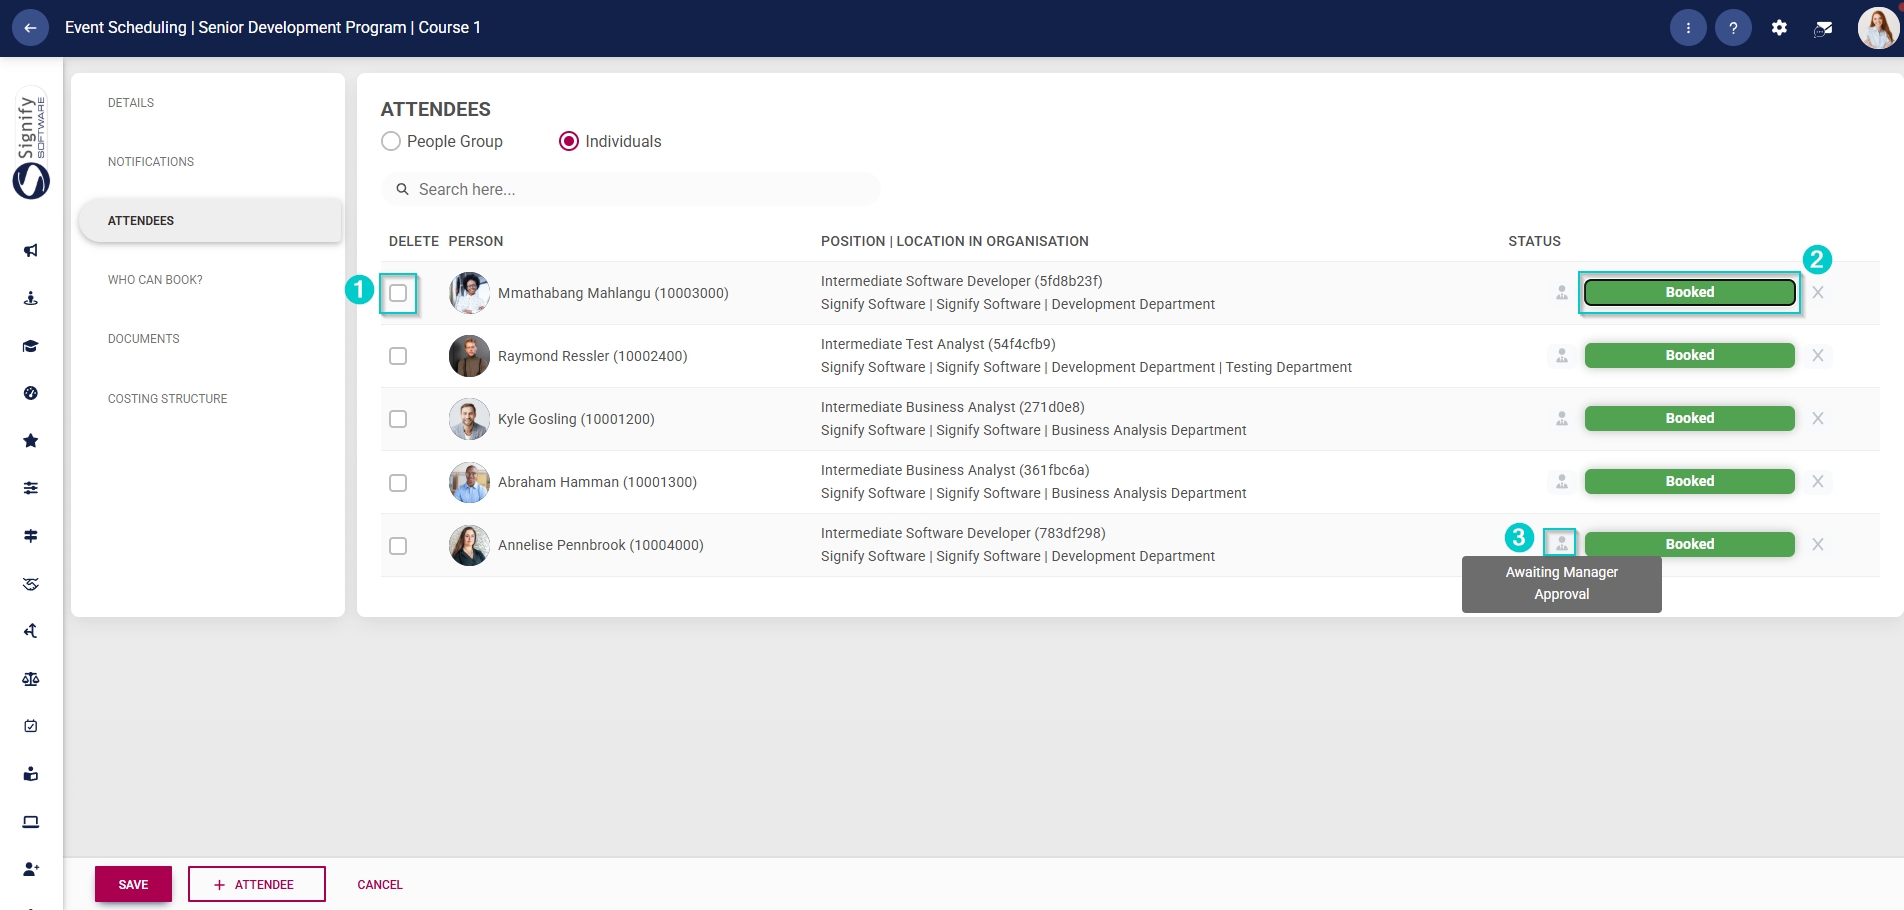
Use the checkboxes next to the names to select the required attendees.
Click SAVE when you are finished, SAVE ADD NEW to add another attendee or click CANCEL to discard your edits.

The selected attendees will appear in the table.
To delete an attendee, tick the checkbox next to their name. If you click SAVE, the selected attendees will be deleted.
The status of the attendee's booking is shown in the right column.
If an approval workflow is linked to this event, the status will include an icon to show that the attendee's booking is awaiting an administrator's or manager's approval.
To add a group of people, select the custom people group you have previously created from the dropdown menu.
Click the view icon to view the people in the people group.
Please note that if you have already added individual attendees, adding an attendee people group will replace the list of individual attendees.
To add an attendee when using the People Group option, you will need to update the people group as described earlier.
Click SAVE when you are finished or click CANCEL to discard your edits.