Skip to main content
Add Event Details

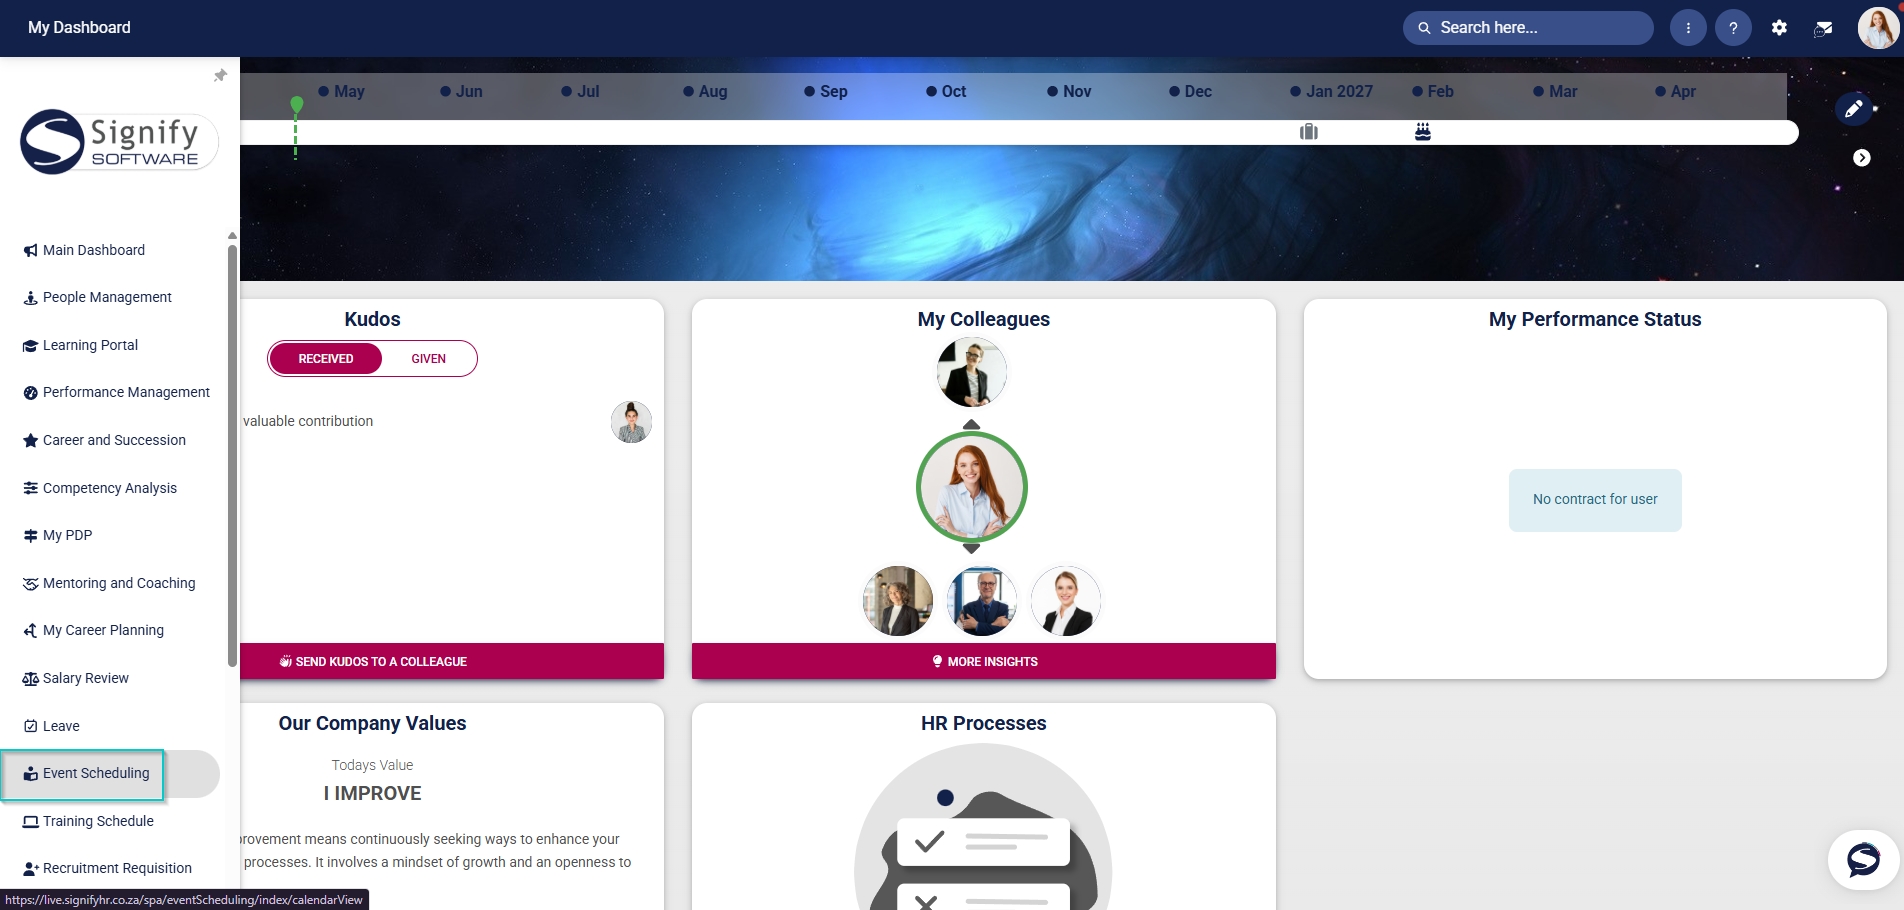
- Hover over the sidebar menu, then click Event Scheduling.
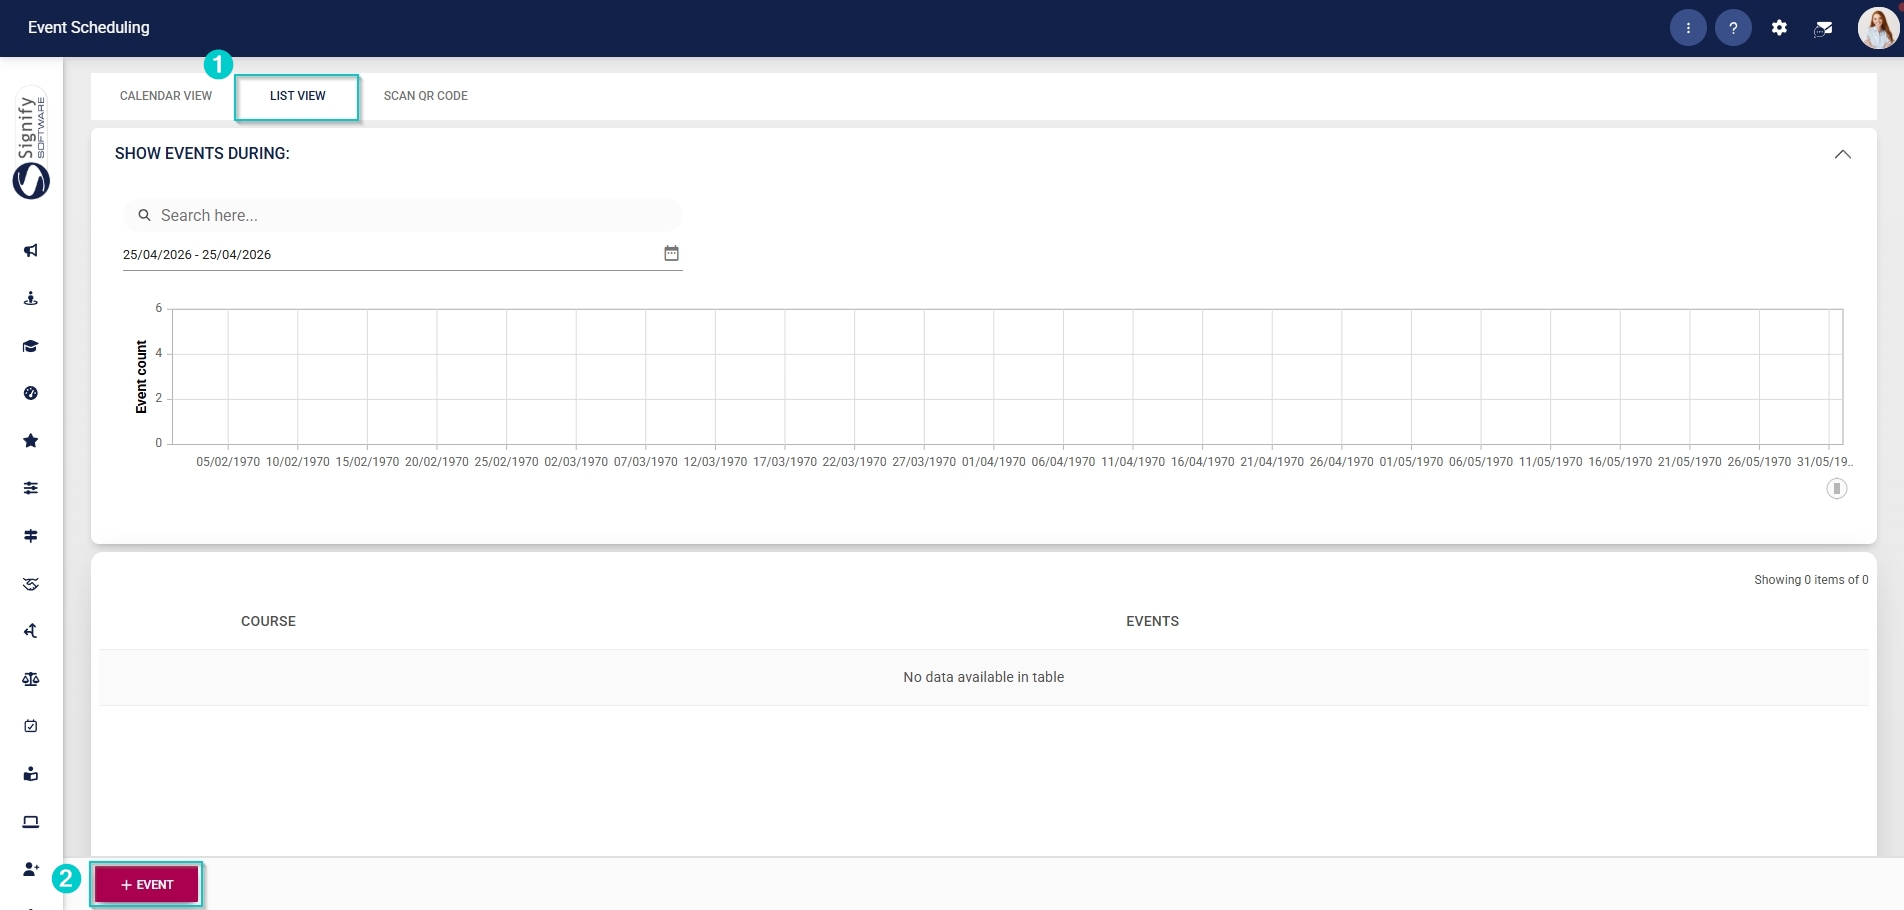
- Click to navigate to the List View tab, then click +EVENT.
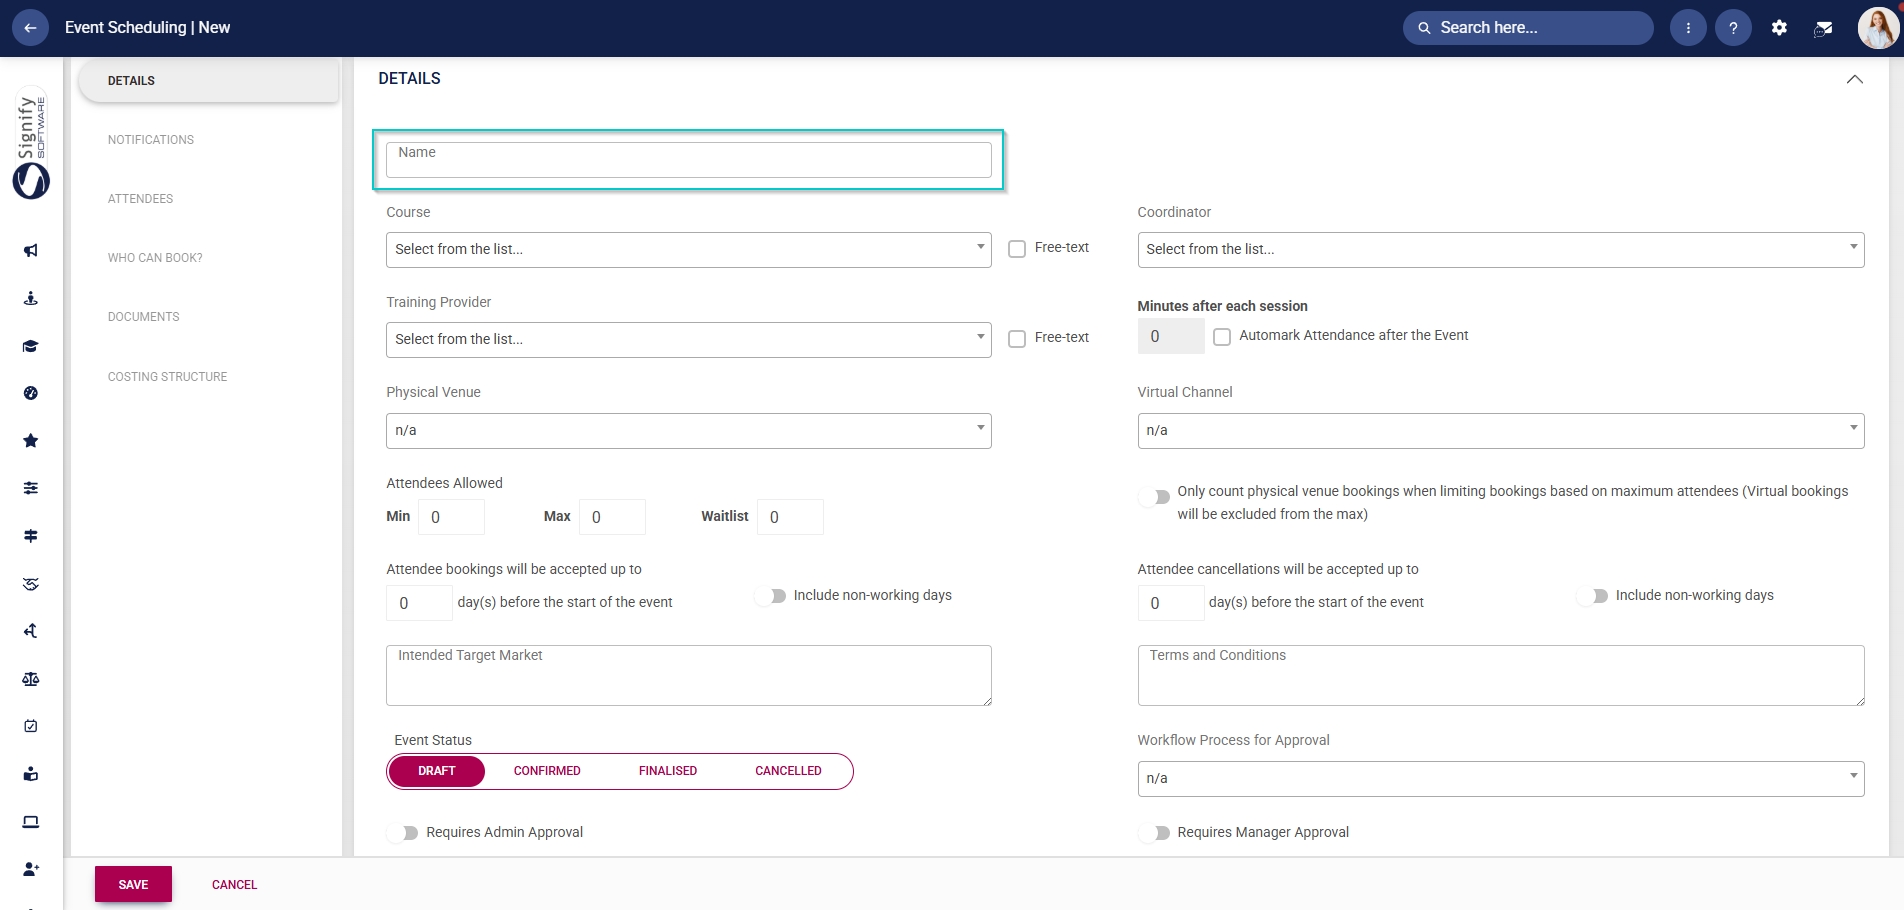
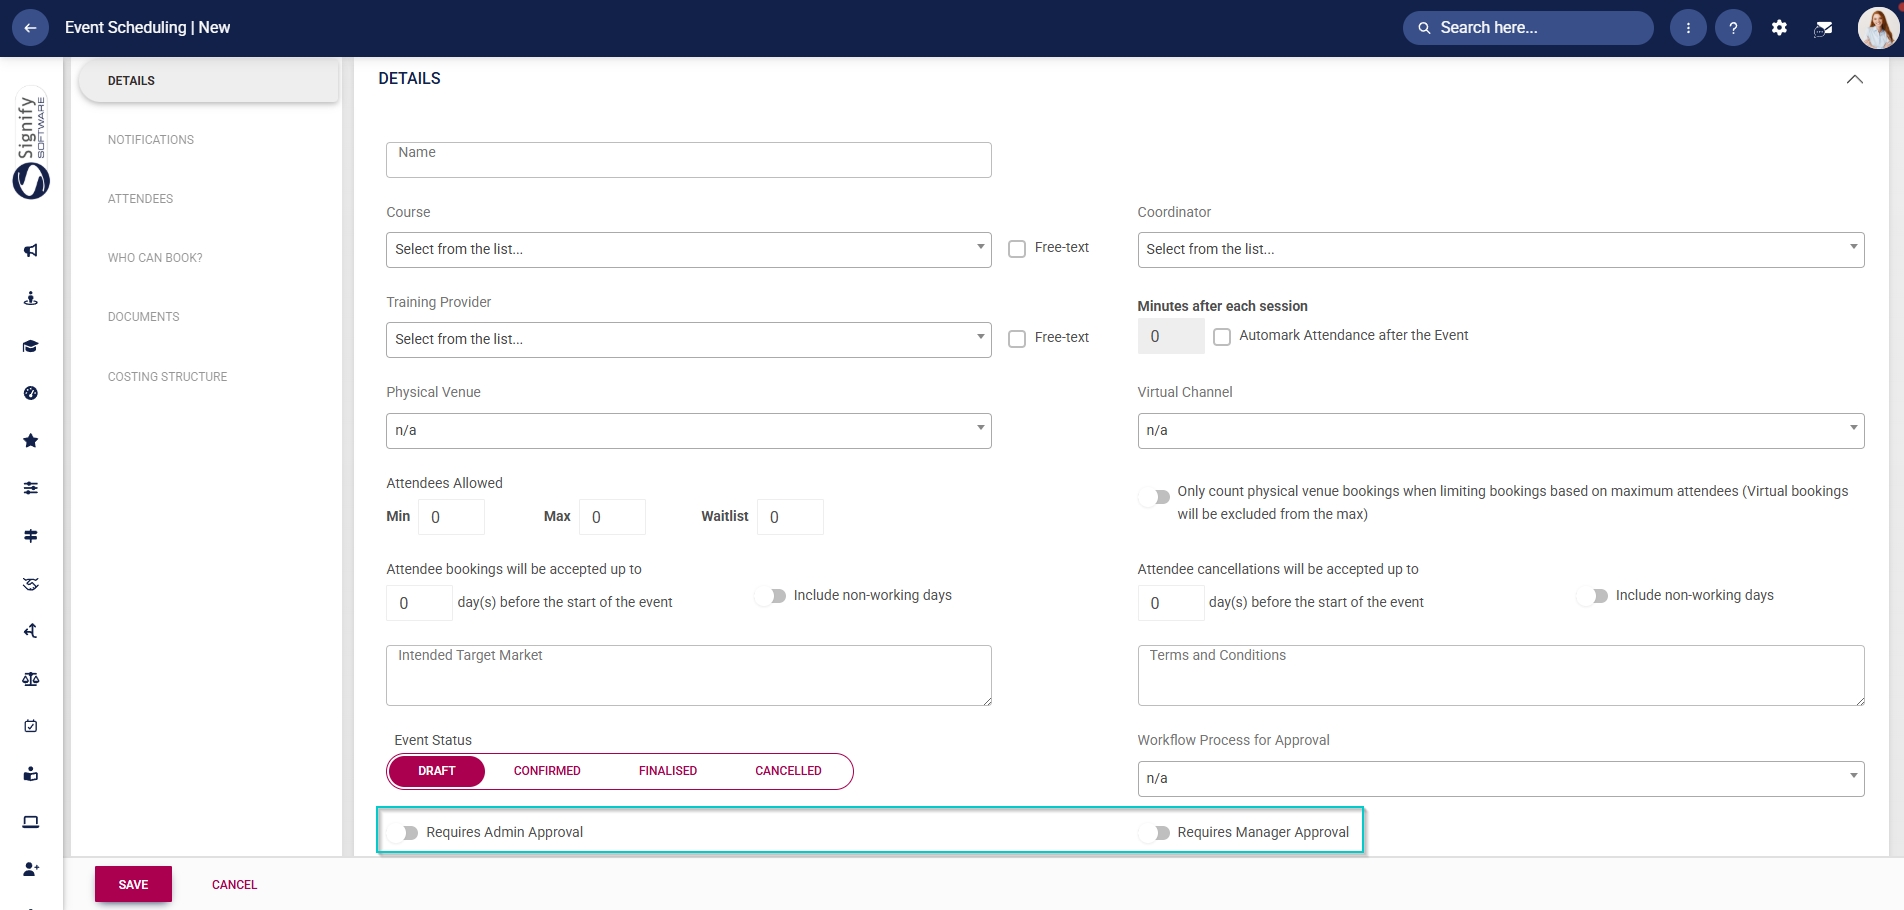
- Enter a name for the event.
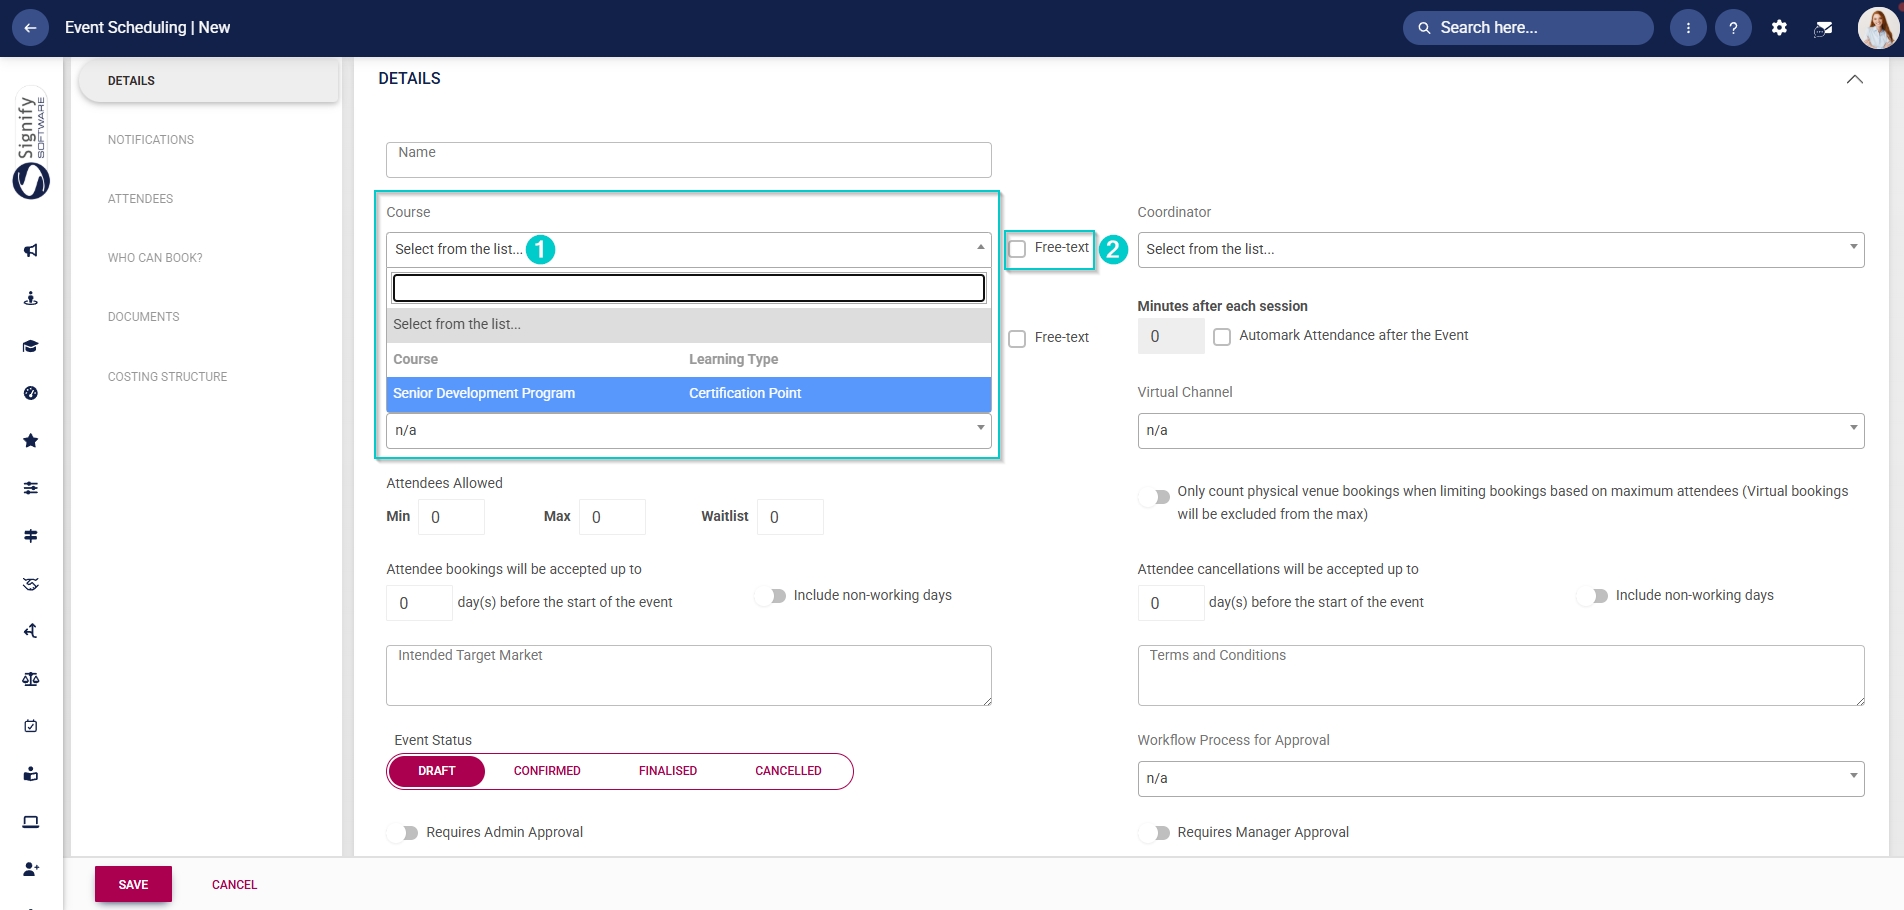
- To create a learner record for attendees, link a training intervention from the Training Intervention Library using the Course field. If a learner record should not be created, provide a name for the course and tick the Free text checkbox.
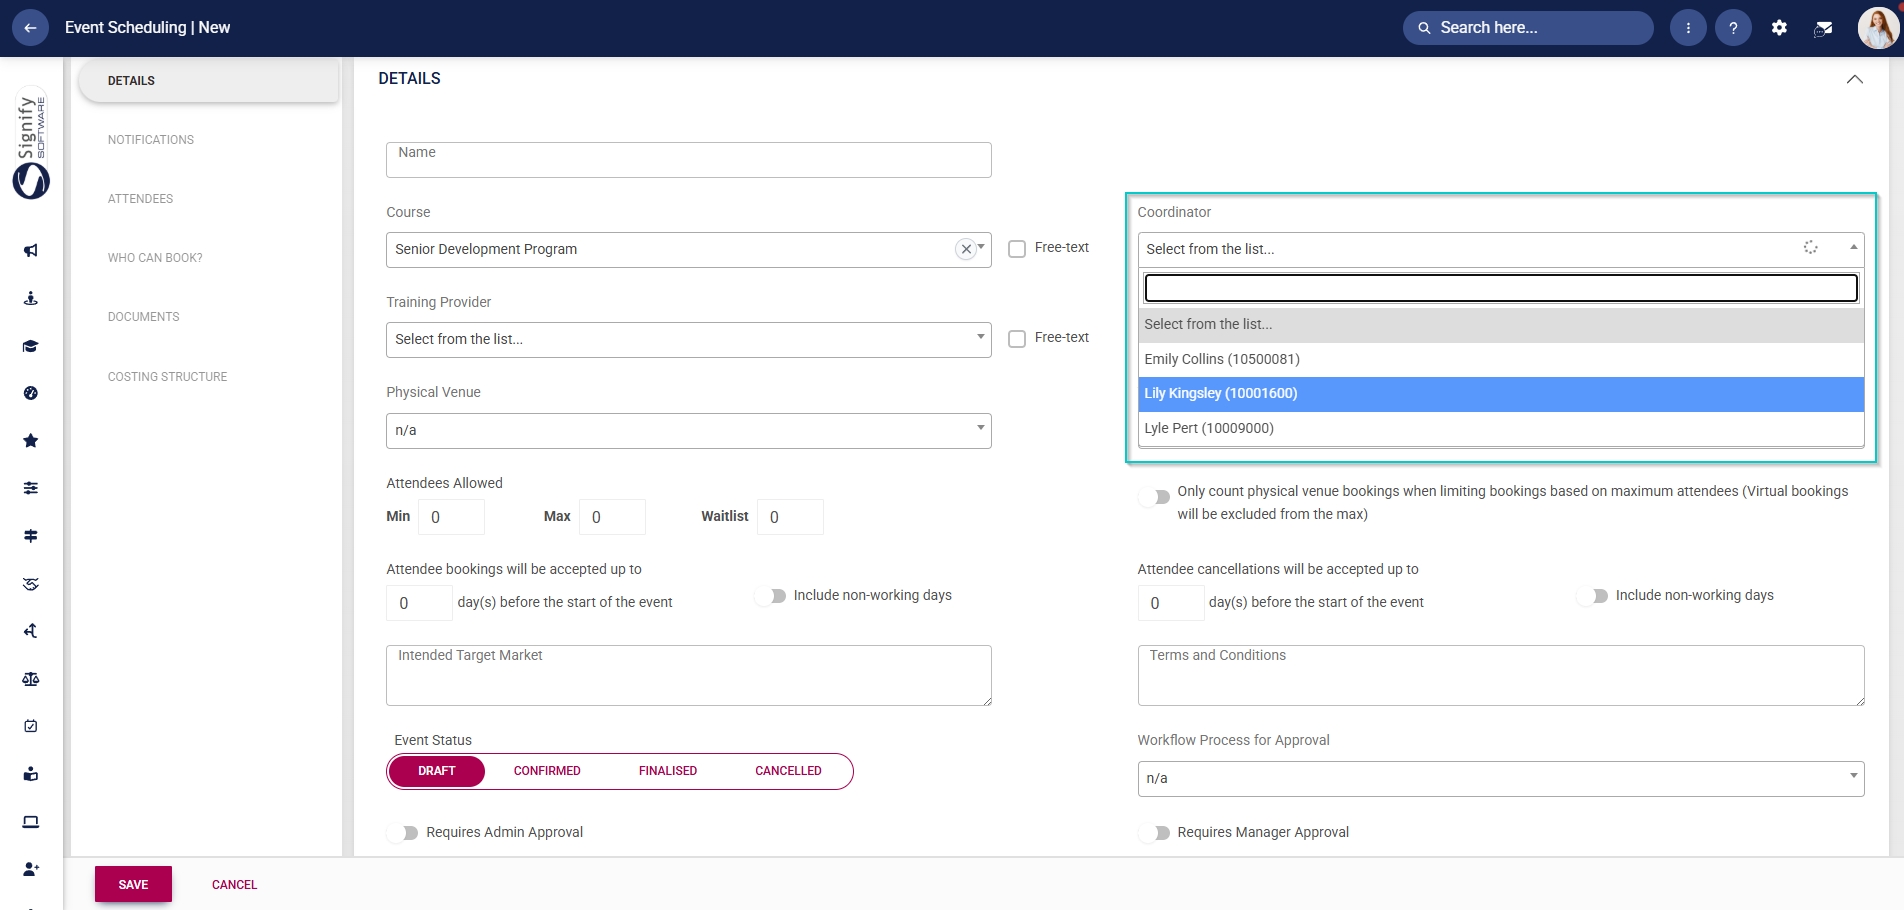
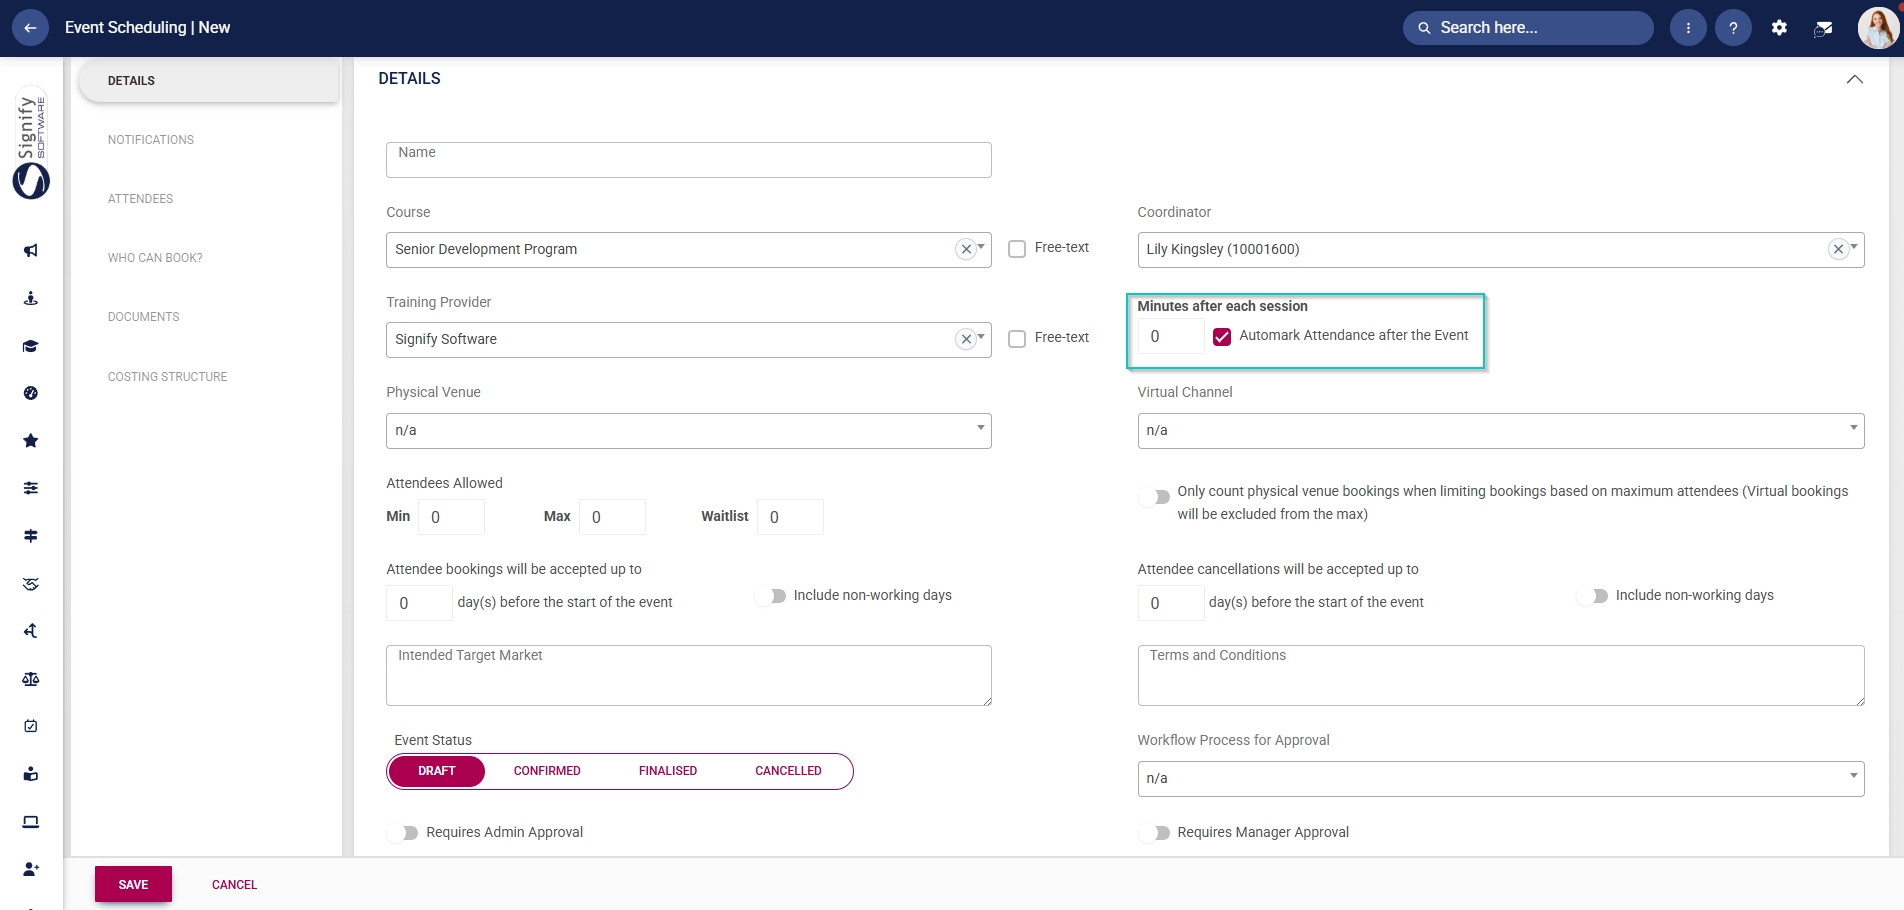
- From the dropdown menu, select the event’s coordinator.
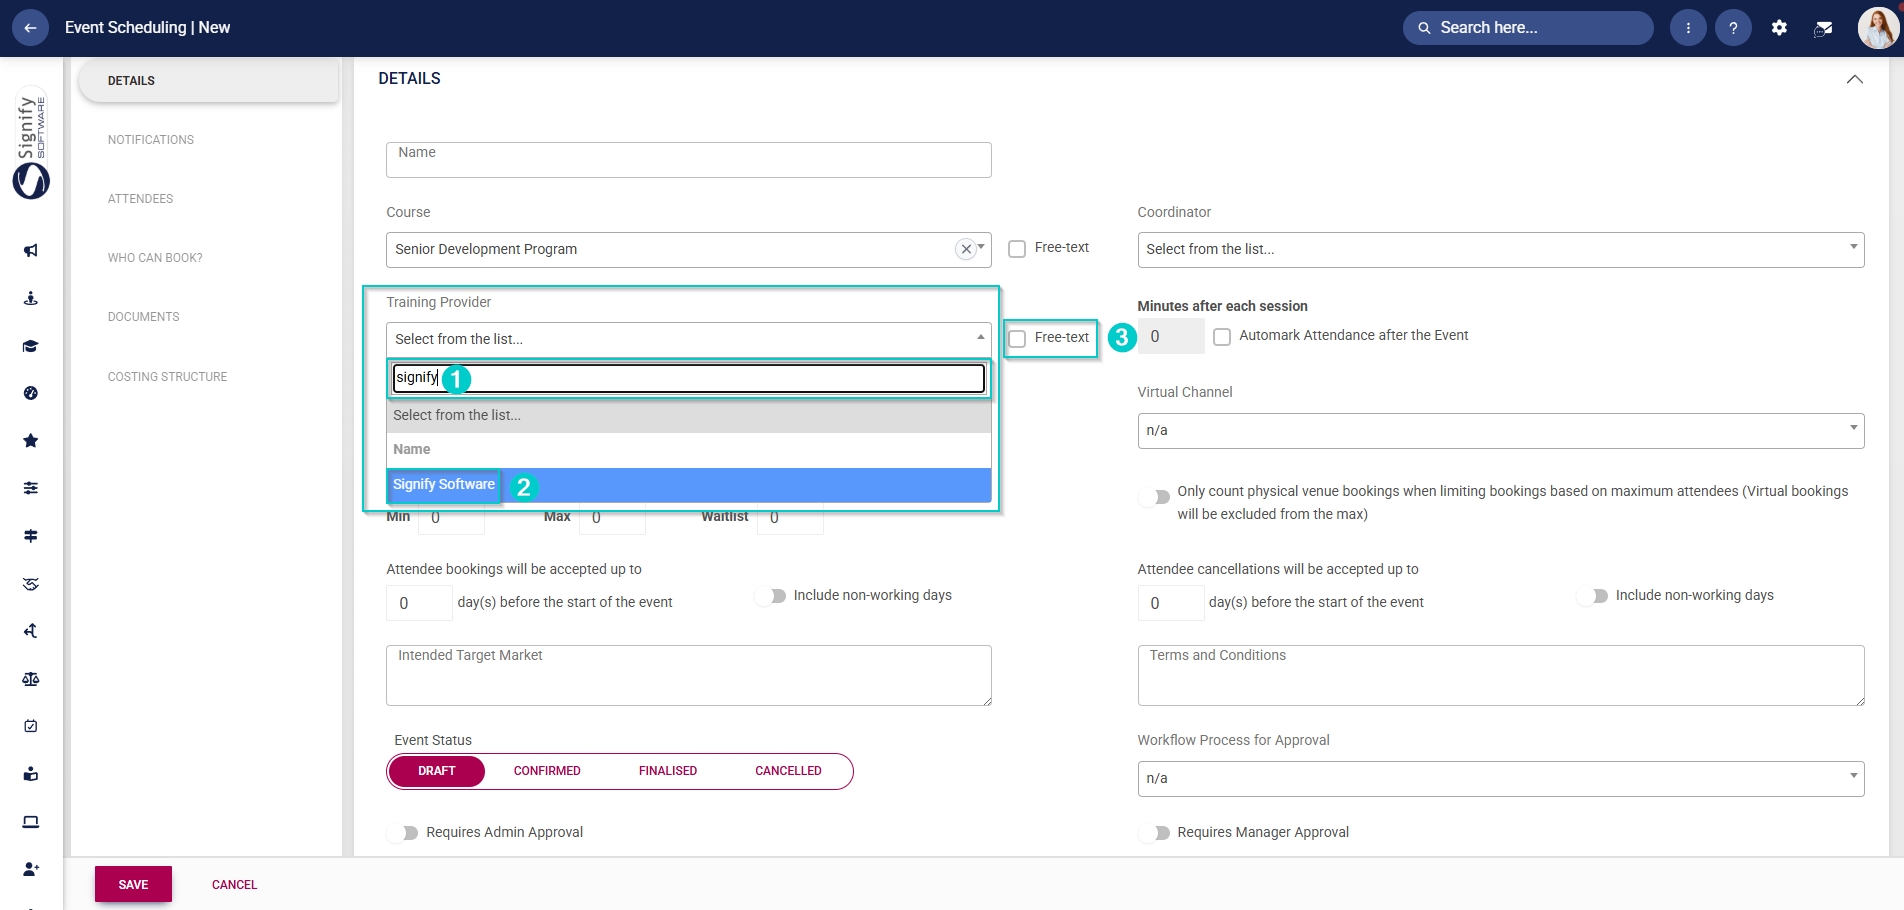
- From the dropdown menu, select the event’s training provider.
- Use the search bar to easily find the training provider in the list of dropdown menu items, then click on the training provider’s name.
- If the training provider is not listed in the Master Data Library, provide a name for the training provider and tick the Free text checkbox.
- Attendance can be automatically marked by selecting the number of minutes after each session. To do this, tick the Automark Attendance after the Event checkbox.
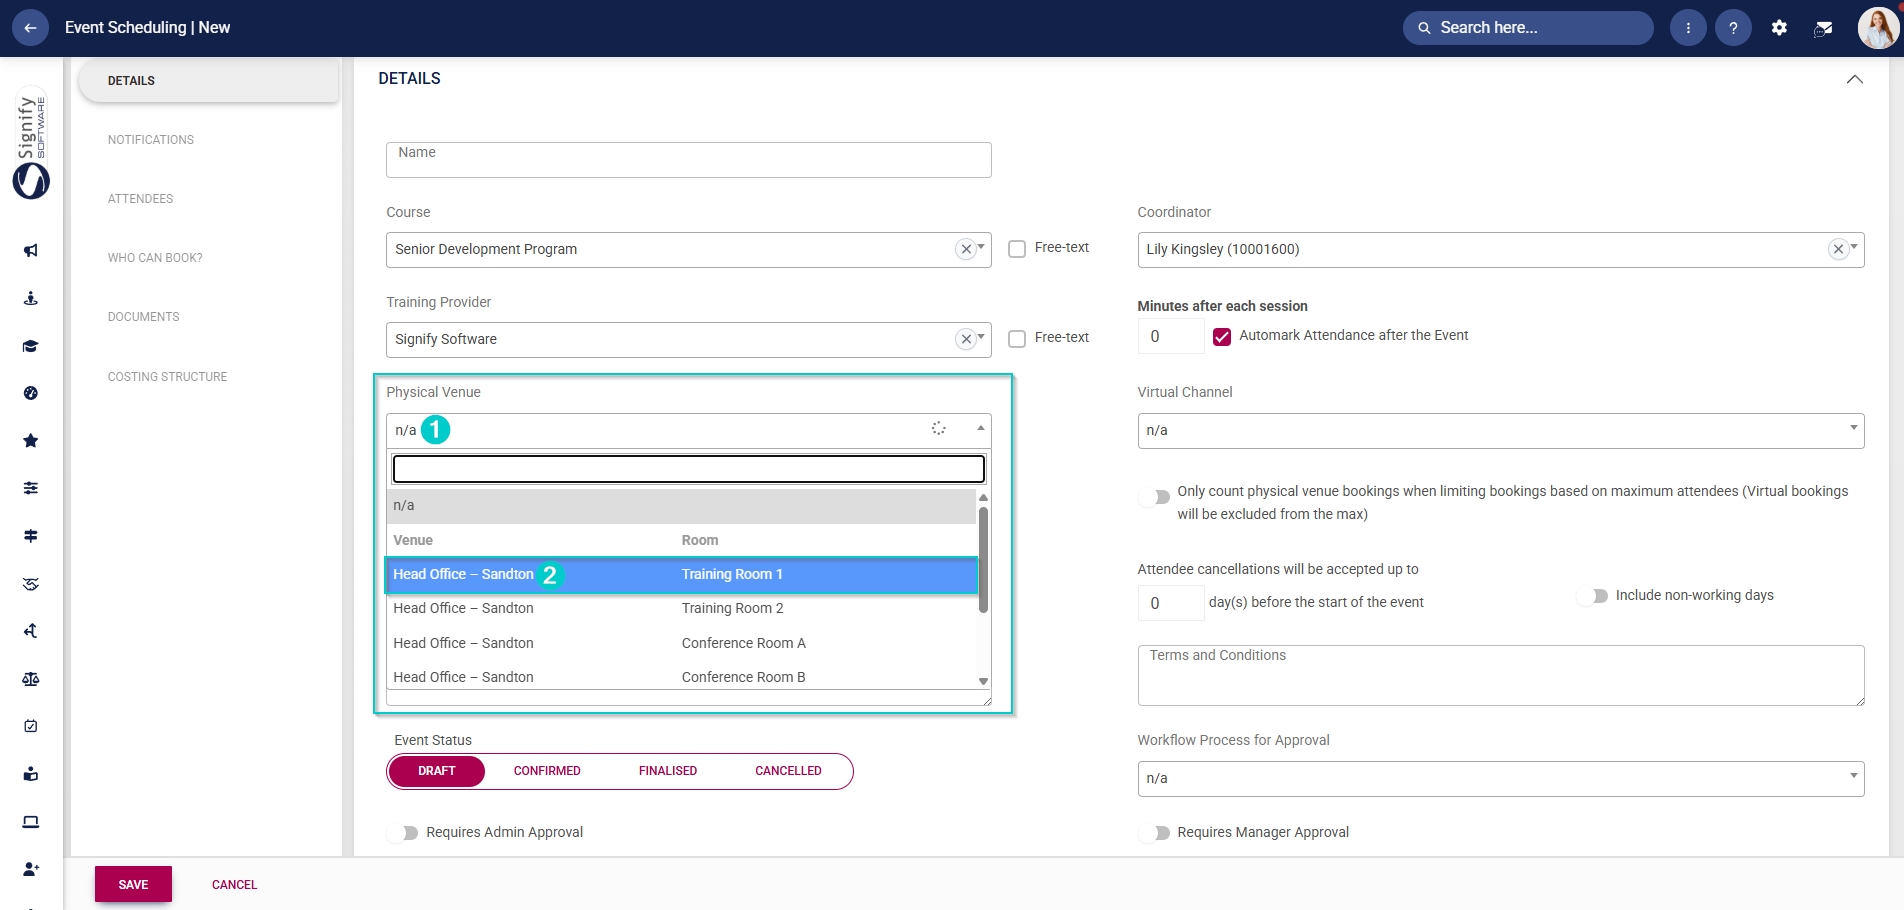
- From the dropdown menu, select the physical venue and the room.
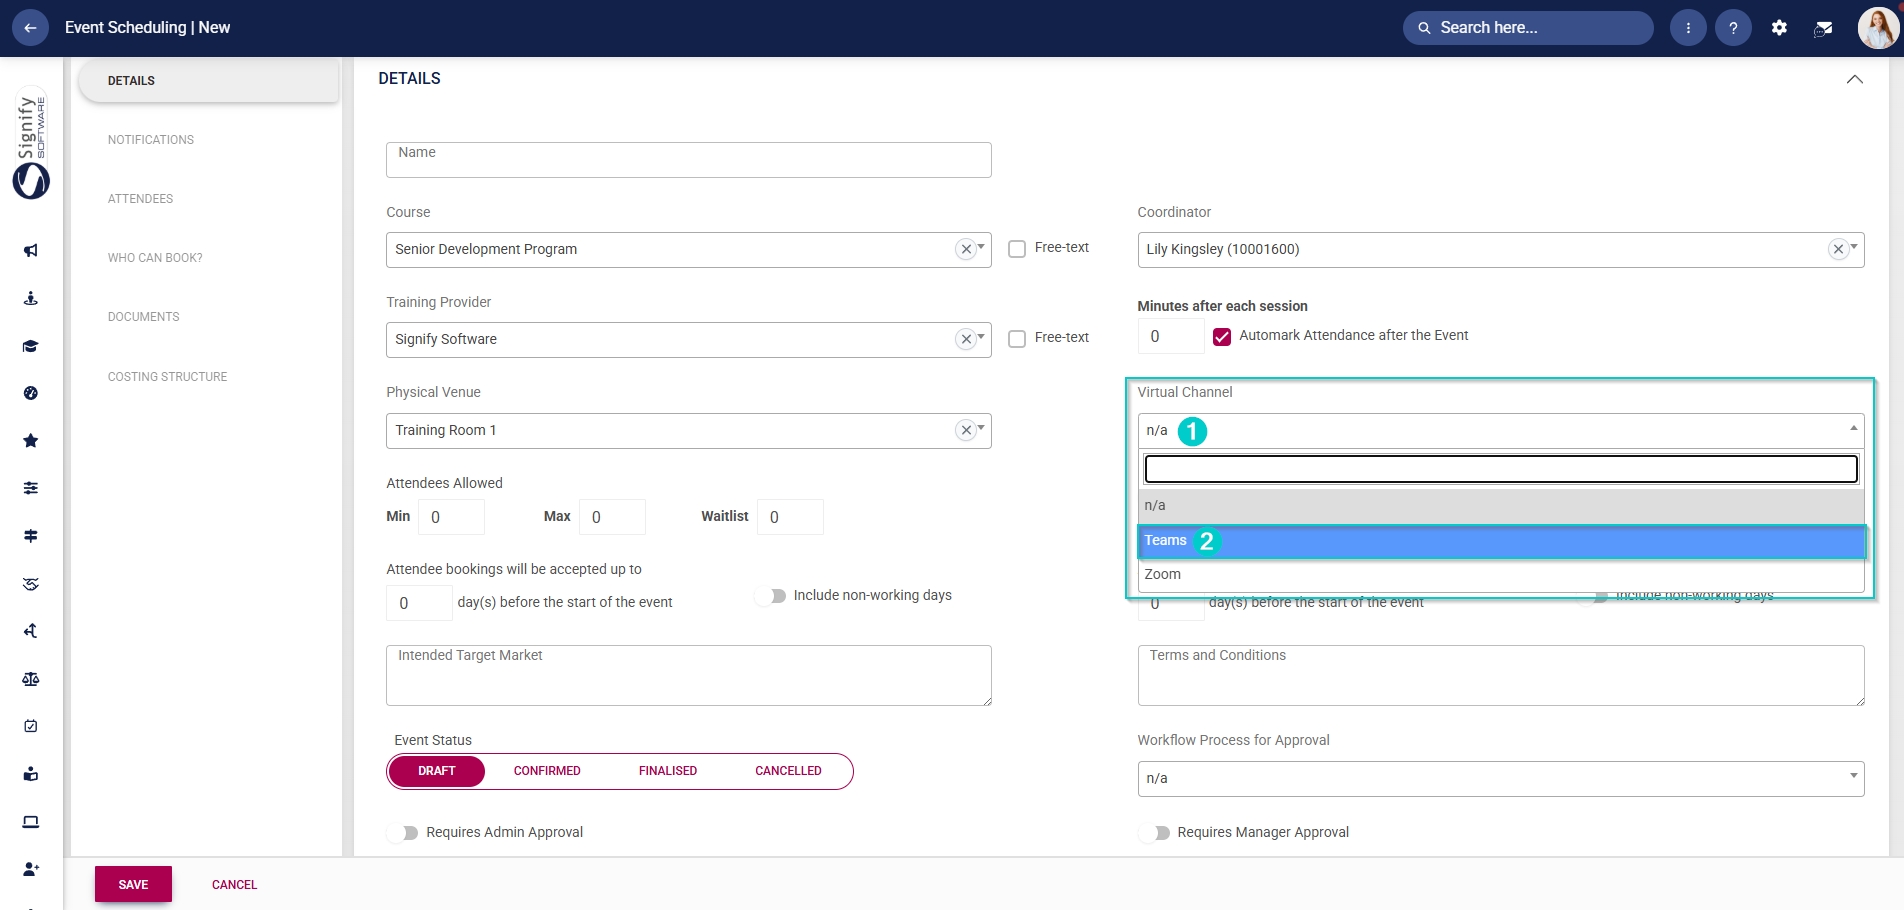
- Virtual channels, such as Teams or Zoom, can be selected from the dropdown menu to present this event online.
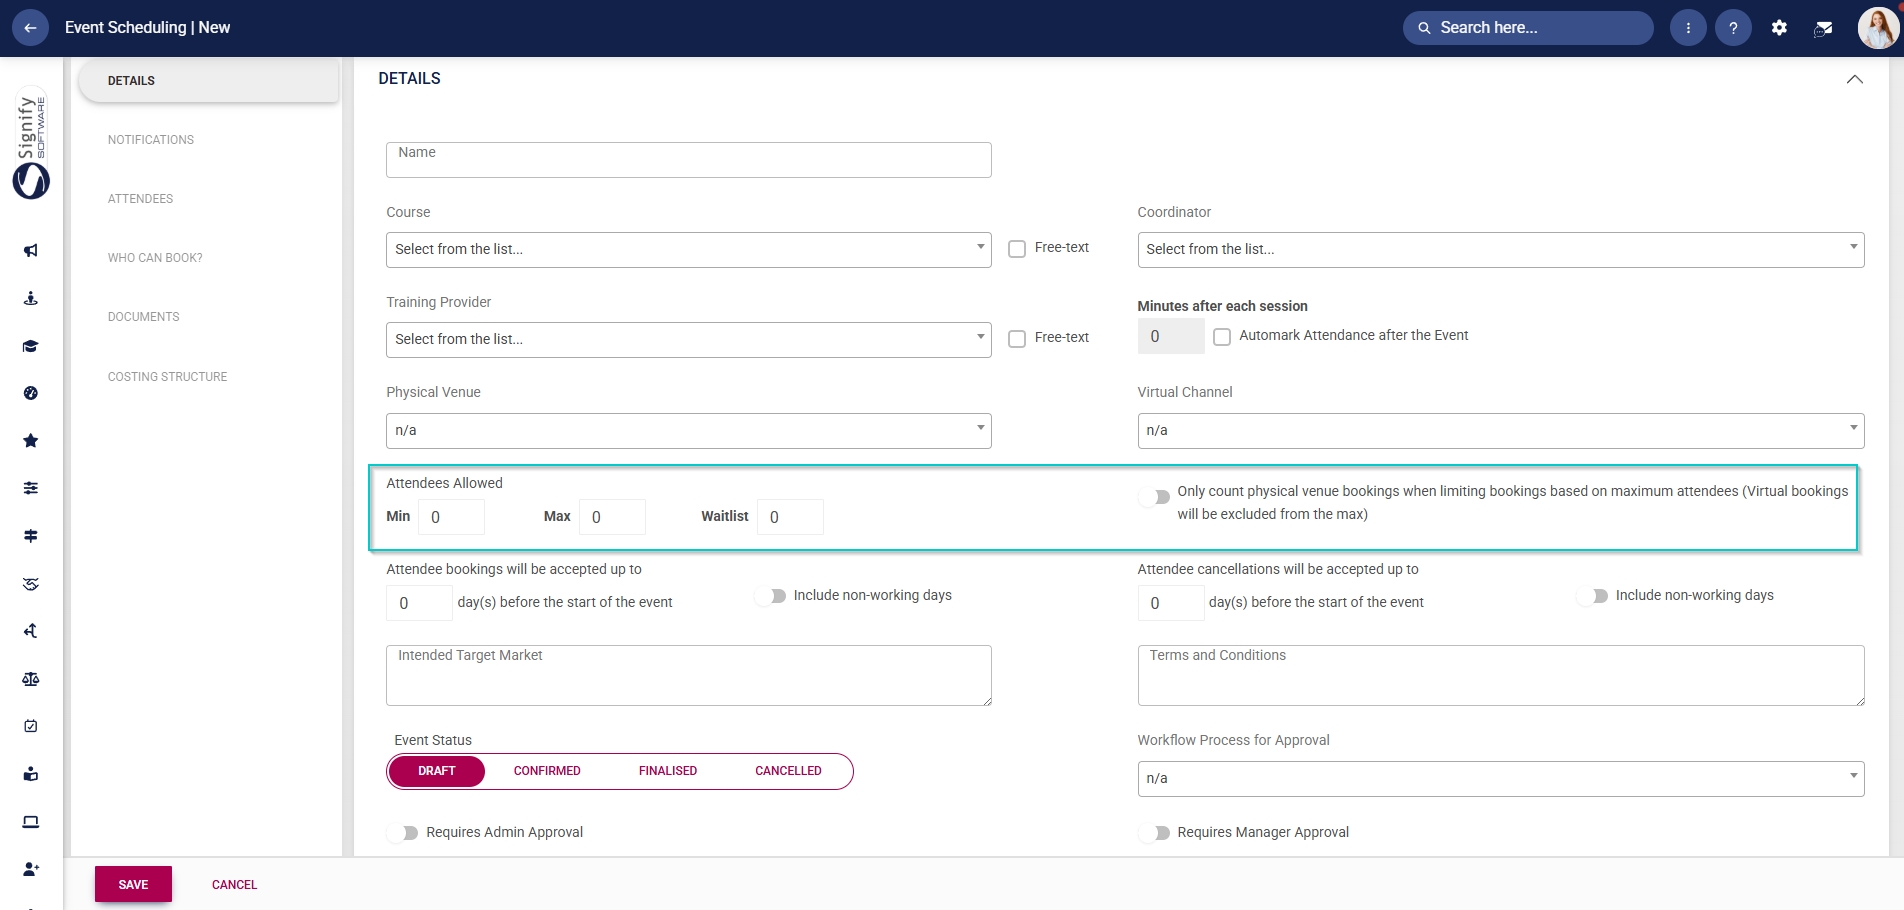
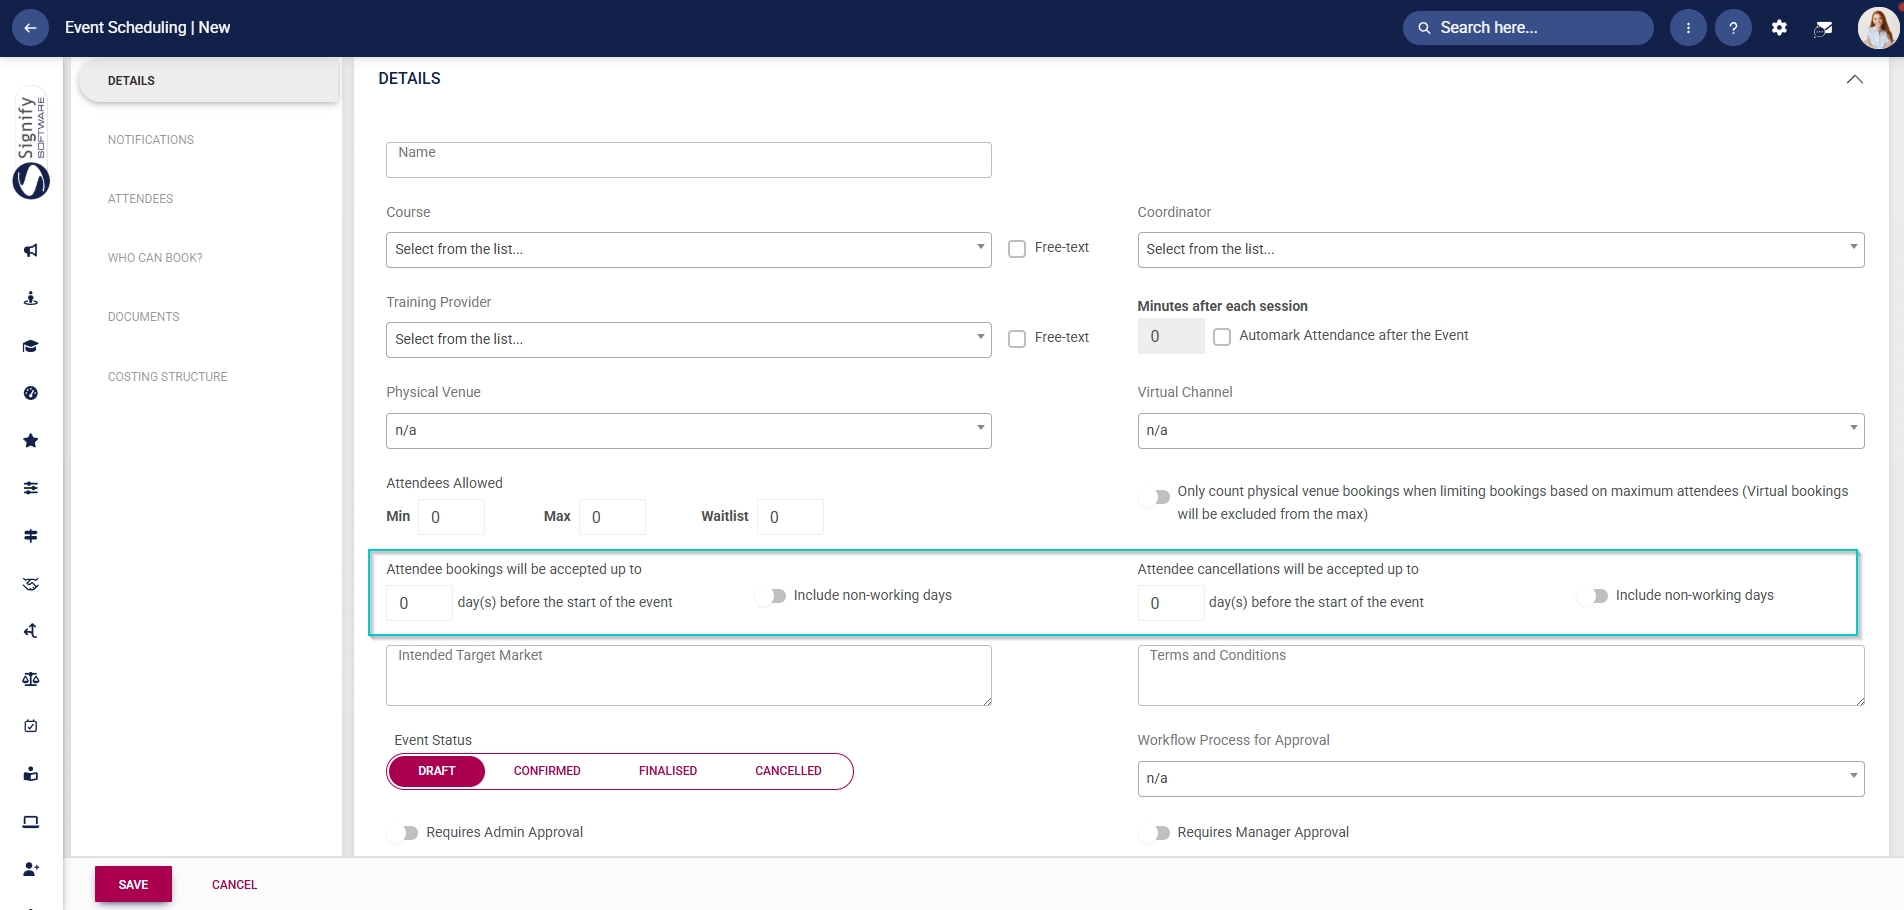
- Enter the minimum and maximum number of attendees allowed, as well as the number of waitlist spots for this event.
- Click the toggle button to count only physical venue bookings when considering booking limits for an event.
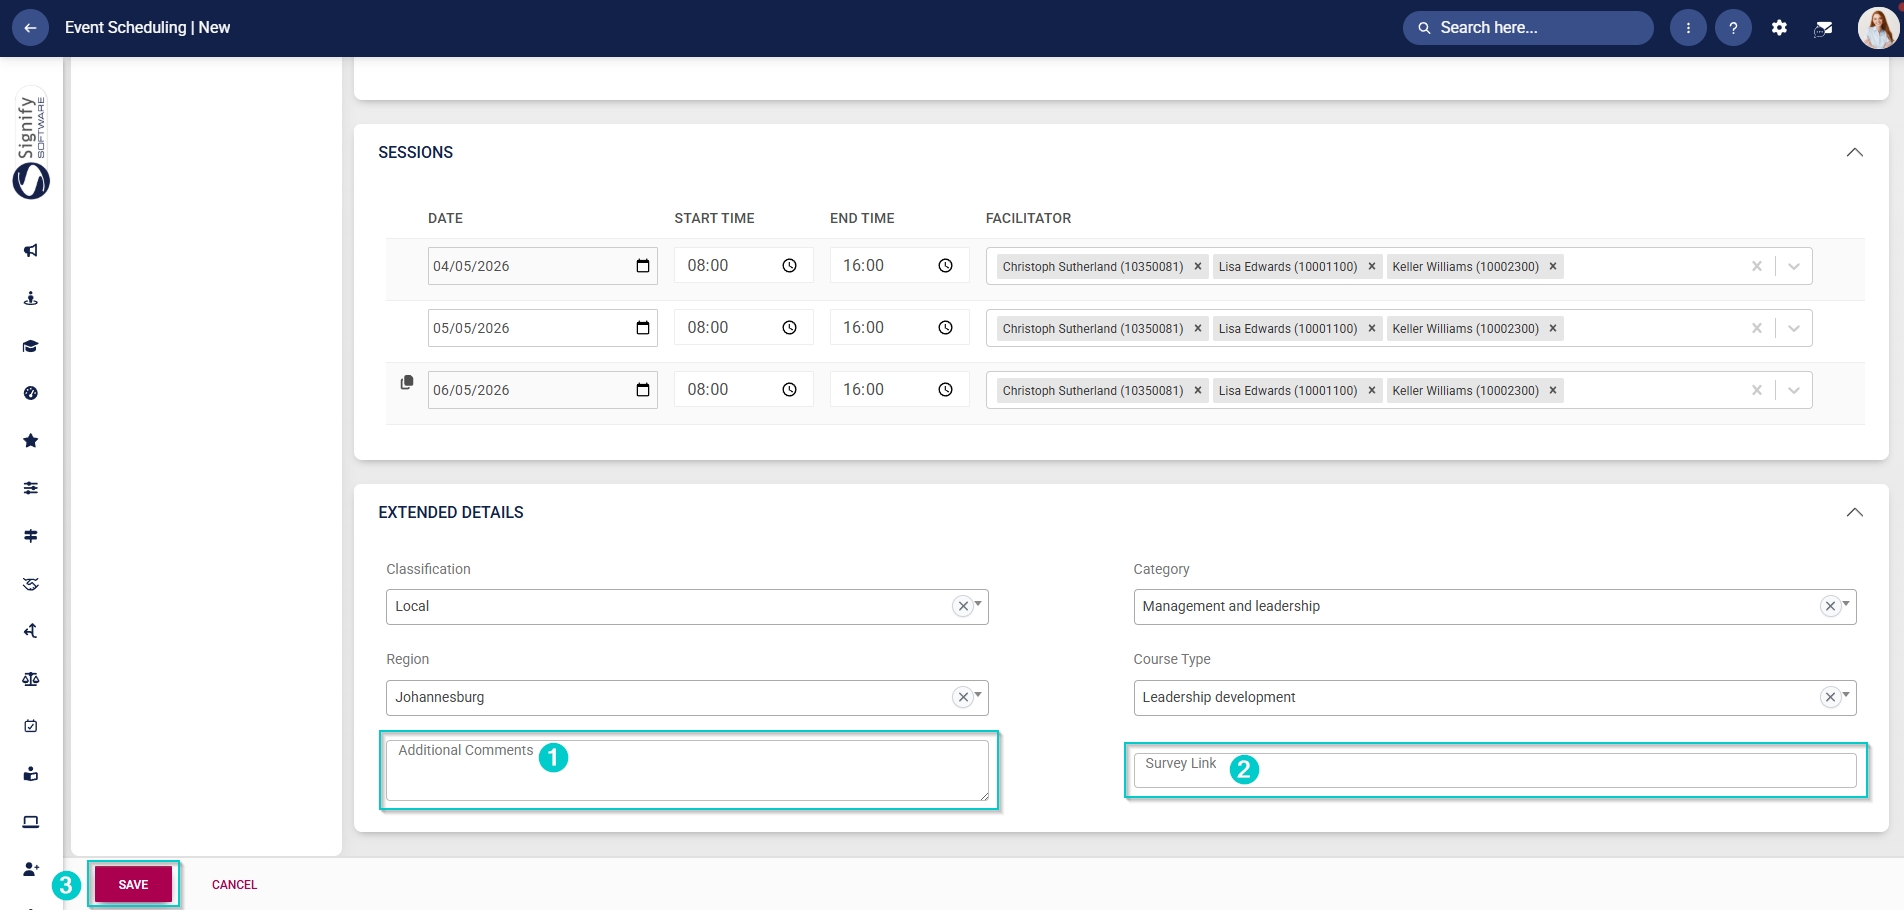
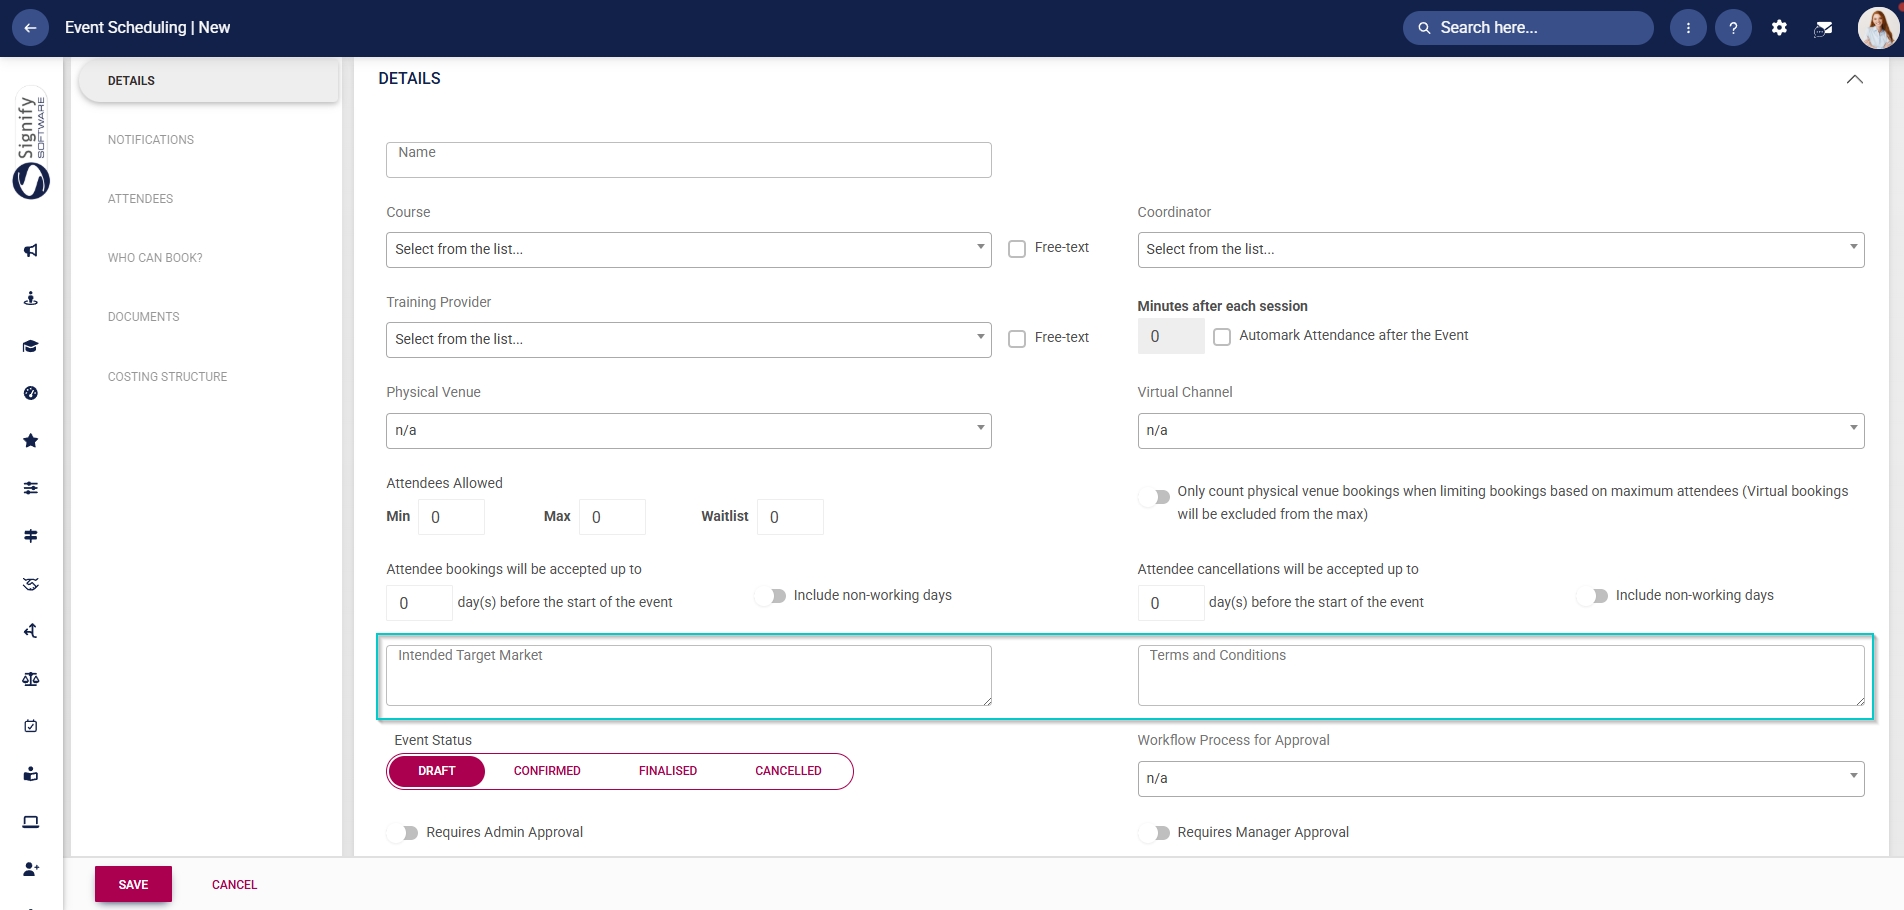
- Use the text boxes to describe the intended target market for this event and to list any terms and conditions.
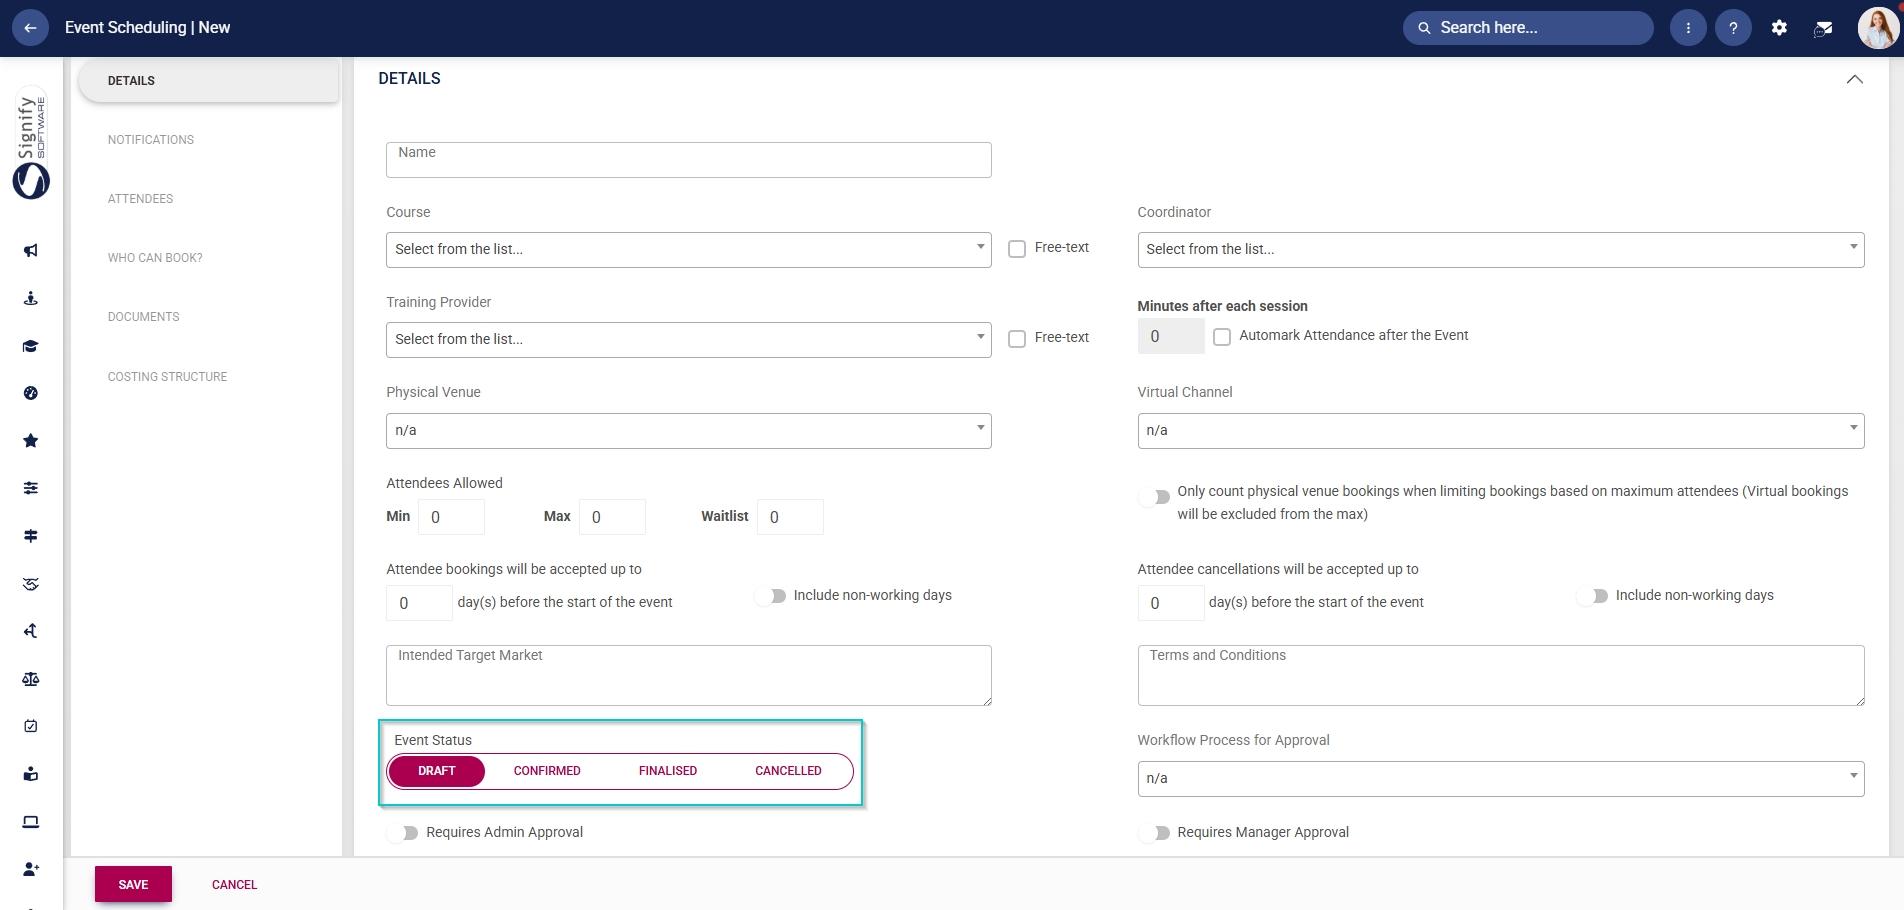
- Select the event status, such as Draft, Confirmed, Finalised, or Cancelled.
- Only confirmed events will be displayed in the Calendar view.
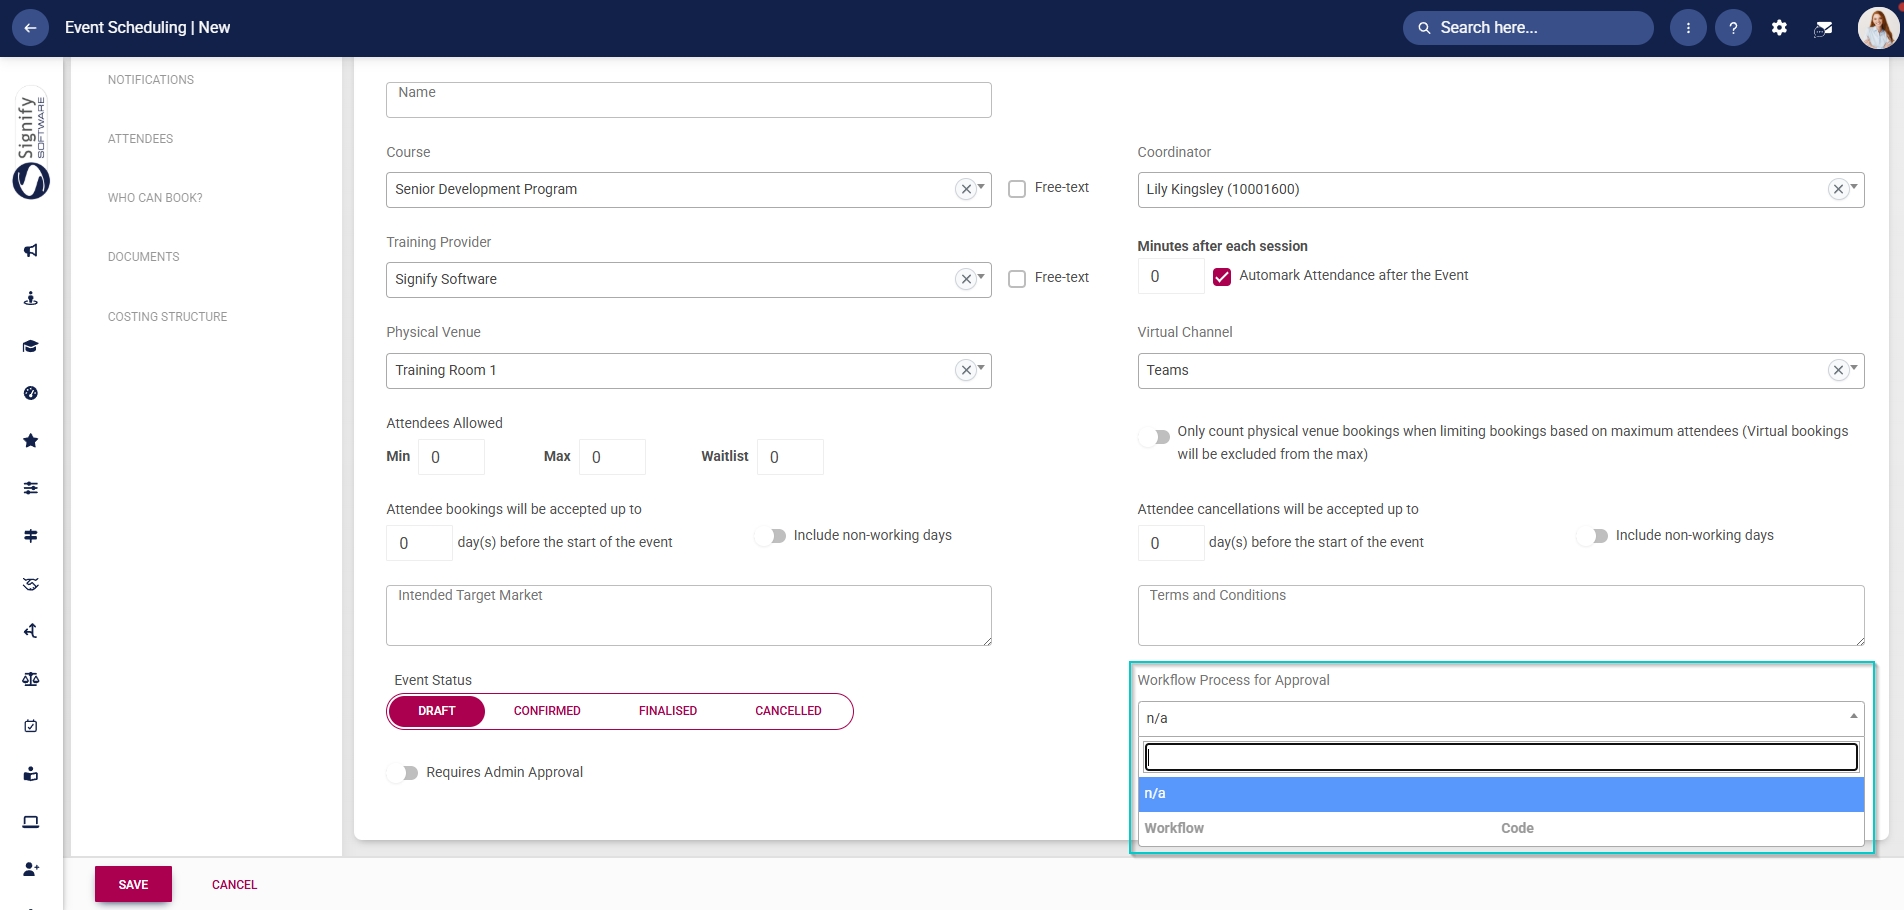
- Use the dropdown menu to select a pre-configured workflow process for the event’s approvals.
- Click the toggle button to set the status to require administrator approval.
- If an administrator’s approval is required, any event scheduling administrator can approve an attendee’s registration request.
- Click the toggle to set the status to require manager approval.
- If a manager’s approval is required, then the employee’s training manager will be notified. Event scheduling administrators can override manager approvals.
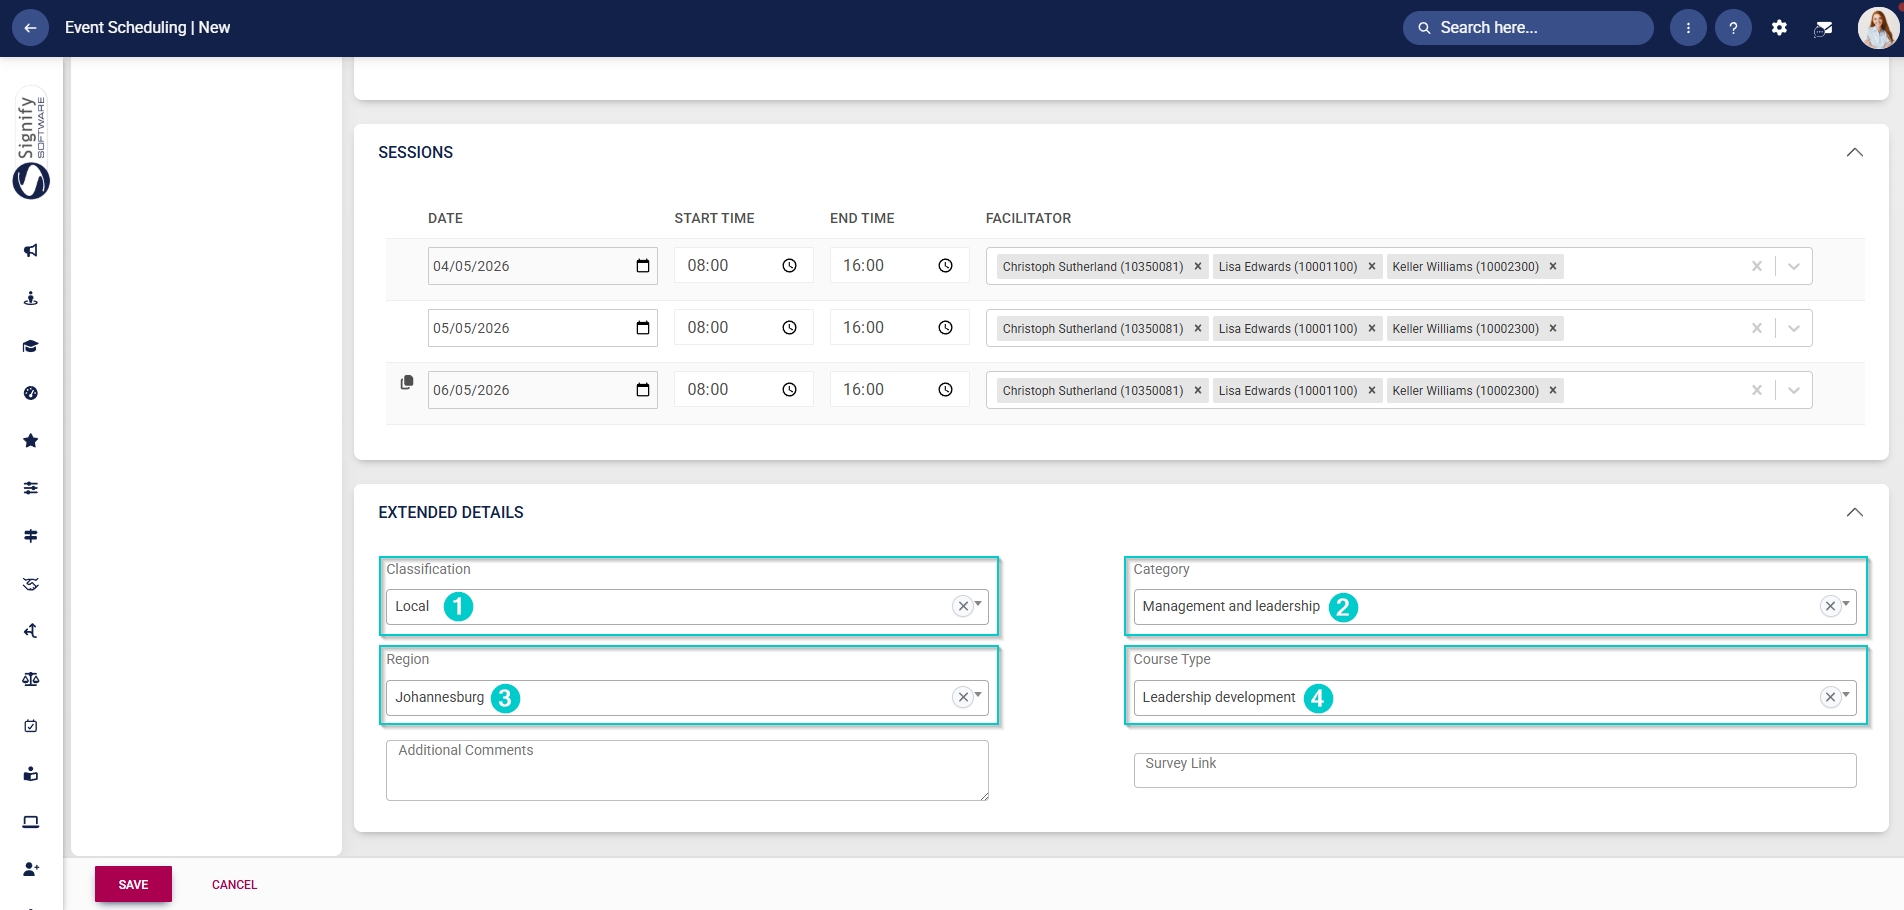
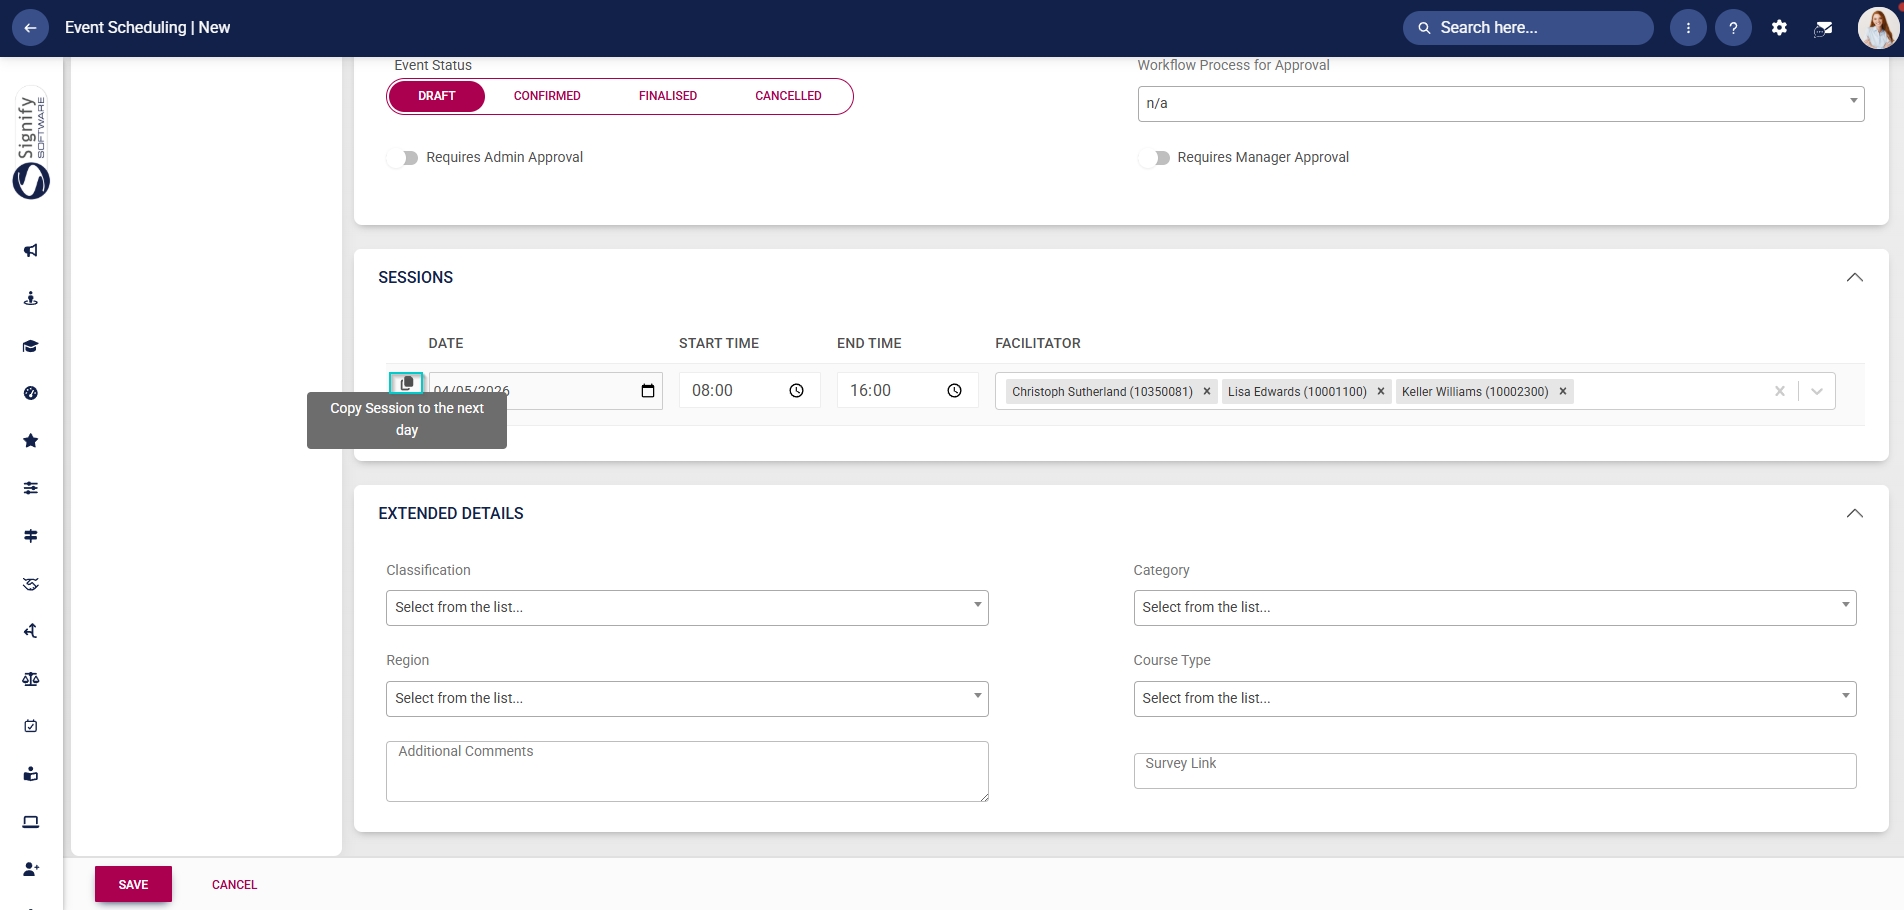
- Choose the date, time range, and facilitators for the event. Multiple facilitators can be selected for a single event.
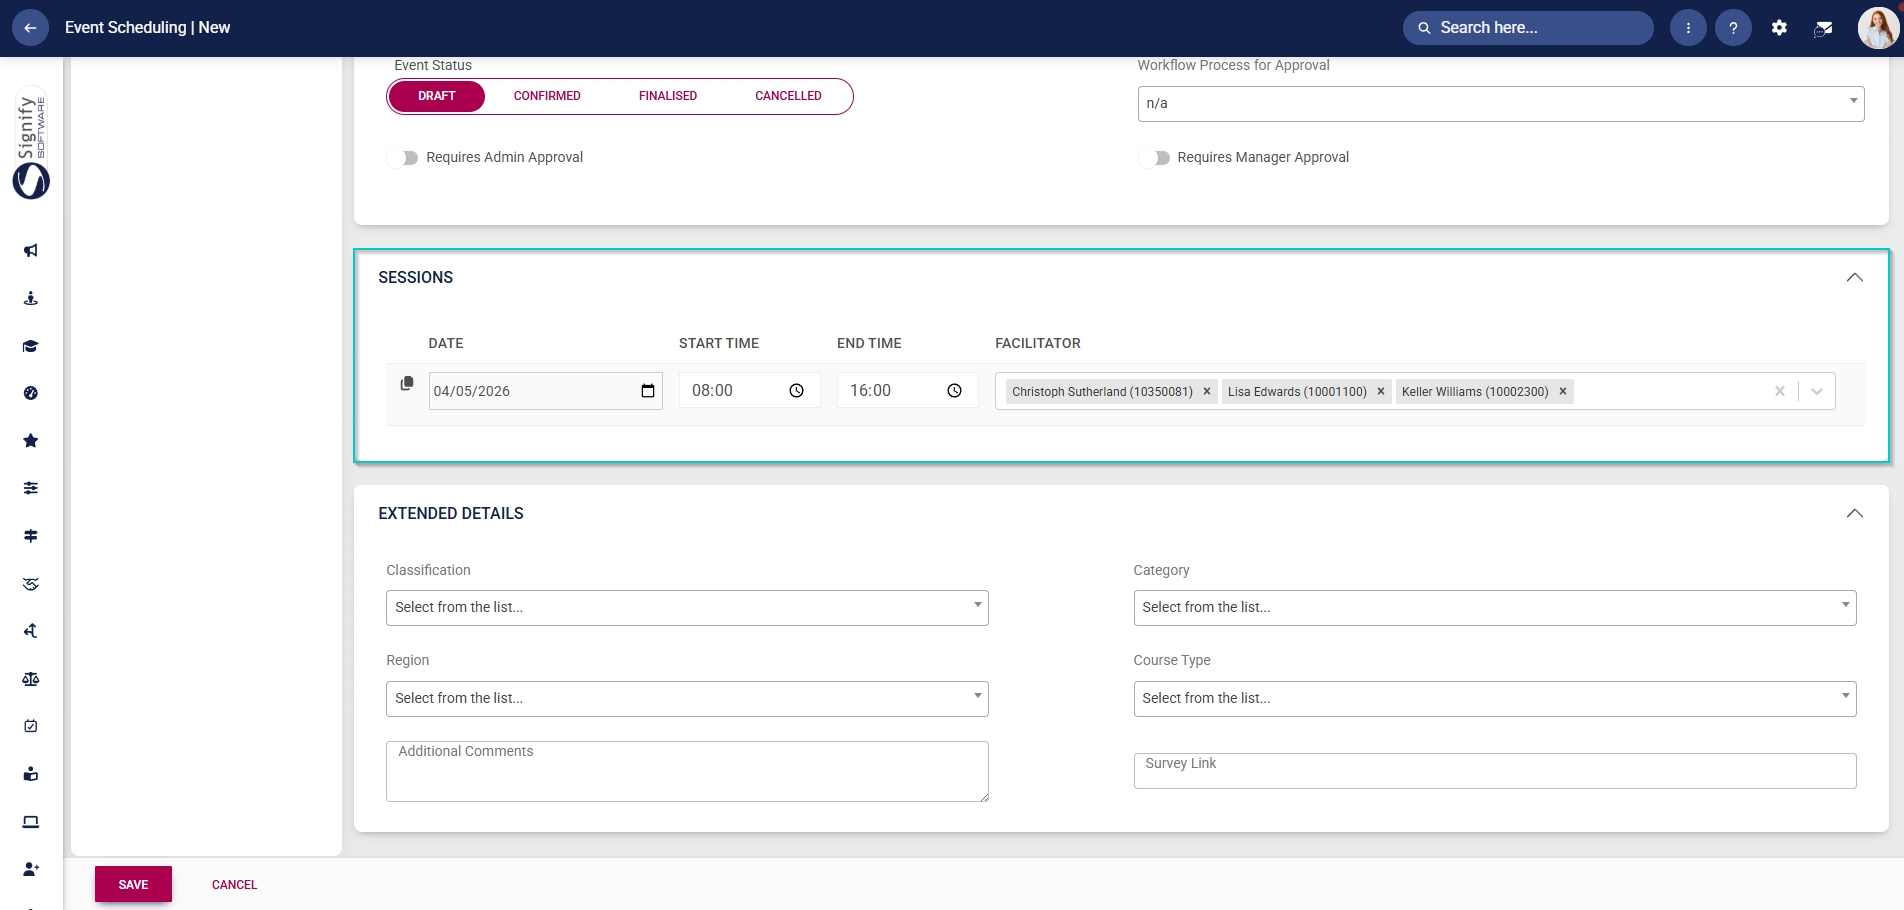
- If the event spans over multiple days, another session can be added by clicking on the copy icon.
- To delete a session, click the dustbin icon.

- Additional details about the event can be captured in the Extended Details section. From the dropdown menus, select Classification, Category, Region, and Course Type (which administrators previously configured as master data).