Learning Management: Online School Implementation Guide

Activate the Learning Management module
- Click the gear icon to access the Setup and Configuration menu.
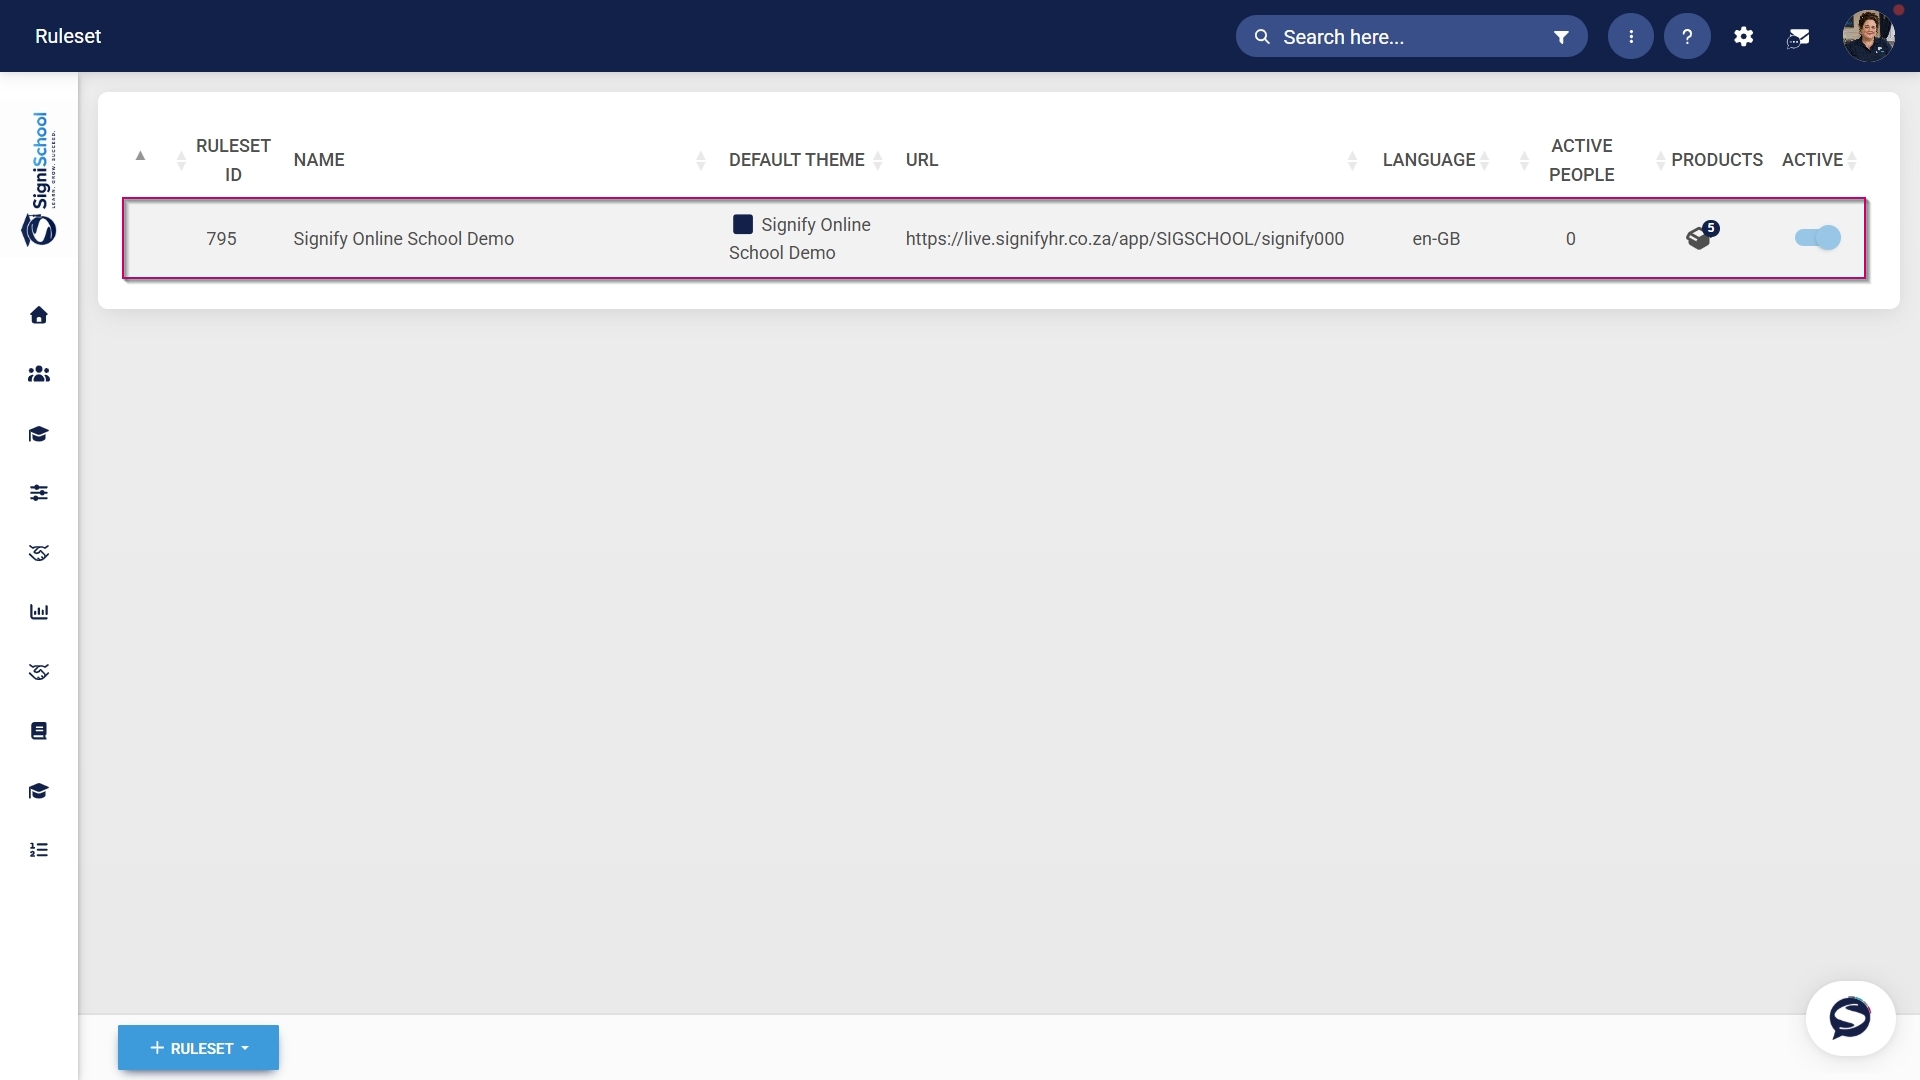
- Click Ruleset Setup.

- Select the ruleset you would like to update.
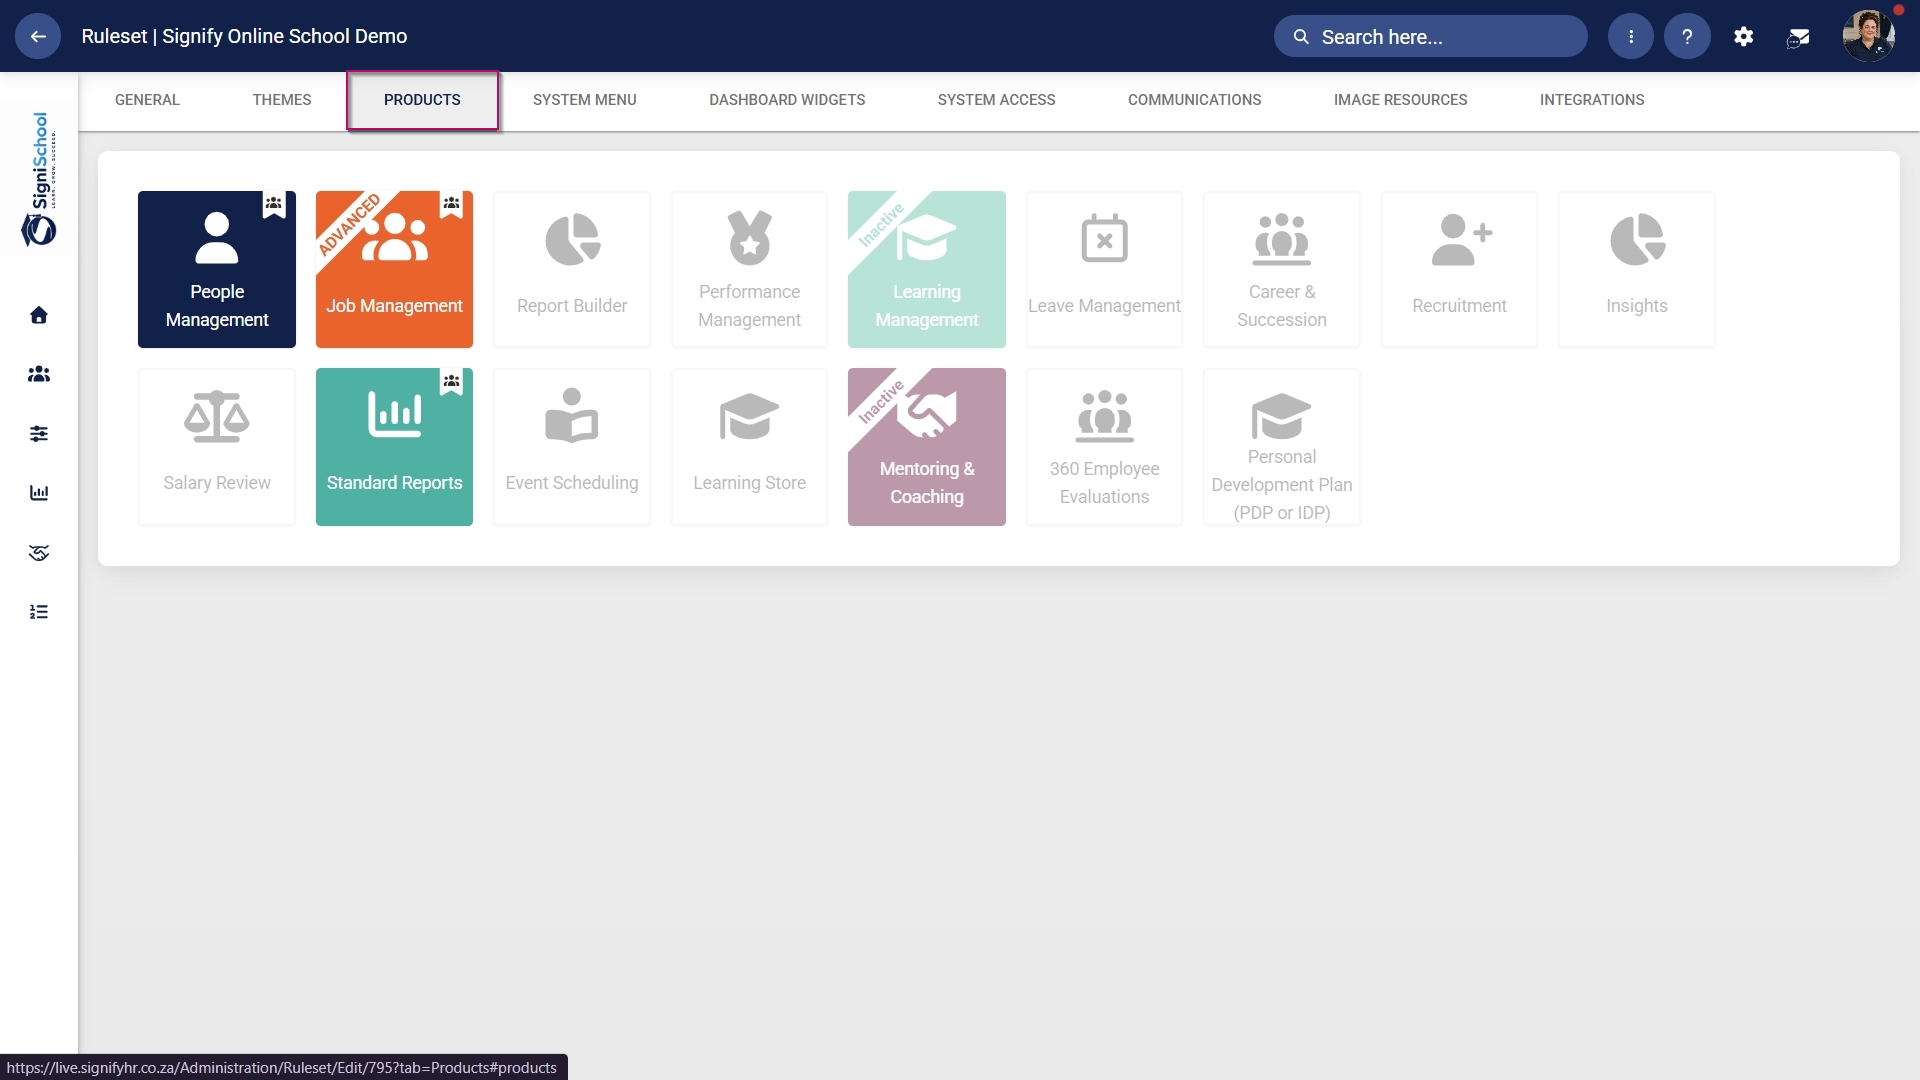
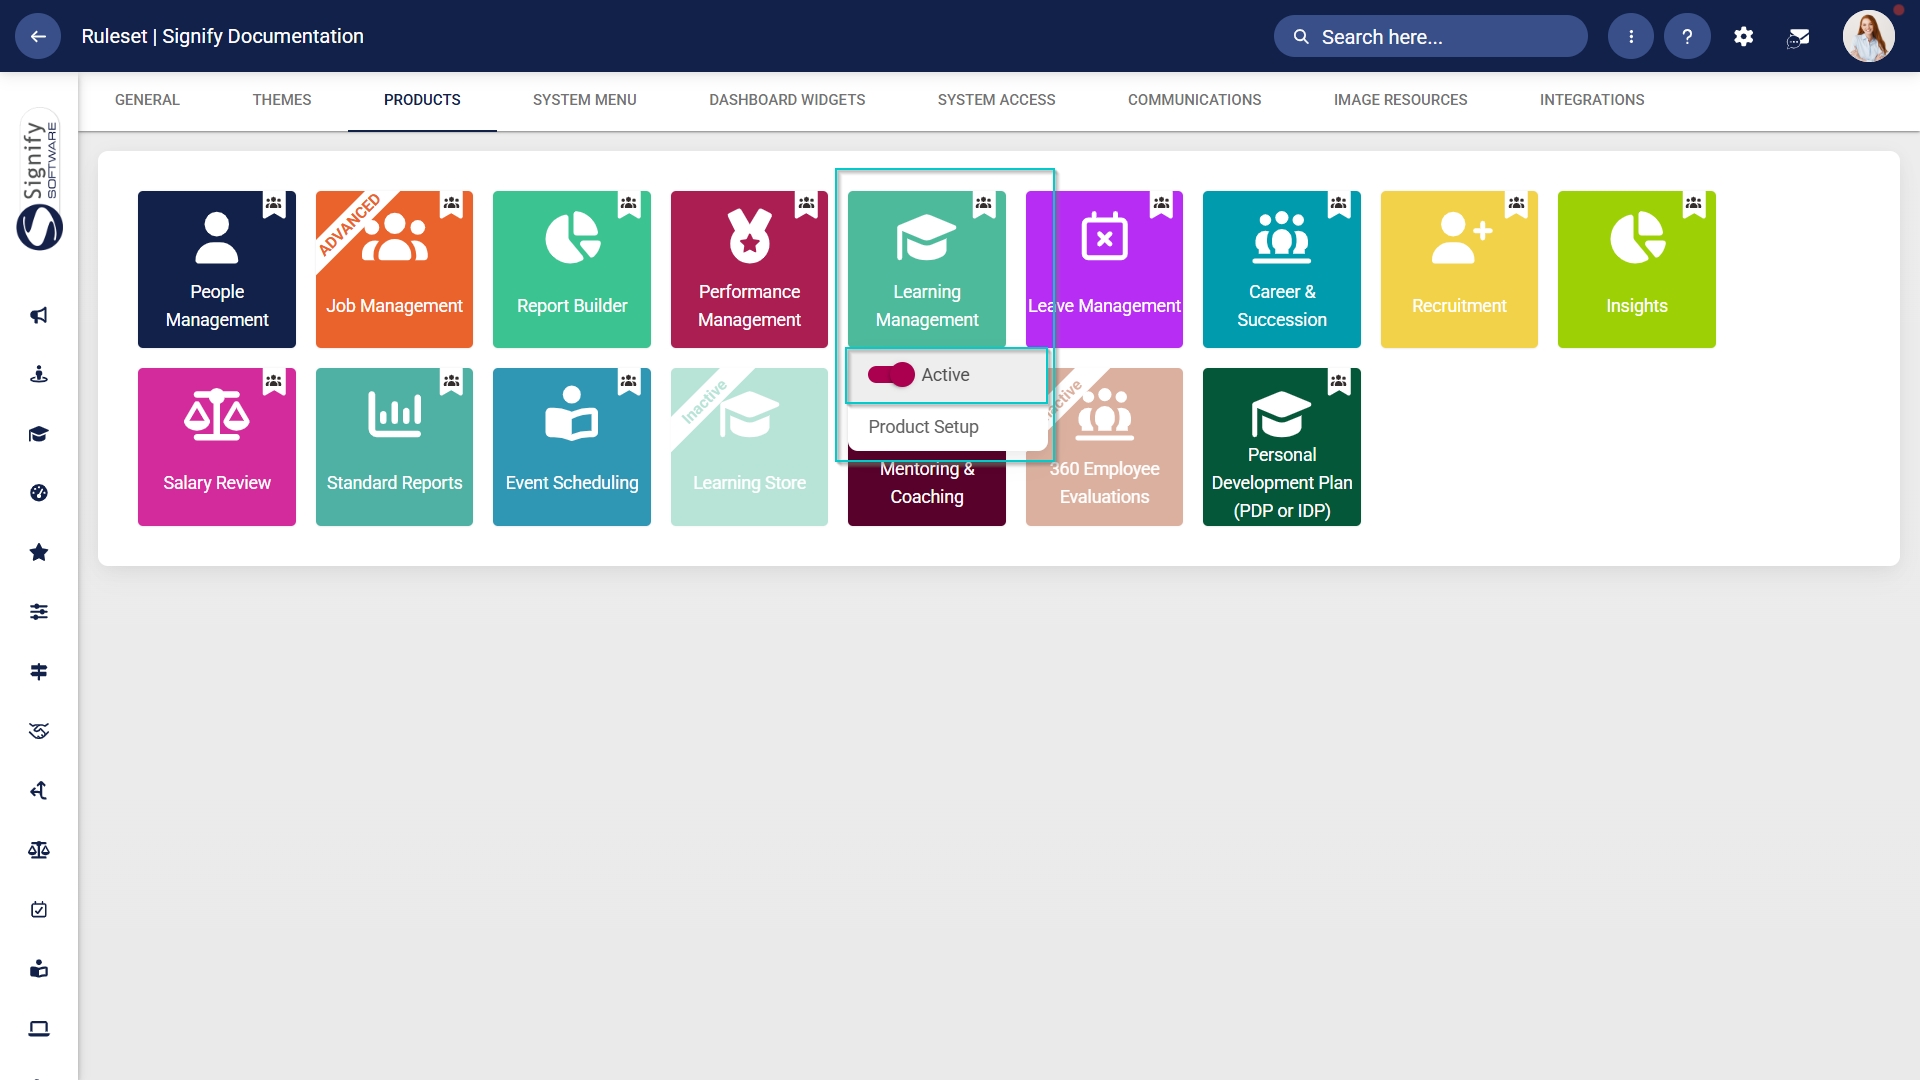
- Click on the Learning Management product card, then click the toggle button to set the product’s status to Active.
Add Learning Management to the system menu
- Click the gear icon to access the Setup and Configuration menu.
- Click Ruleset Setup.
- Select the ruleset you would like to update.

- Click the Learning Portal menu item in the system menu preview.
- Click the toggle button to set the system menu item’s status to Active.
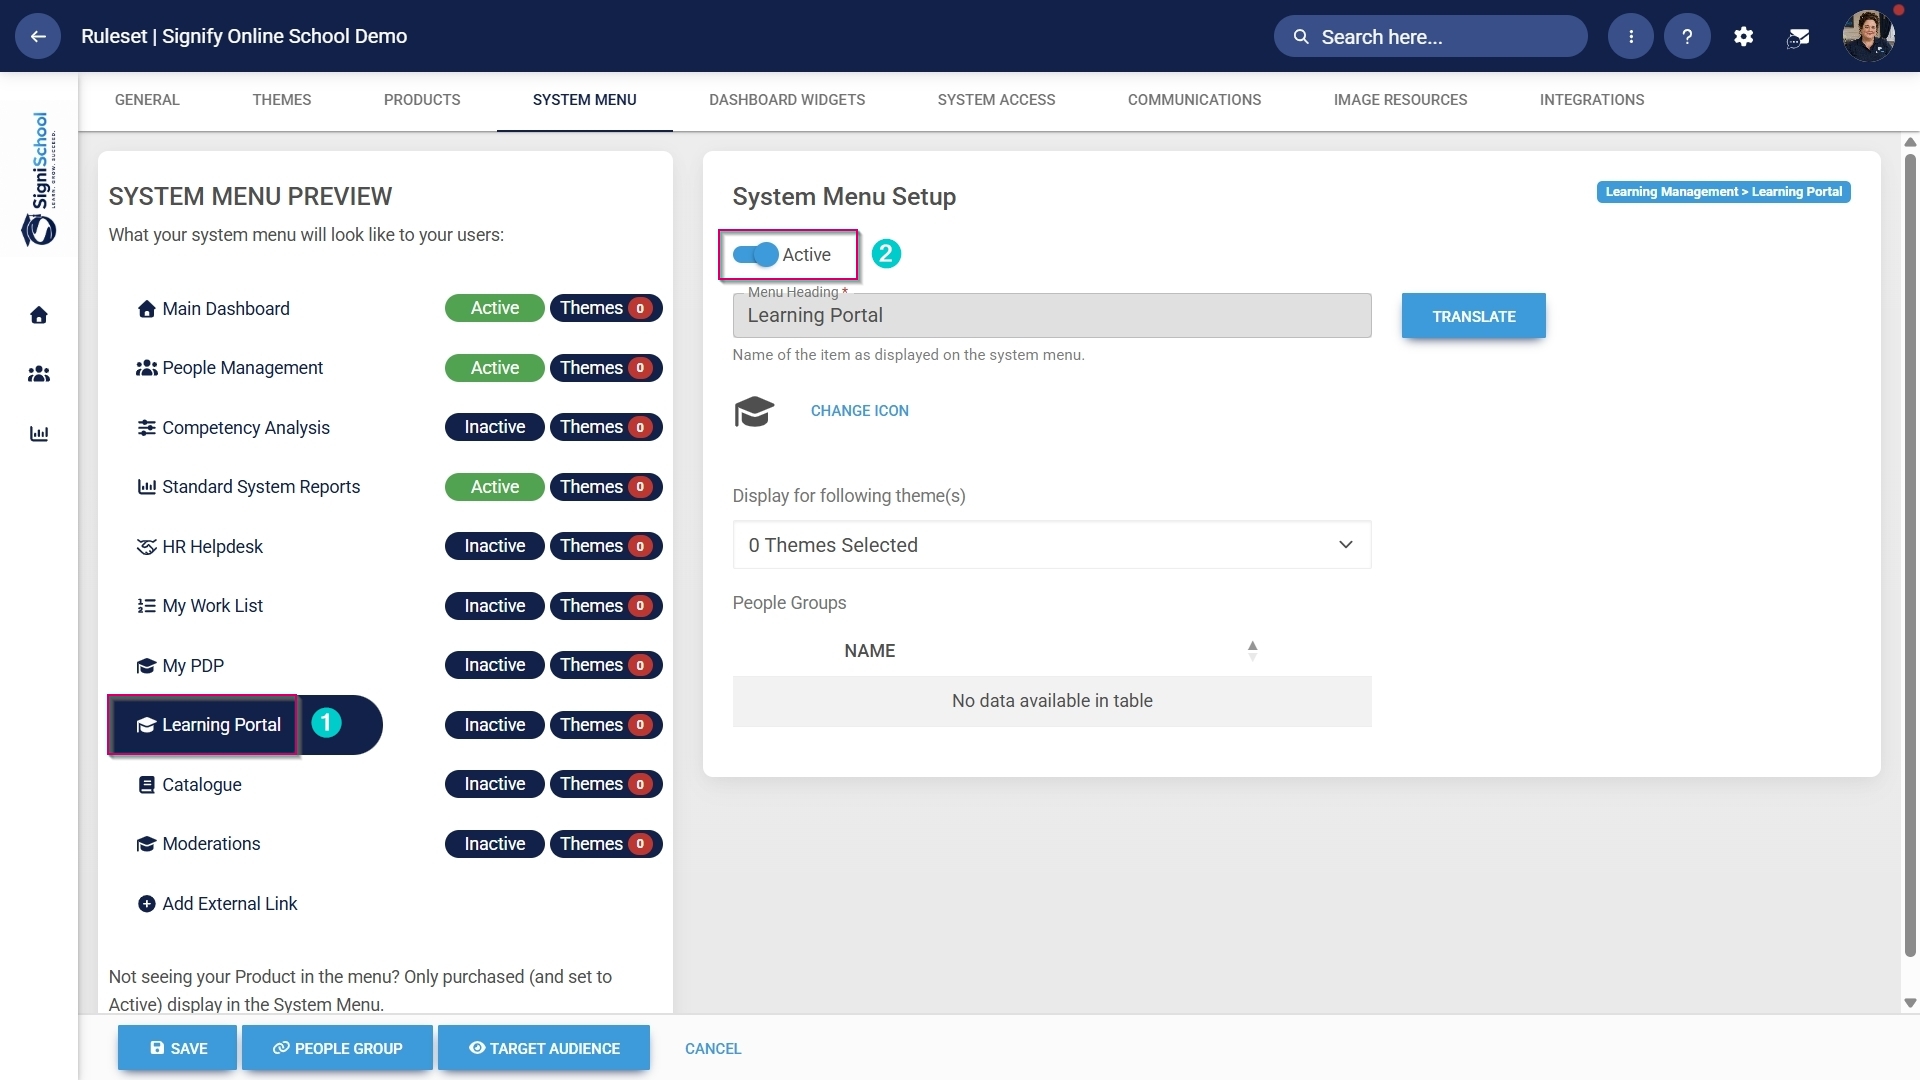
- You can select an icon for the Learning Management module by clicking CHANGE ICON.
![]()
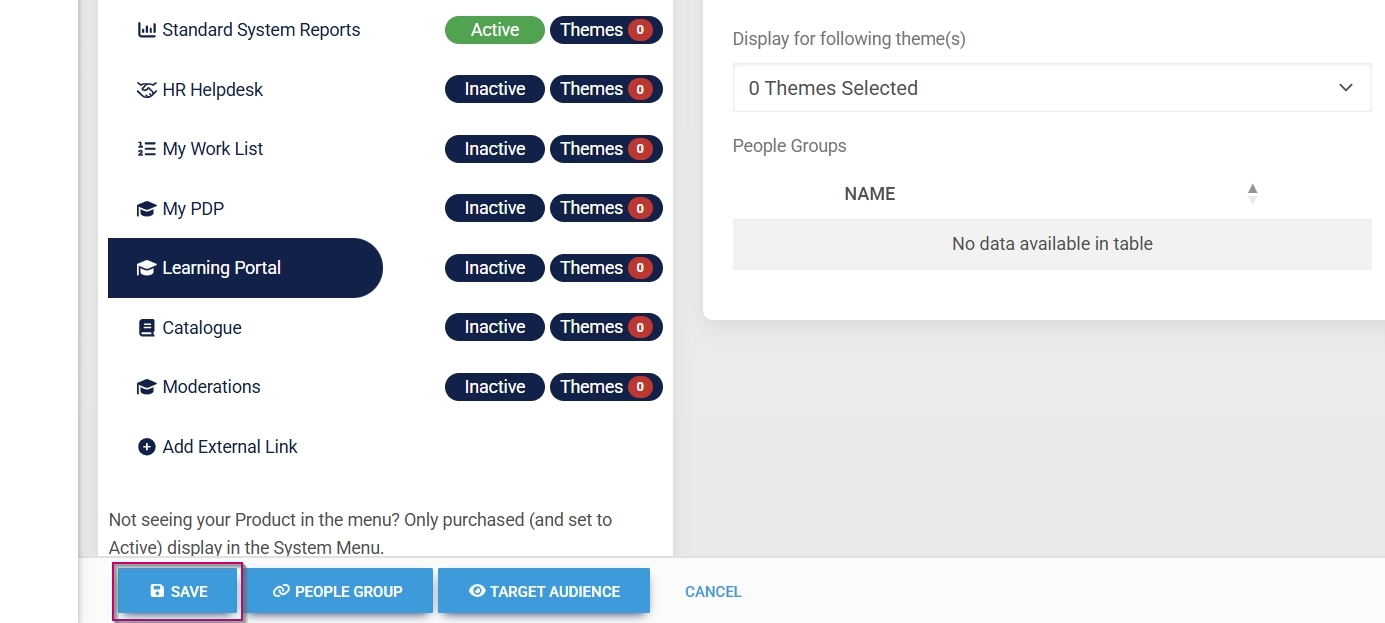
- Click SAVE to continue or CANCEL to discard your changes.
Assign the Learning Management administrator permission
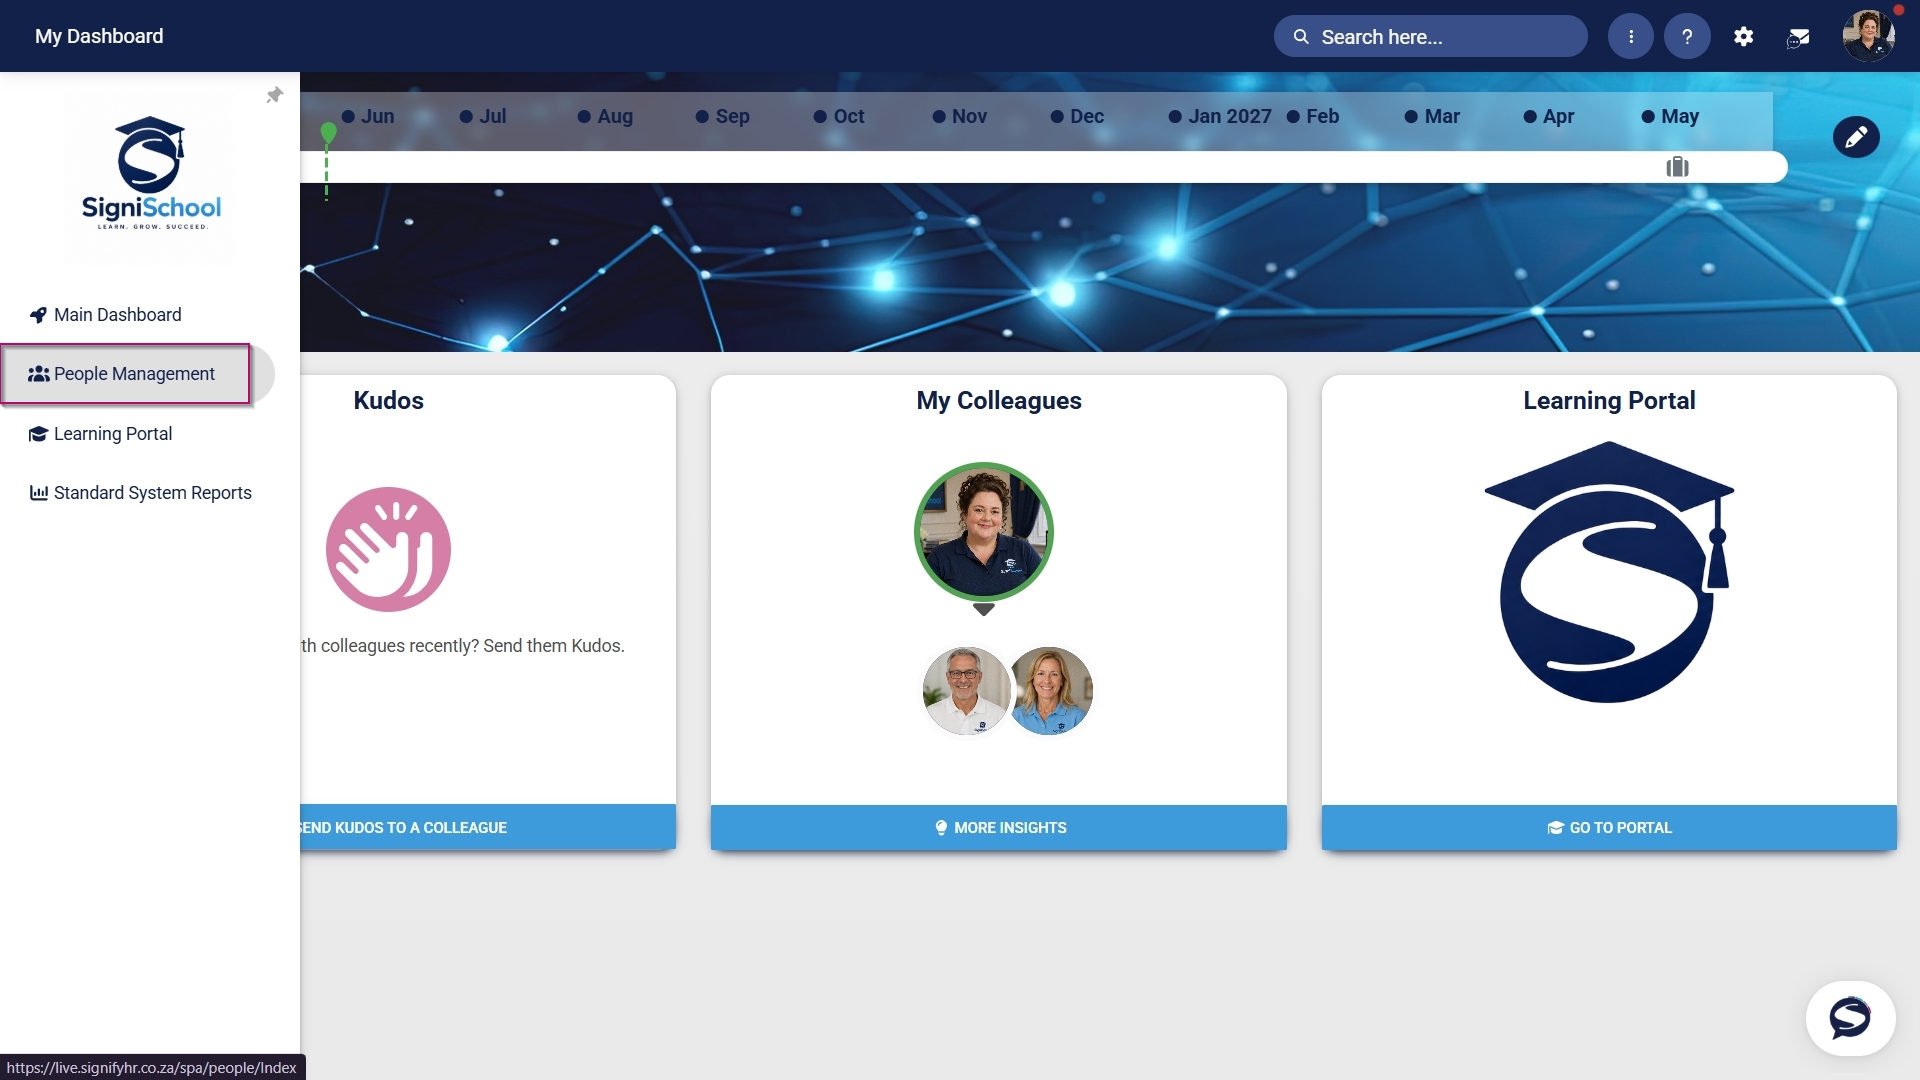
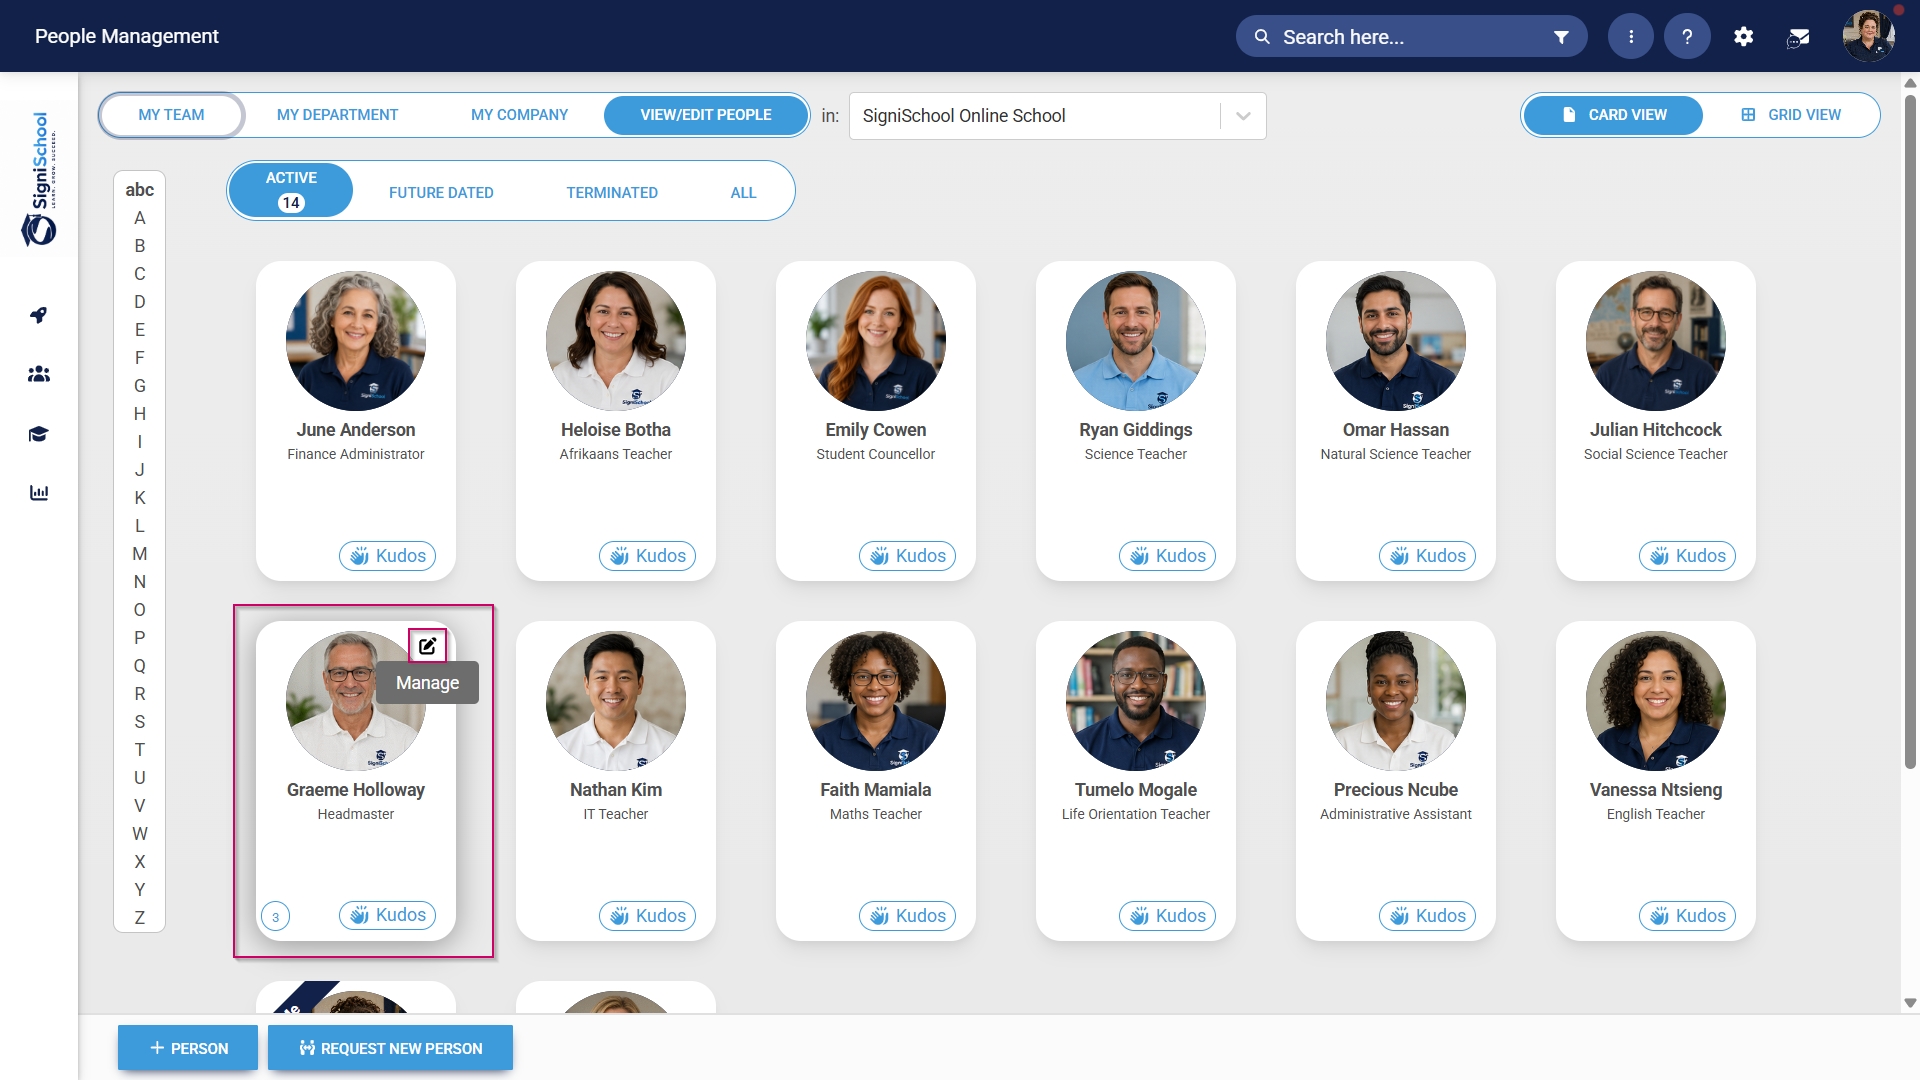
- Hover over the sidebar menu, then click People Management.
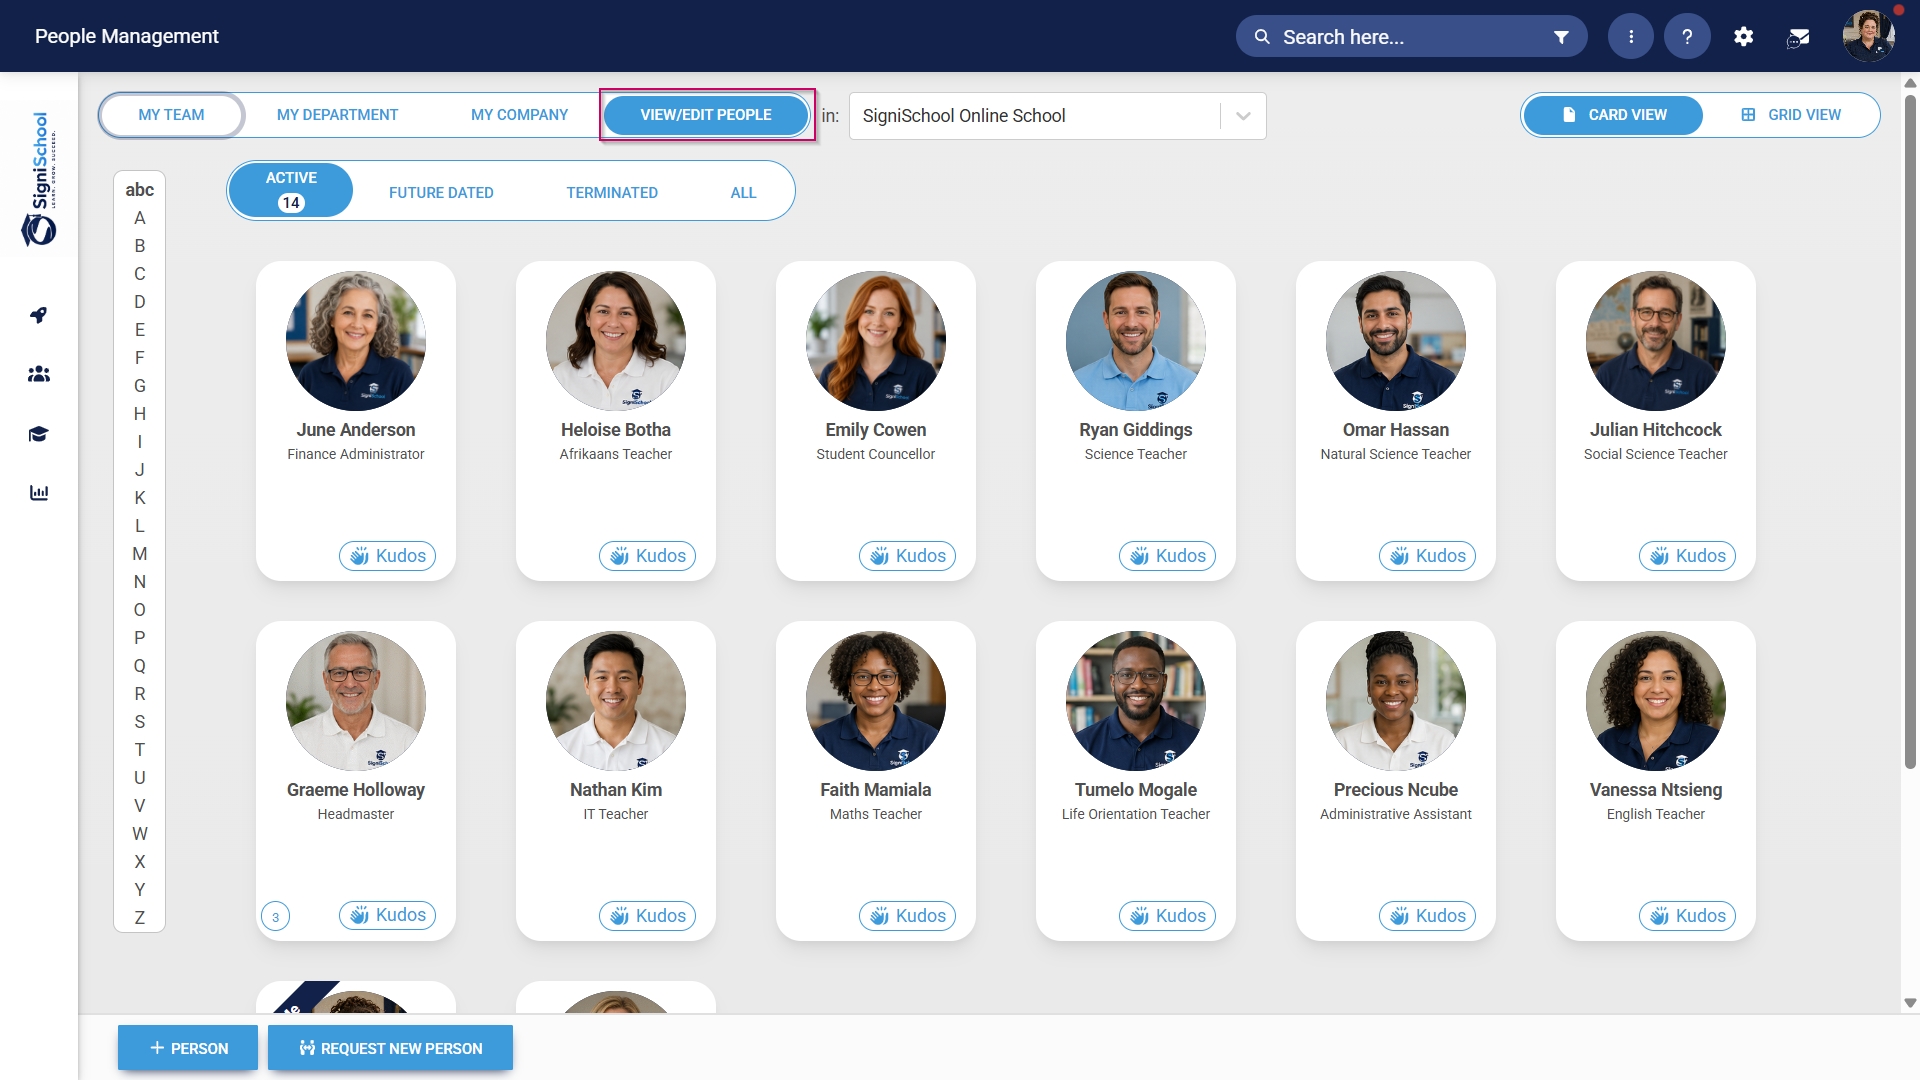
- Click the pencil icon to manage the profile of the person you want to edit.
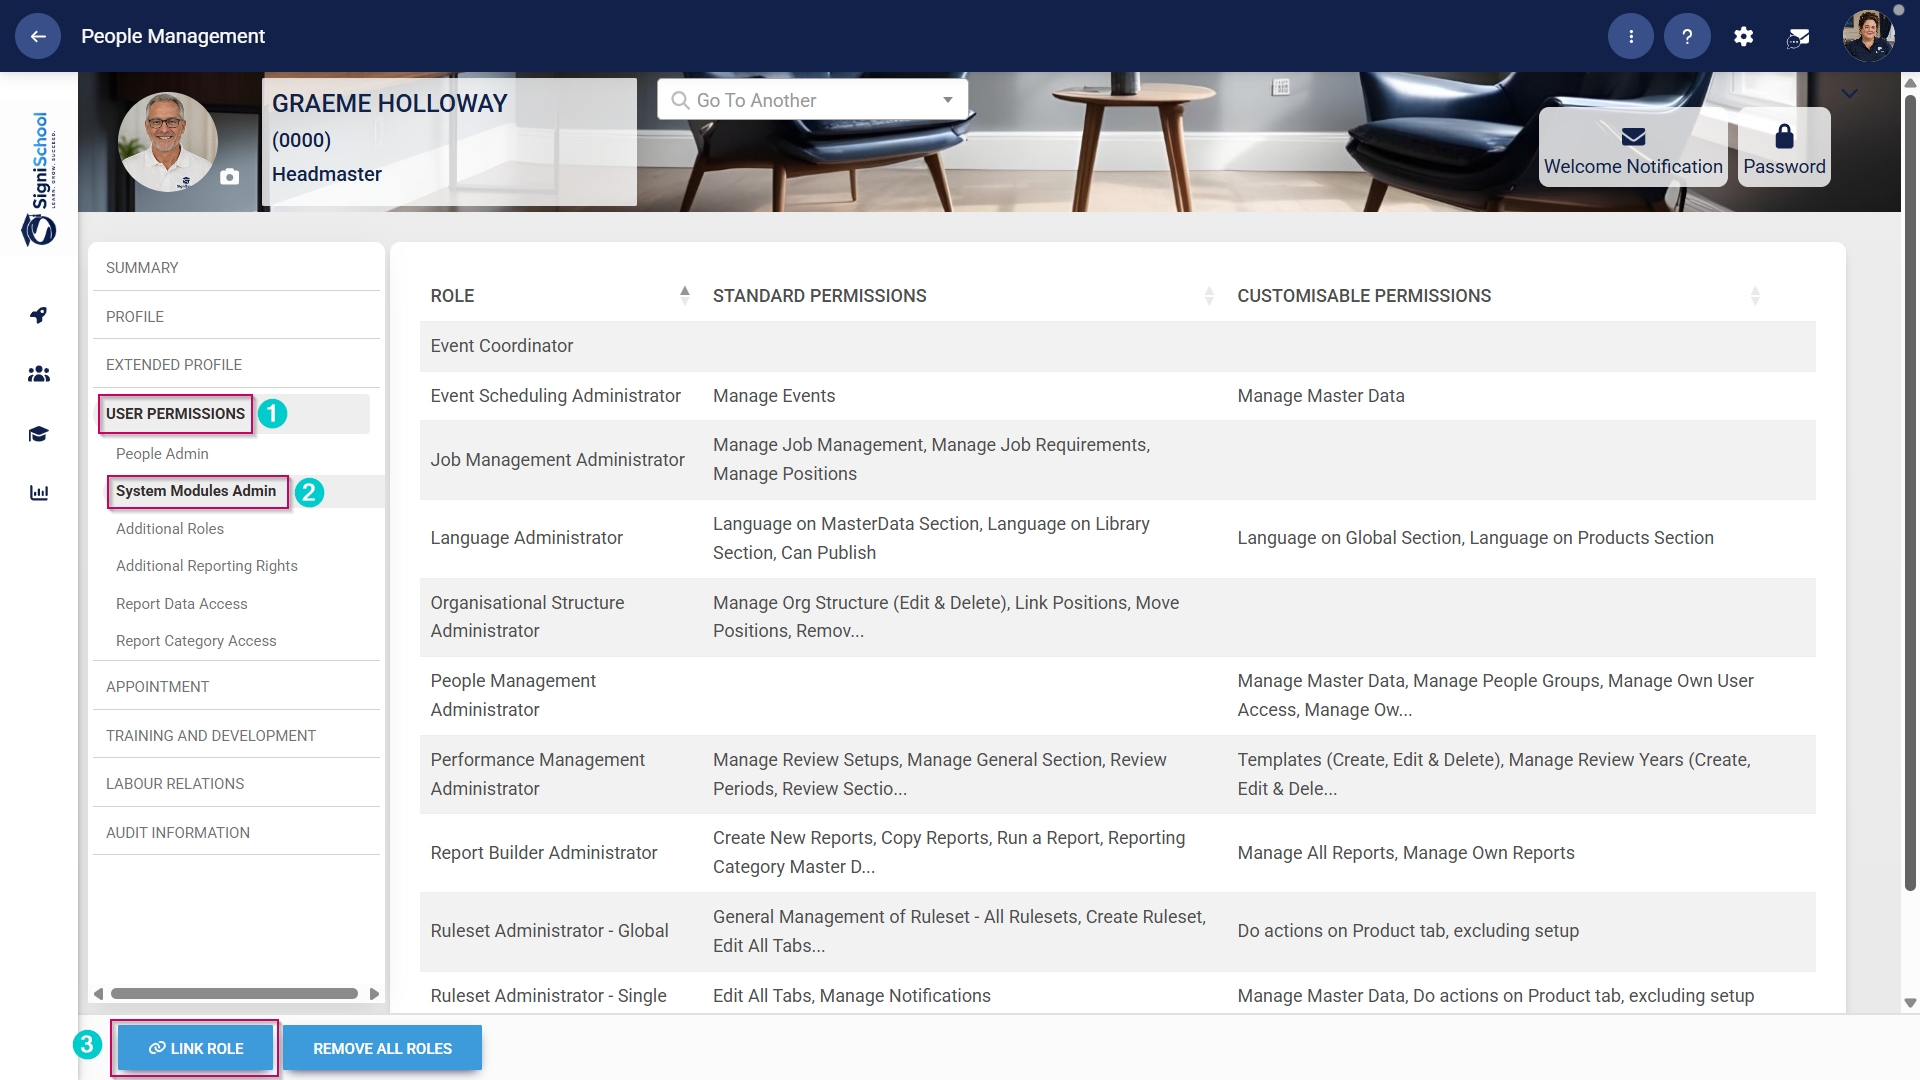
- In the left-hand menu, navigate to User Permissions, then click System Modules Admin.
- Click the LINK ROLE button.
- Tick the checkbox next to Learning Management in the table to assign the Learning Management administrator role to the user.
- Click SAVE to continue or CANCEL to discard your changes.

Enable the Import from Excel functionality
When using the Assessment Builder tool to create online assessments, the Import from Excel feature must be enabled.
- Hover over the sidebar menu, then click People Management.
- Click the pencil icon to manage the profile of the person you want to edit.
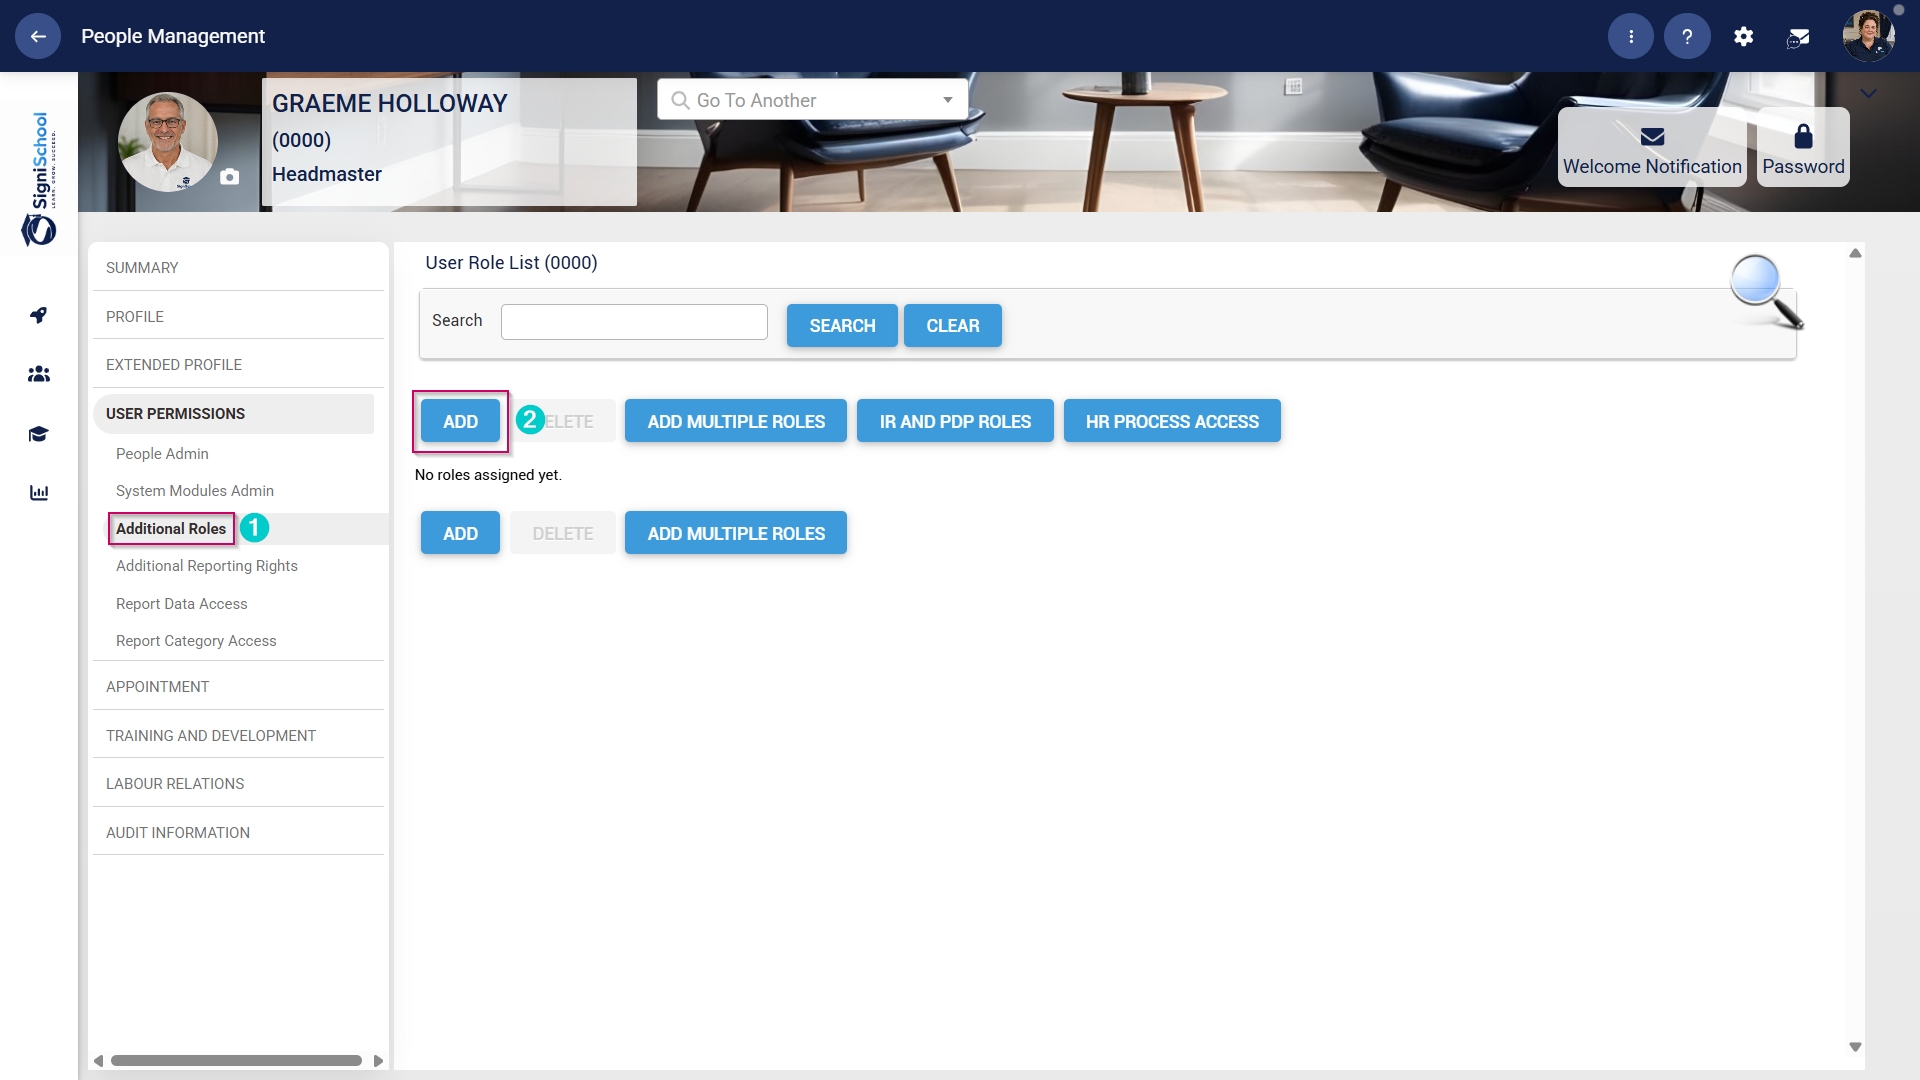
- In the left-hand menu, navigate to User Permissions, then click Additional Roles.
- Click the ADD button.
- Click the hand icon to select a role.
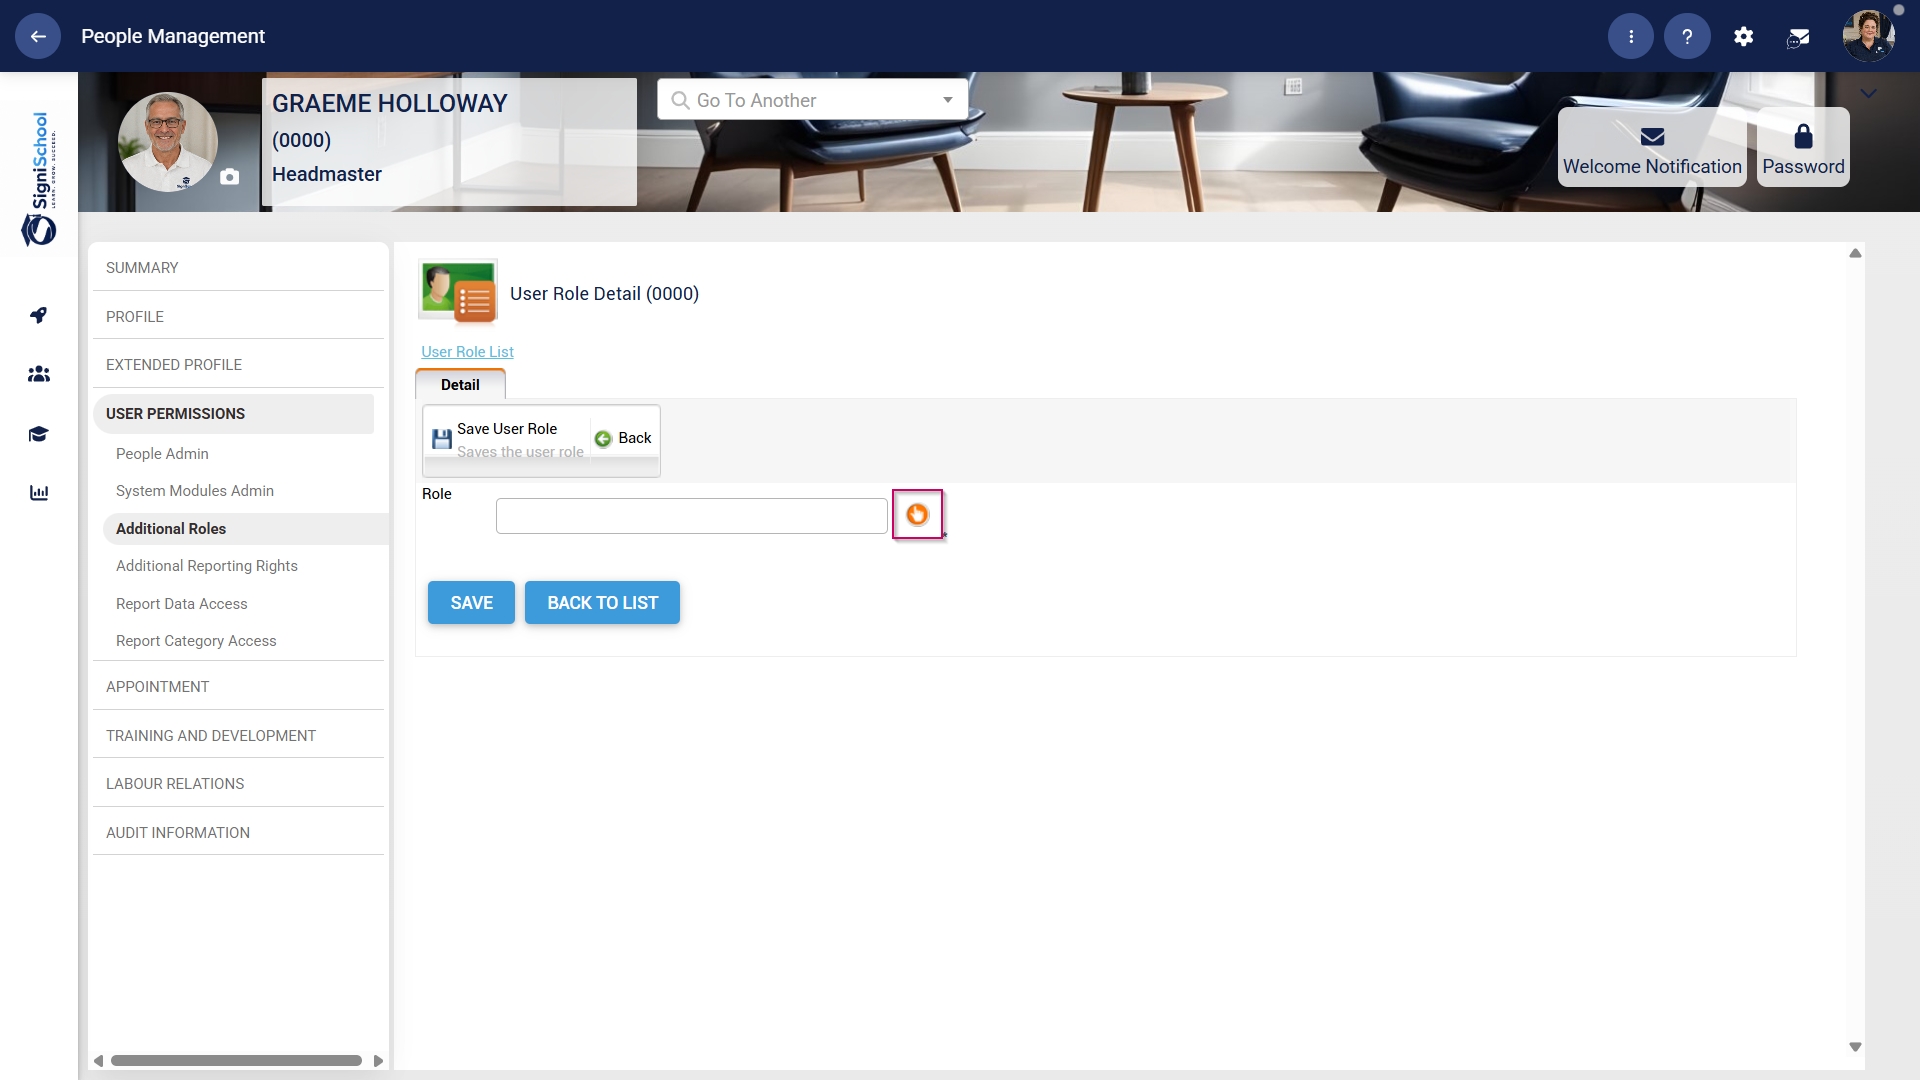
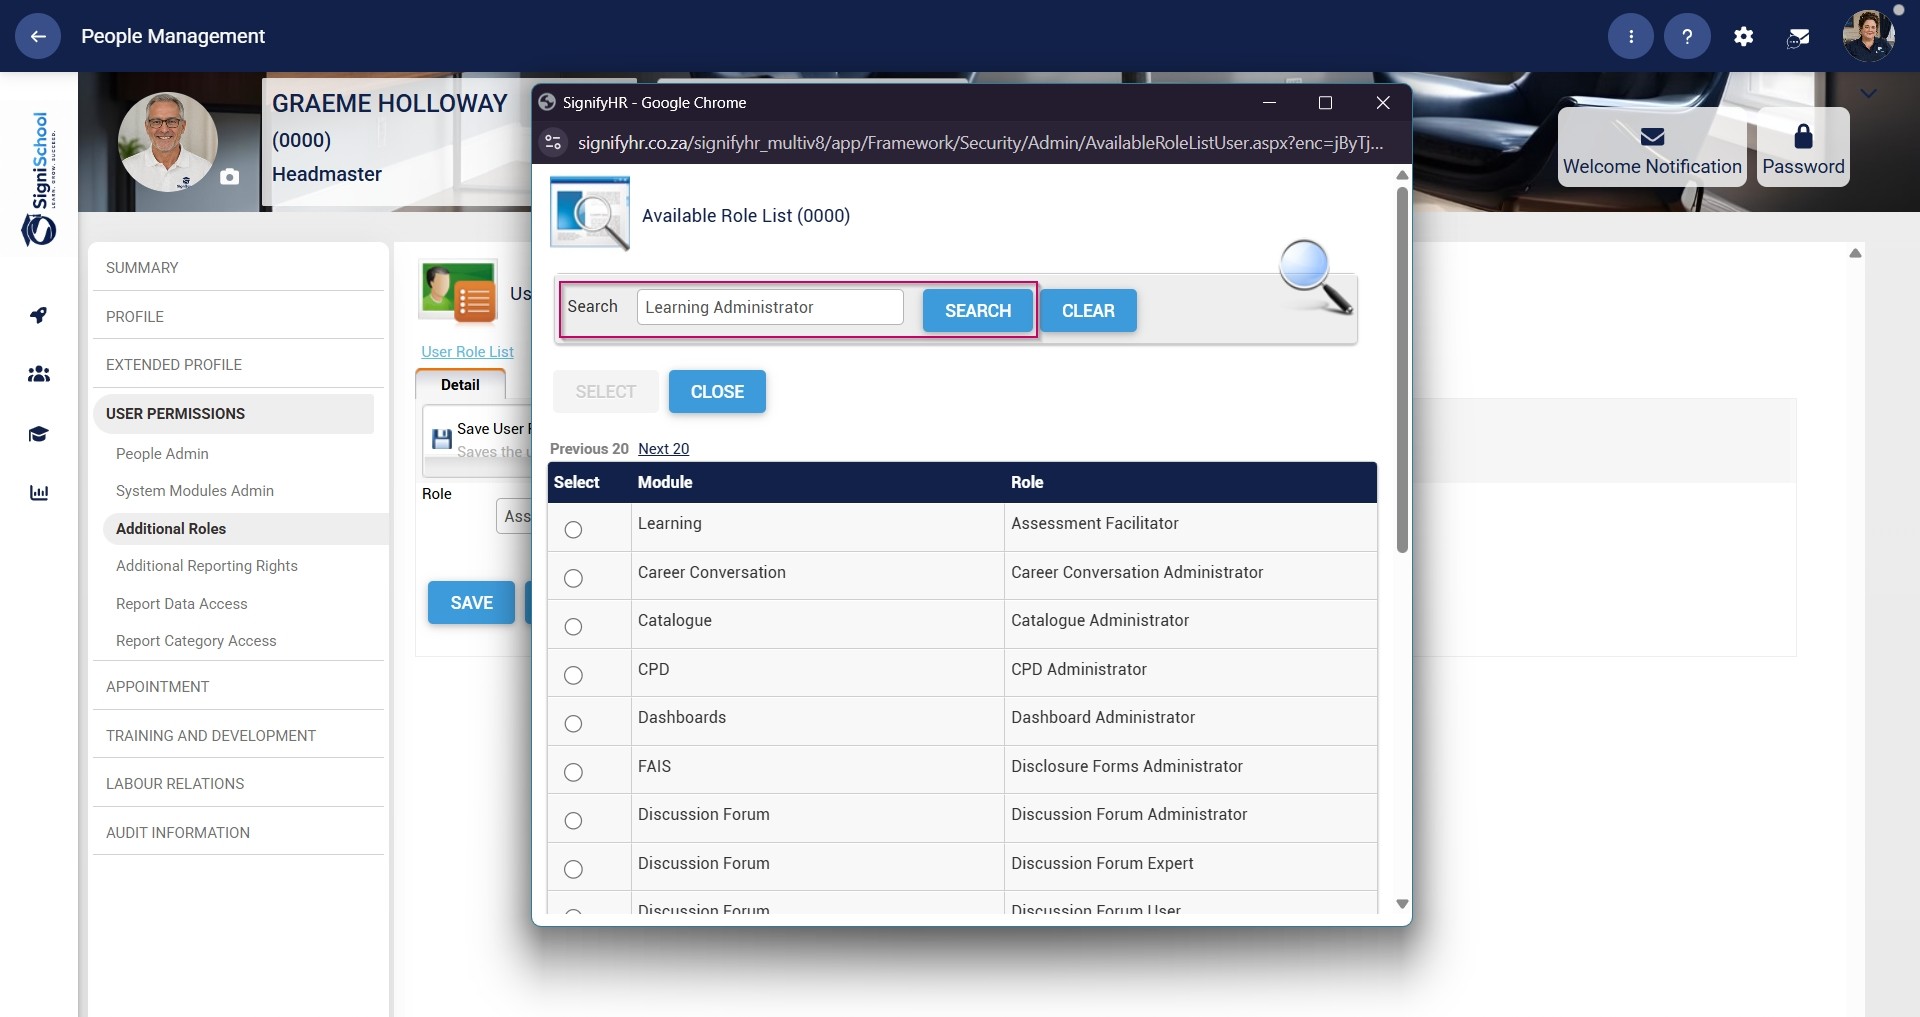
- Use the search bar to search for the Learning Administrator role.
- Select the Learning Administrator role, then confirm your choice by clicking the SELECT button.
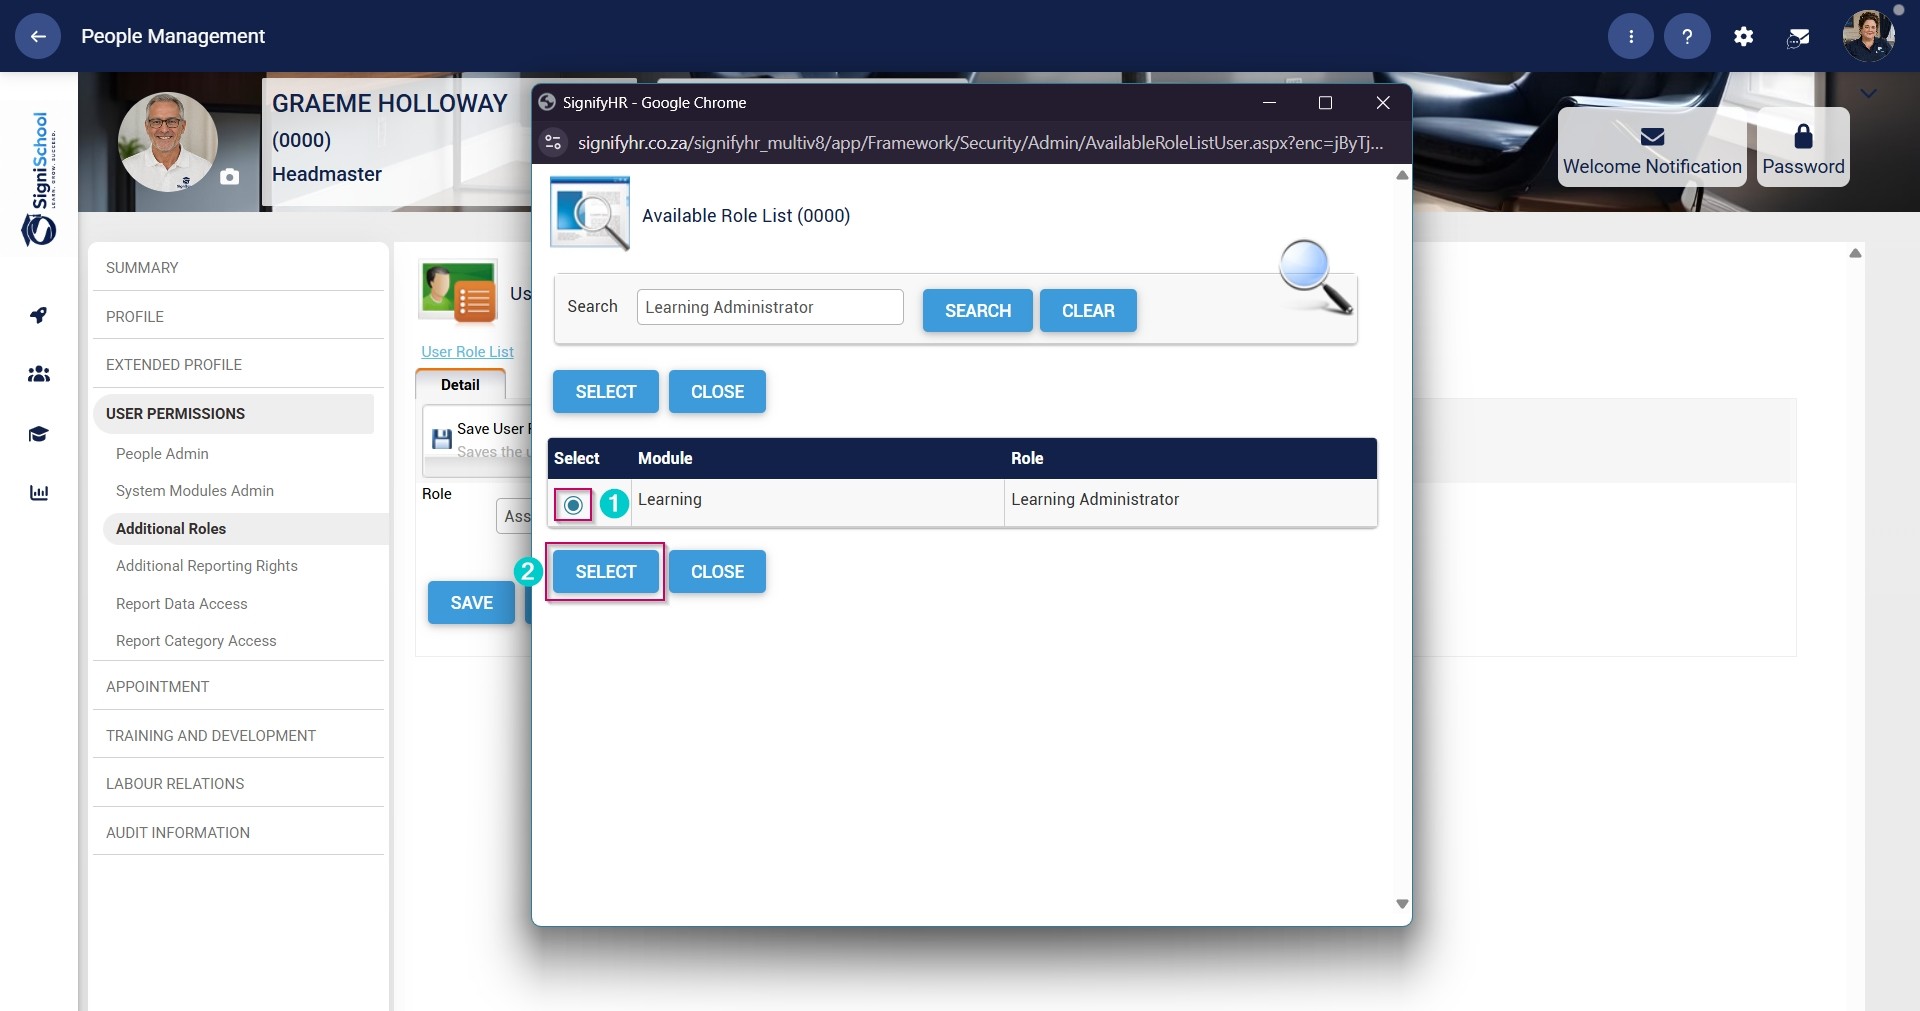
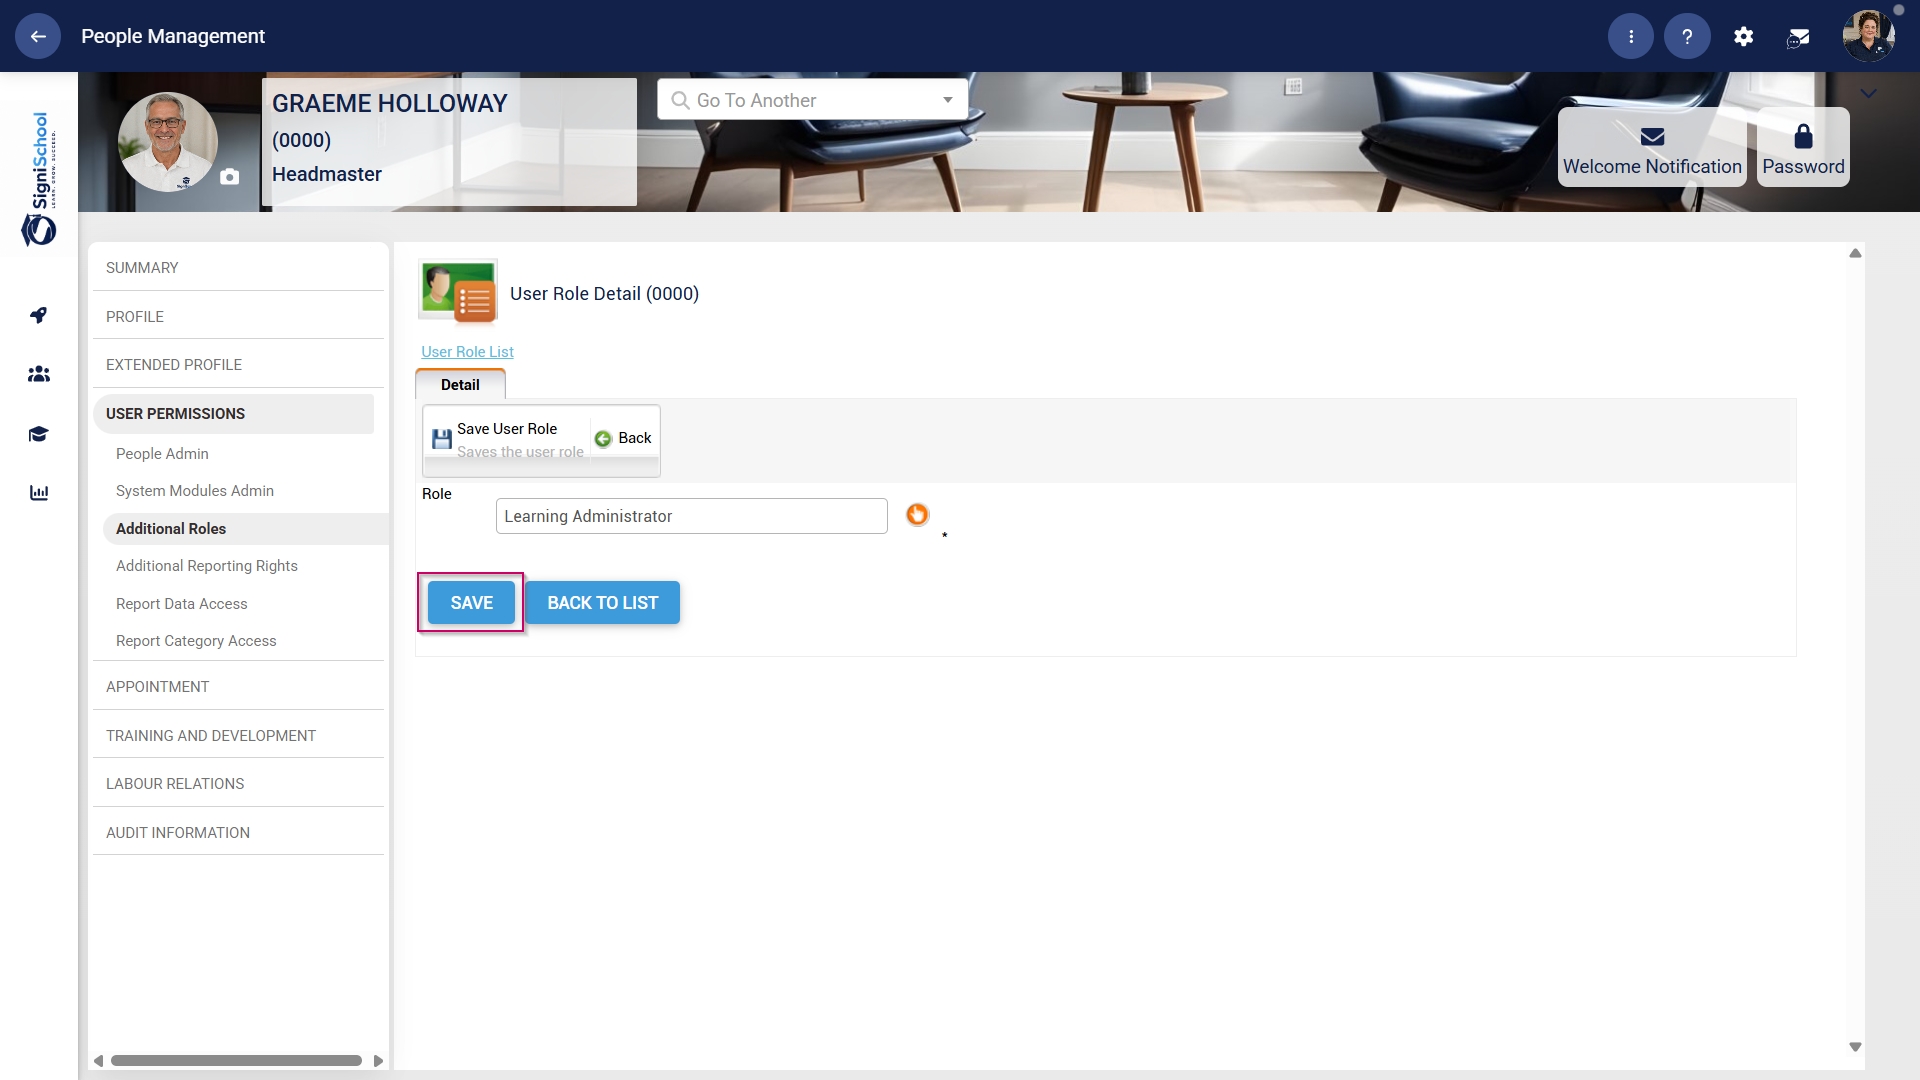
- Click the SAVE button.
- Click CHECK ALL to assign all Learning Administrator permissions to the user.

- Ensure the checkbox next to Import From Excel is ticked.
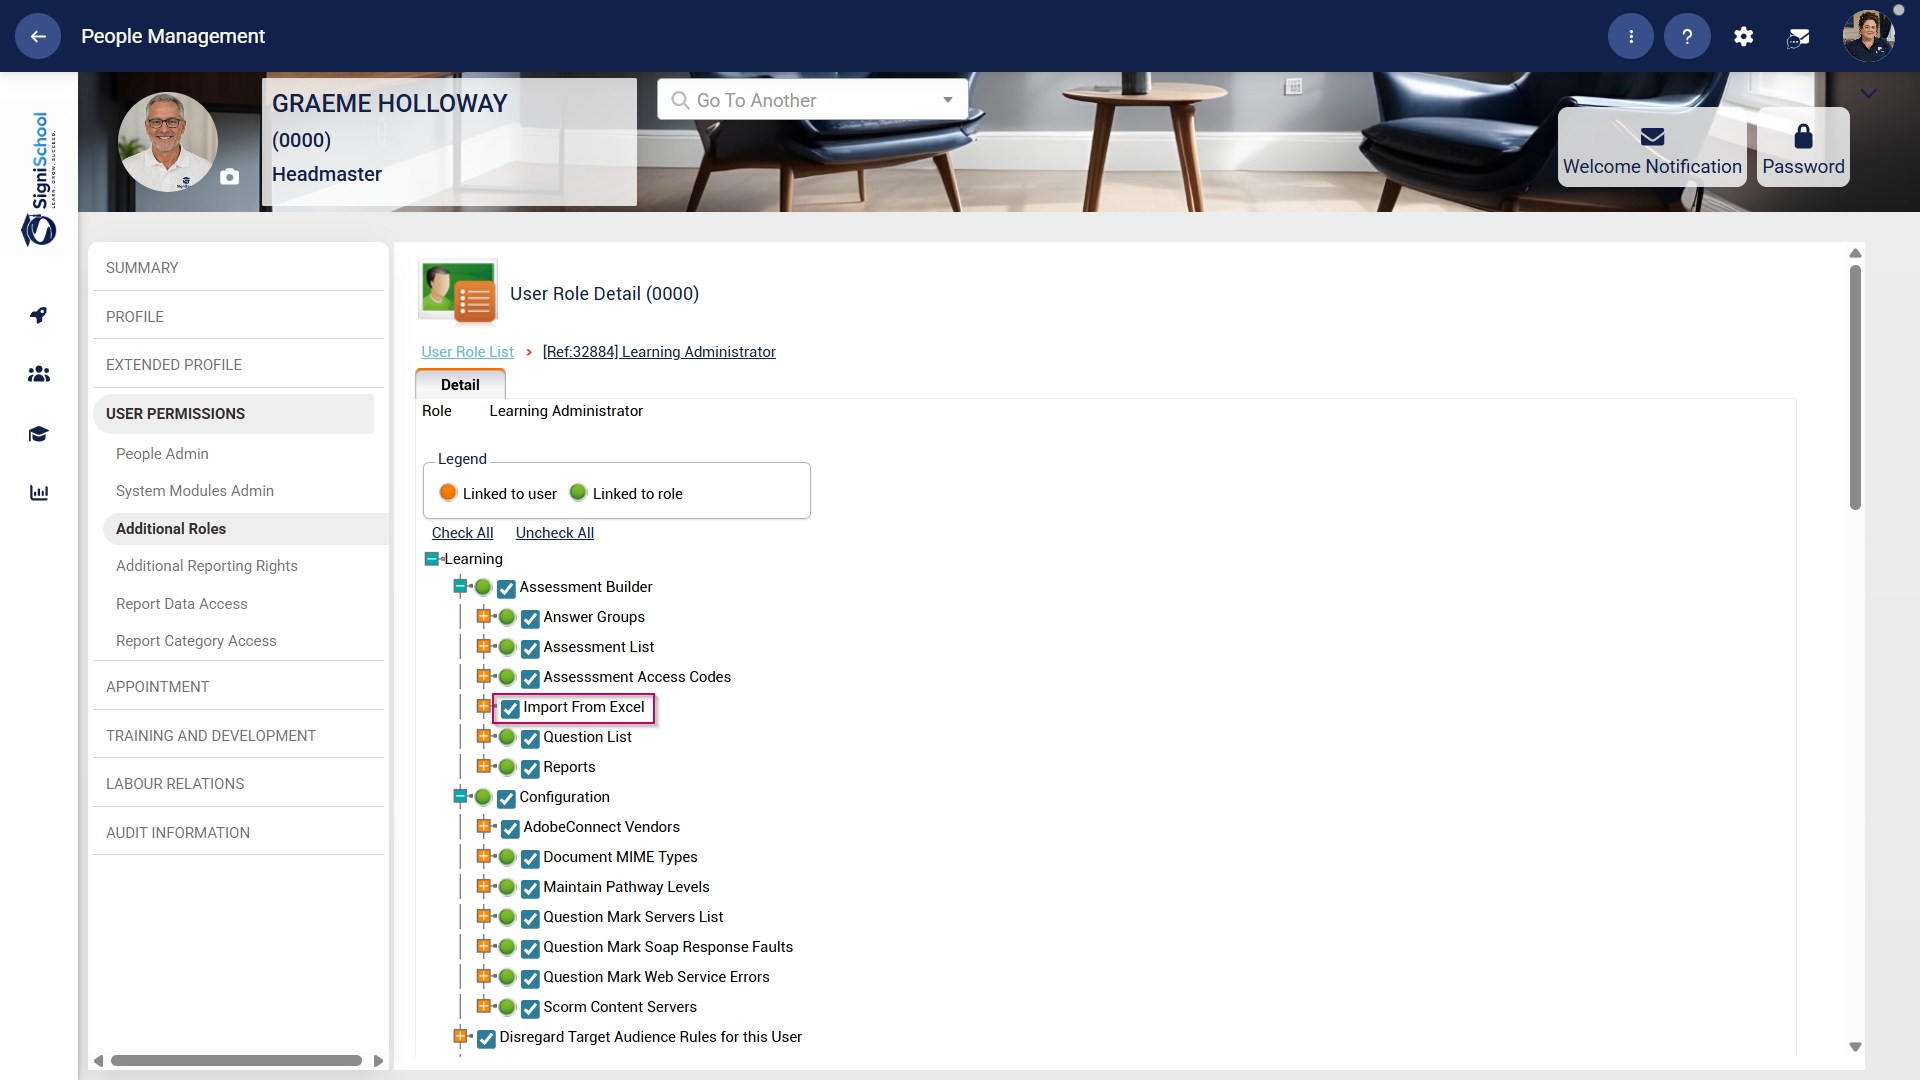
- Click SAVE to continue or BACK TO LIST to discard your changes.

Allow access to the Training Intervention Library
When building pathways, the Learning Administrator needs access to the Training Intervention Library.
- Hover over the sidebar menu, then click People Management.
- Click the pencil icon to manage the profile of the person you want to edit.
- In the left-hand menu, navigate to User Permissions, then click Additional Roles.
- Click the ADD button.
- Click the hand icon to select a role.
- Scroll down to the Event Administrator role and click the radio button to select it.
- Click the SELECT button.
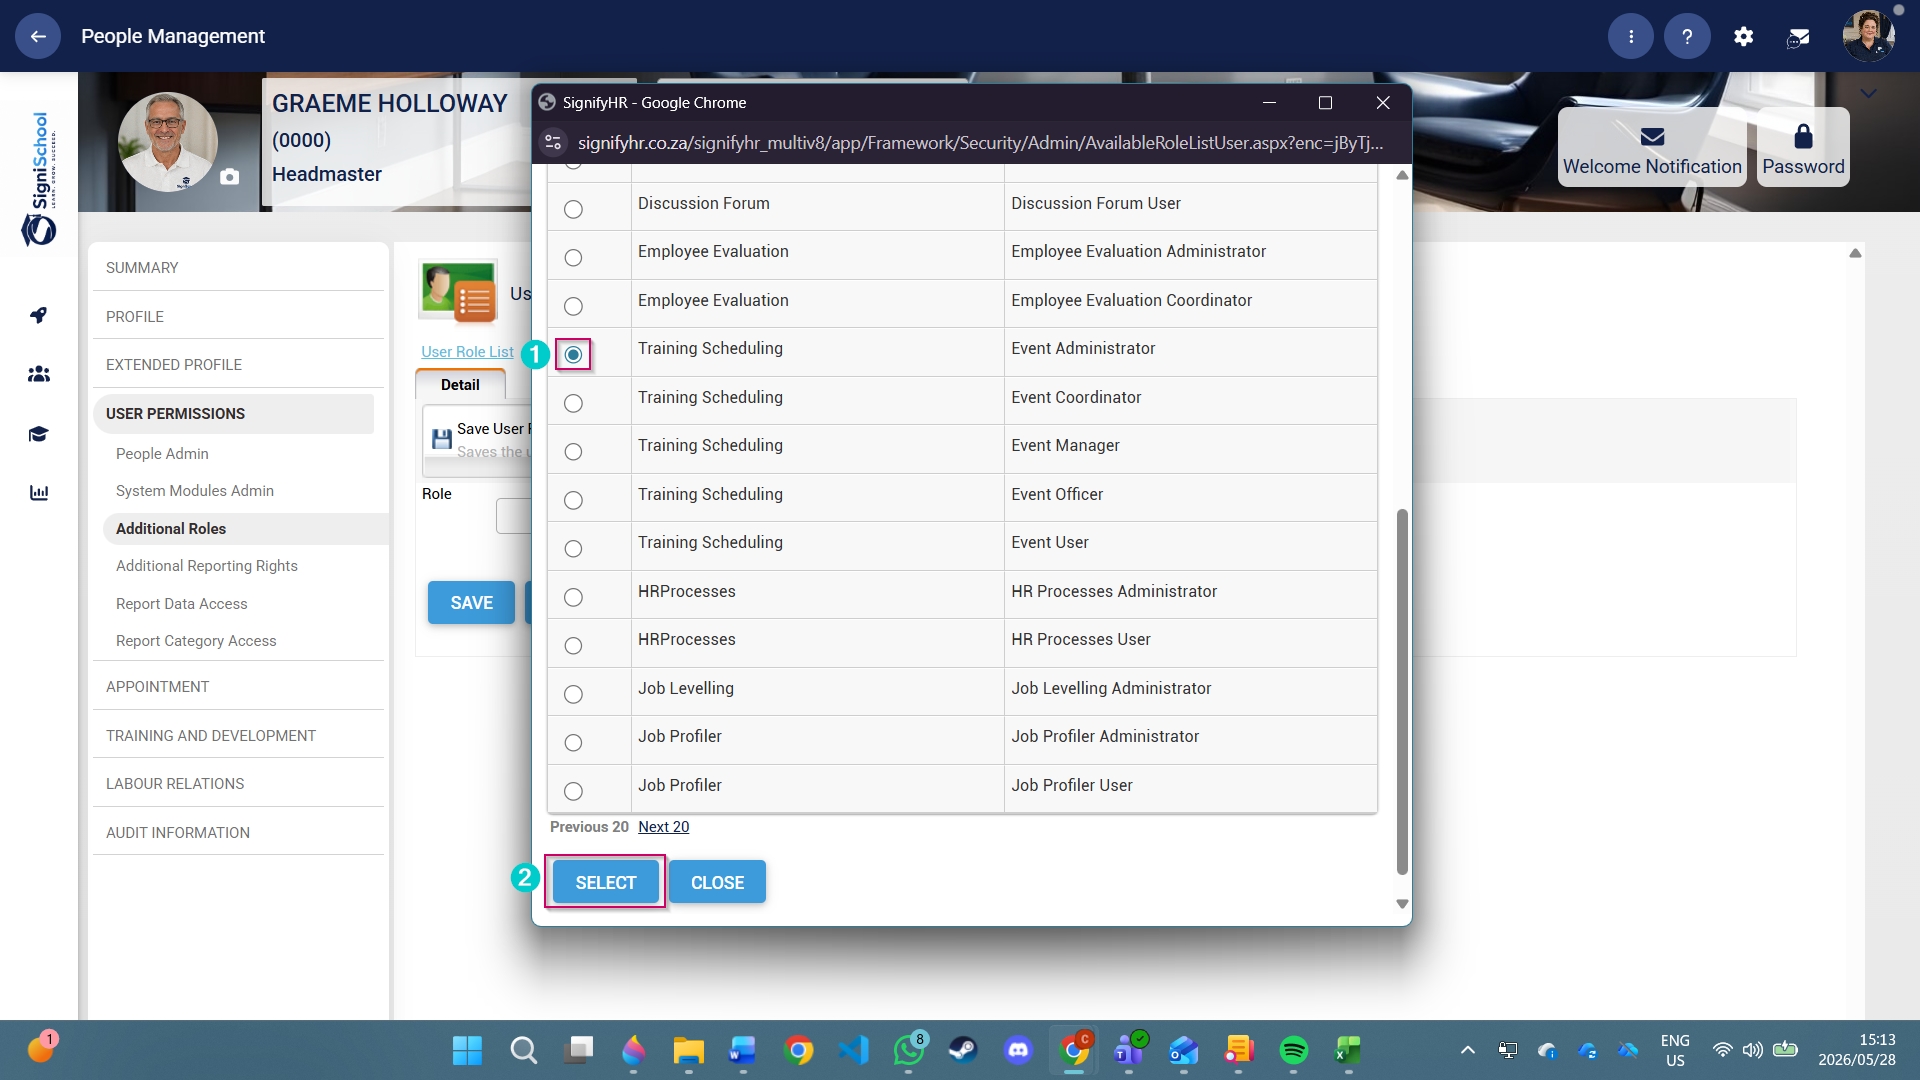
- Click the SAVE button.

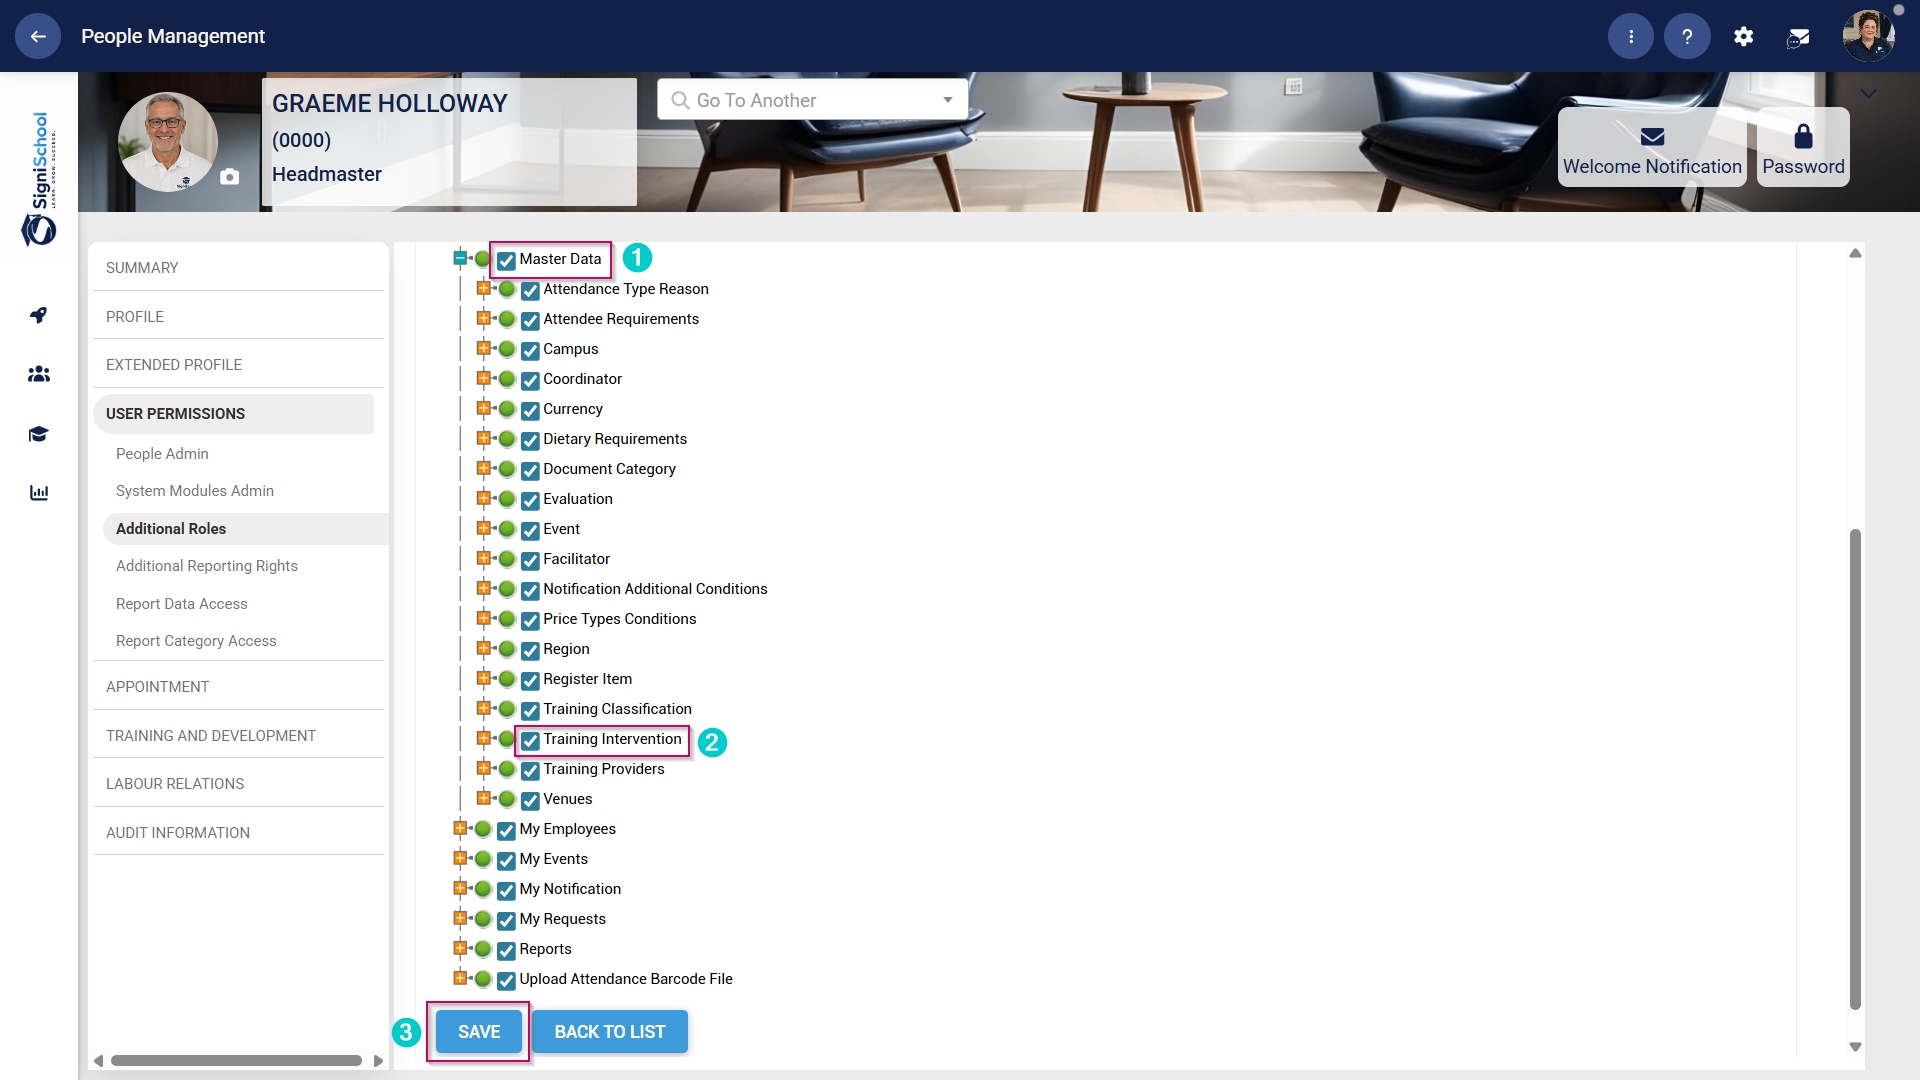
- Scroll down to the Master Data section, and ensure the checkbox next to the Training Intervention permission is ticked.
- Click SAVE to continue or BACK TO LIST to discard your changes.
Update the Master Data Library
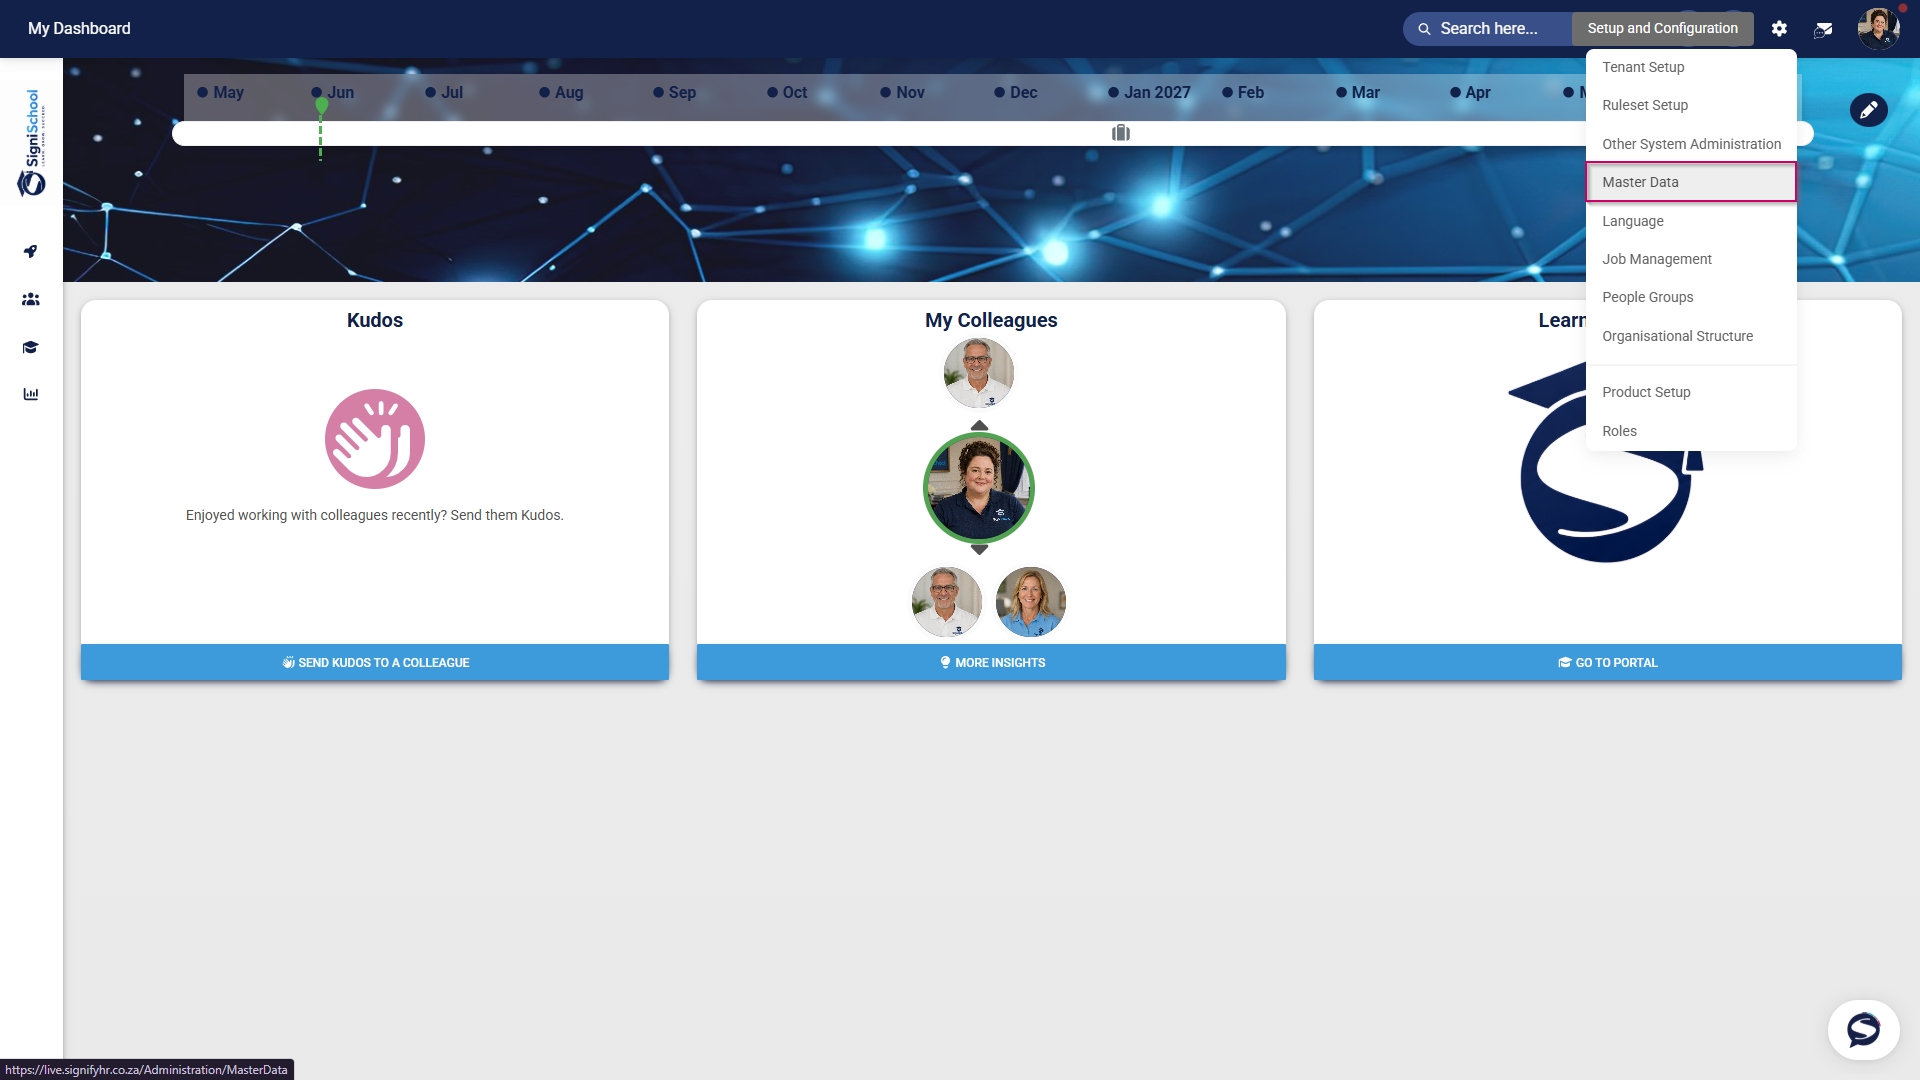
- Click the gear icon to access the Setup and Configuration menu.
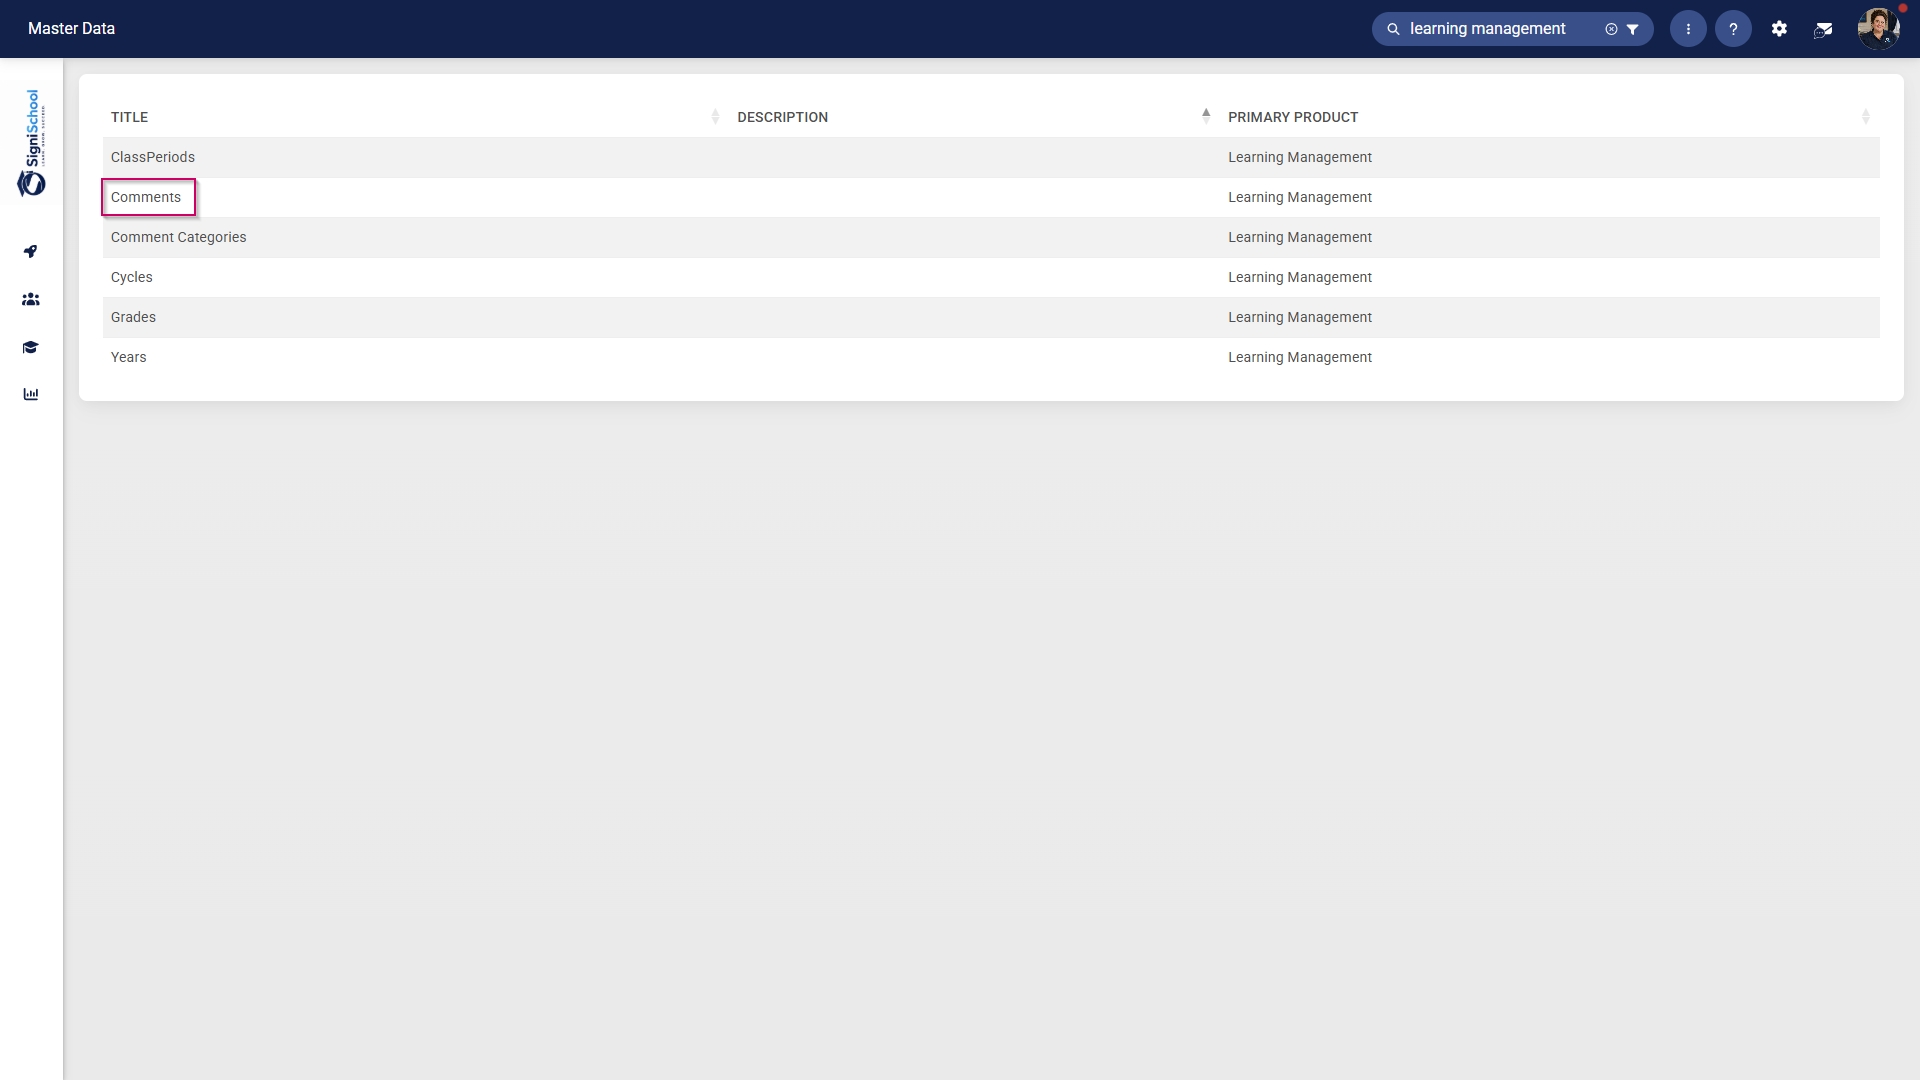
- Click Master Data.
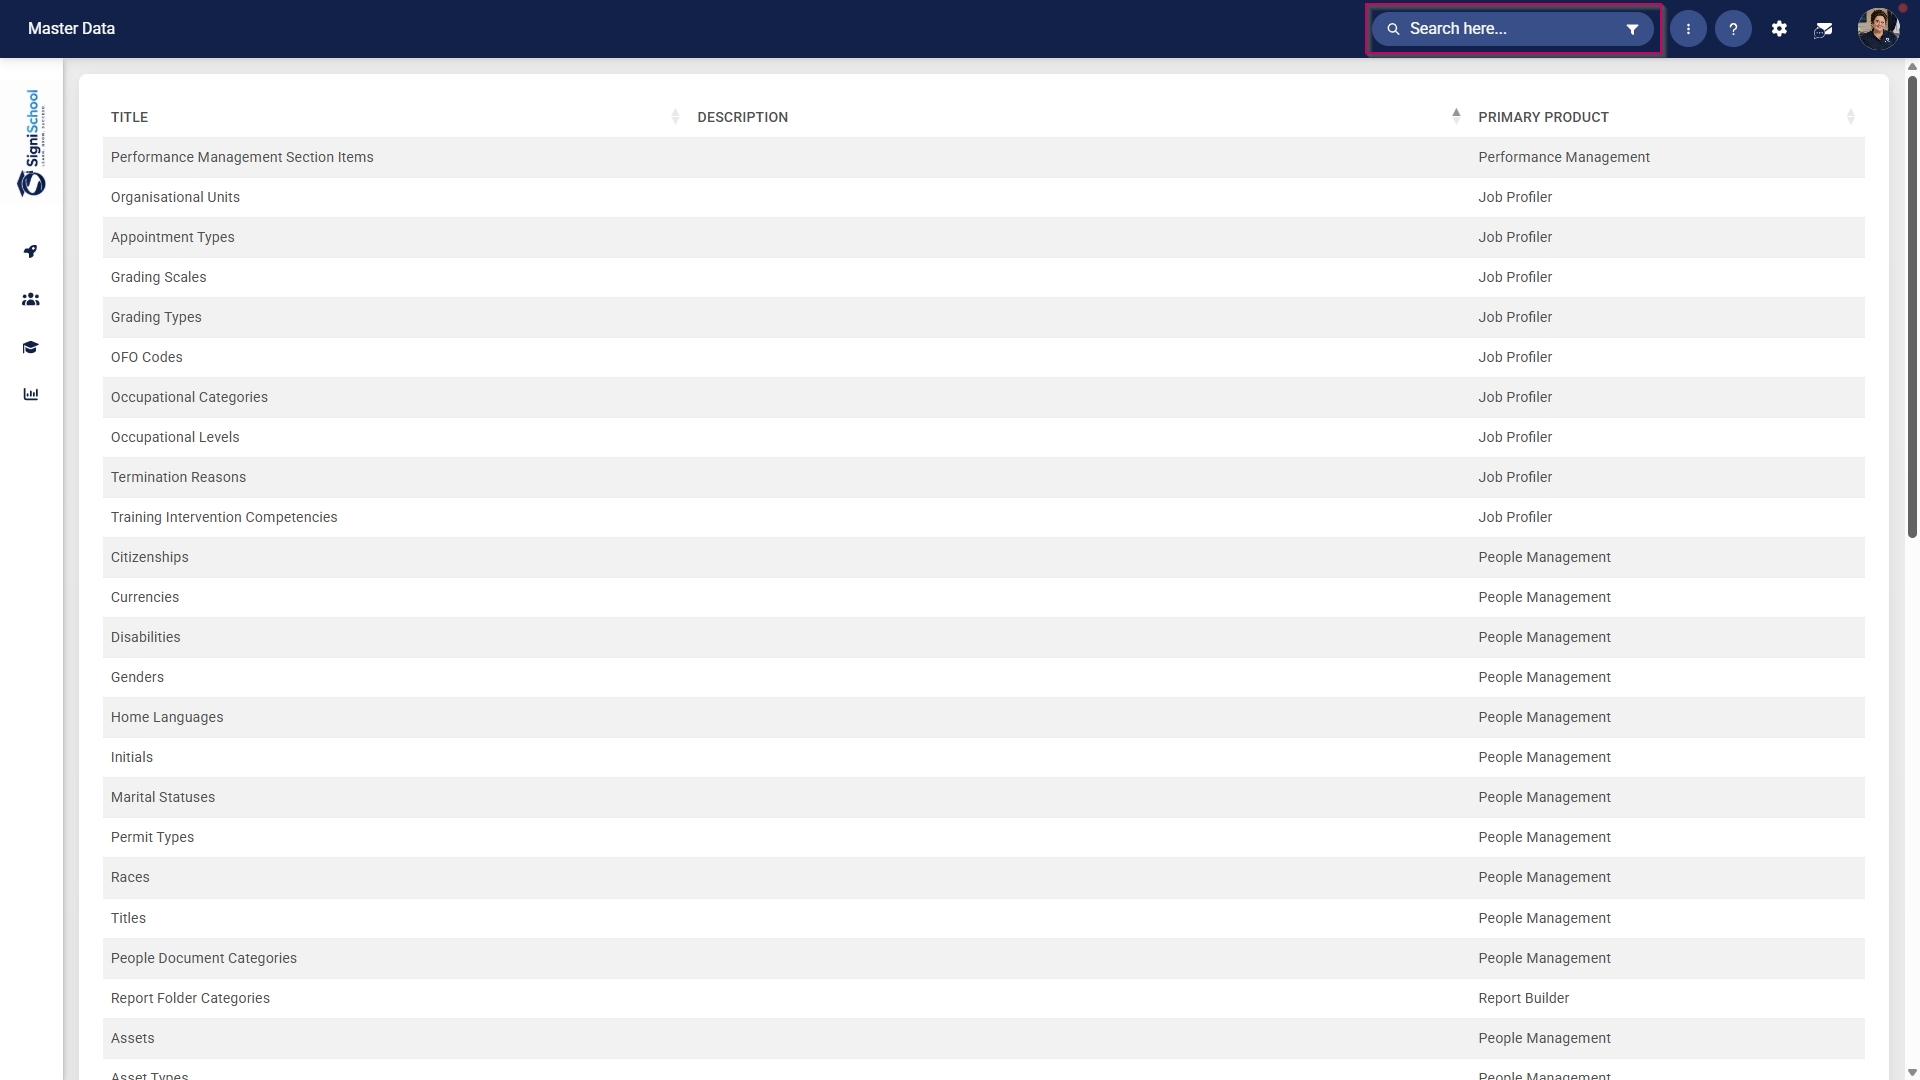
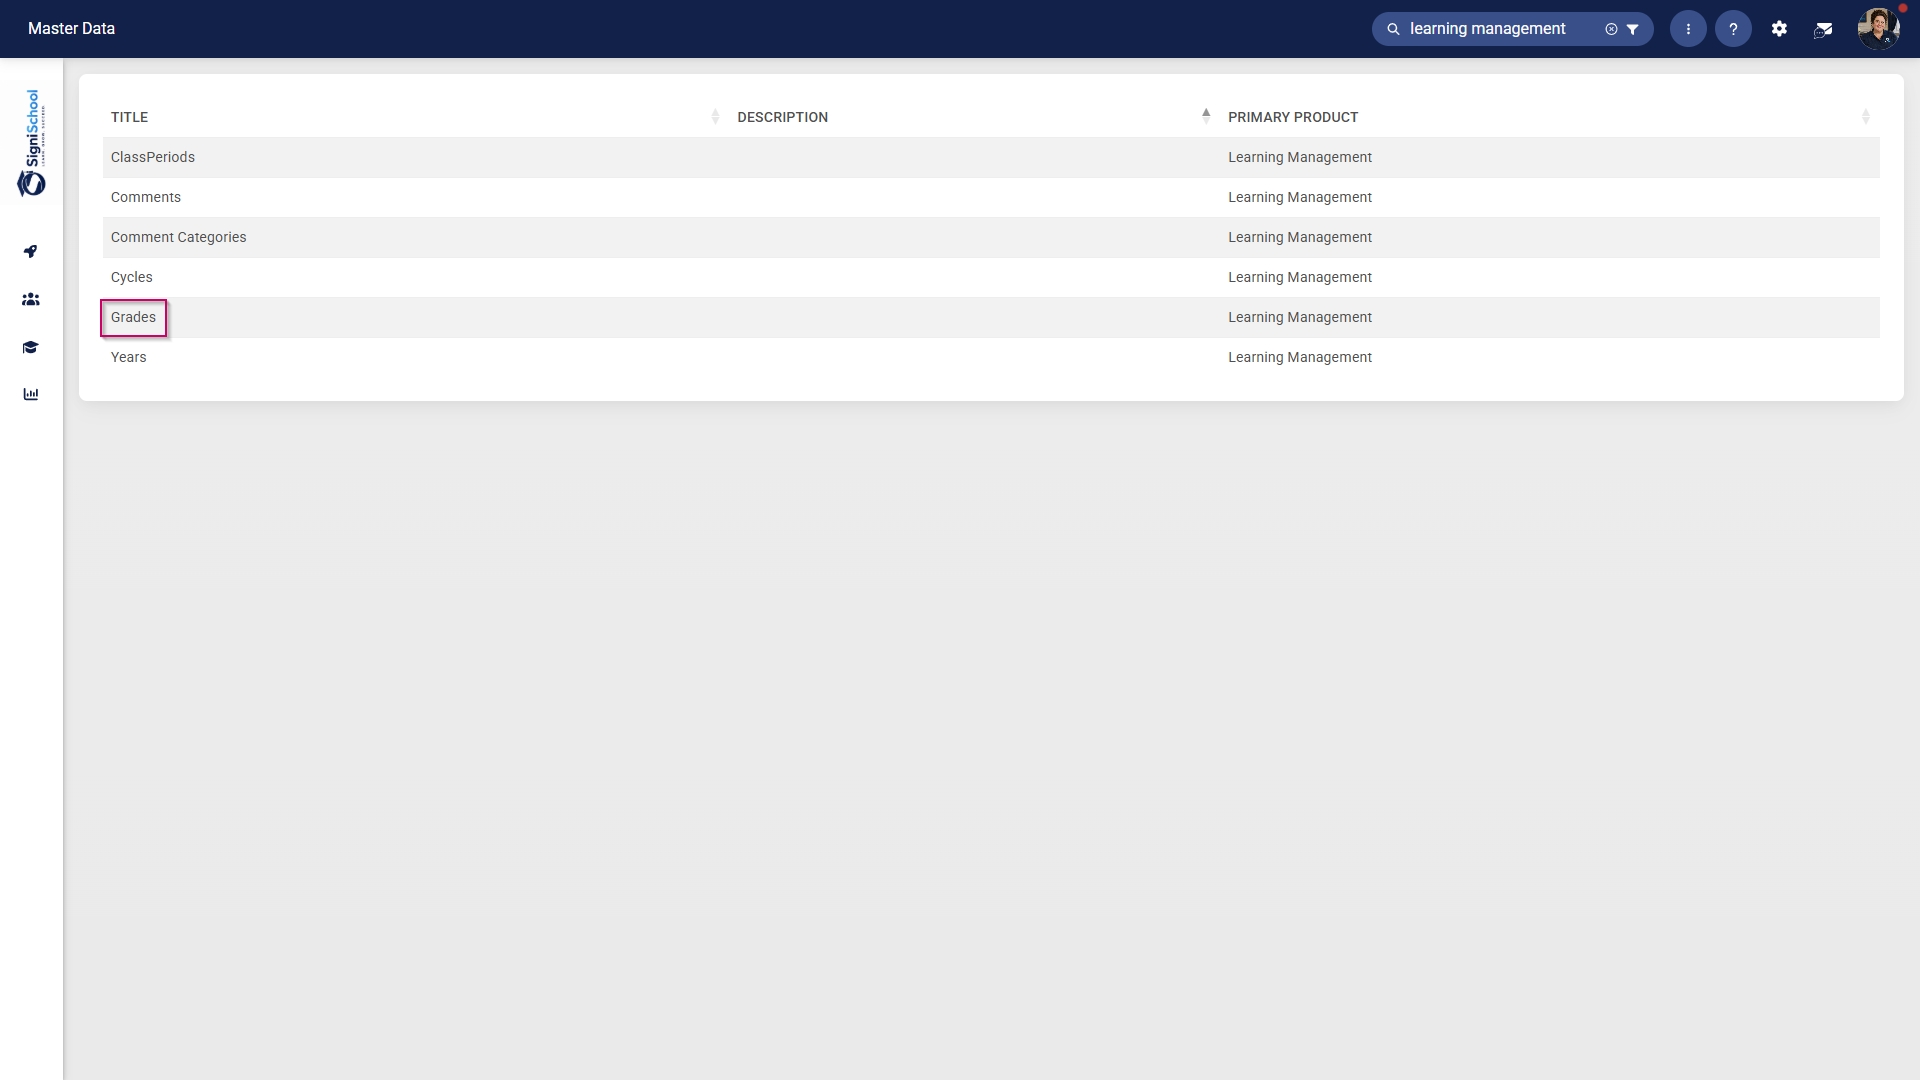
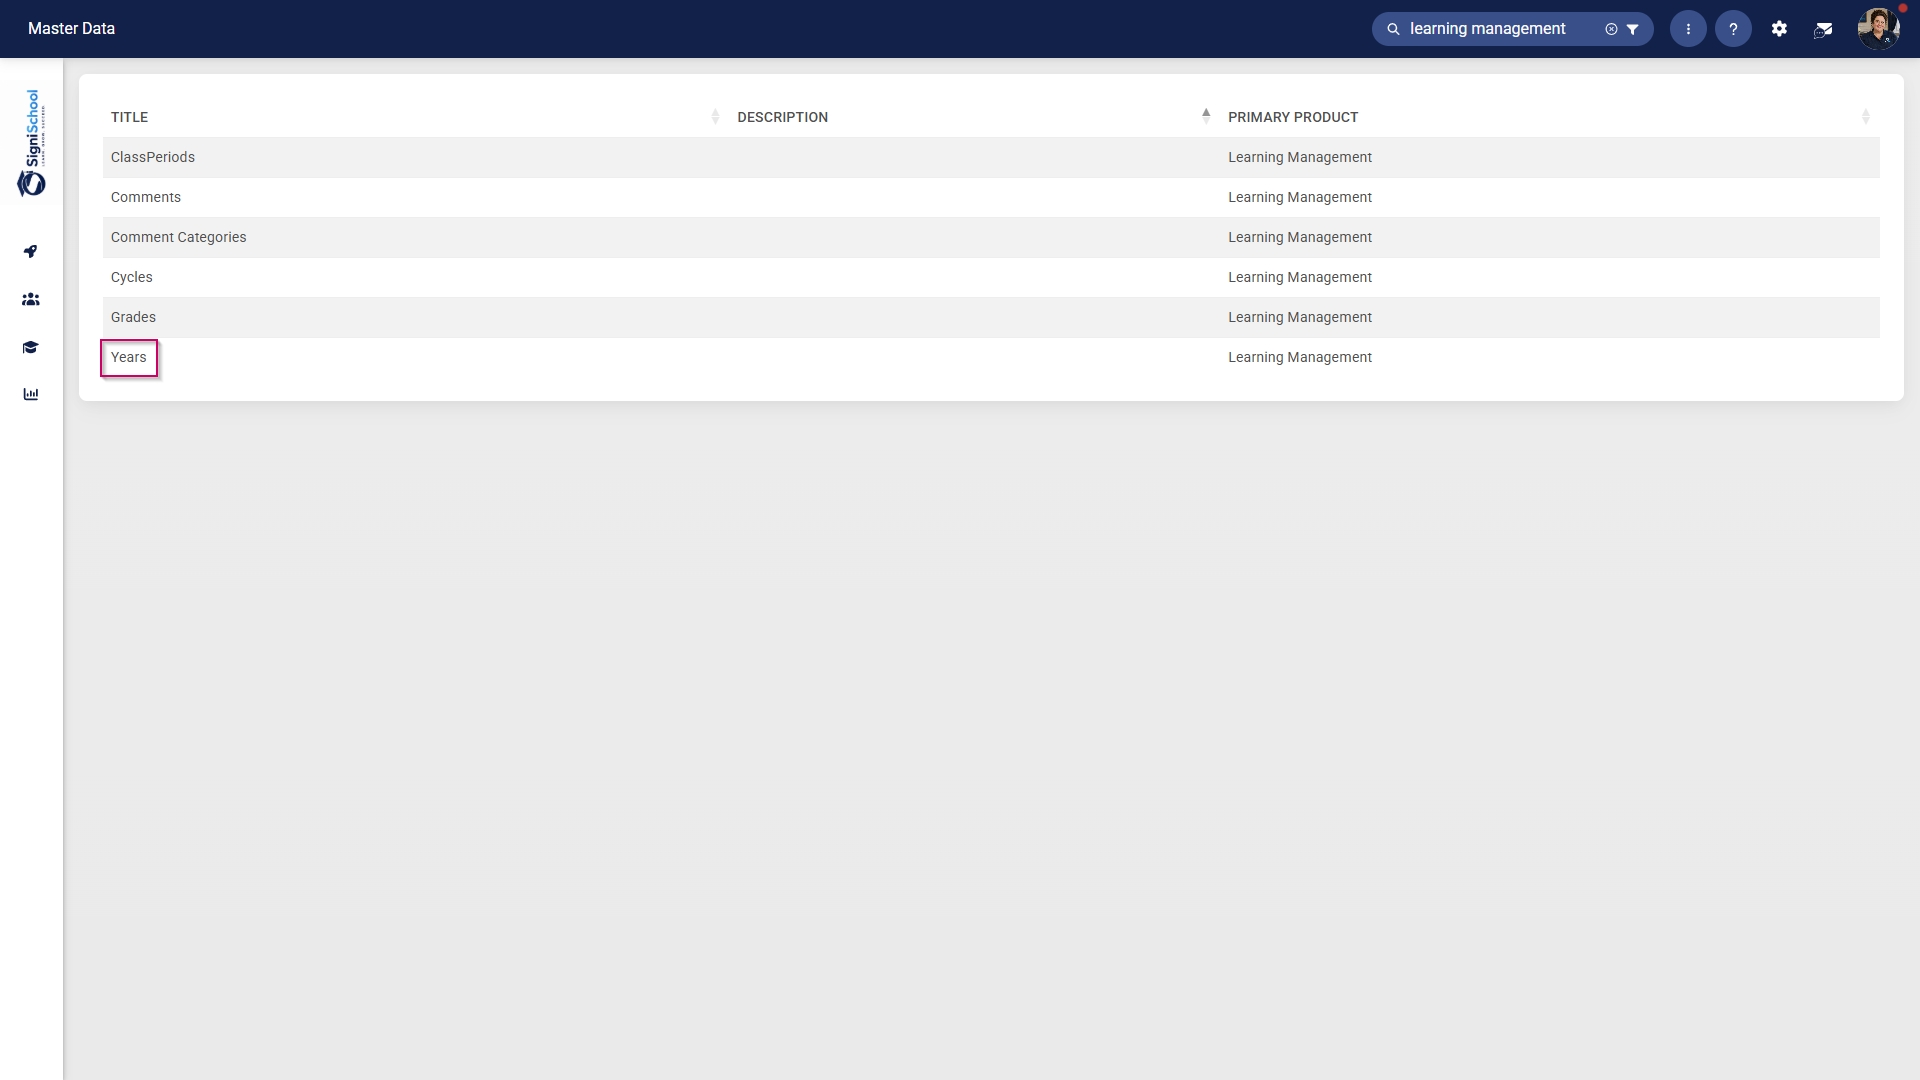
- The Master Data Library lists the categories for which administrators can create master data. Use the search bar at the top of the screen to filter the search results by Learning Management.
Configure cycles
- Click on the Cycles category to continue.

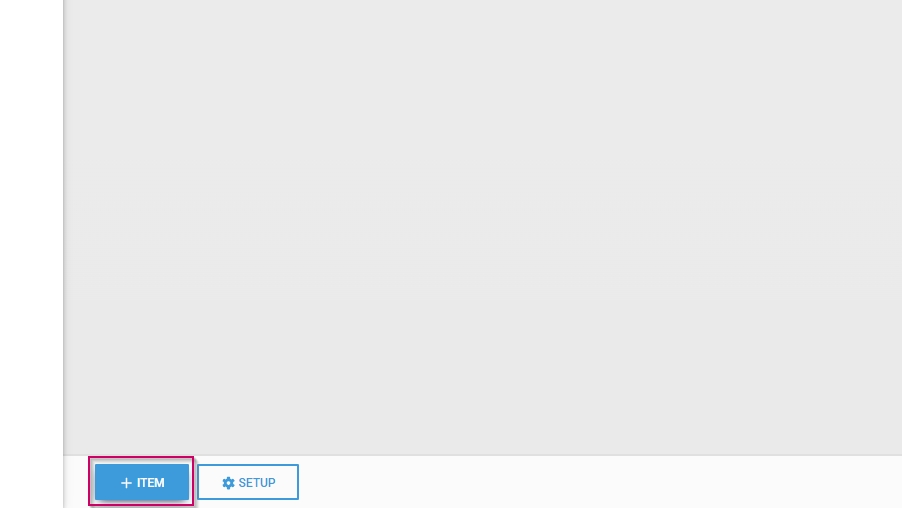
- To add a new master data item, click on +ITEM.
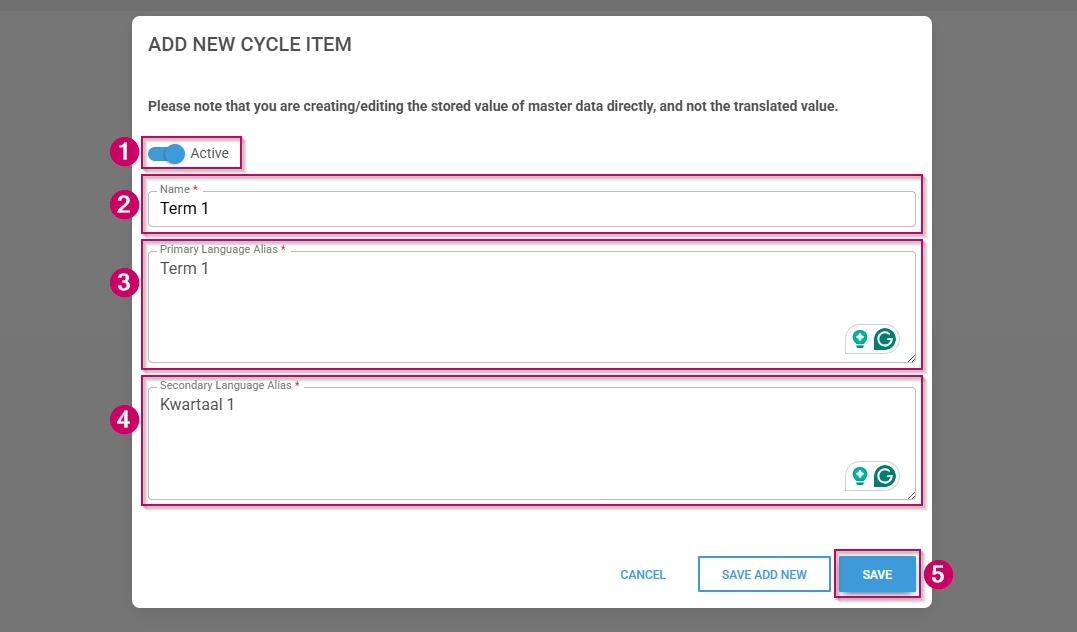
- Click the toggle button to set the cycle's status to Active.
- Enter a name for the cycle.
- Enter an alias for the cycle in the primary language.
- Enter an alias for the cycle in the secondary language.
- Click SAVE when you are finished, SAVE ADD NEW to add another master data item or click CANCEL to discard your edits.
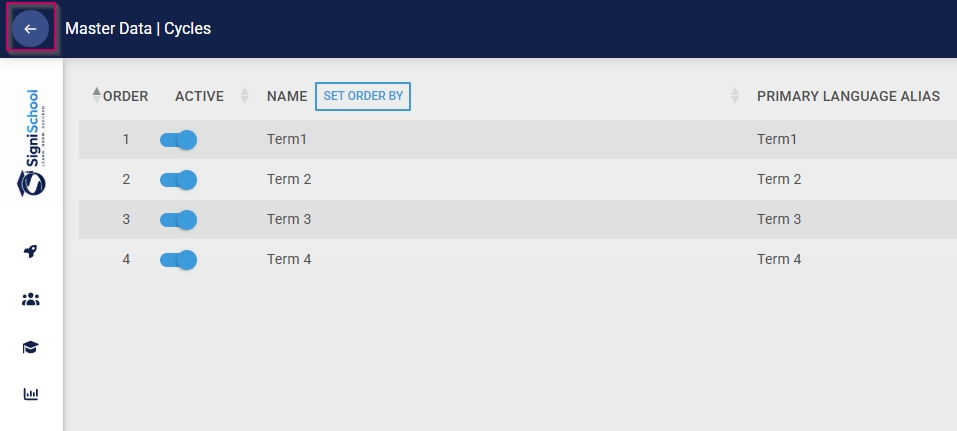
- Click the back arrow to navigate back to the Master Data Library once you are finished.
Configure grades
- Click on the Grades category to continue.
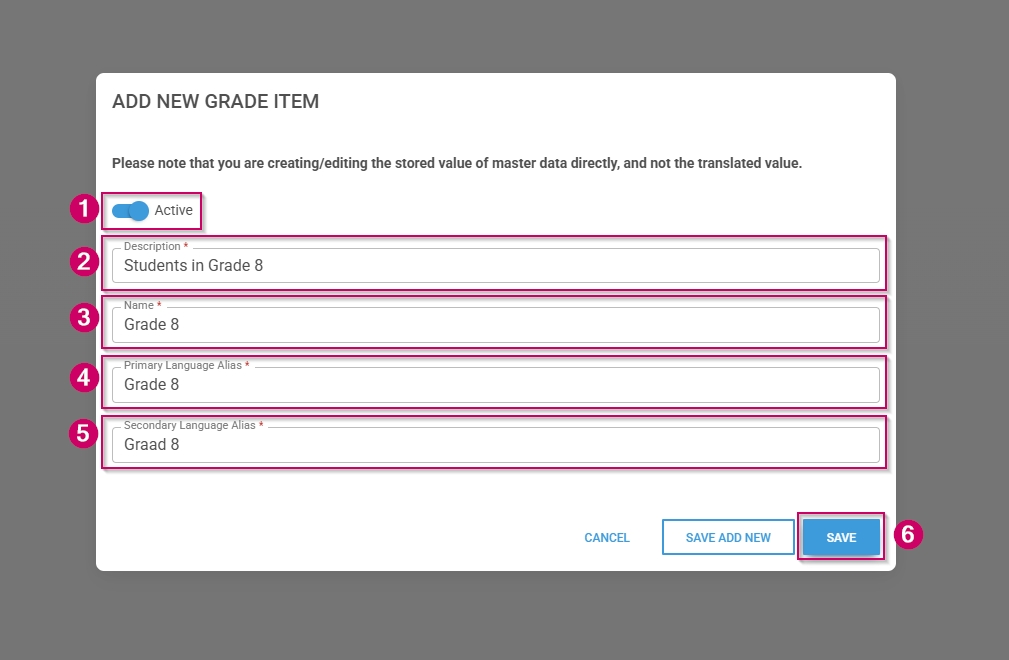
- To add a new master data item, click on +ITEM.
- Click the toggle button to set the grade's status to Active.
- Enter a short description for the grade.
- Enter a name for the grade.
- Enter an alias for the grade in the primary language.
- Enter an alias for the grade in the secondary language.
- Click SAVE when you are finished, SAVE ADD NEW to add another master data item or click CANCEL to discard your edits.
- Click the back arrow to navigate back to the Master Data Library once you are finished.

Configure years
- Click on the Years category to continue.
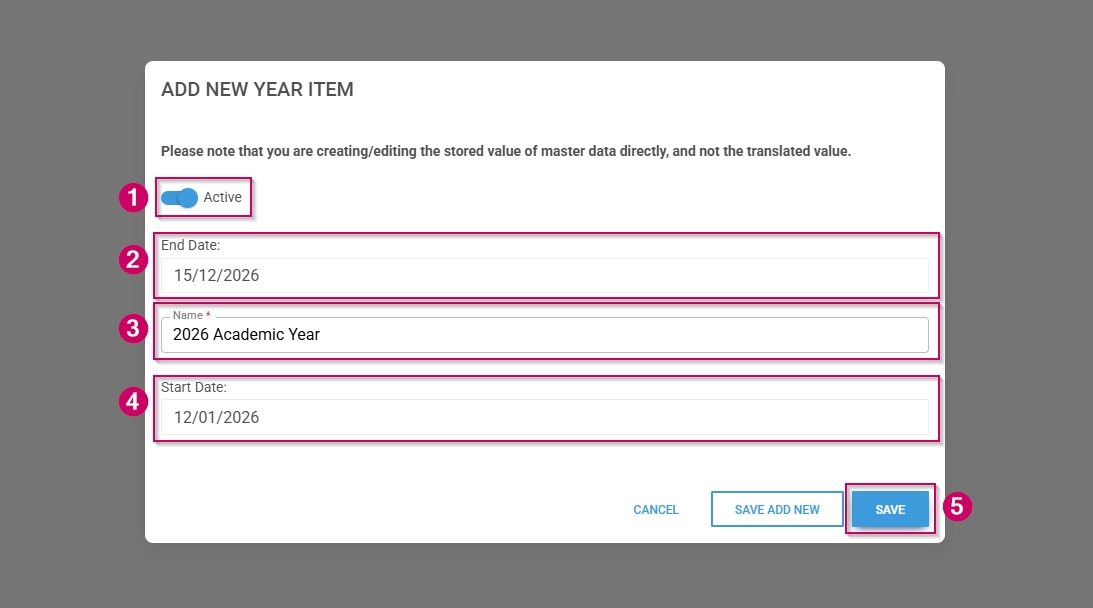
- To add a new master data item, click on +ITEM.
- Click the toggle button to set the year's status to Active.
- Enter an end date for the year.
- Enter a name for the year.
- Enter a start date for the year.
- Click SAVE when you are finished, SAVE ADD NEW to add another master data item or click CANCEL to discard your edits.
- Click the back arrow to navigate back to the Master Data Library once you are finished.

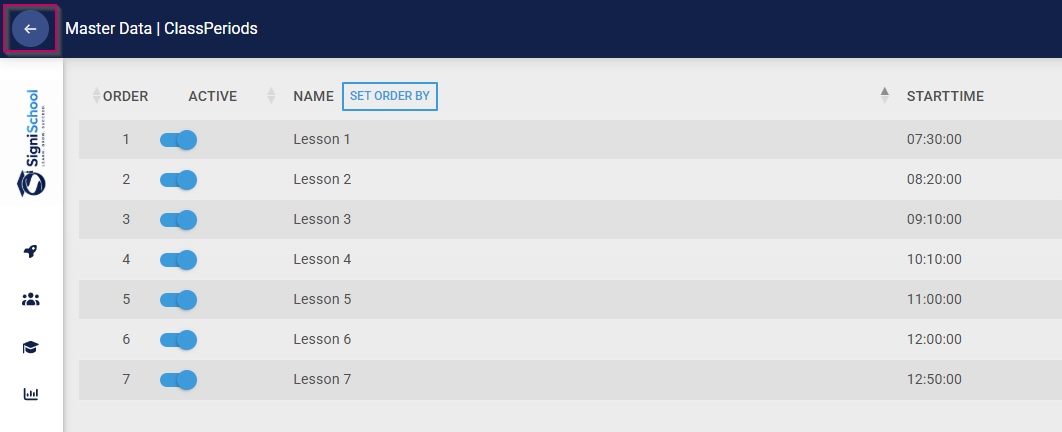
Configure class periods
- Click on the ClassPeriods category to continue.

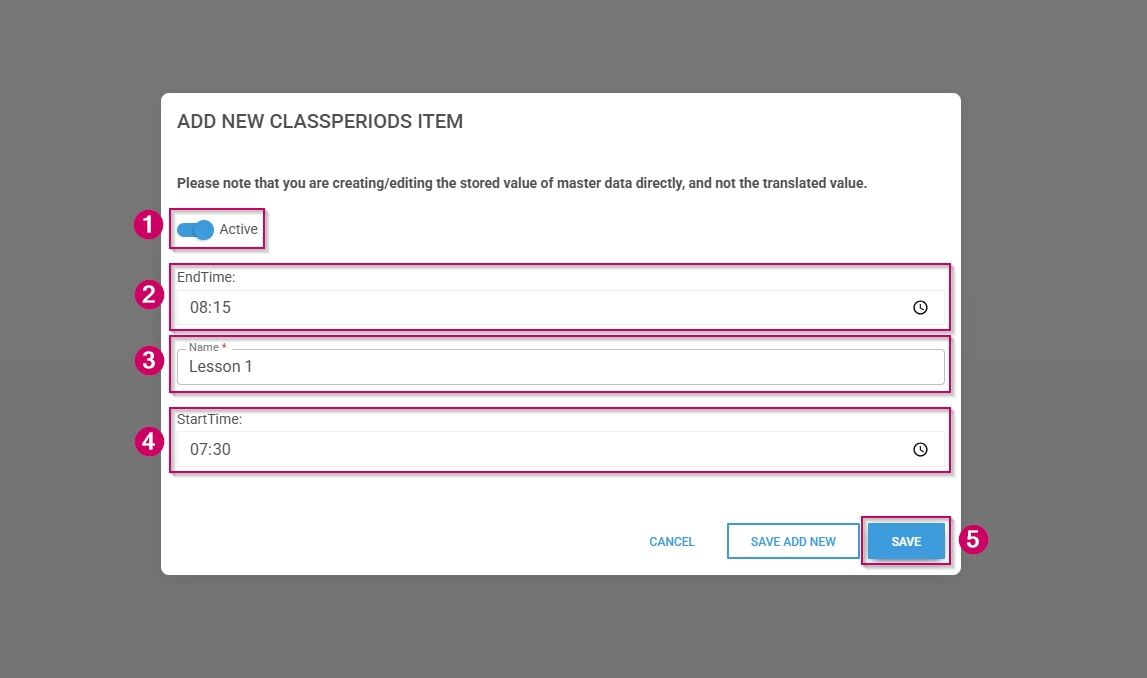
- To add a new master data item, click on +ITEM.
- Click the toggle button to set the class period's status to Active.
- Enter an end time for the period.
- Add a name for the period.
- Enter a start time for the period.
- Click SAVE when you are finished, SAVE ADD NEW to add another master data item or click CANCEL to discard your edits.
- Click the back arrow to navigate back to the Master Data Library once you are finished.
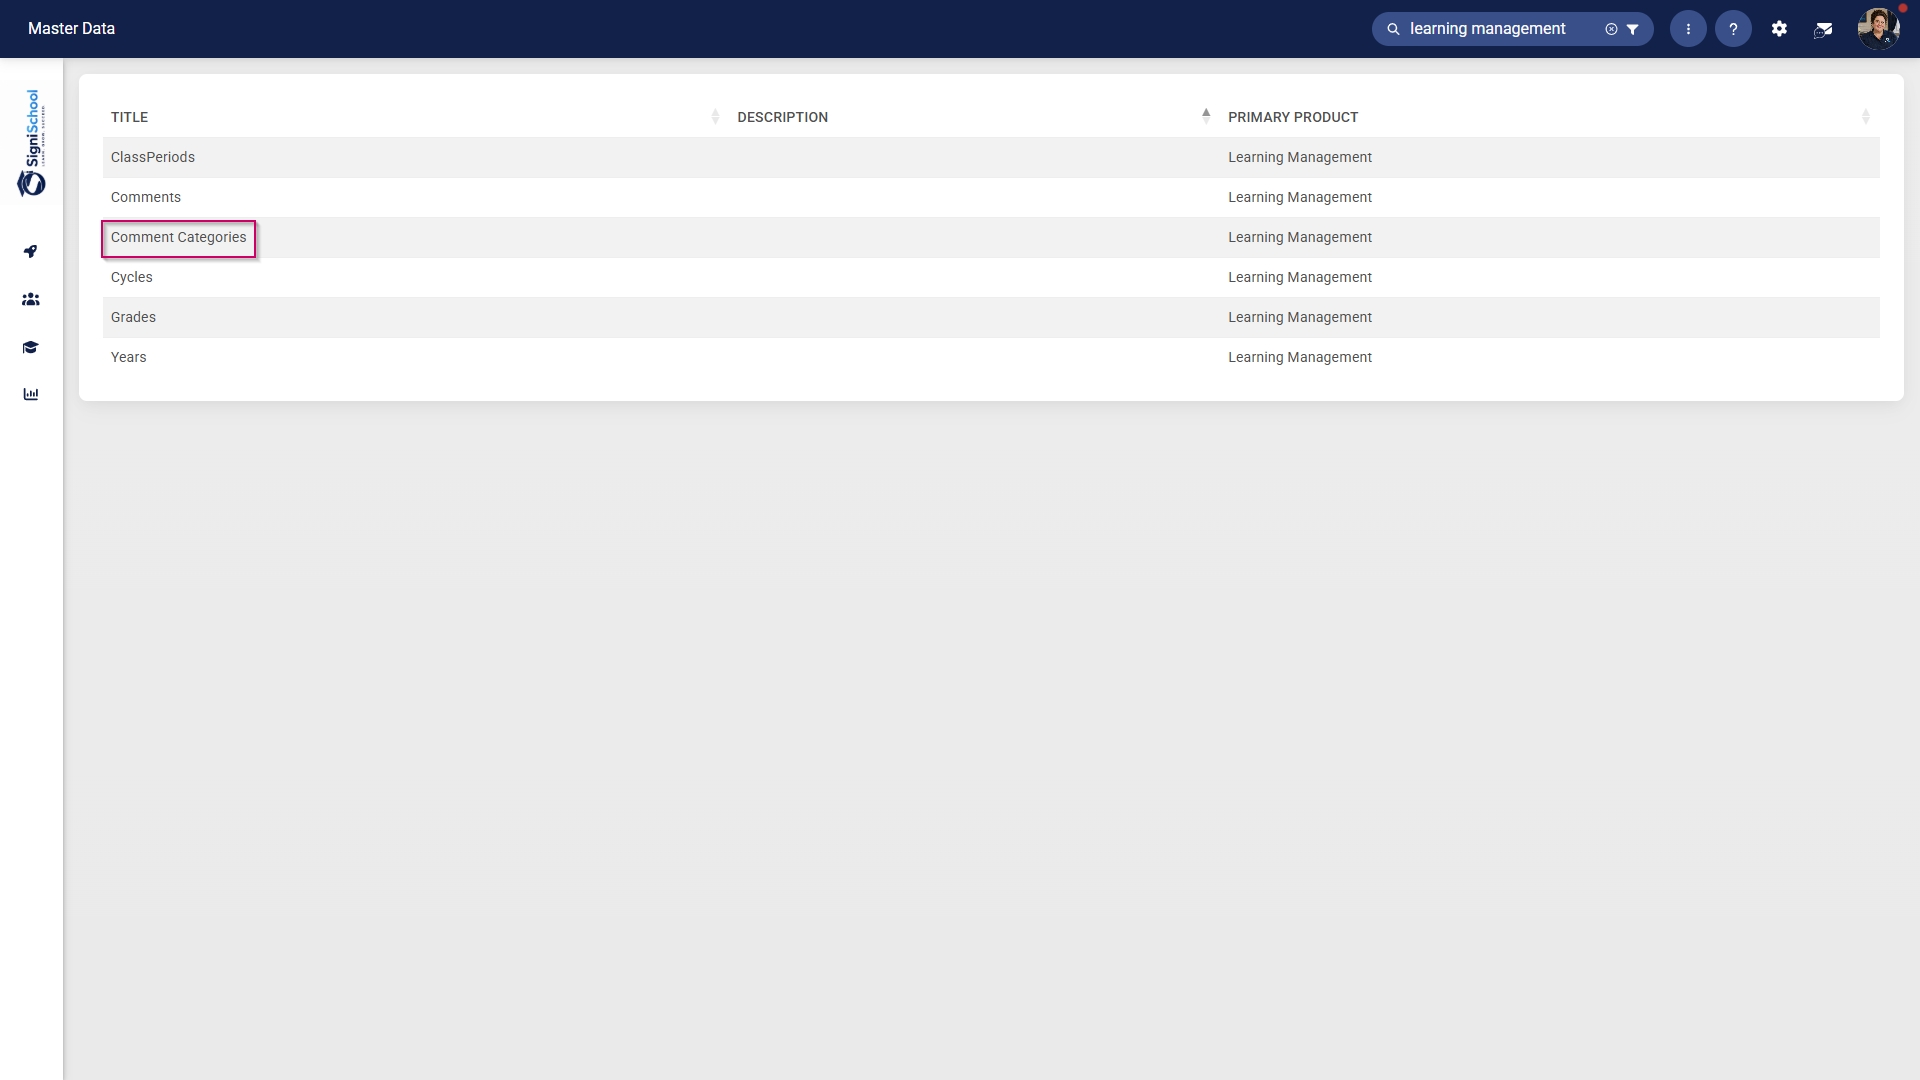
Configure comment categories
- Click on the Comment Categories category to continue.
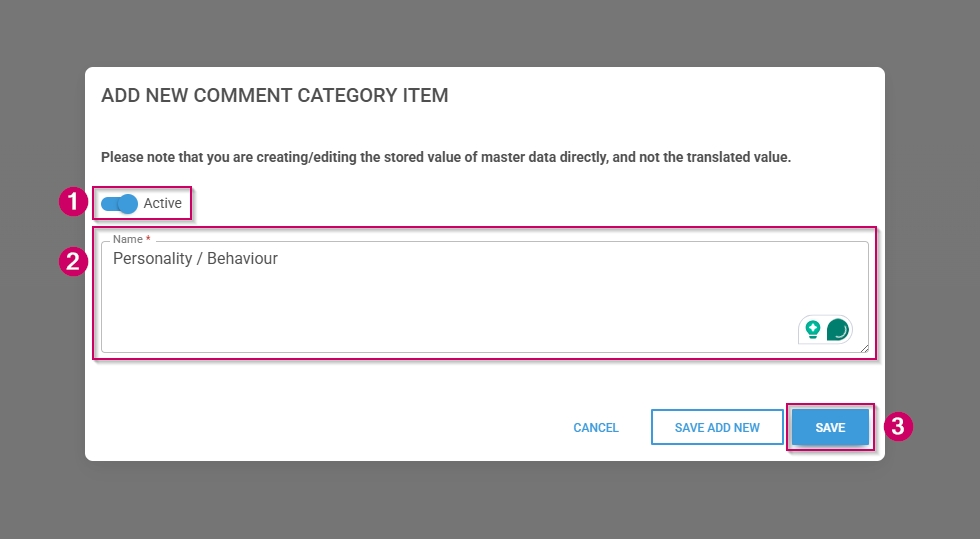
- To add a new master data item, click on +ITEM.
- Click the toggle button to set the comment category's status to Active.
- Enter a name for the comment category.
- Click SAVE when you are finished, SAVE ADD NEW to add another master data item or click CANCEL to discard your edits.
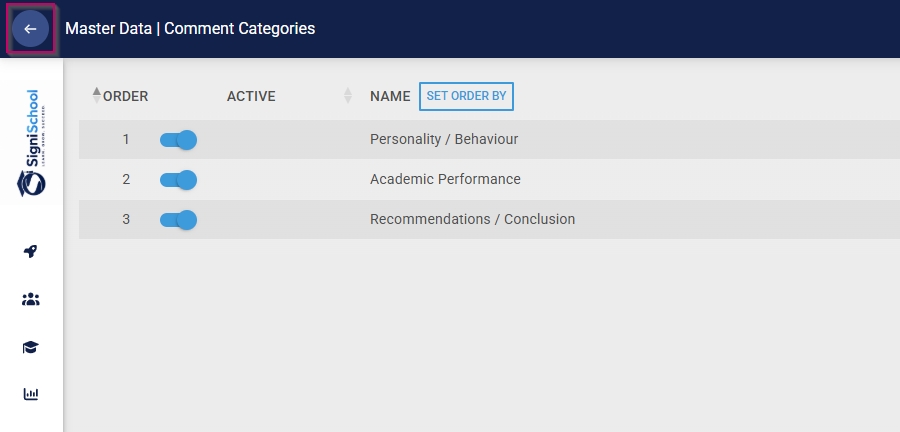
- Click the back arrow to navigate back to the Master Data Library once you are finished.
Configure academic report comments
- Click on the Comments category to continue.
- To add a new master data item, click on +ITEM.
- From the drop-down menu, select the comment category.
- From the drop-down menu, select the comment type.
- Enter a comment in the primary language.
- Enter a comment in the secondary language.
- Click SAVE when you are finished, SAVE ADD NEW to add another master data item or click CANCEL to discard your edits.
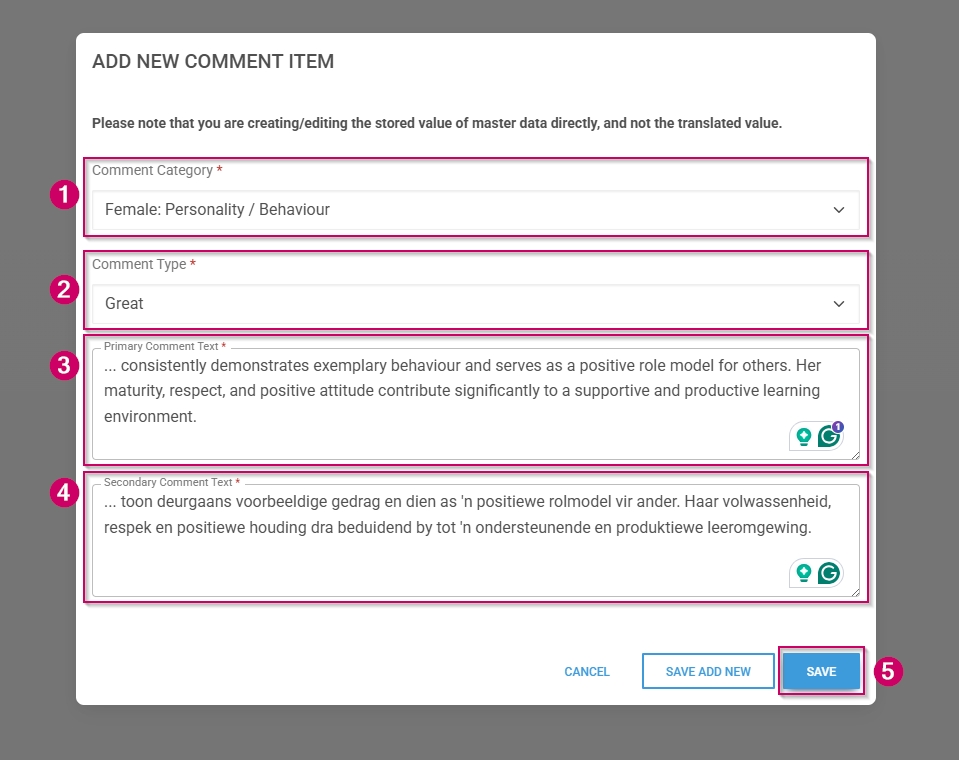
- Please note: Using an ellipsis (...) serves as a placeholder for the learner's name.
- Click the back arrow to navigate back to the Master Data Library once you are finished.

Create people groups
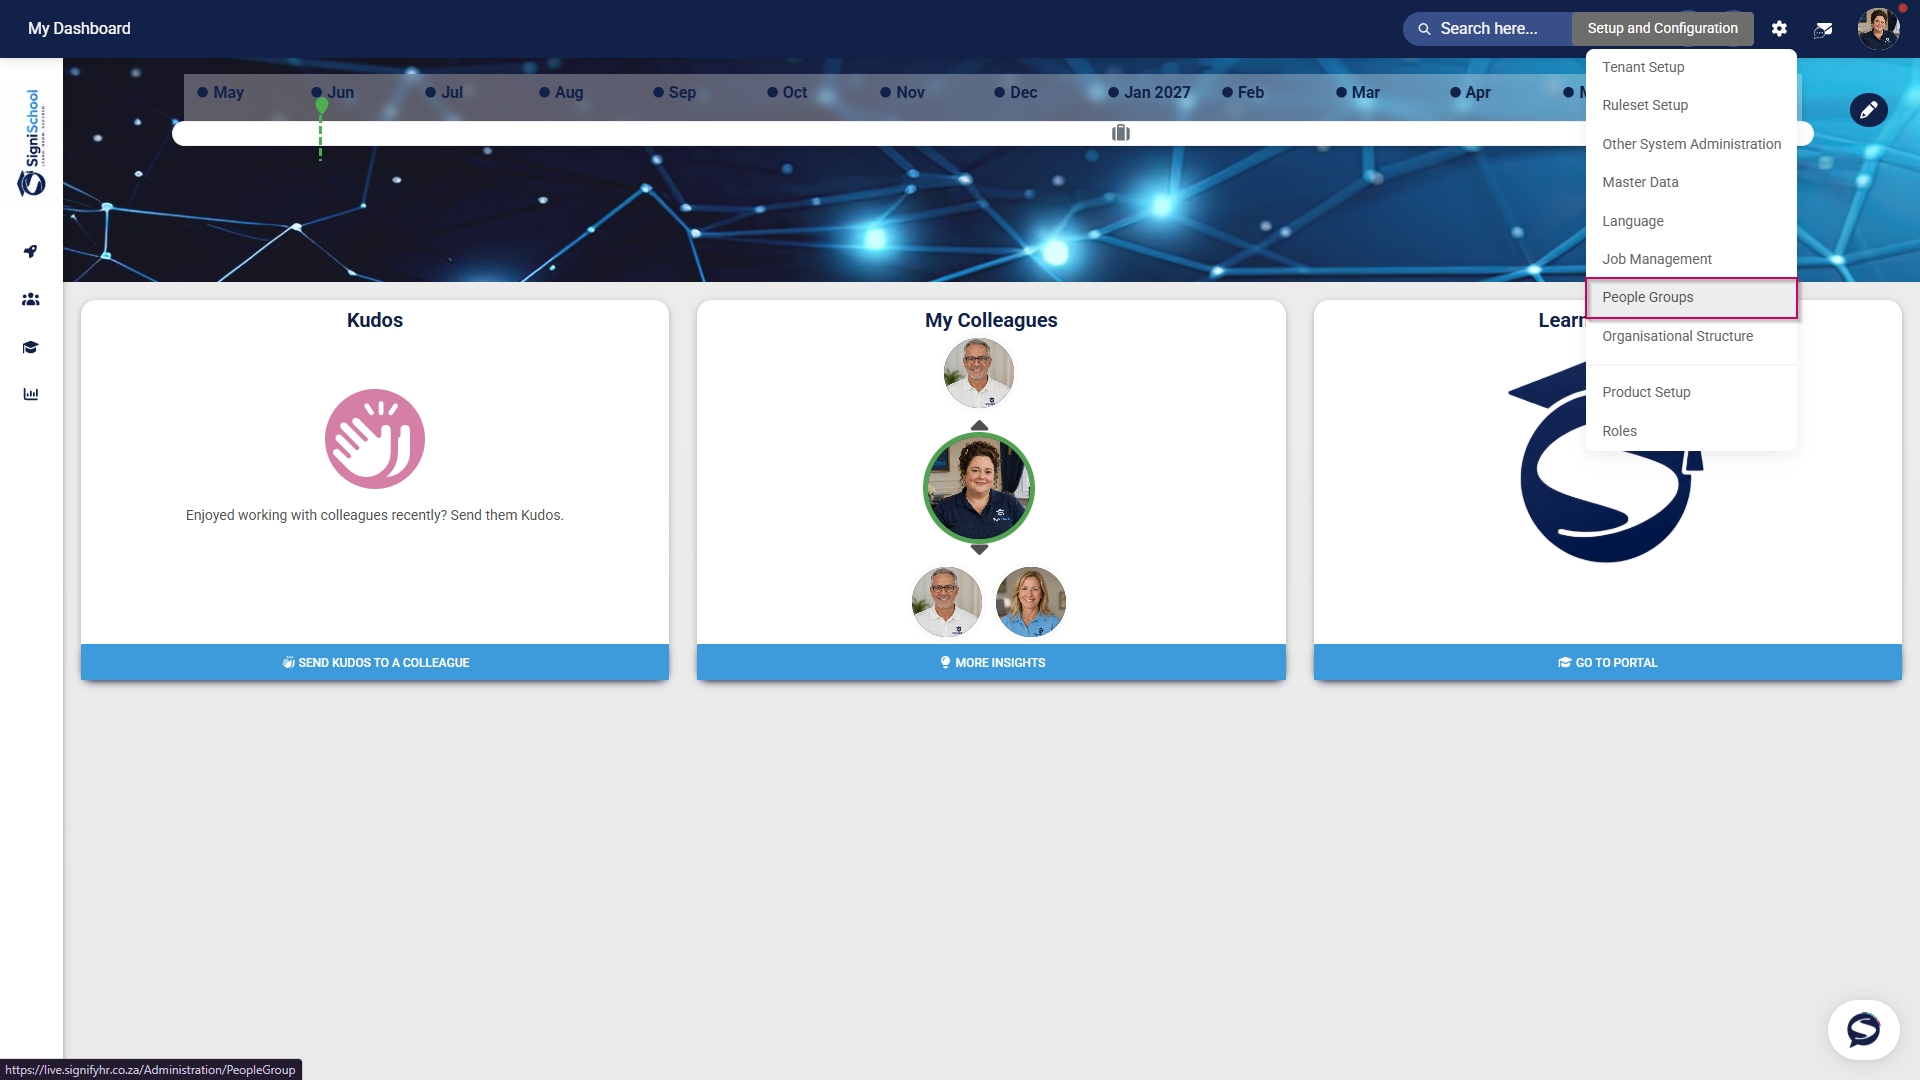
- Click the gear icon to access the Setup and Configuration menu.
- Click People Groups.
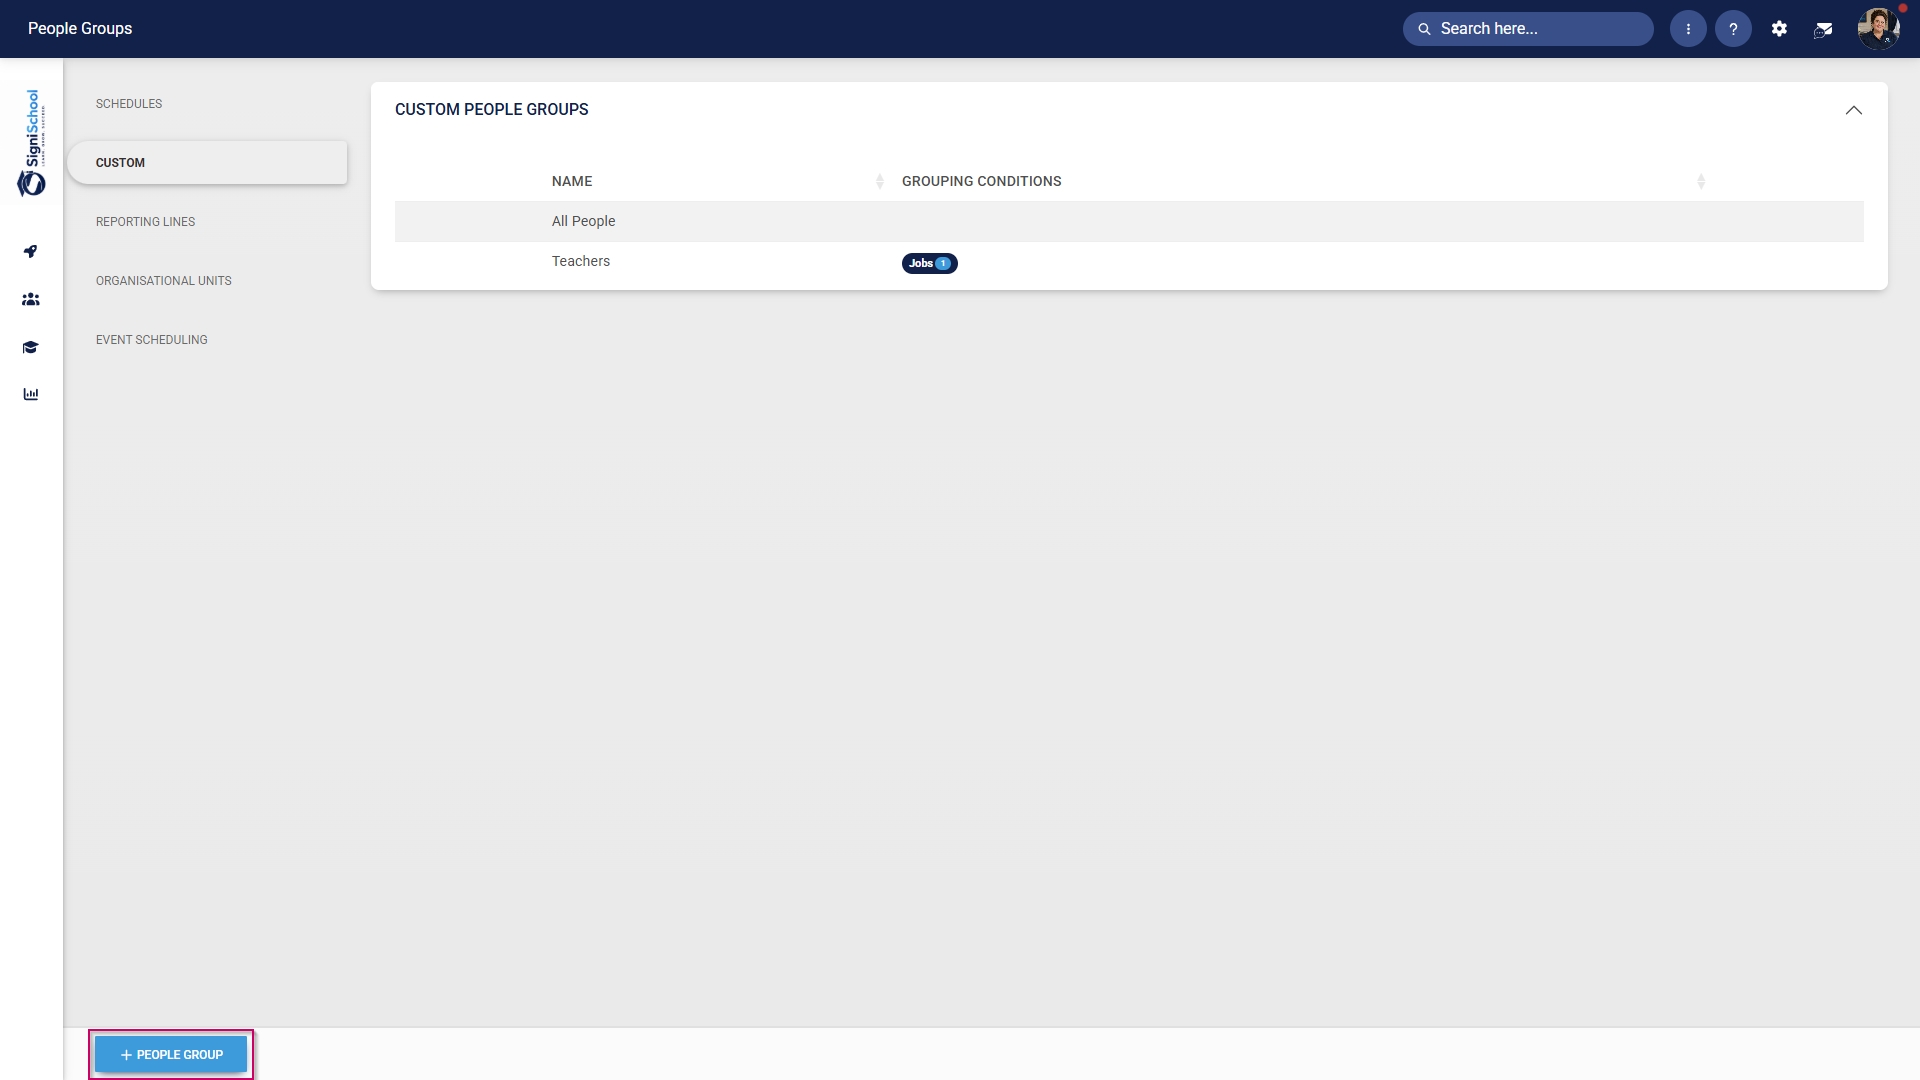
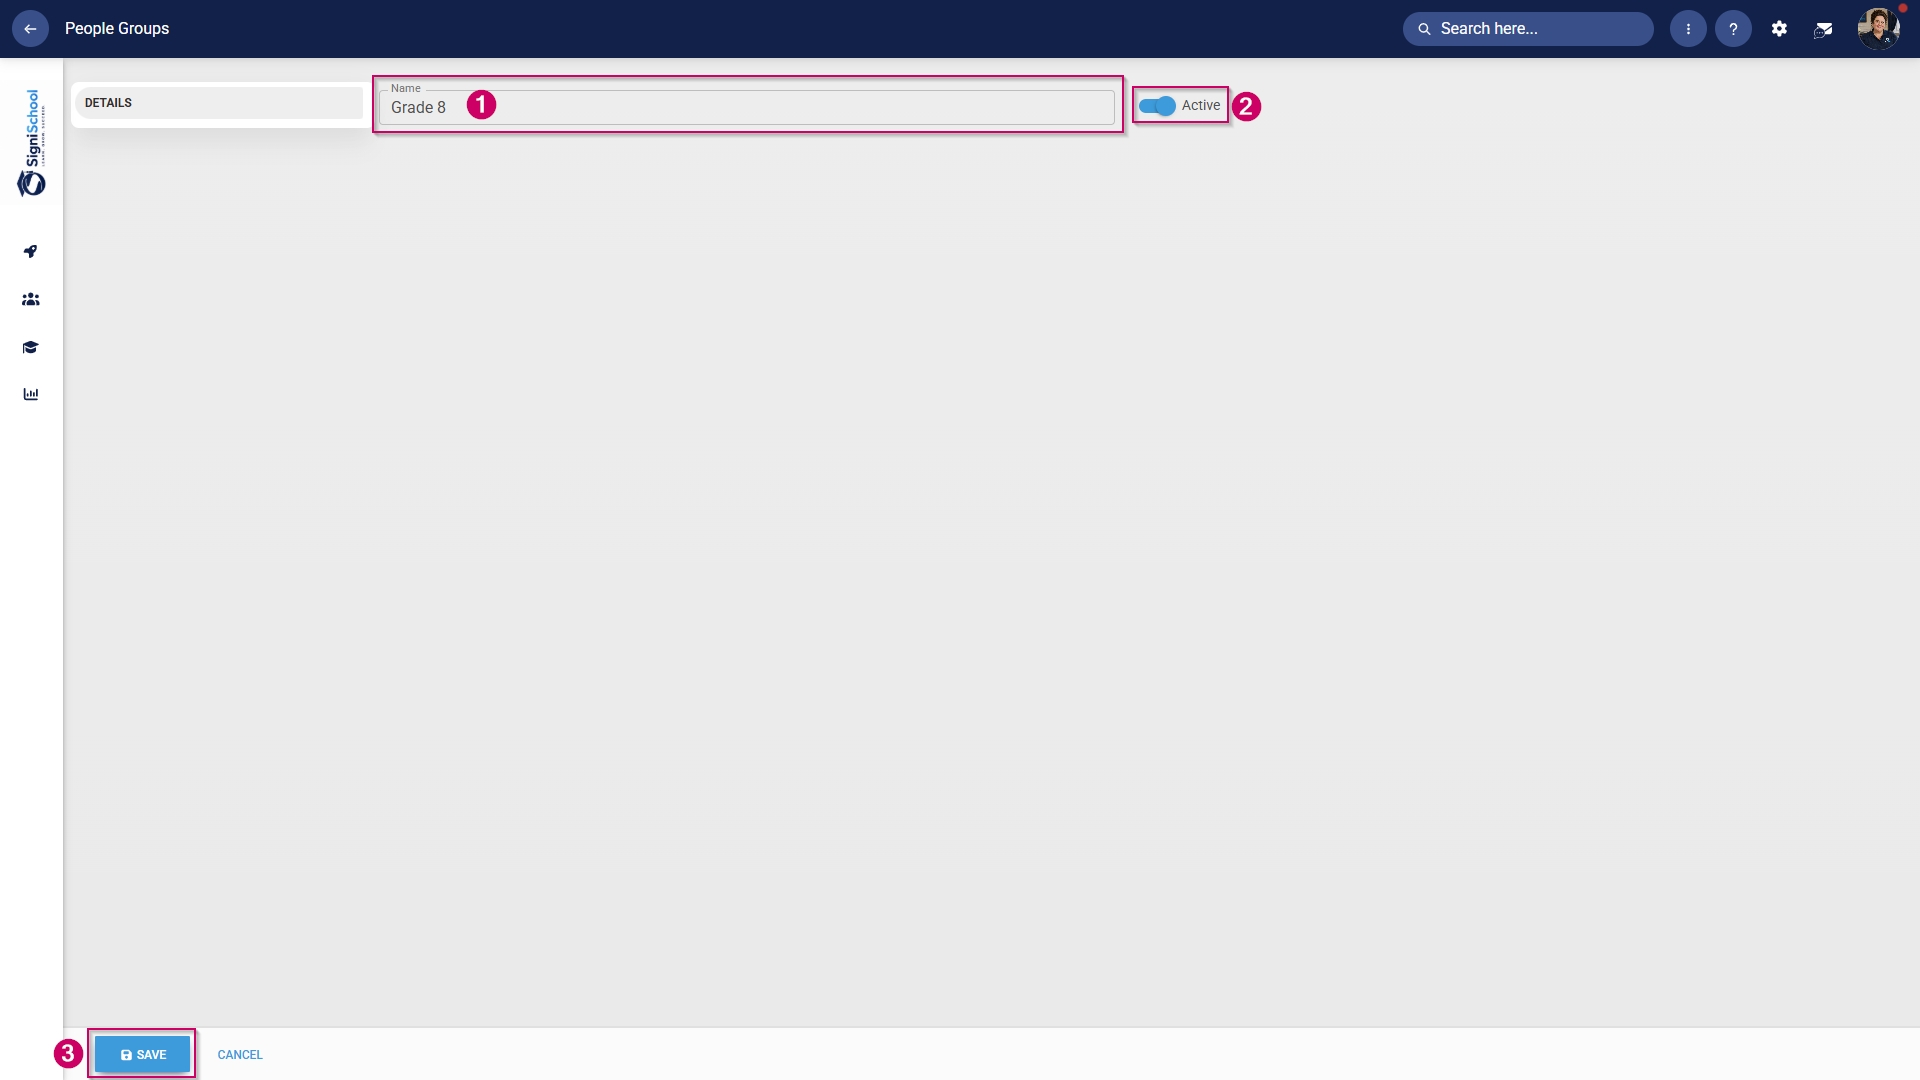
- In the left-hand menu, navigate to Custom, then click +PEOPLE GROUP.
- Enter a descriptive name for the people group.
- Click the toggle button to set the status to Active.
- Click SAVE when you are finished or click CANCEL to discard your edits.
- Once the people group has been created, you can select the people to add to it.
Included: Individuals
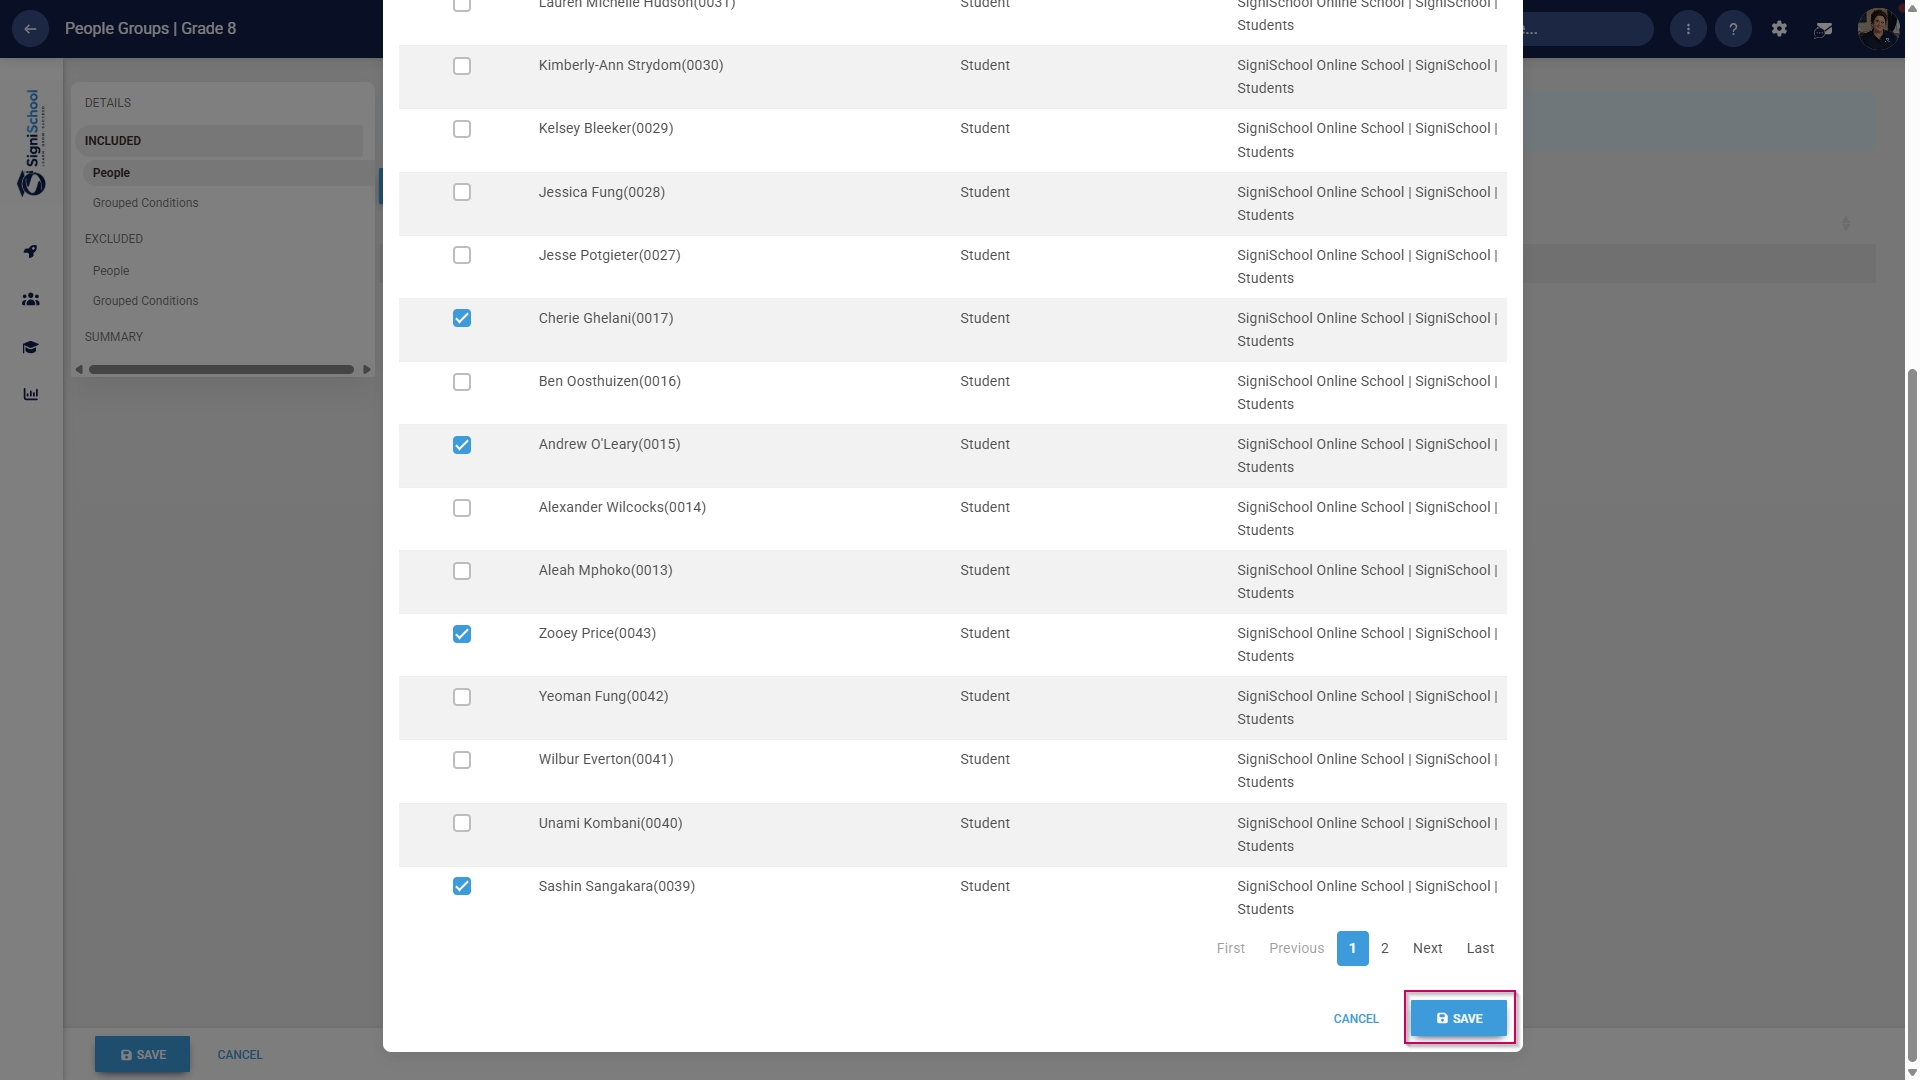
- In the left-hand menu, click to navigate to the Included section, then click People to add individuals.
- Click the PEOPLE button.

- Use the search bar to find a person based on their name, surname, username, or job title.
- Tick the checkbox to select a person.

- Click SAVE when you are finished or click CANCEL to discard your edits.
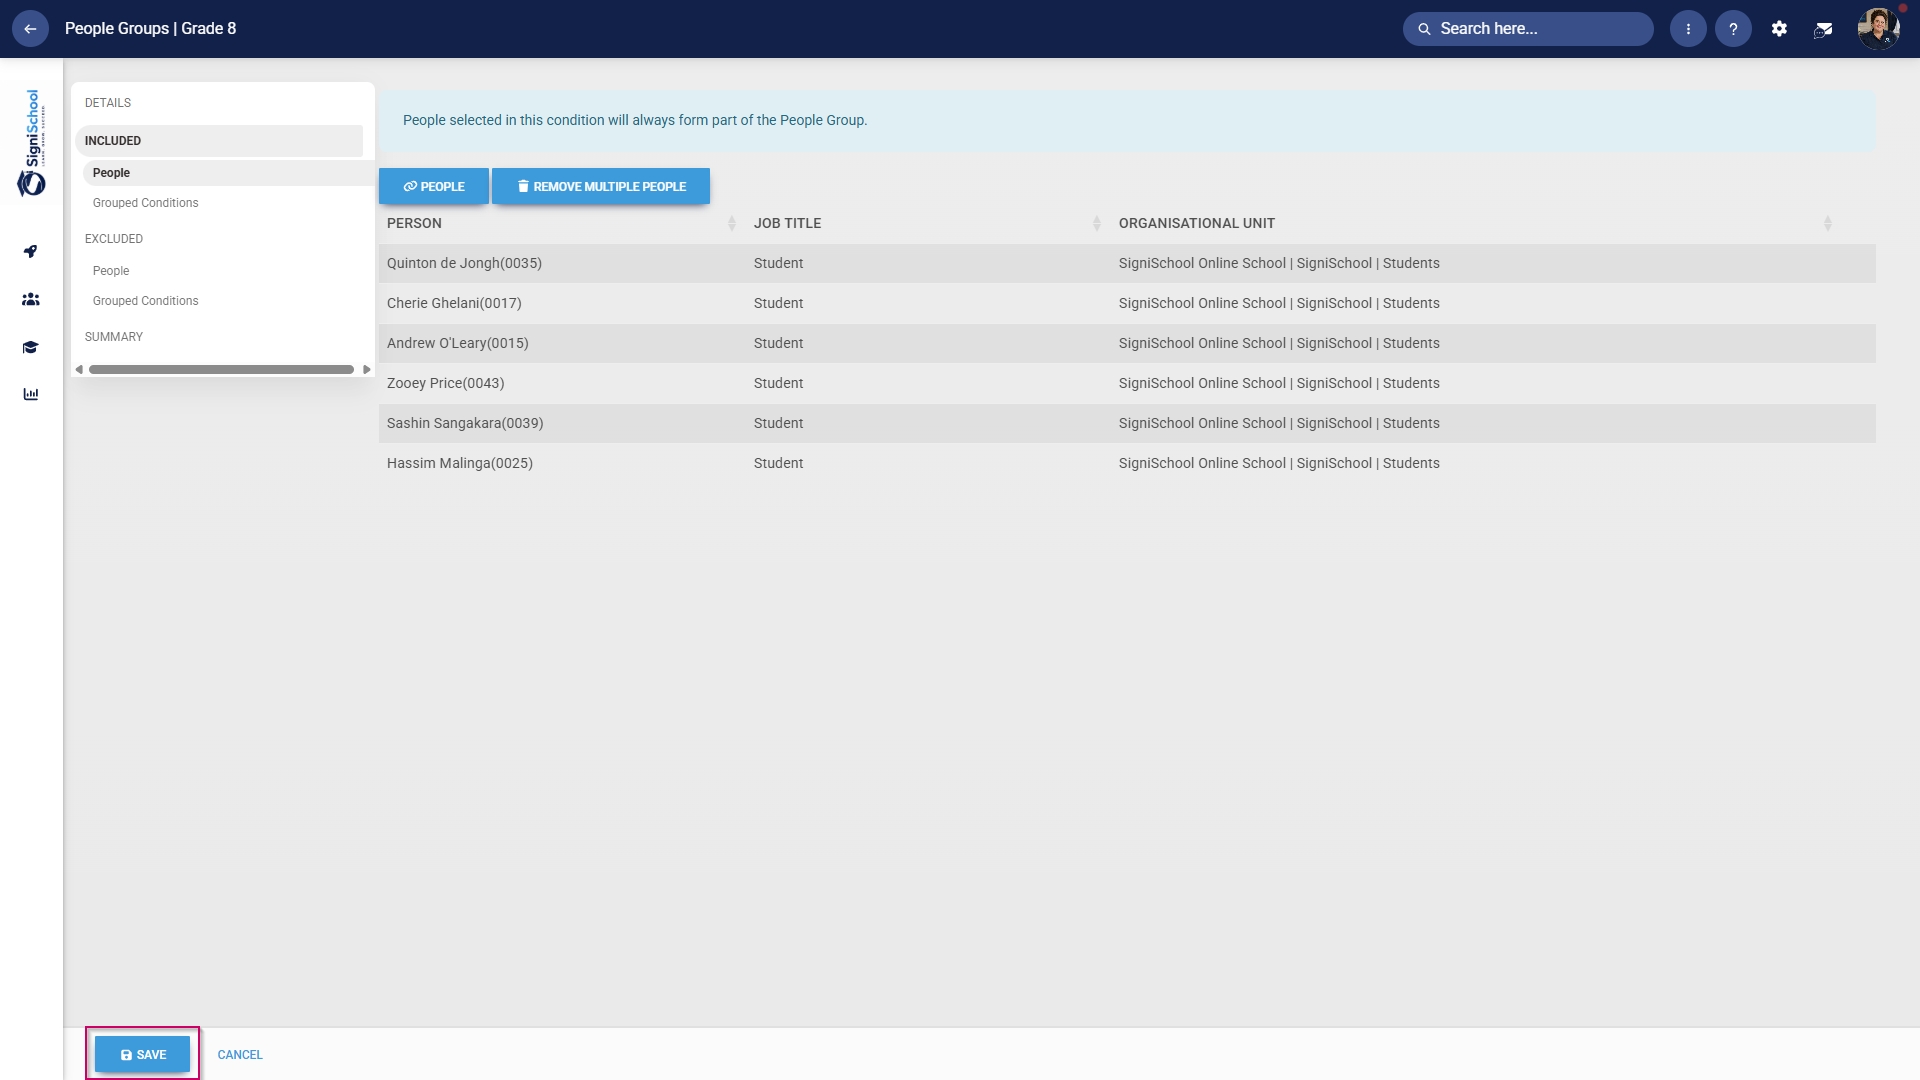
- Review the users added to your people group, then click SAVE when you are finished or click CANCEL to discard your edits.
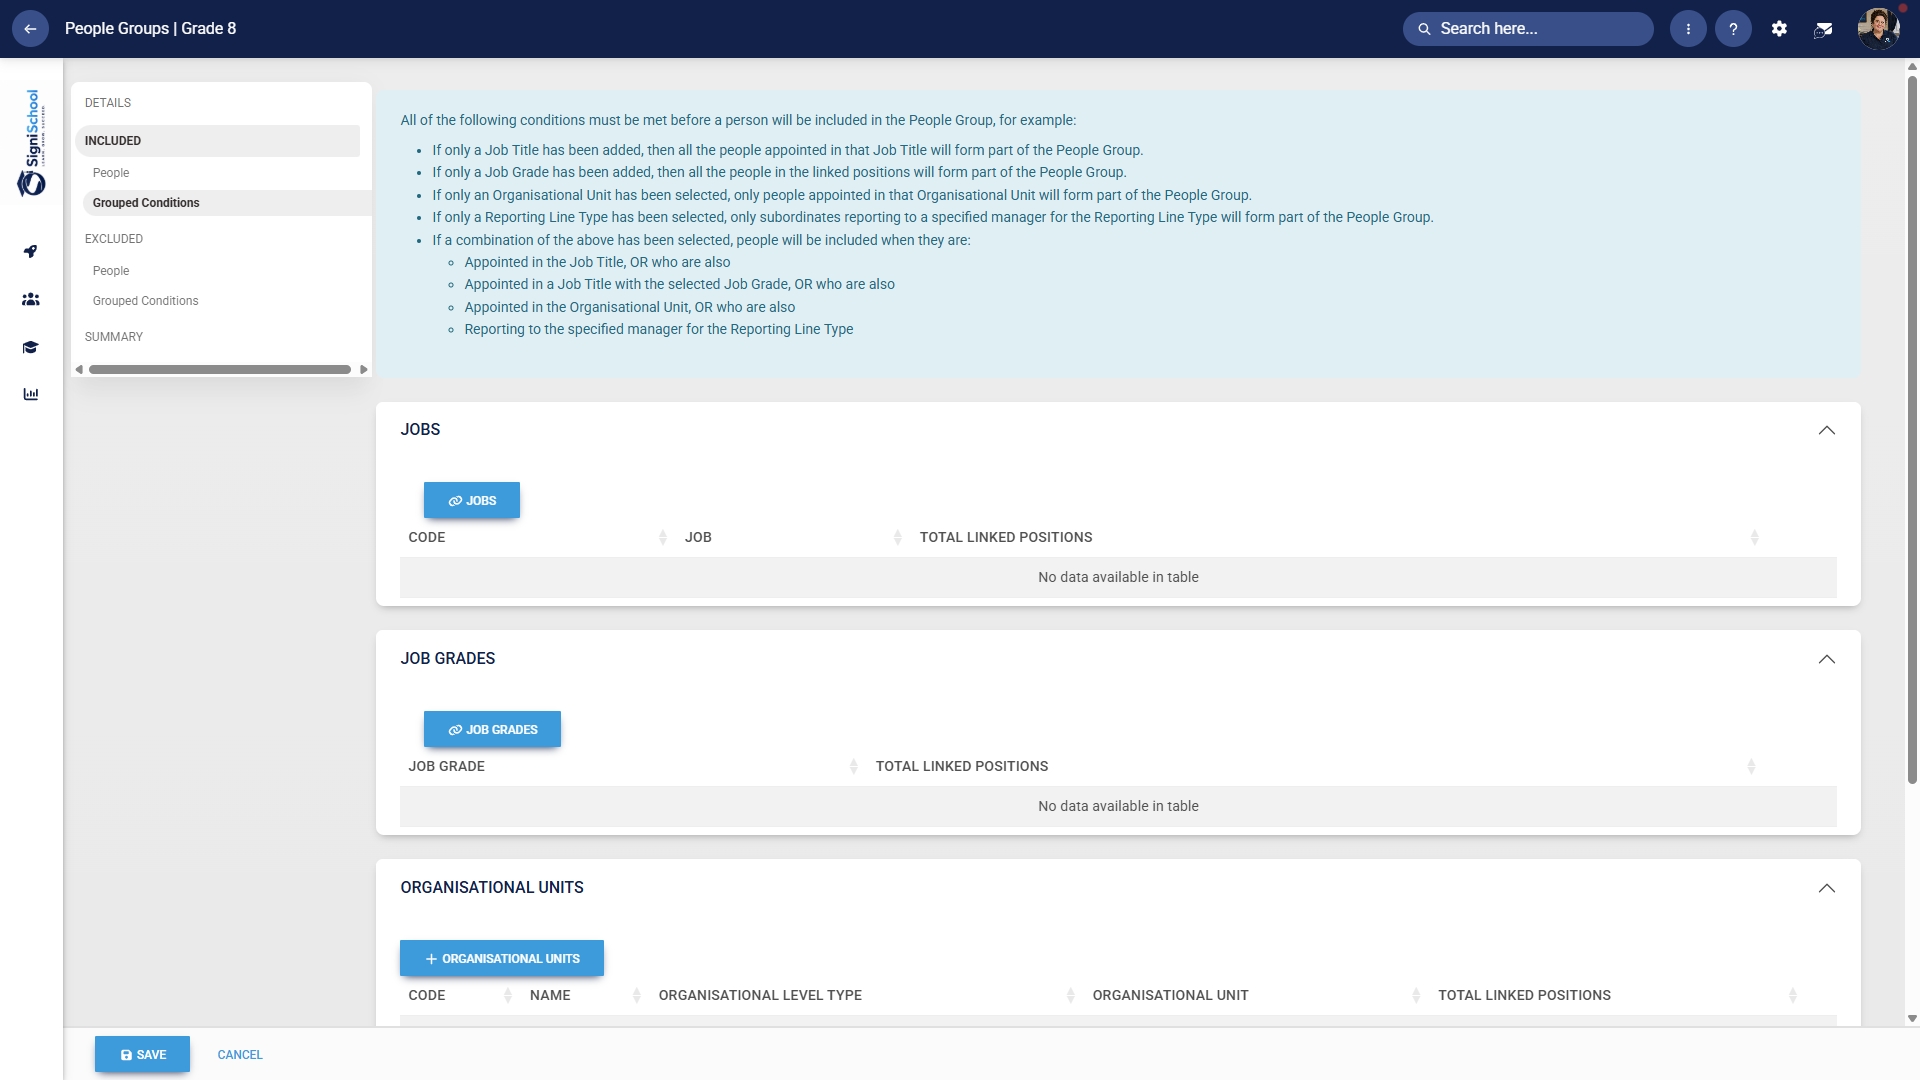
Included: Grouped conditions
- Click Grouped Conditions to add groups of people based on criteria such as job titles, organisational nodes, etc.
- Click SAVE when you are finished or click CANCEL to discard your edits.
Included: Individuals
- In the left-hand menu, click to navigate to People in the Excluded section.
-
- Click the PEOPLE button.
- Select the people you would like to exclude.
- Click SAVE when you are finished or click CANCEL to discard your edits.
-

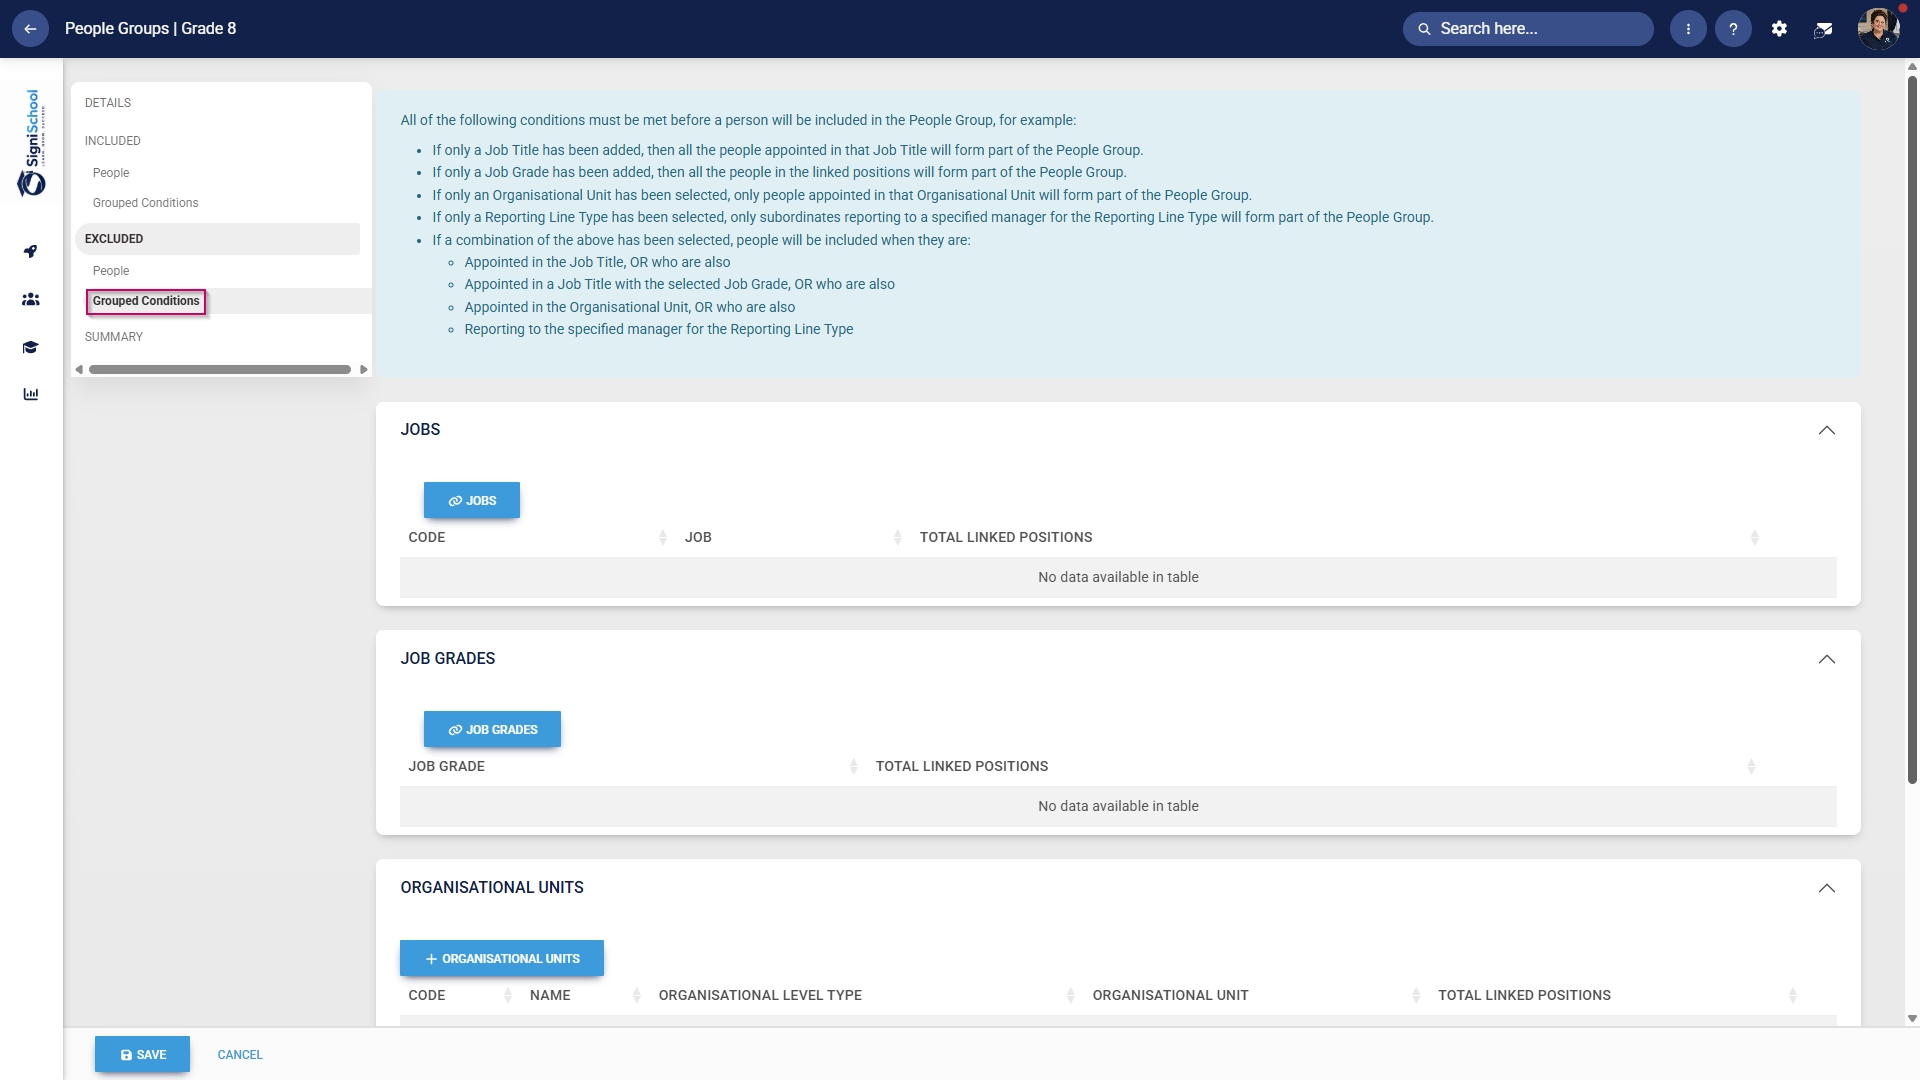
Excluded: Grouped conditions
- Click Grouped Conditions to exclude groups of people based on criteria such as job titles, organisational nodes, etc.
- Click SAVE when you are finished or click CANCEL to discard your edits.
Summary
- In the left-hand menu, click Summary to view all the users included in your people group.
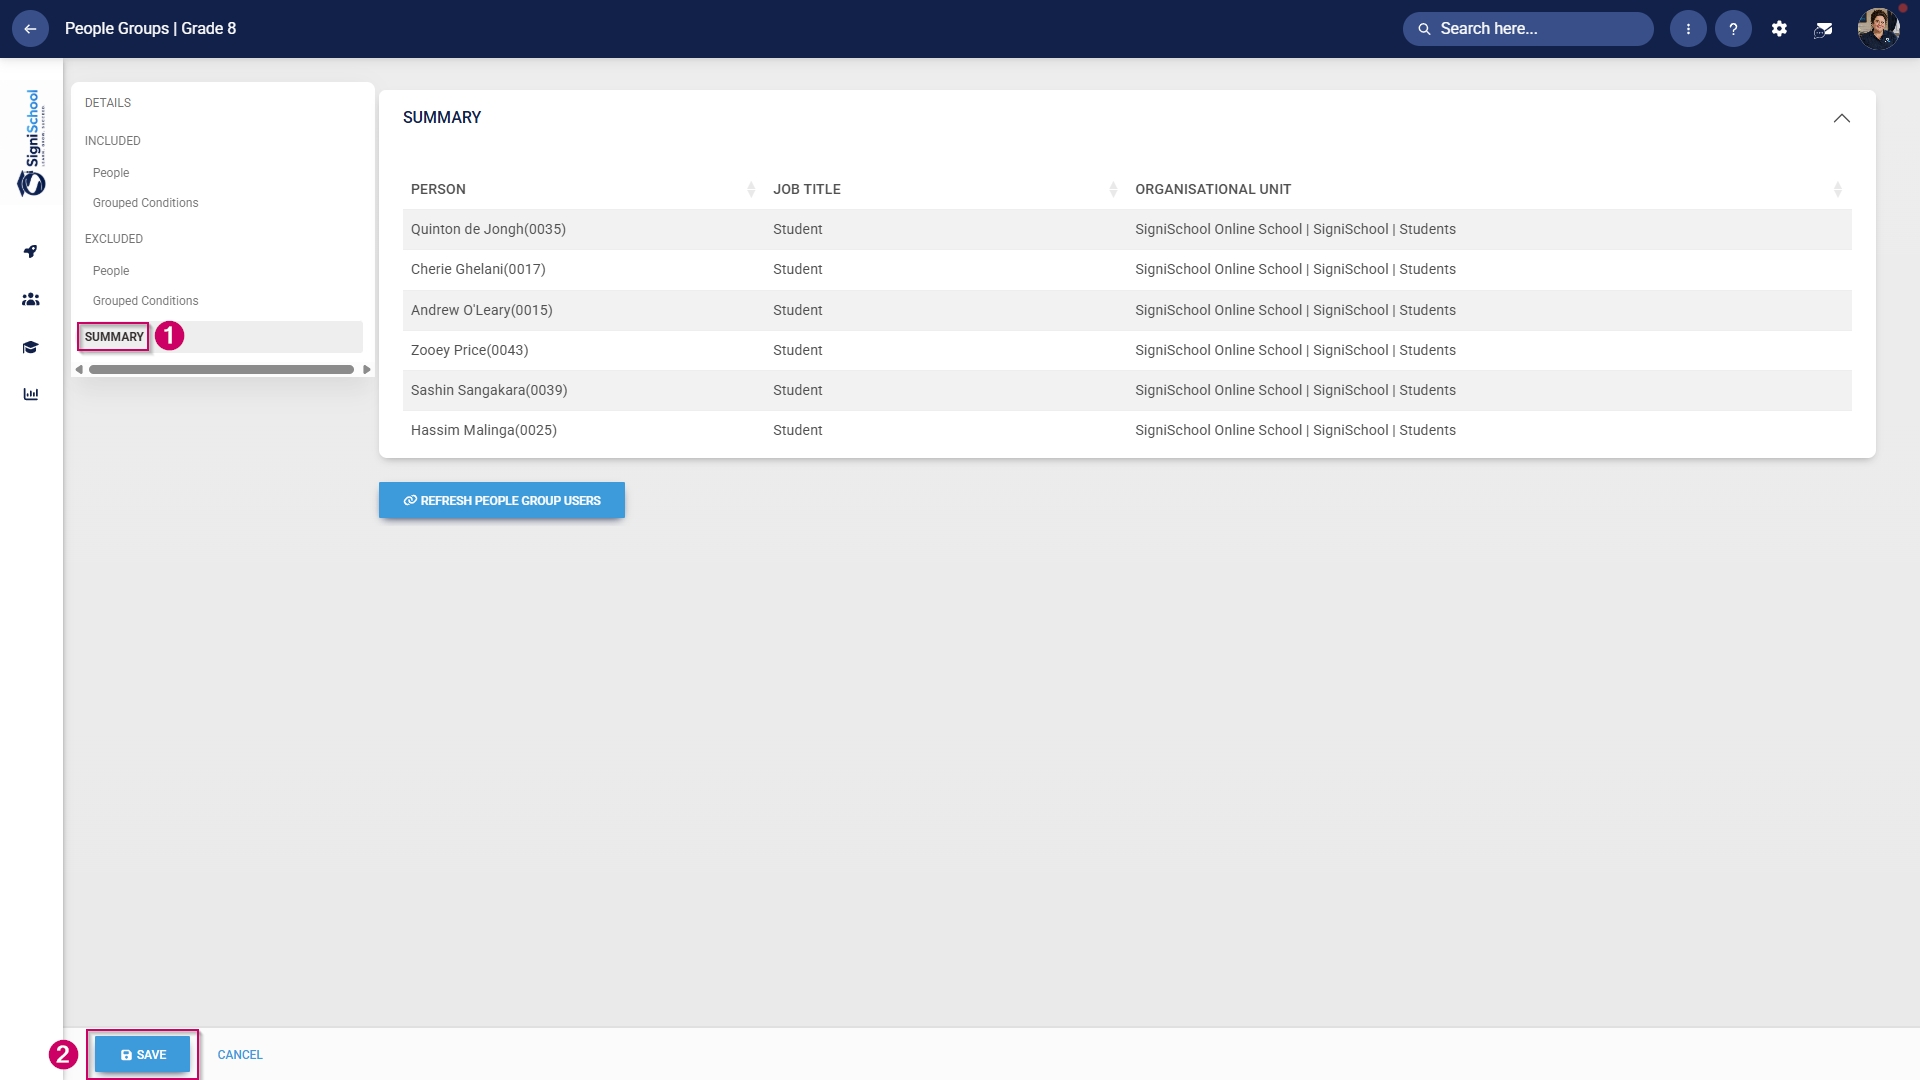
-
The people groups take some time to synchronise on the system once they're created. This can take anywhere from 10 minutes to 12 hours, depending on the number of changes.
- To synchronise the newly-created or updated people groups manually, follow the steps in the next section.
Manually syncing people groups
- Click the gear icon to access the Setup and Configuration menu.
- Click Ruleset Setup.
- Select the ruleset you would like to update.
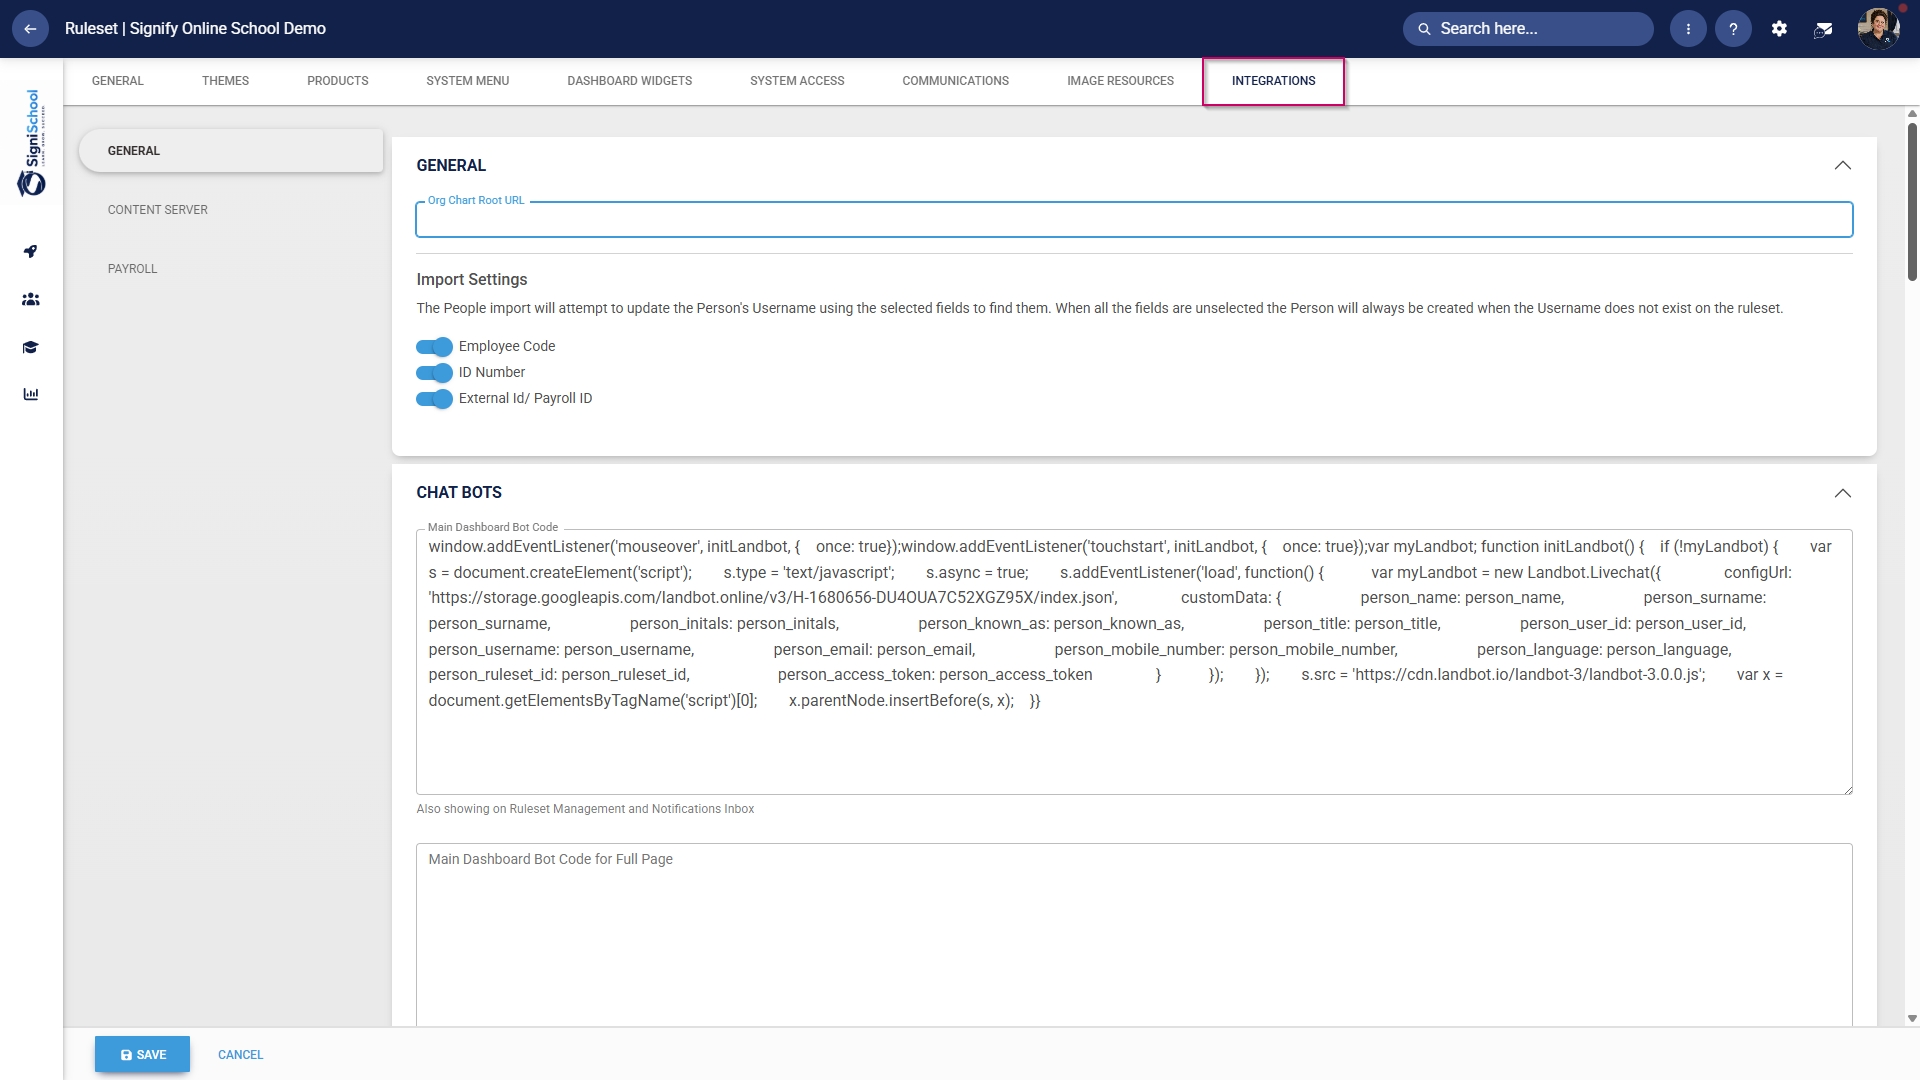
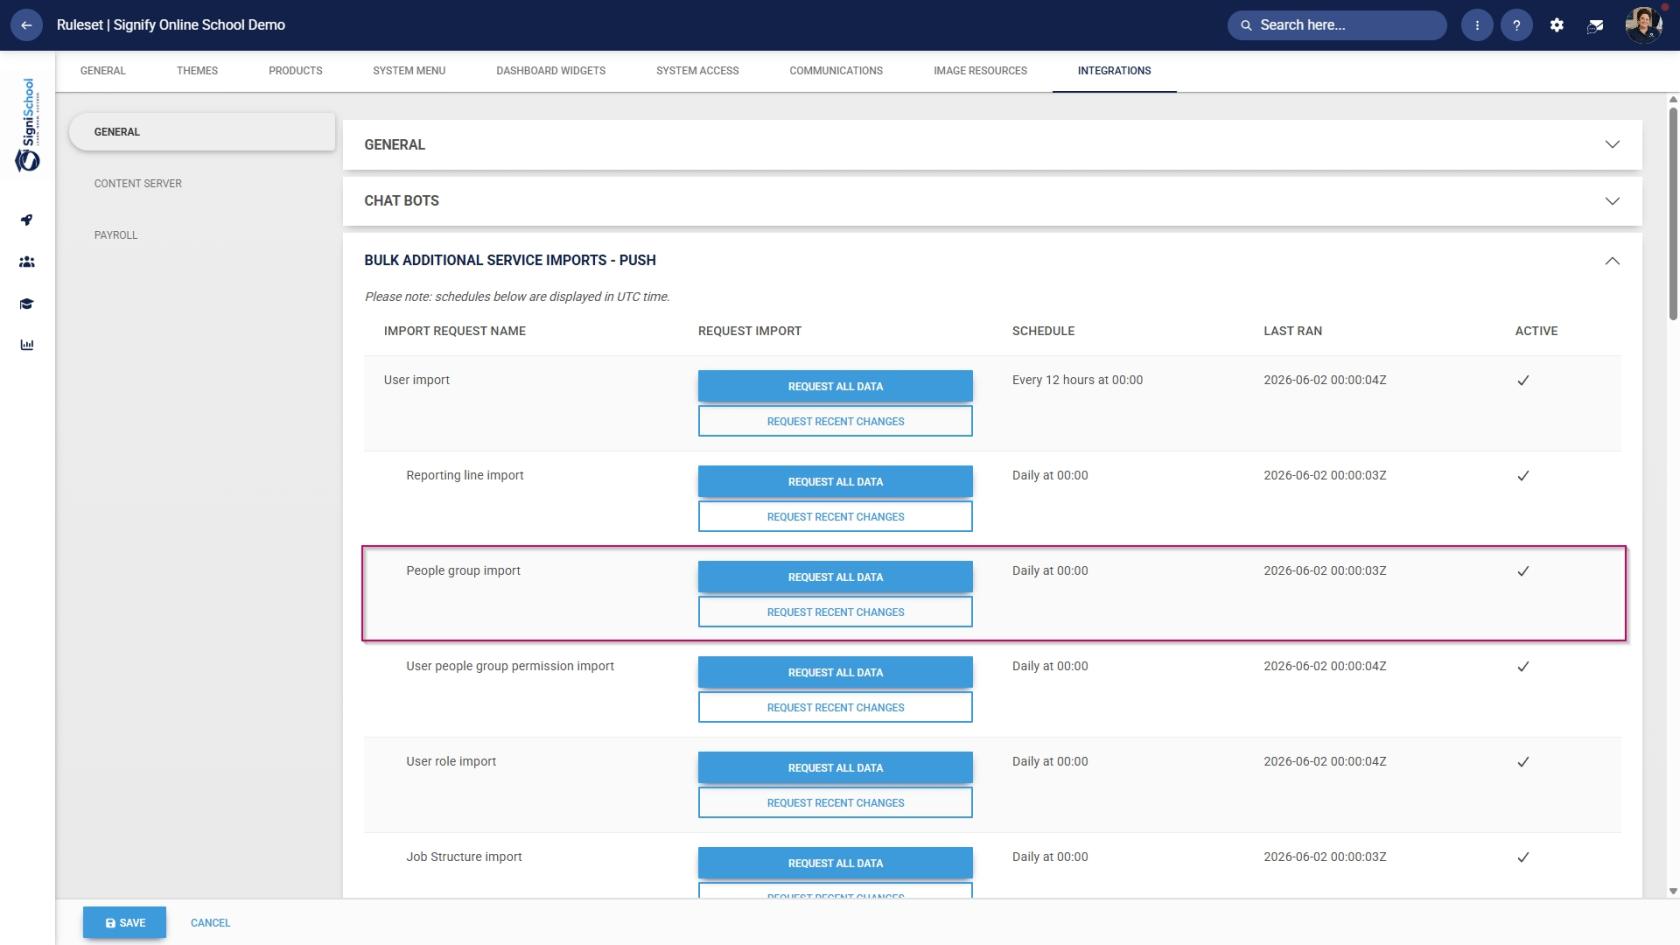
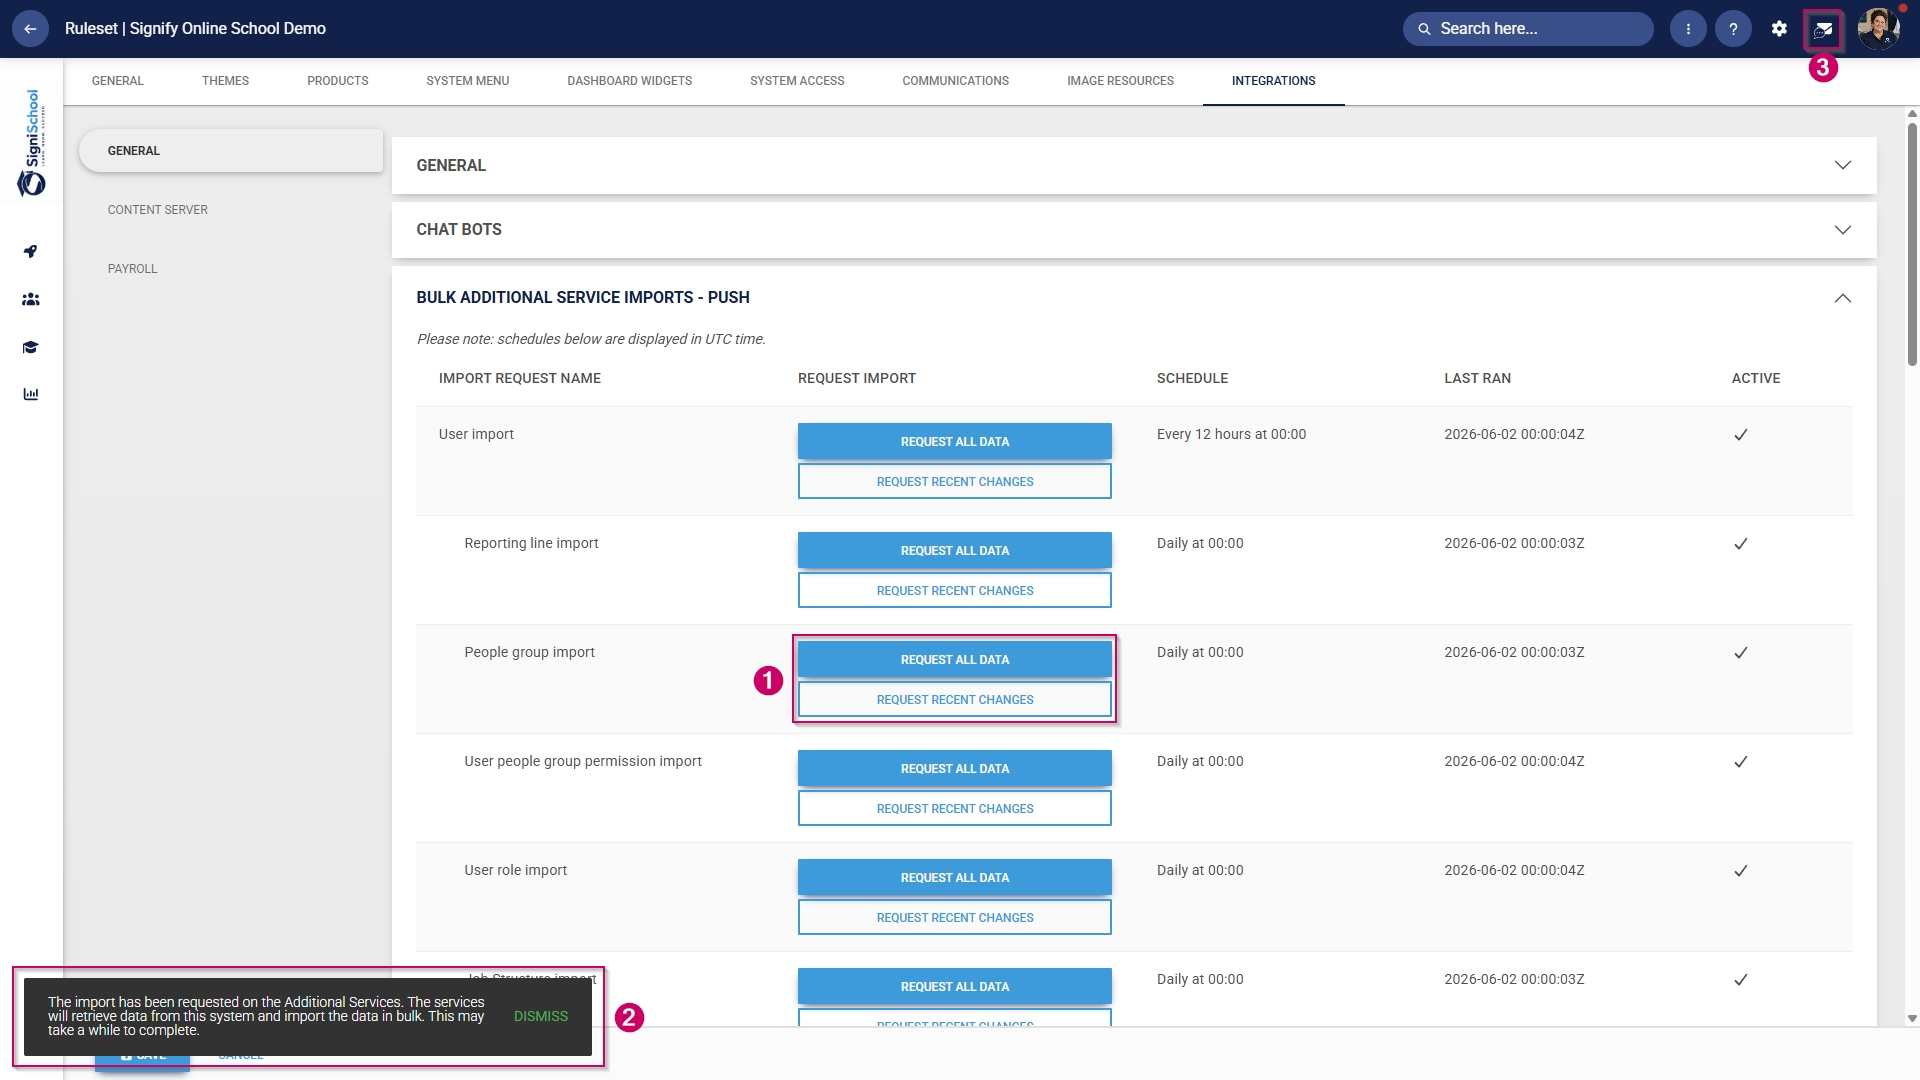
- Scroll down to the Bulk Additional Service Imports – Push section.
- For the People group import function, you have two options when synchronising manually:
-
- Click REQUEST ALL DATA to synchronise all the people groups.
-
- This is a time-consuming operation because all the people groups' data is overwritten and synchronised from scratch.
-
- Click REQUEST ALL DATA to synchronise all the people groups.
-
Please be very careful when selecting this option, as it can affect system performance and speed, particularly during business hours.
-
-
- Click REQUEST RECENT CHANGES to synchronise only recent changes to your people groups.
-
- This is a time-efficient option because only the changes are synchronised, and the previous data remains unchanged.
- This is a time-efficient option because only the changes are synchronised, and the previous data remains unchanged.
-
- Click REQUEST RECENT CHANGES to synchronise only recent changes to your people groups.
-

- Once you have selected a synchronisation method, a message will appear stating that the import has been requested. You can monitor the synchronisation progress by navigating to your System Inbox.
- Click the envelope icon at the top of your screen to navigate to your System Inbox, then click Imports.
- You can monitor the status of your imports and system processes here:
-
- Staged means the task has been added to the queue and will begin once the current tasks have been completed.
- Started means the task is currently running.
- Completed with Errors means the task has been completed, although only partially, due to detected errors.
- Completed means the task has been successfully executed.
- Failed means the task could not be completed.
-
- For a Completed with Errors or Failed task, you can download an Excel document with a breakdown of the errors.
-
- Click on the kebab icon next to the task.
- Click Export Errors.
- Review the errors, then re-attempt the task using the steps above.
-
Add training interventions
Training interventions are used to track a learner's academic progress. Each learning activity or assessment will have its own training intervention. Training interventions can be created in two ways:
Both methods will be shown below.
Method 1: Add training interventions manually
Method 2: Add training interventions using the import
Create learning pathways
Create subject
Pathway features
Learning mode
Attendance register
Marksheet
Class notes
Report card
