
Appoint, Transfer, or Terminate a Person

This guide focuses on the People Management module and the features available to the administrator. By following the outlined procedures, administrators can: 

  • Add users manually
      • Create an organisational structure
      • Define job titles and positions
      • Appoint a person in a position
  • Add users using an import
  • Transfer a person to a different position
  • Terminate a person

People Management Profile.png

Add users

Users can be added to the system in two ways:

  • Manually, using the Organisational Structure, Job Profiler, and Manage Person functionalities, or
  • Using the import sheet.

This guide will show both methods.

Method 1: Add users manually

To add new users to the system manually, it is essential that the following prerequisites are established:

  • The Organisational Structure must be developed.
  • The Job Titles and Positions should be defined using the Job Profiler module.
Create an organisational structure
  • Click the gear icon to access the Setup and Configuration menu.
  • Click Organisational Structure.
  • Create an organisational structure based on the organisation’s size, goals, industry, and work style. Some examples of organisational structures:
      • Hierarchical structure – based on levels of authority and responsibility
      • Functional structure – focuses on specialised roles or departments
      • Divisional structure – based on product lines, geographical locations, or customer types
      • Team-based structure – centred around project teams or cross-functional units
      • Process-based structure – focuses on workflow and end-to-end processes
  • Hover over the name of a level to access the editing options. You can rearrange organisational levels by using the drag-and-drop feature.
  • To add subordinate levels, click the plus icon next to the name of the relevant level.
    • Enter the Name and Code of the organisational unit.
    • Choose the appropriate Organisational Level Type from the dropdown menu.
    • Toggle the Publish option on or off as needed.
    • If configured, the Business Location can be selected.
    • Other additional information about the organisational unit can be added, but is not required.
  • Click SAVE ADD NEW to add another subordinate level to the same organisational unit. Click SAVE when finished or click CANCEL to discard any changes.
  • Click the pencil icon next to the name of a level to edit. Click SAVE when finished or click CANCEL to discard any changes.
  • To delete a level, click on the trash bin icon next to its name. Please note that a level cannot be deleted if it has:
      • subordinate levels,
      • vacant positions, or
      • active positions.
  • When deleting, provide a valid reason for the deletion, confirm that you acknowledge and agree to the action, and then click DELETE. If you wish to cancel the operation, click CANCEL to discard any changes.
  • To move linked positions to different organisational units, click on the link next to the name of the level. The filled, vacant, and inactive positions can be viewed on the right.
  • Select the Job Positions you wish to move from the right side, then drag and drop them into the appropriate organisational unit on the left.
  • To return to the Organisational Structure, click the back arrow located at the top left of the screen. 
Define job titles and positions

After establishing the Organisational Structure, we need to create the necessary Job Titles and Positions using Job Profiler.

  • Click the gear icon to access the Setup and Configuration menu.
  • Click Job Profiler.
  • This screen shows all the job titles, positions, and vacancies within your organisation. Click + NEW JOB TITLE to add a new job title.
  • Enter the Job Title.
  • Enter the Job Code.
  • If the Master Data for the Occupational Category and Occupational Level data fields have been set up, you can select the appropriate data from the dropdown menus.
  • You can toggle the Critical Job switch on and off as required.
  • Click SAVE when you are finished or click CANCEL to discard your edits.
  • After saving the new Job Title, click PUBLISH to finalise and share it. Toggle to confirm that you acknowledge and agree to the changes, then click PUBLISH.
  • After saving the new Job Title, additional tab options will appear at the top of the screen. You can either set the Requirements for the role, or click on the Positions tab to add new job positions associated with that role. Click on Positions to proceed.
  • Click + NEW POSITION to add a new position.
  • Enter the Position Title. The Position Code will be automatically generated.
  • Click the Critical Position toggle if required.
  • Click the hand icon to select the Location in Organisation.
  • Link the Position by clicking on the correct organisational unit.
  • Click SAVE when you are finished or click CANCEL to discard your edits.
  • You can go back to the Job Profiler to keep adding Job Titles and Positions as required.
Appoint new users manually

Since the Organisational Structure and the Job Titles and Positions have been created, we can now add a new person to the system.
1.    Hover over the sidebar menu and click People Management.
 
2.    Navigate to the Manage People tab.


3.    Click +Person.
 
4.    Expand the organisational units to find the new Position you have just created.


5.    Ensure the Job Title and the Position Title are correct, then click +Person to add a new person.
 
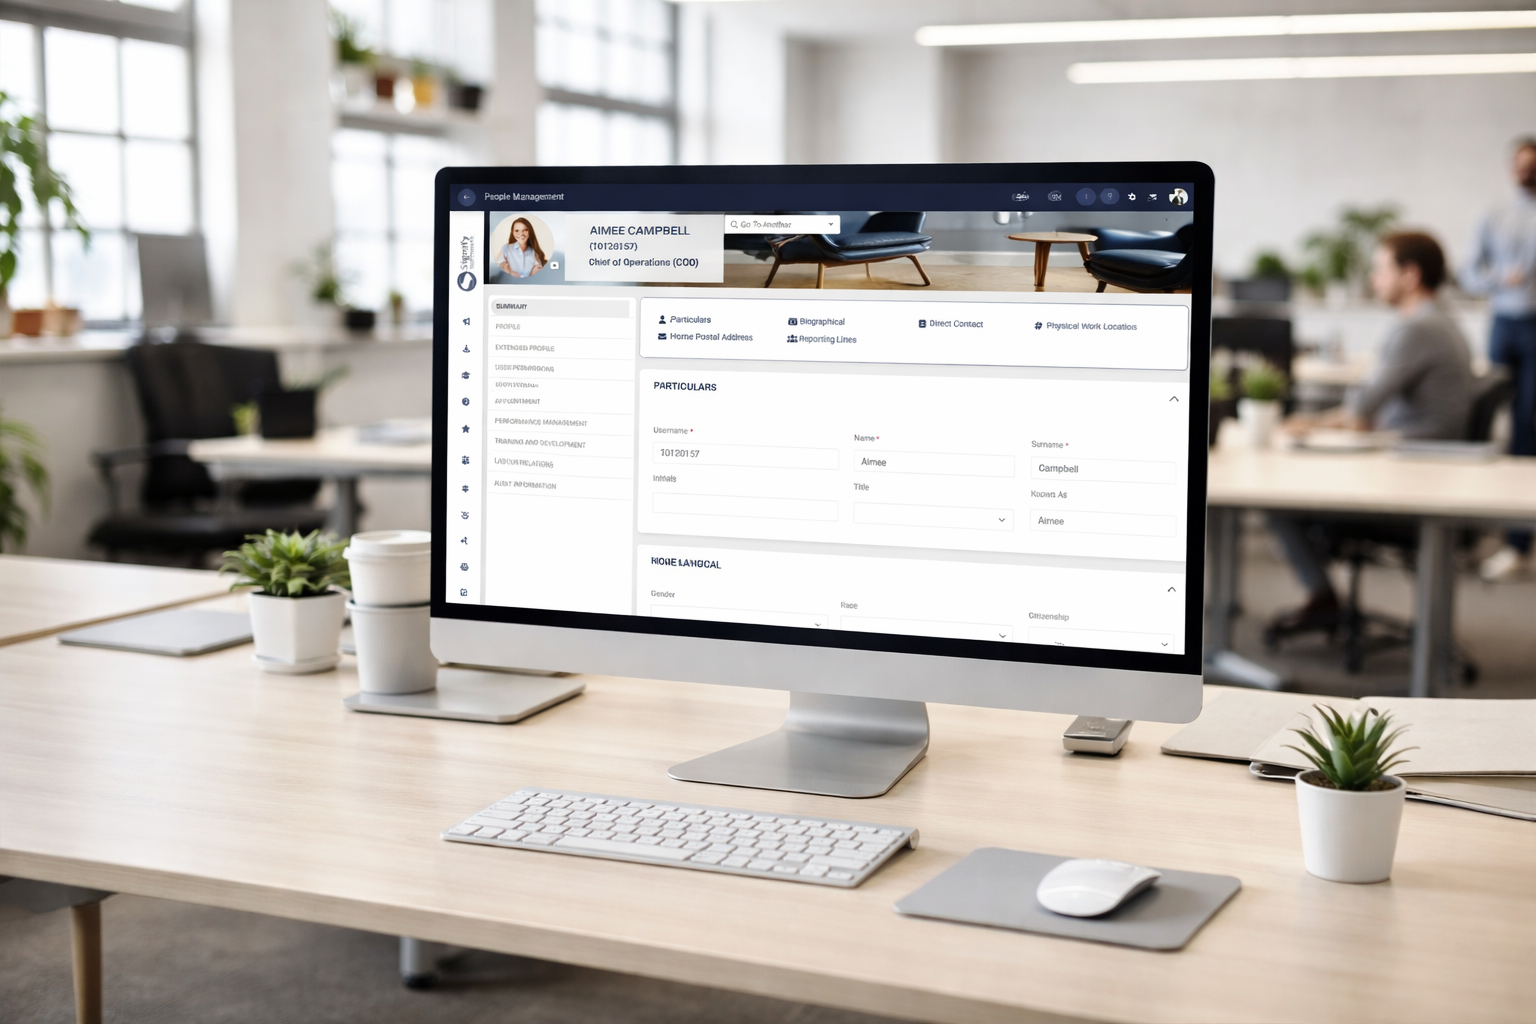
6.    Use this screen to populate the information for the new user.
 
7.    Click Save & Go to Profile once you are finished to finish setting up the new user's profile, or click Save Add New to continue adding new users.
Click Cancel to discard your edits.
 

8.    If you have selected Save & Go to Profile, you will end up on the user's profile page. Click Welcome Notification.
 
9.    Review the contents of the Welcome Email, then press Send. This will send an email containing the system’s URL to the user.
Click Cancel to discard your changes.
 
10.    You may choose to further revise the user's information within their profile, including updates to biographical details, appointment history, or access rights.
Follow the above procedure to add users manually. This method is also effective for adding small amounts of users at a time. 
Alternatively, follow Method 2 below if you prefer to streamline the process and add many users at a time. 


TRANSFERRING EMPLOYEES
Once a person’s role or position in the company changes, they can be transferred on the system using the People Management module.
1.    Hover over the sidebar menu and click People Management.
  
2.    Navigate to the Manage People tab.
  
3.    Hover over the card of the person you would like to transfer and click on the pencil icon to manage their profile.
 

4.    On the lefthand menu, click on Appointment.
 
5.    At the bottom of the screen, click on Transfer Person.
 
6.    Expand the organisational structure to find the location in the organisation to which the employee is being transferred to.
 
7.    Click on the employee’s new position on the right of the screen. 
If the new position has not been created, you can do so by clicking +Position. 
Alternatively, you can select an existing position from the Job Library.
 
8.    Complete the appointment information, then click Save to proceed, or Cancel to discard your changes.
 
9.    The employee’s previous appointment, as well as their new role, is recorded in the Appointment History tab on the employee's profile.
 
METHOD 2: ADD USERS USING THE IMPORT
Using an import sheet, you will establish the organisational structure, create job titles and positions, and add new users.
1.    Use the sidebar menu to navigate to People Management.
 
2.    Click this button to access Module-Specific Functions.
 
3.    Click Export/Import on the menu and ensure the dropdown menus are set to People Management and Employee Data. Click Proceed to continue.
 
4.    To access the import sheet, click Download Import Template.
 
Populate the downloaded import sheet with the users' information. This procedure requires attention to detail to ensure the information on the system is accurate. Please do not hesitate to ask the Signify Consultant for assistance.
5.    Once the import sheet has been filled and checked for errors, click Upload Import File.
 
6.    Click on Import to initiate the data validation and import processes. The users' data may take some time to appear in the system.