Bulk Additional Service Imports

The Integrations page serves as a central configuration and monitoring interface for managing automated data integrations between external systems and the People Management platform. Its primary purpose is to enable administrators to control how data is imported, synchronised, and processed across various system components, ensuring that organisational data remains accurate, up to date, and aligned with external sources.
A significant portion of the Integrations page is dedicated to Bulk Additional Service Imports, which is divided into two key mechanisms:
For our People Management module functions that require syncing, we will focus on push imports.
Each import type is presented in a structured table displaying critical operational details, including the import name, scheduling frequency, last execution timestamp, and whether the import is currently active.

Examples of managed imports include user data, reporting lines, organisational structures, appointments, permissions, training data, and master data. This enables administrators to monitor integration health, identify inactive or unscheduled imports, and ensure that essential data flows are functioning as expected.
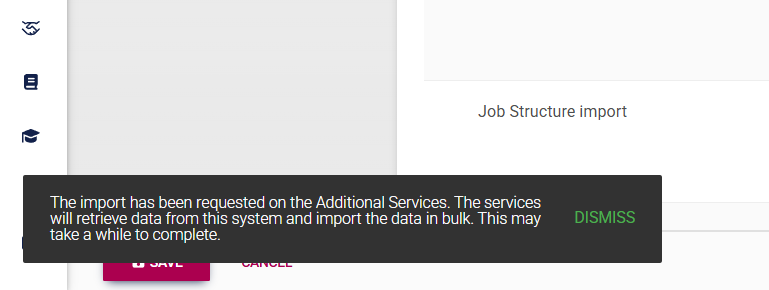
To kick off an ad hoc synchronisation of data, such as after completing a People Management import using the import sheet, creating people groups, or updating a reporting line, click REQUEST ALL DATA to sync the whole data set.
For large data sets, this may take some time and may significantly affect system performance, so use with caution.
However, if you would only like to sync the changes you have made recently, click REQUEST RECENT CHANGES.

A message will appear, notifying you that the sync job has successfully staged.
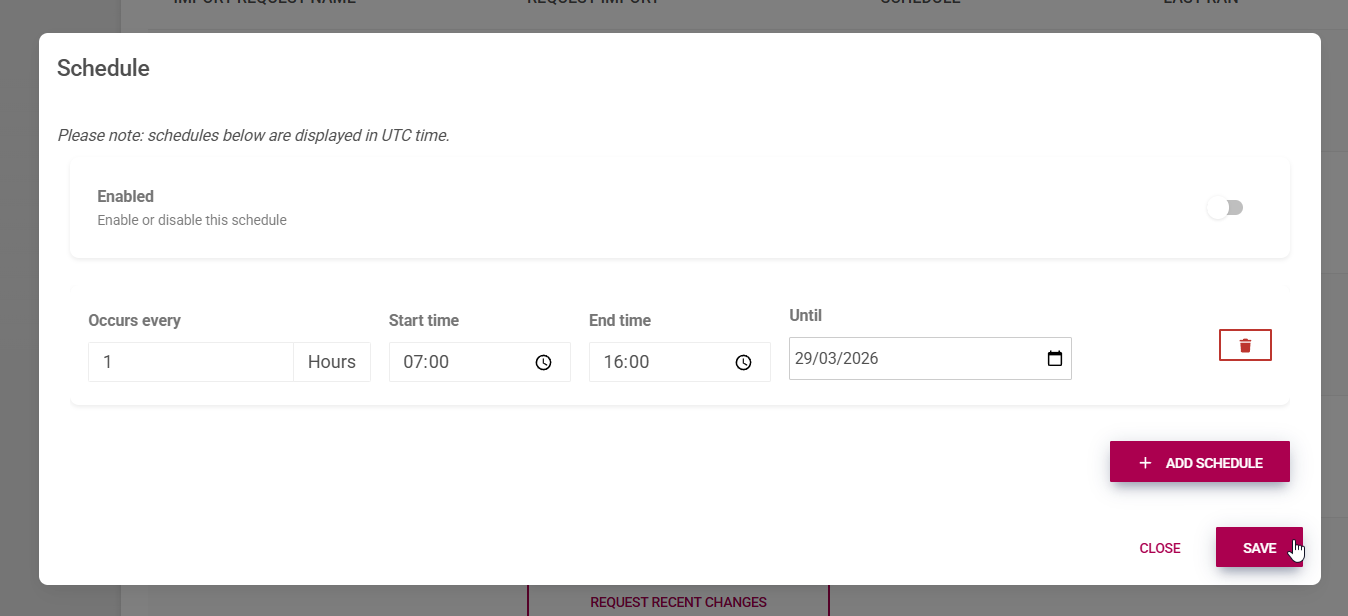
To set up a regular schedule for a sync job to run on certain data sets, such as user imports, appointment information, or master data, click the Schedule column.

Click to enable a schedule, then click +ADD SCHEDULE to create a new schedule.
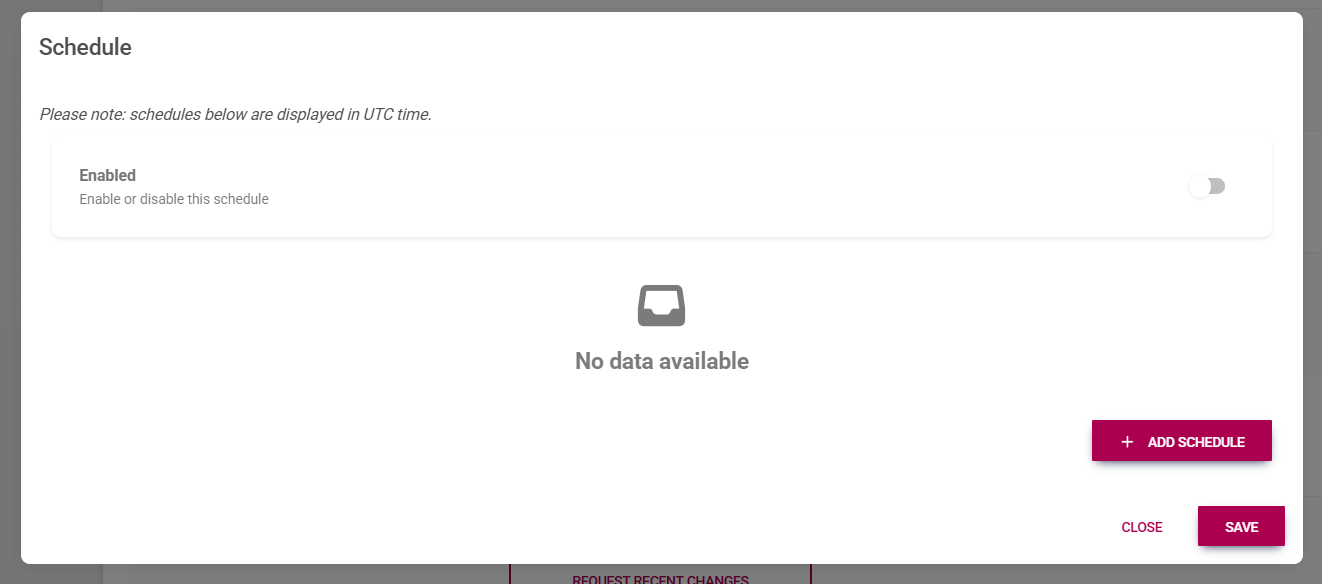
Complete the schedule information. Click SAVE to confirm your changes, or CLOSE to cancel this process.