People Management Implementation Guide

People Management is a system that contains profiles of all individuals within an organisation. Each person has a unique profile that can be updated and managed as needed.
Users can view others' profiles within their team, department, and the entire company, as well as update their own profile.
People Management also allows users, such as administrators, to have elevated rights to perform their daily tasks effectively. Additionally, People Group access enables the management of individuals within a designated group.
The following section provides a step-by-step outline for implementing People Management.
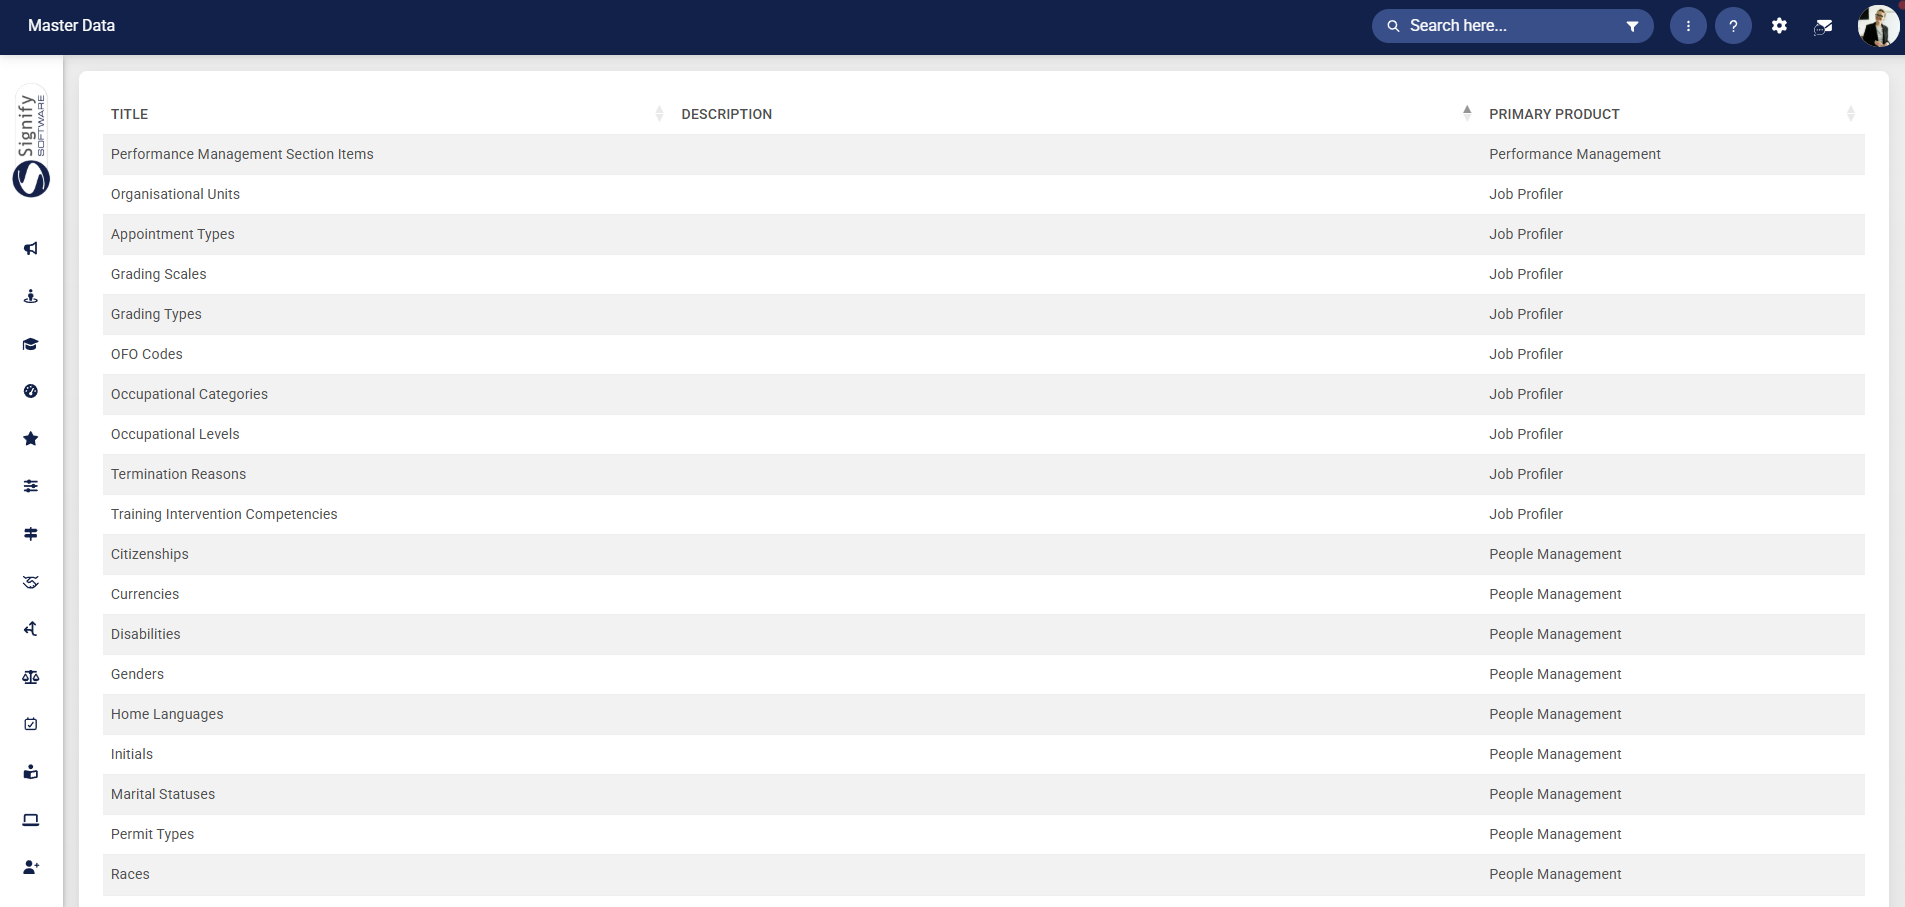
Step 1: Update the Master Data Library
The Master Data Library serves as the foundational control layer for all standardised organisational data used across the system. Its purpose is to ensure that key reference data are centrally defined, consistently applied, and tightly governed. Default values have been added to the Master Data Library, which can be used in People Management.
Master data types with defaults include:
-
Asset Items
-
Asset Types
-
Citizenship
-
Disabilities
-
Genders
-
Home Languages
-
Initials
-
Marital Statuses
-
Permit Types
-
Races
-
Relationships
-
Titles
-
User File Categories
Click here for details on how to update the Master Data Library.
Step 2: Manage the People Management fields
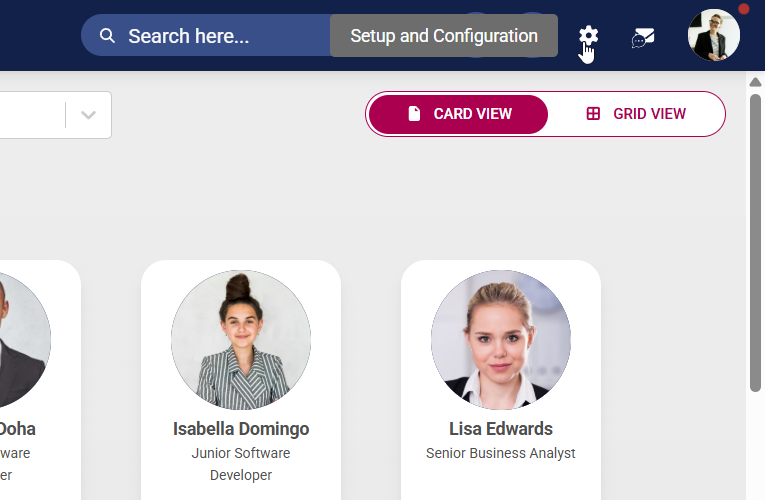
Data fields linked to People Management can be activated/deactivated as required. To configure these fields, we will use the Product Setup functionality of People Management.
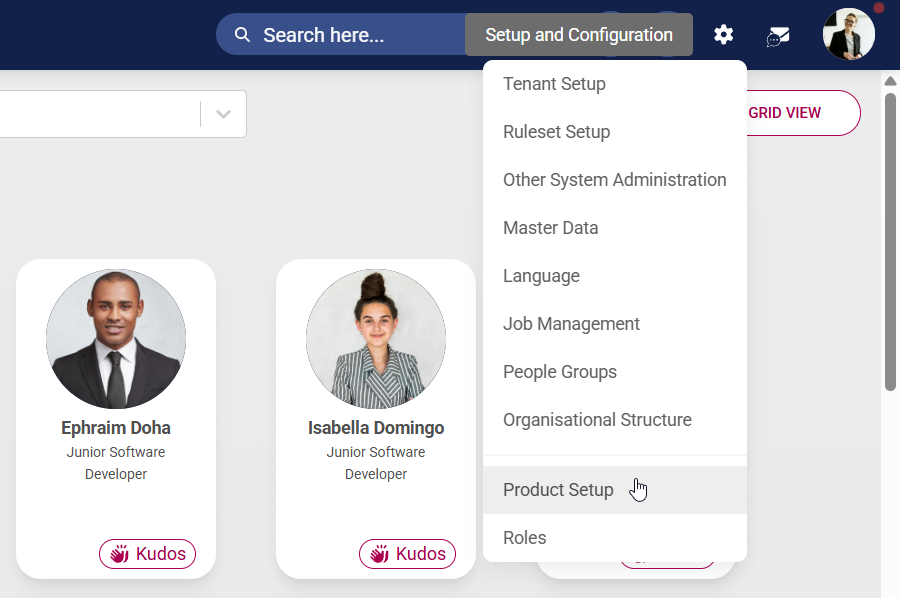
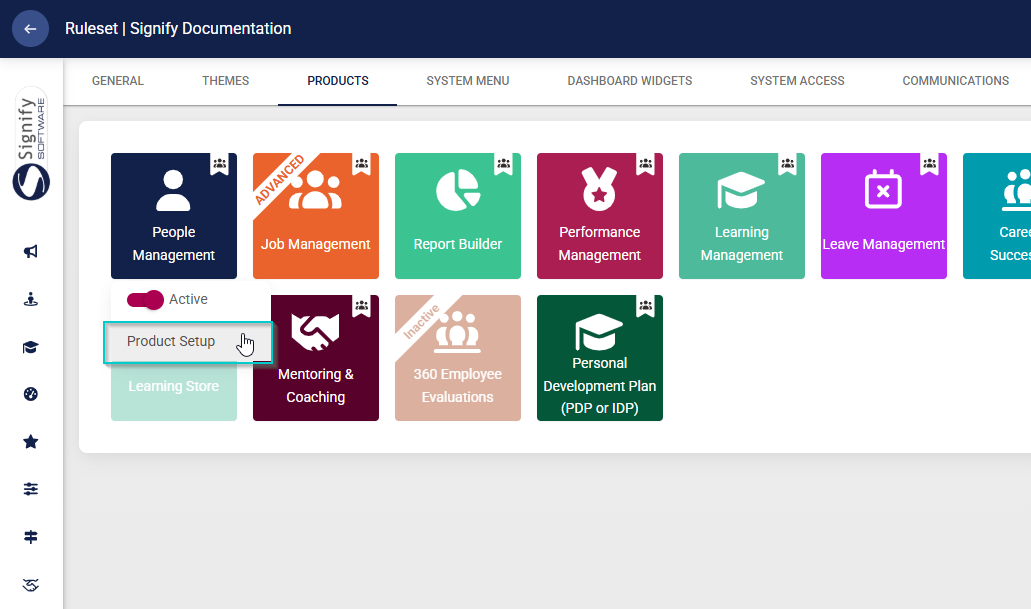
- Click the gear icon to access the Setup and Configuration menu.
- Click Product Setup in the drop-down menu.
- Find the People Management product card and click on it.
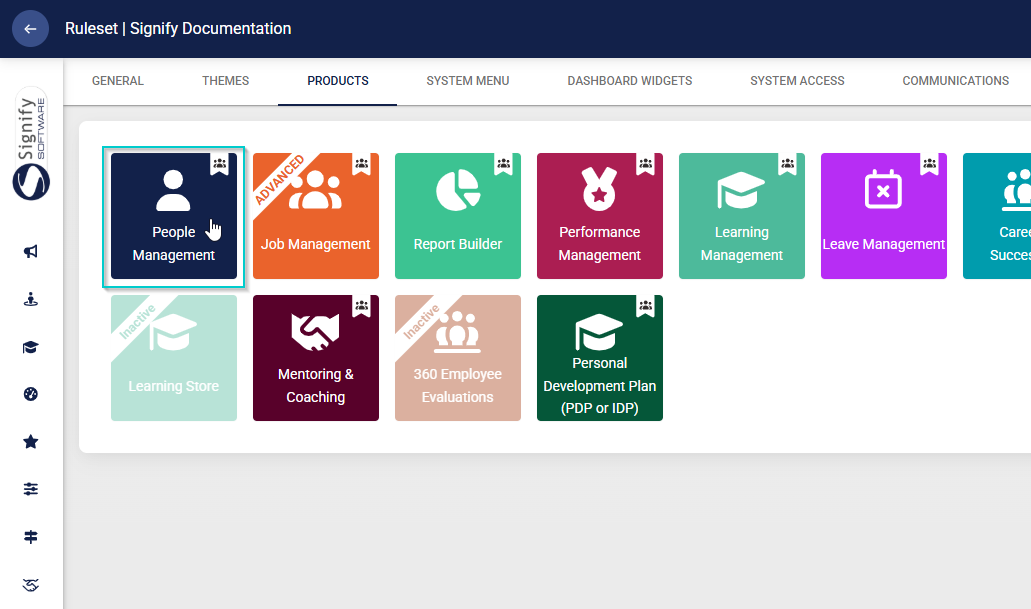
- Click Activate to ensure the product is active on the system. Click Product Setup to configure the module.
- Let us look at each section individually.
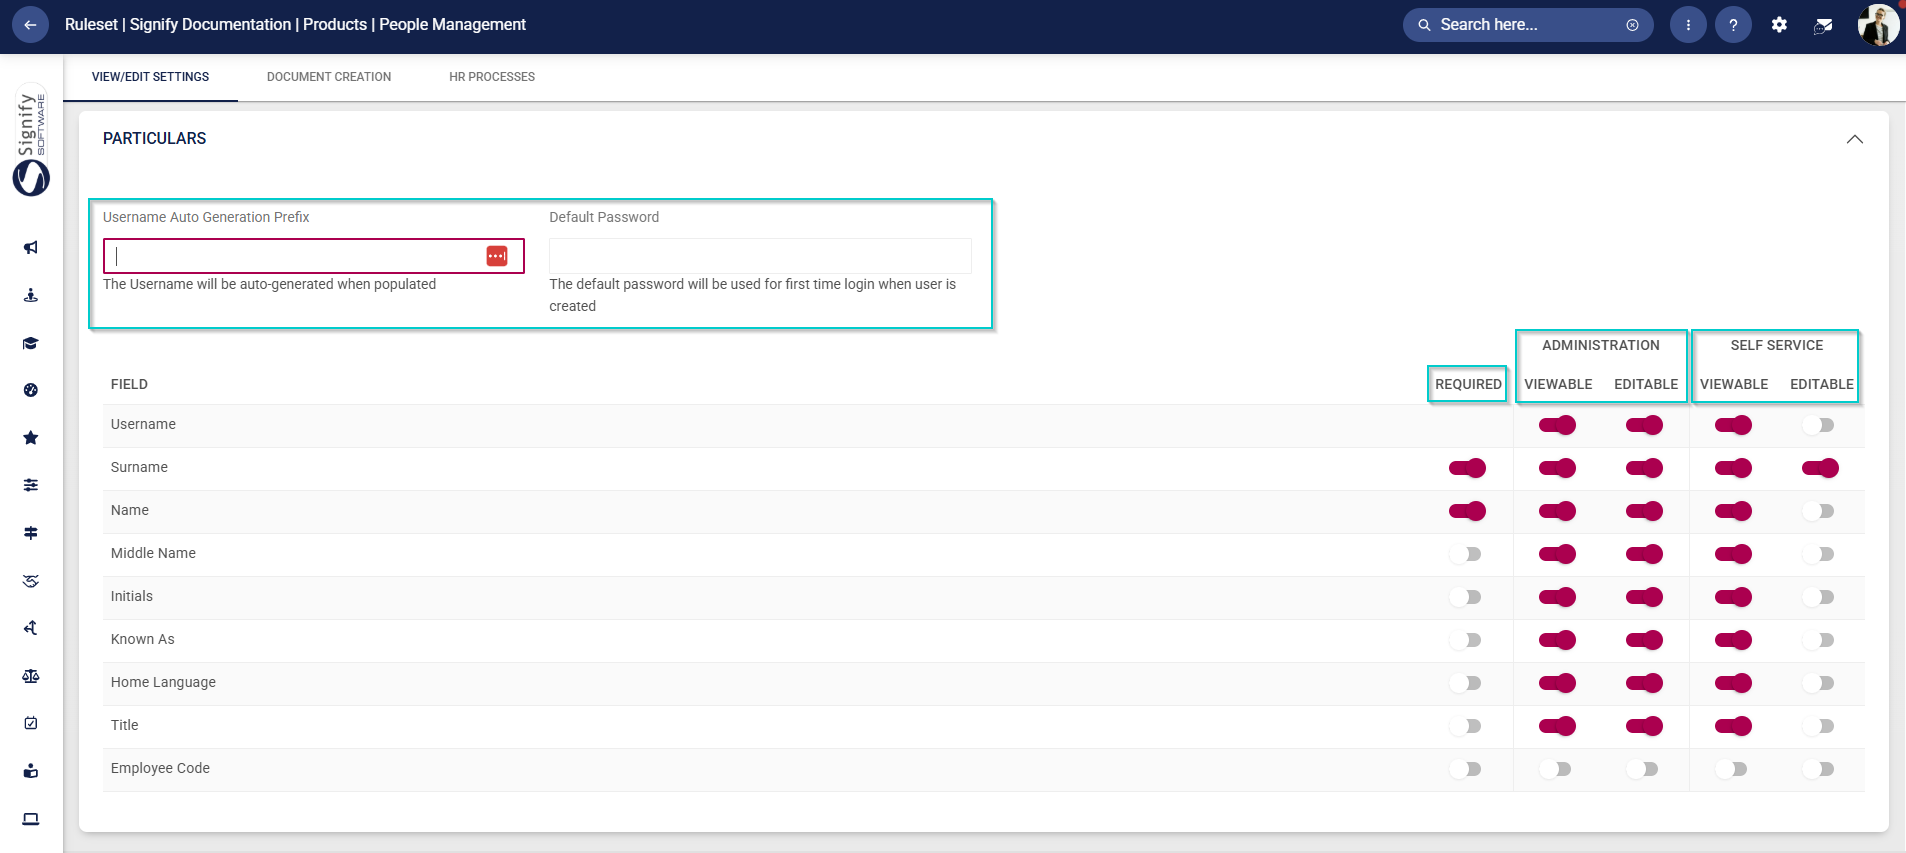
Particulars
- Usernames can be auto-generated with predetermined prefixes.
- A default password can be configured for use when creating new users.
- Fields can be marked as:
-
- Required
- Viewable and/or editable by Administrators
- Viewable and/or editable by users when doing self-service.
-
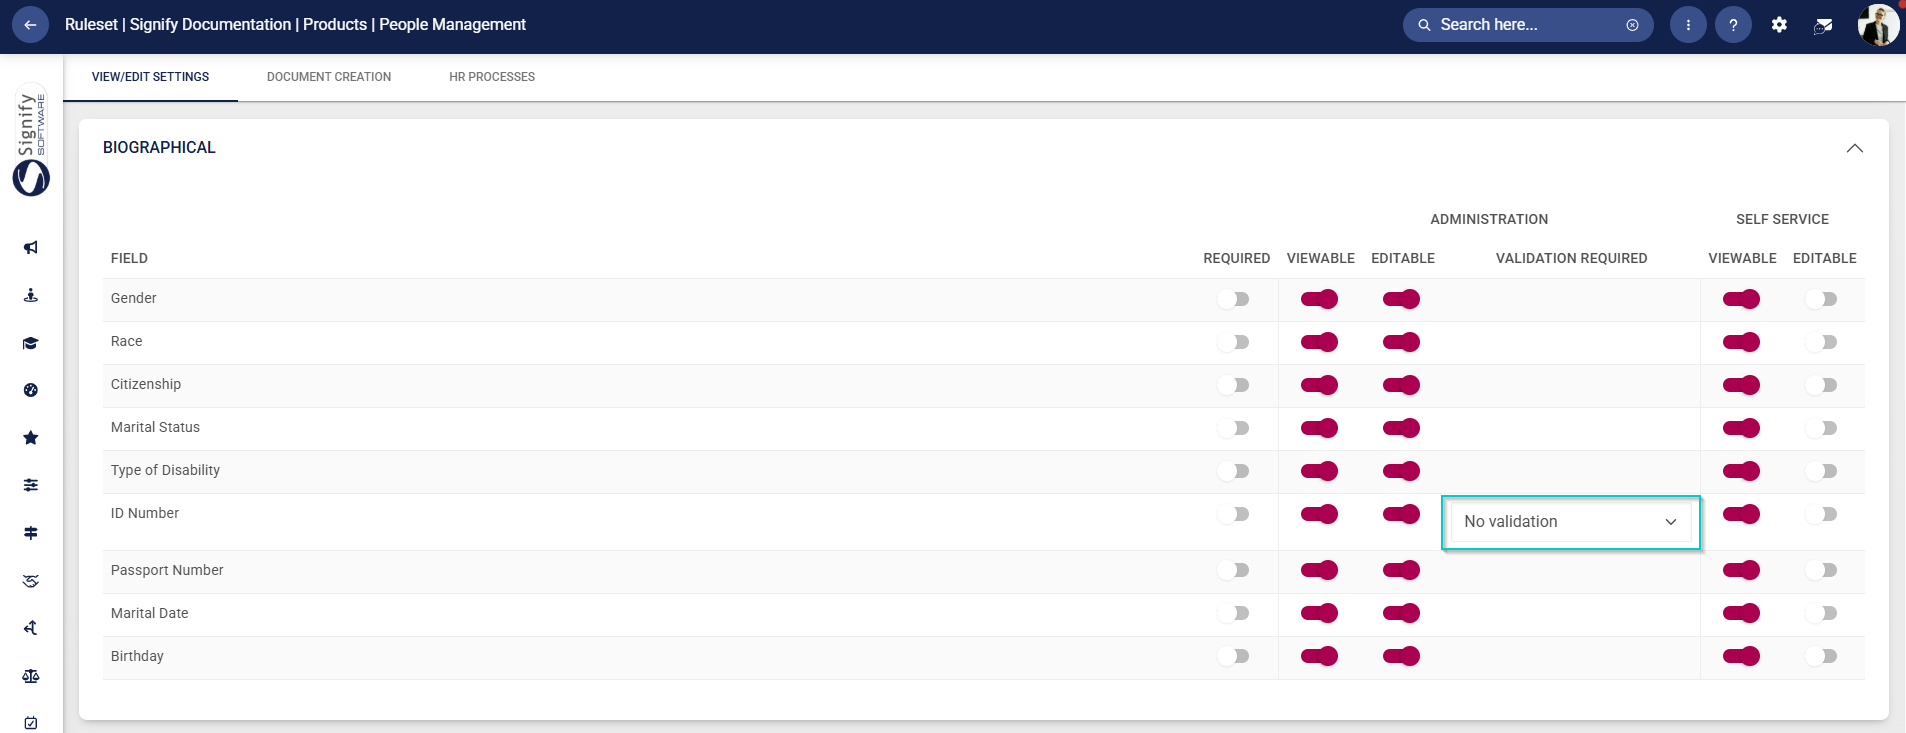
Biographical
- A unique feature is the validation of ID numbers in the system, which can be activated/deactivated using the drop-down menu.
- Fields can be marked as:
-
- Required
- Viewable and/or editable by Administrators
- Viewable and/or editable by users when doing self-service.
-
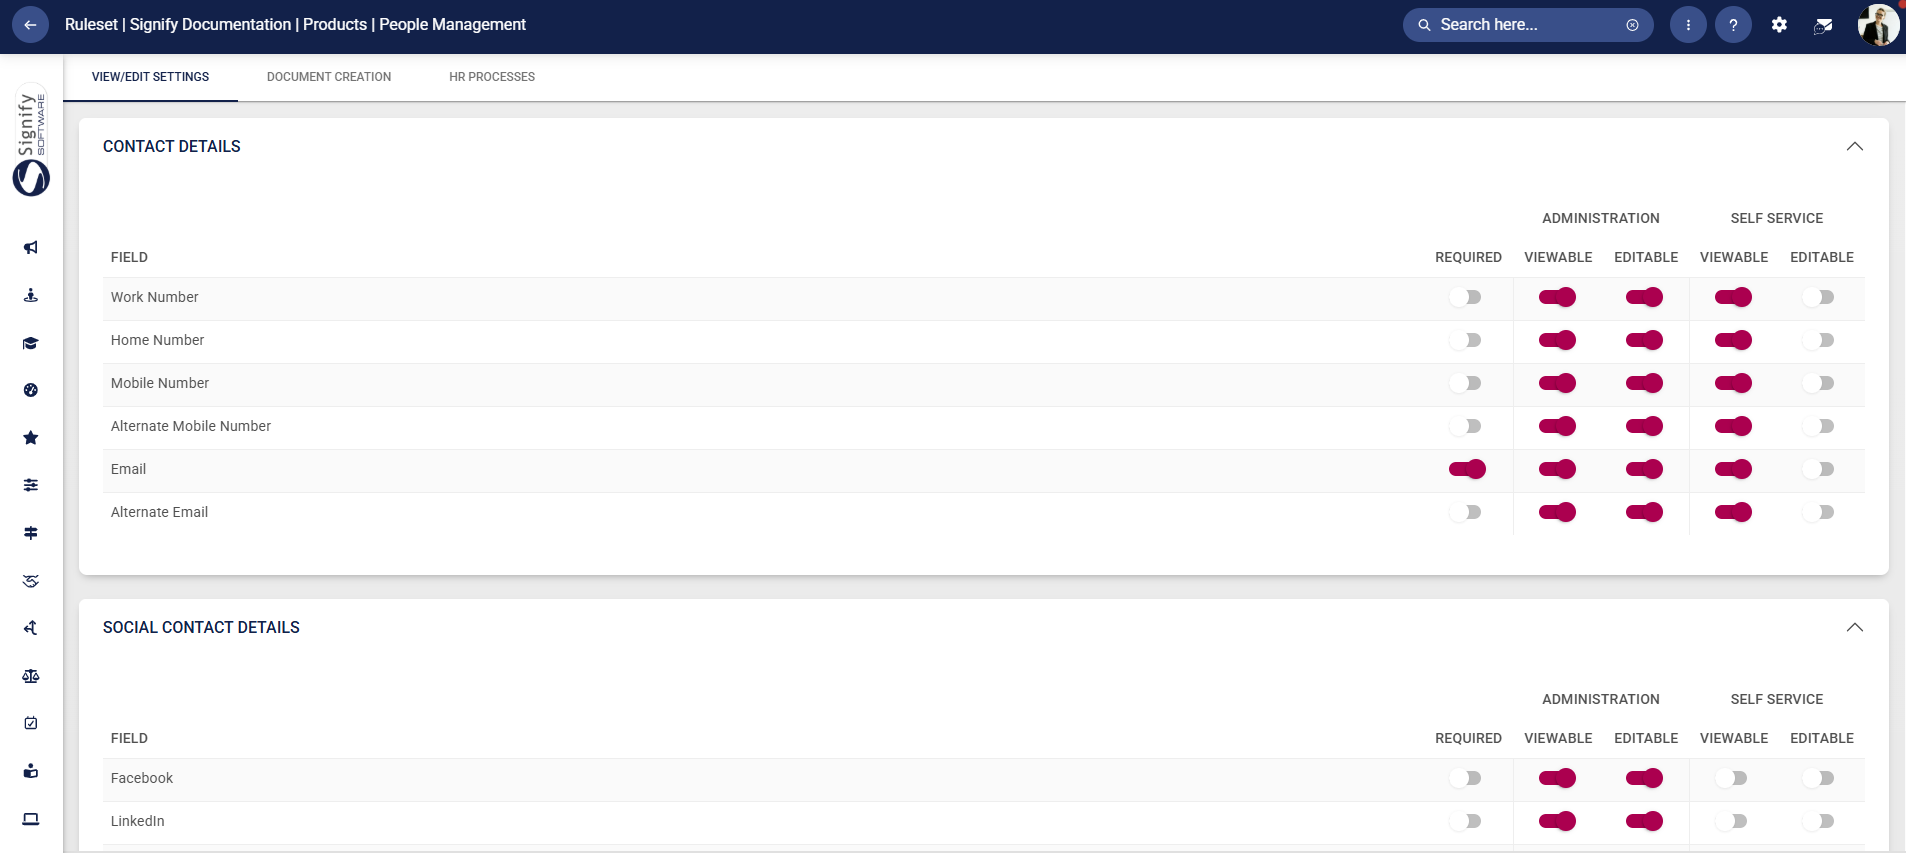
Contact Details and Social Contact Details
- Fields can be marked as:
-
- Required
- Viewable and/or editable by Administrators
- Viewable and/or editable by users when doing self-service.
-
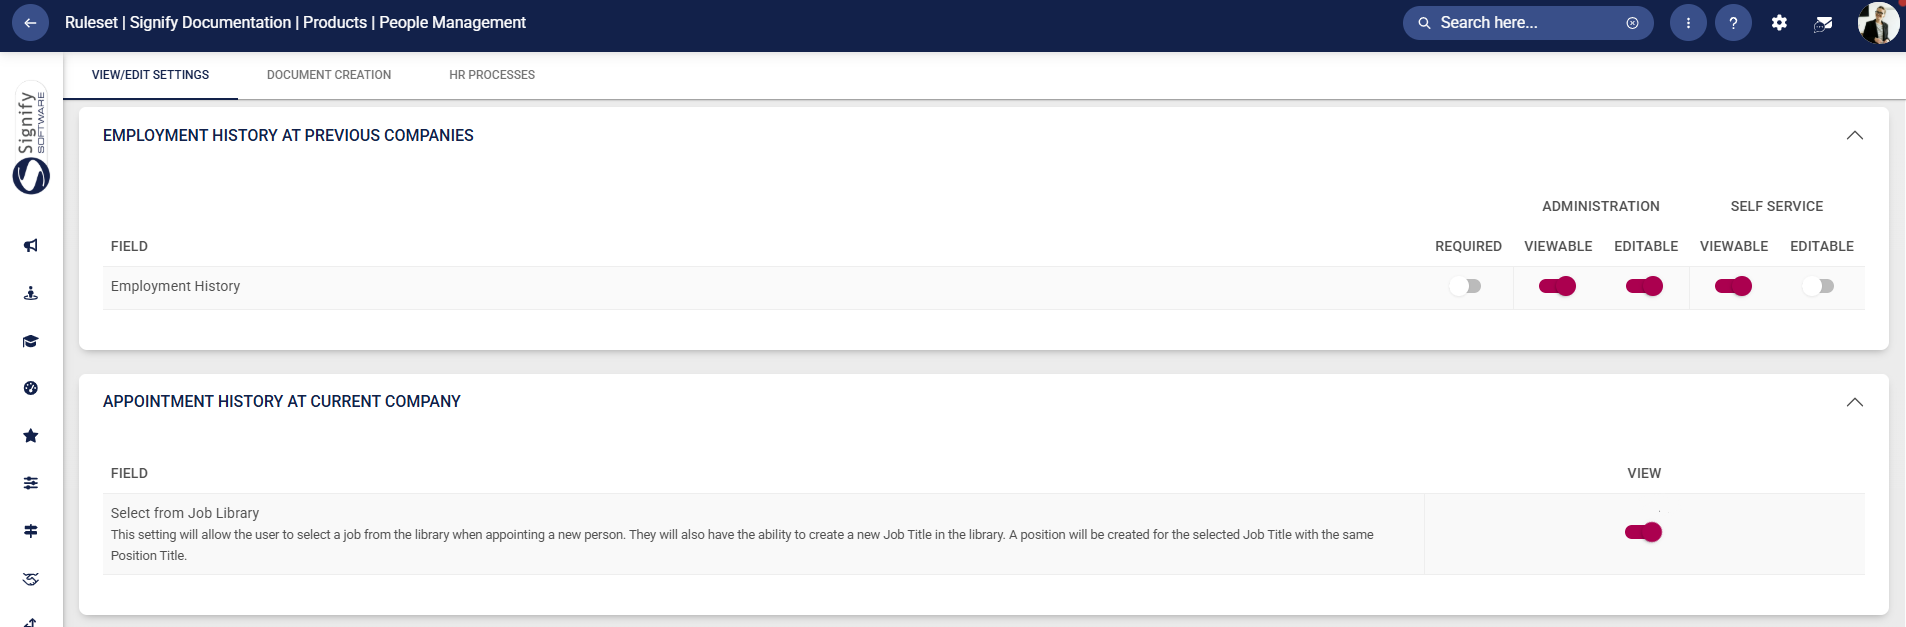
Employment History at Previous Companies and Appointment History at Current Company
- Fields can be marked as:
-
- Required
- Viewable and/or editable by Administrators
- Viewable and/or editable by users when doing self-service.
-
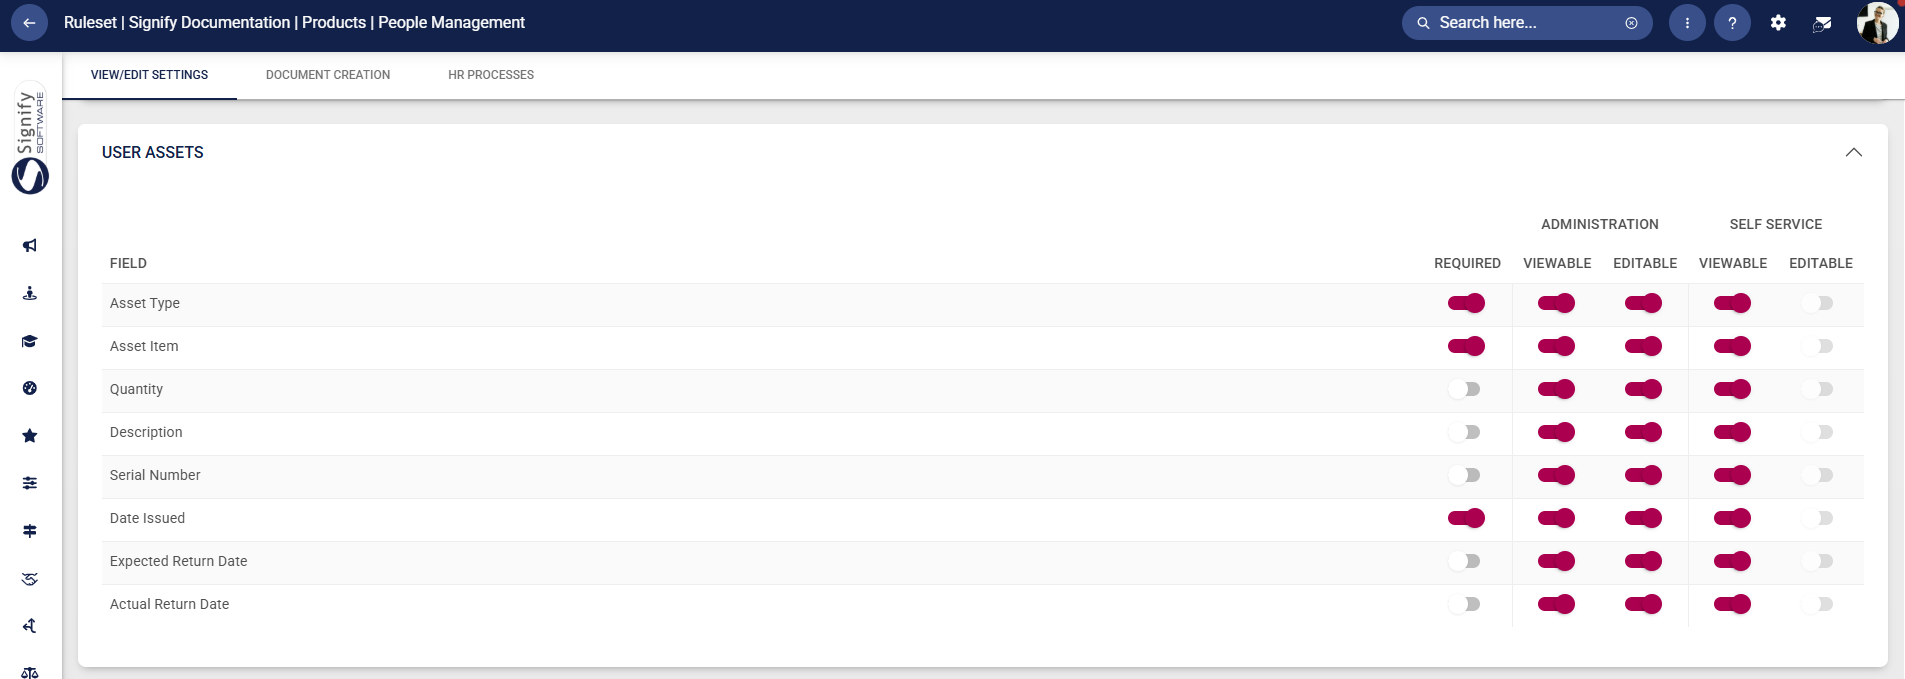
User Assets
- Fields can be marked as:
-
- Required
- Viewable and/or editable by Administrators
- Viewable and/or editable by users when doing self-service.
-
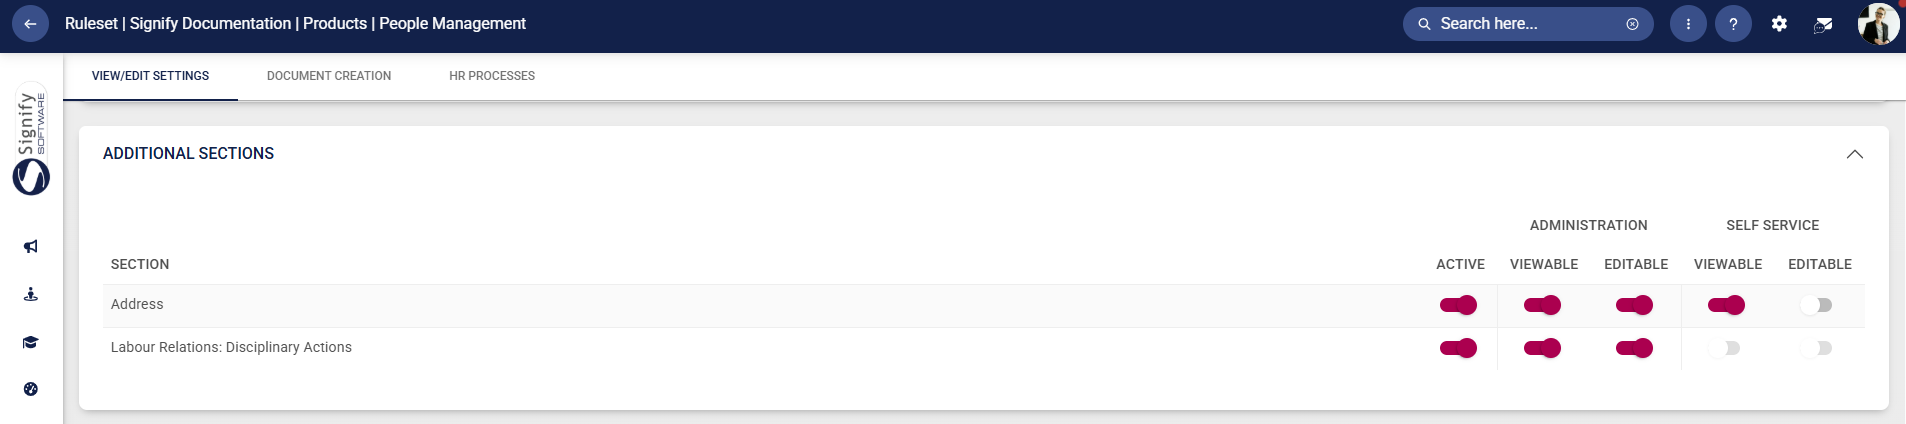
Additional Sections
- Fields can be marked as:
-
- Required
- Viewable and/or editable by Administrators
- Viewable and/or editable by users when doing self-service.
-
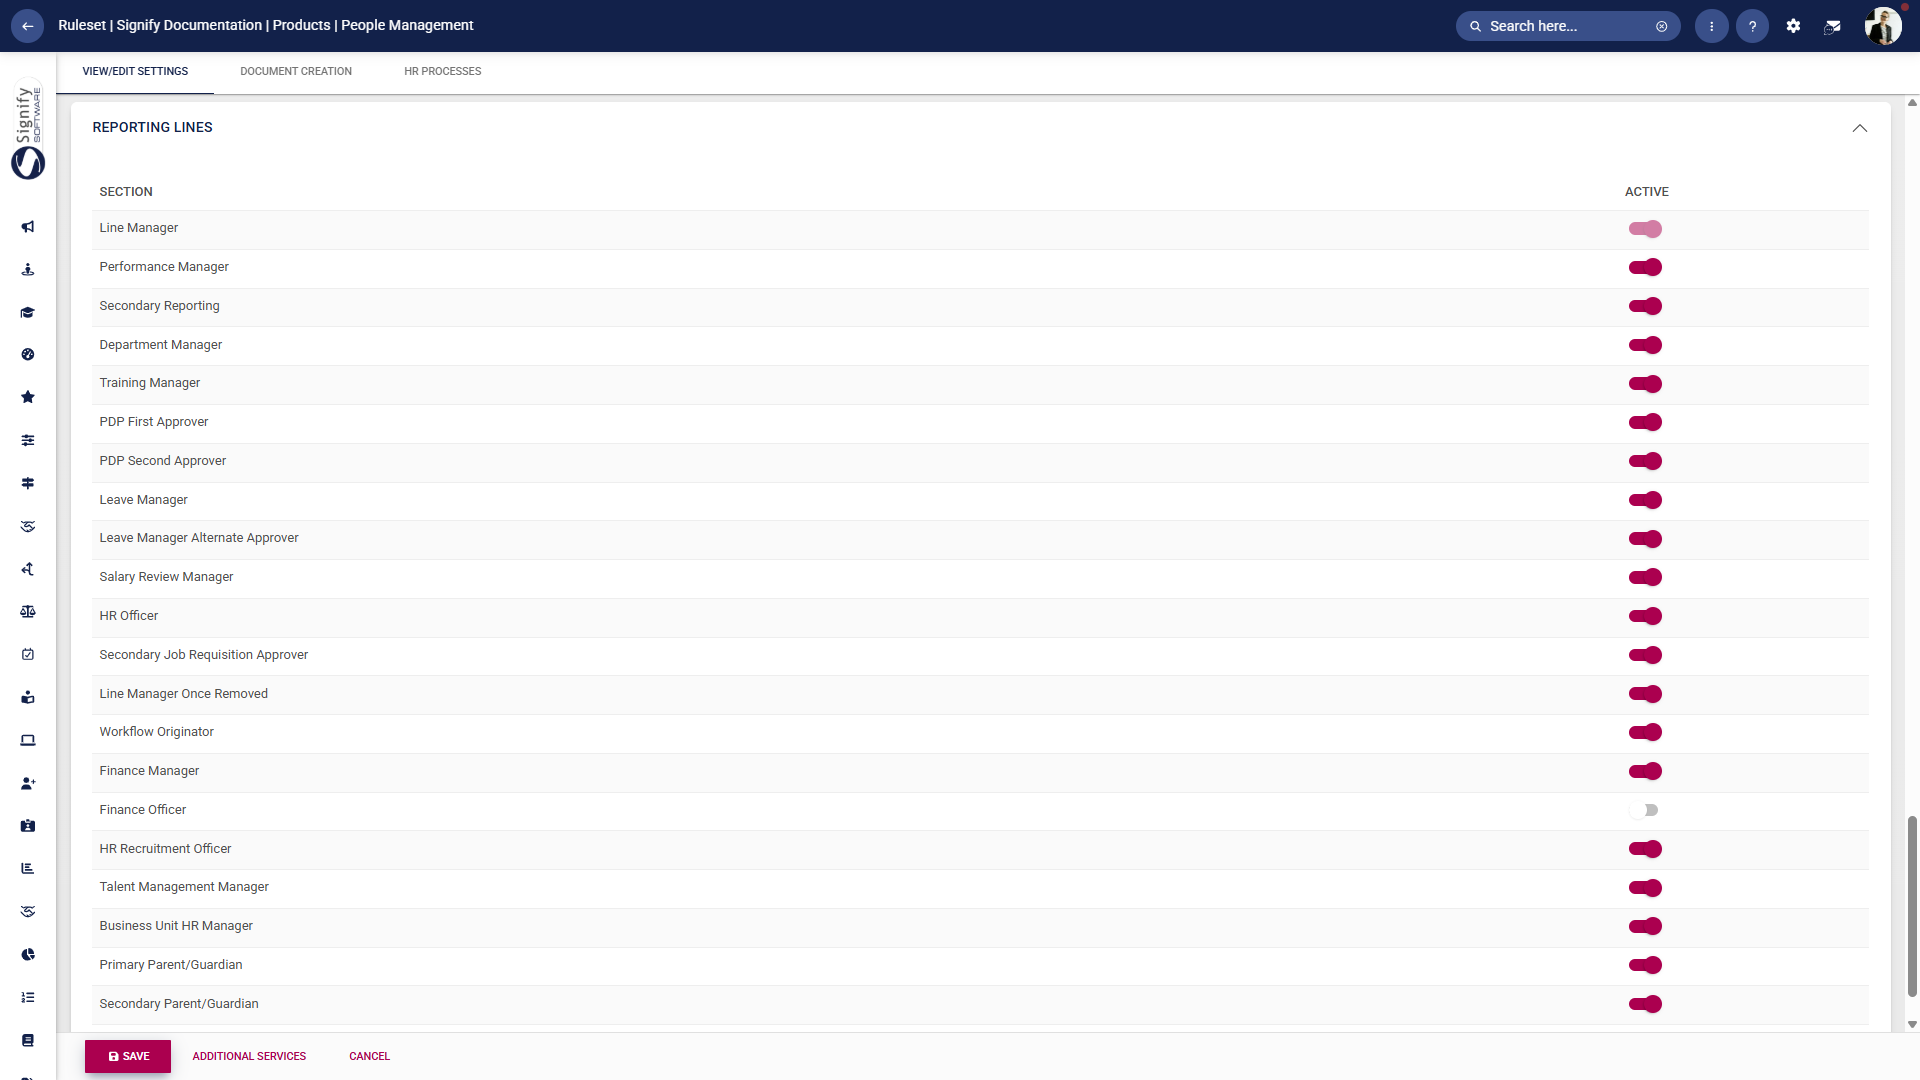
Reporting Lines
- Fields can be marked as:
-
- Required
- Viewable and/or editable by Administrators
- Viewable and/or editable by users when doing self-service.
-
Step 3: Create People Groups
A target audience, or a People Group, can be created to identify users based on specific criteria.
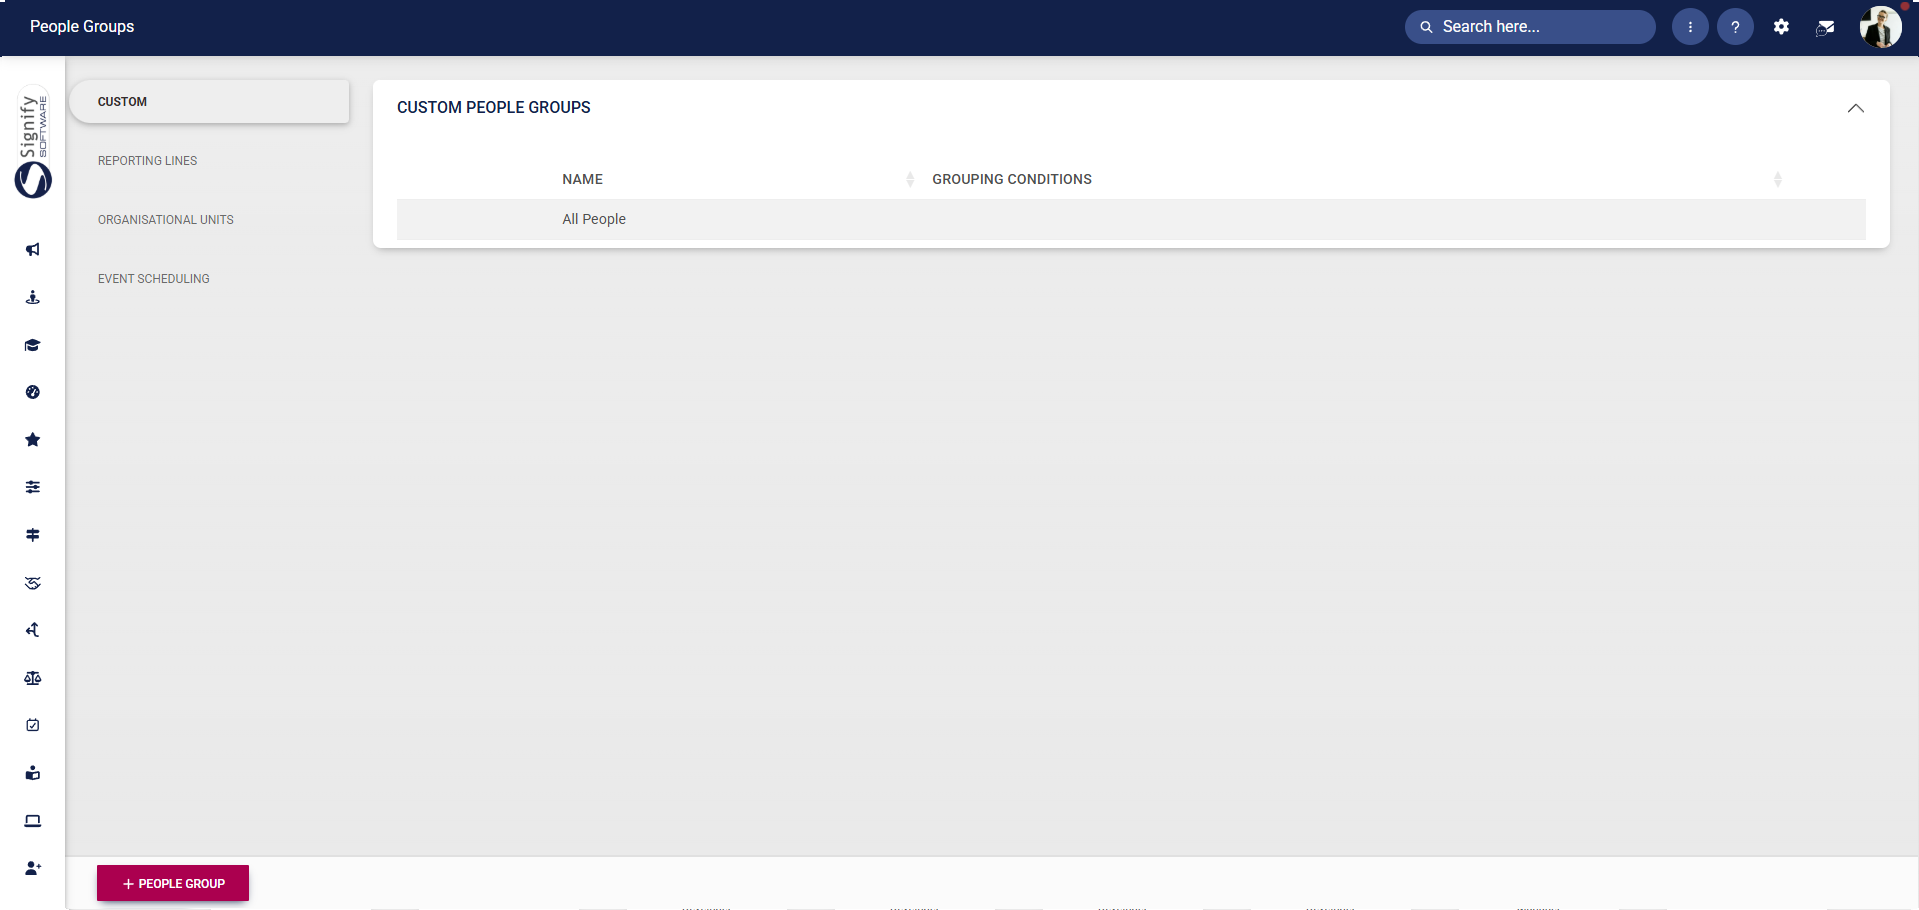
For a detailed guide to creating people groups, click here.
Step 4: Create People Groups Roles
People Group Roles come with specific permissions that can be assigned to individuals. These permissions allow a person in this role to manage specific aspects of a group.
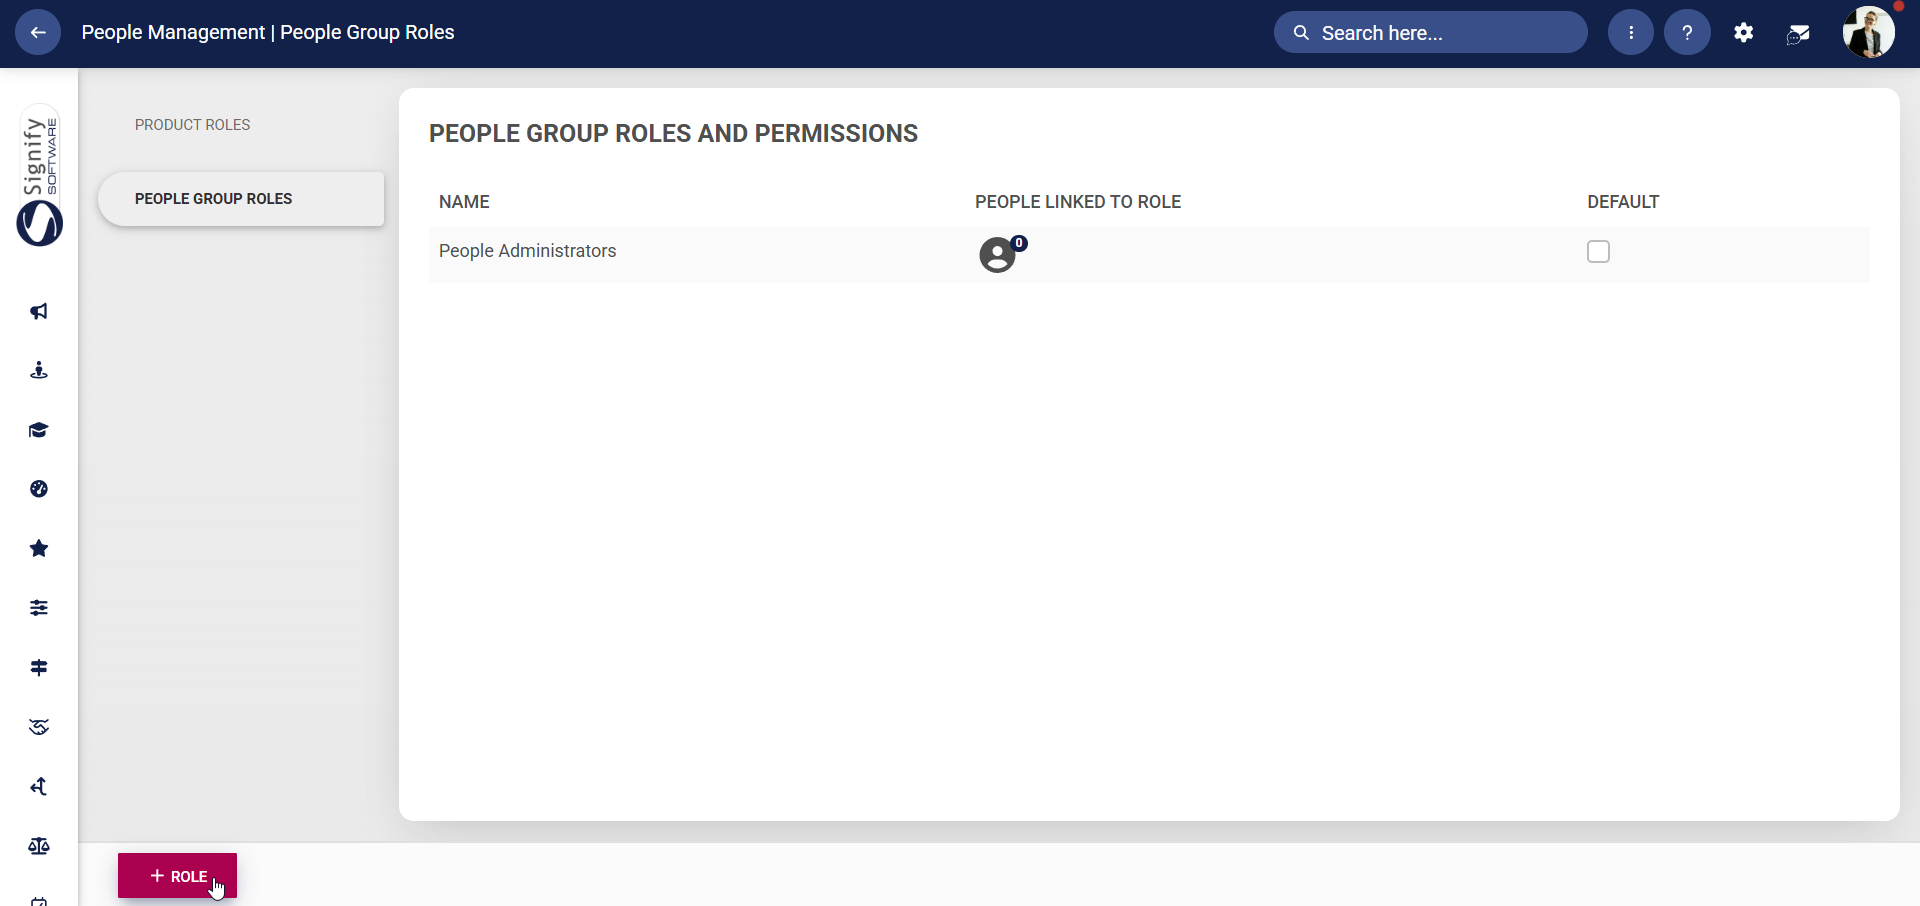
For a detailed guide to creating people group roles, click here.
Success!
Congratulations! You have successfully implemented the People Management module. For more details on how to use the module, view the next chapter: Chapter 4: Using the People Management module.
