Administrative functions
In this section some administrative functions relating to the product Catalogue module is discussed.
Enabling Catalogues
To make use of the Catalogue Module, it must be enabled in the Signify system.
This can be done by following the below path:
From the Home Screen | System Administration | Tools | Configuration | Framework | Portal Web Part Admin
Ensure that “Catalogue” is “enabled” and “visible”.
- The main Catalogue menu item, when enabled, should ideally have a target audience configured for the administrative users which will be able to access this menu option.
- Please contact support to assist in both these aspects, should the module not be available or the Catalogue menu item is not available to the correct group of users as target audience.
Catalogue Administrator
The catalogue administrator role should be assigned to the primary catalogue administrator user:
Setup Requirements
To add the role for a user, navigate to:
System Administration | Users | Manage Users | Select user | Role Assignment
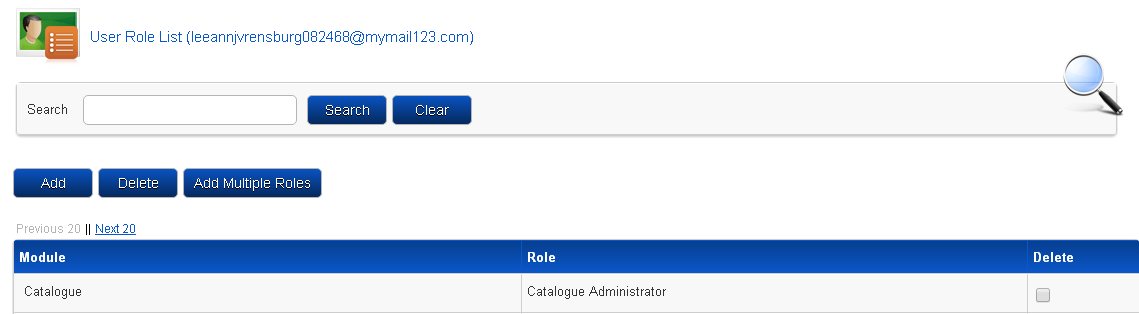
- To ensure that the administrator has access to the catalogues menu, click on “Add Multiple Roles”. This will load the pop-up window
- Search for “Catalogue”
- Change the dropdown to “Catalogue Administrator”
- Click on “Save” and the catalogue administrator will now have access to edit the catalogue.
Uploading images using the Signify Image Uploader
The Signify Image Uploader is an administrative screen which can be used to upload image files to the system which can later be used in other parts of the system - e.g. pathways and catalogues. For every image uploaded 2 images are stored: a small thumbnail image as well as a full-size image of the image. The following steps shows how an image can be uploaded to the system and how the image and thumbnail URL can be obtained to include in other parts of the system. Only a system administrator will be able to upload images to the system.
To access the Image Uploader, do the following:
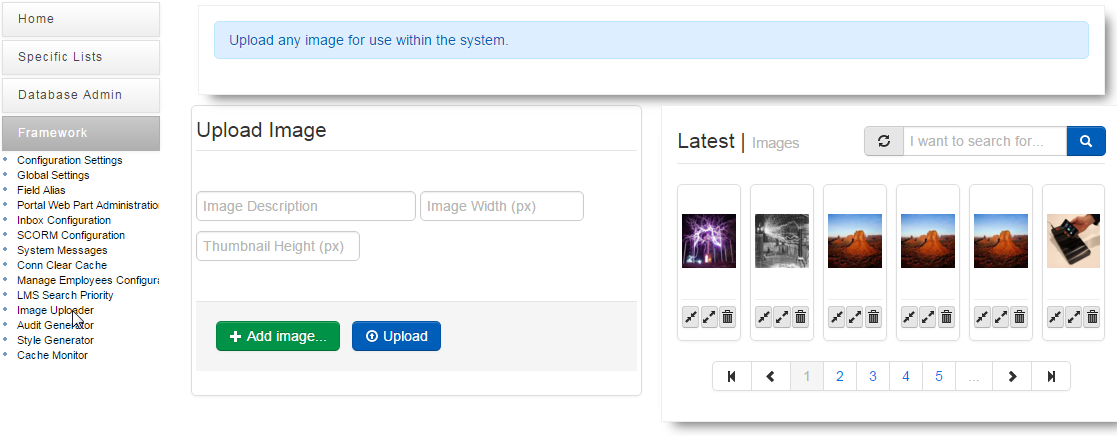
- Click “Add image” and select an image file from your local PC to upload to the system
- Specify a name/title for the image in the Image Description text box
- Optionally specify a specific width for the image, if it should be re-sized from the original image size - the aspect ratio of the image will be kept
- Optionally specify a specific width for the thumbnail image to be created from the image (a smaller image to be used as icon in the system), if you do not wish to use the standard size for the thumbnail image
- Click “Upload” to upload the image to the system.

The image will be displayed with the latest images. If the image is not available, use the search function to find the image.
These URL addresses can now be used in other parts of the system to display images, e.g. in a Pathway, the Assessment Builder module and the Catalogue module (to specify a primary catalogue image to be used on the first page of the catalogue when creating the catalogue).
