Update a Person's Profile

For users: Update your own profile
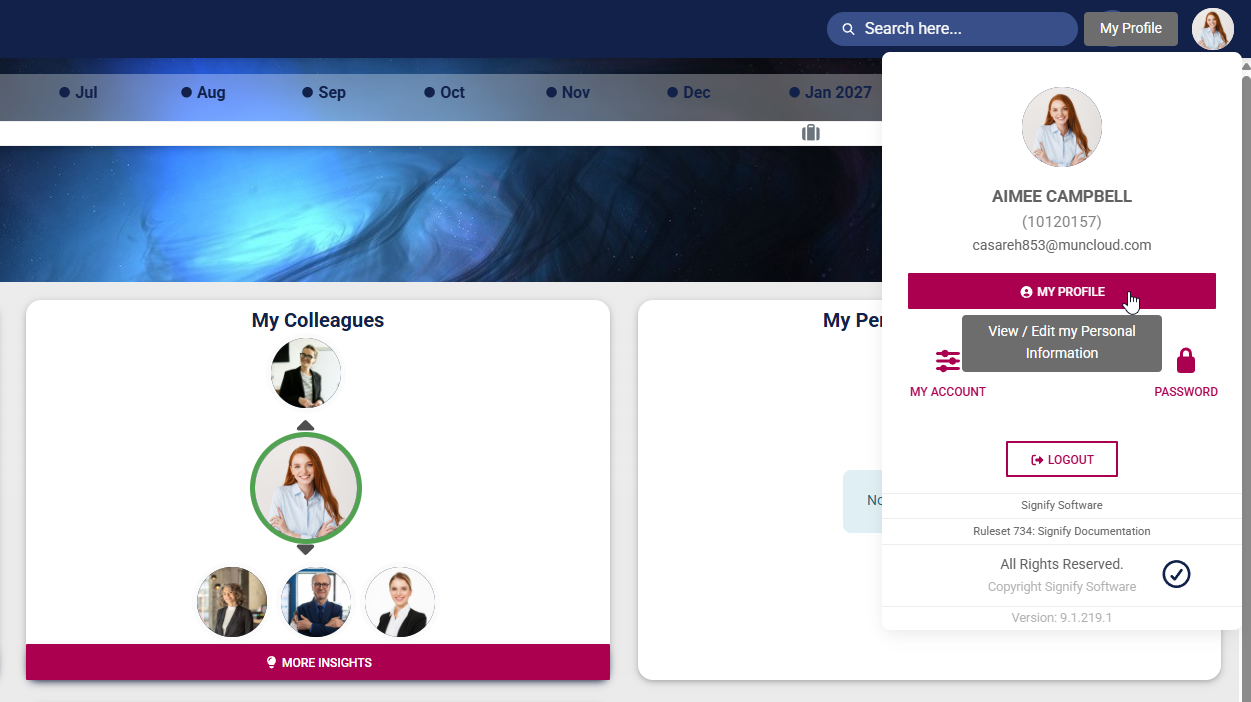
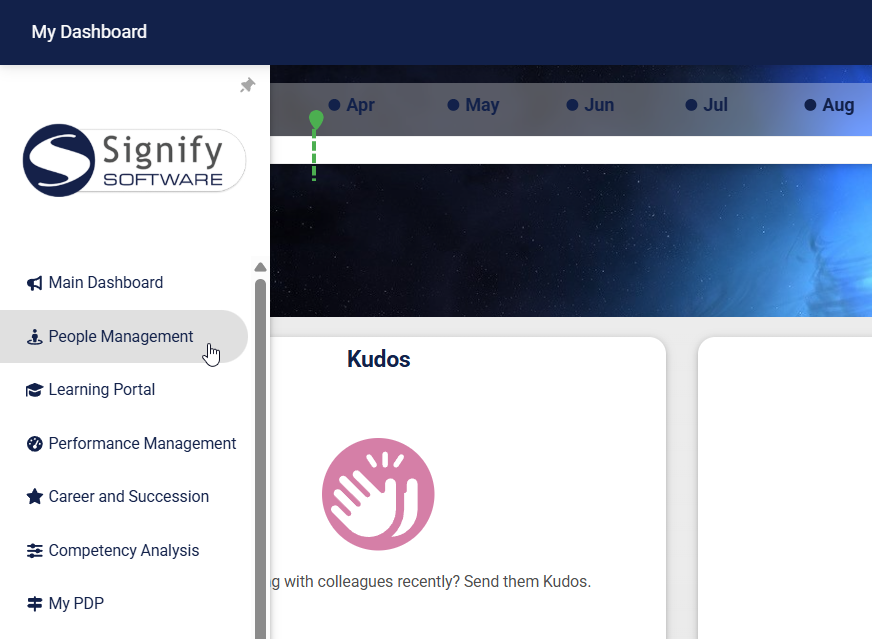
- Click on your profile icon at the top of the screen to access the main menu.
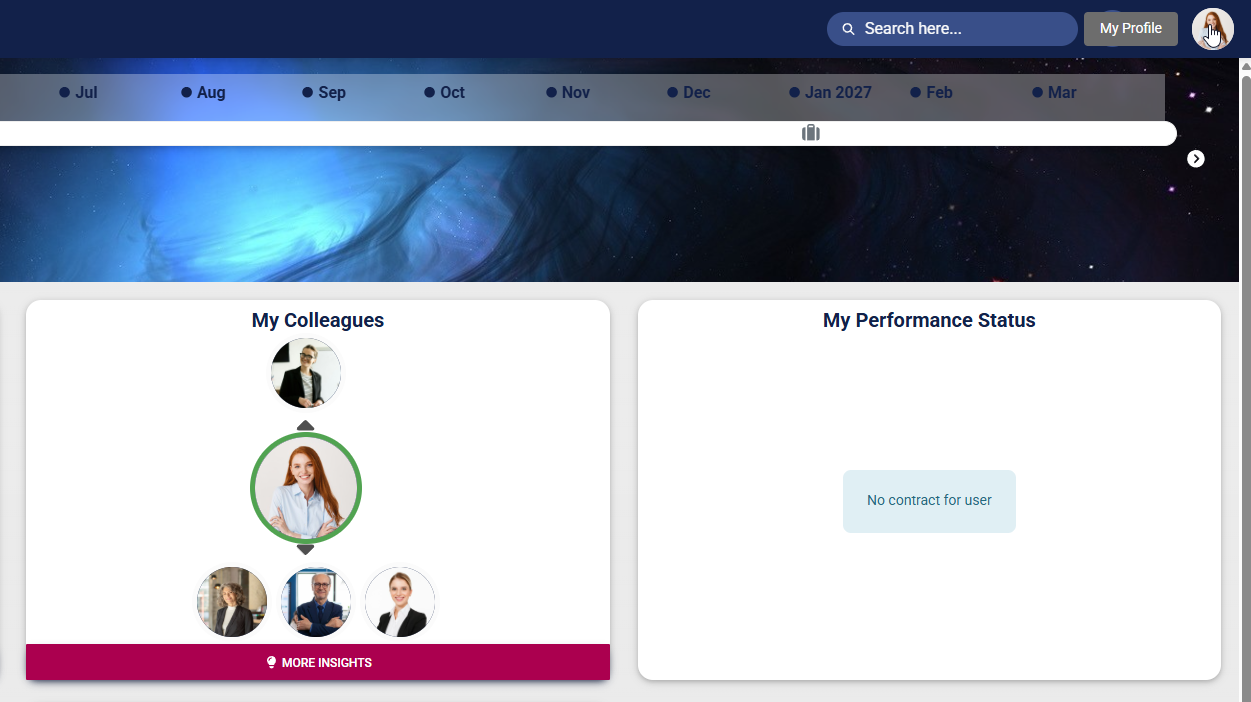
- Click MY PROFILE to view or edit your user profile.
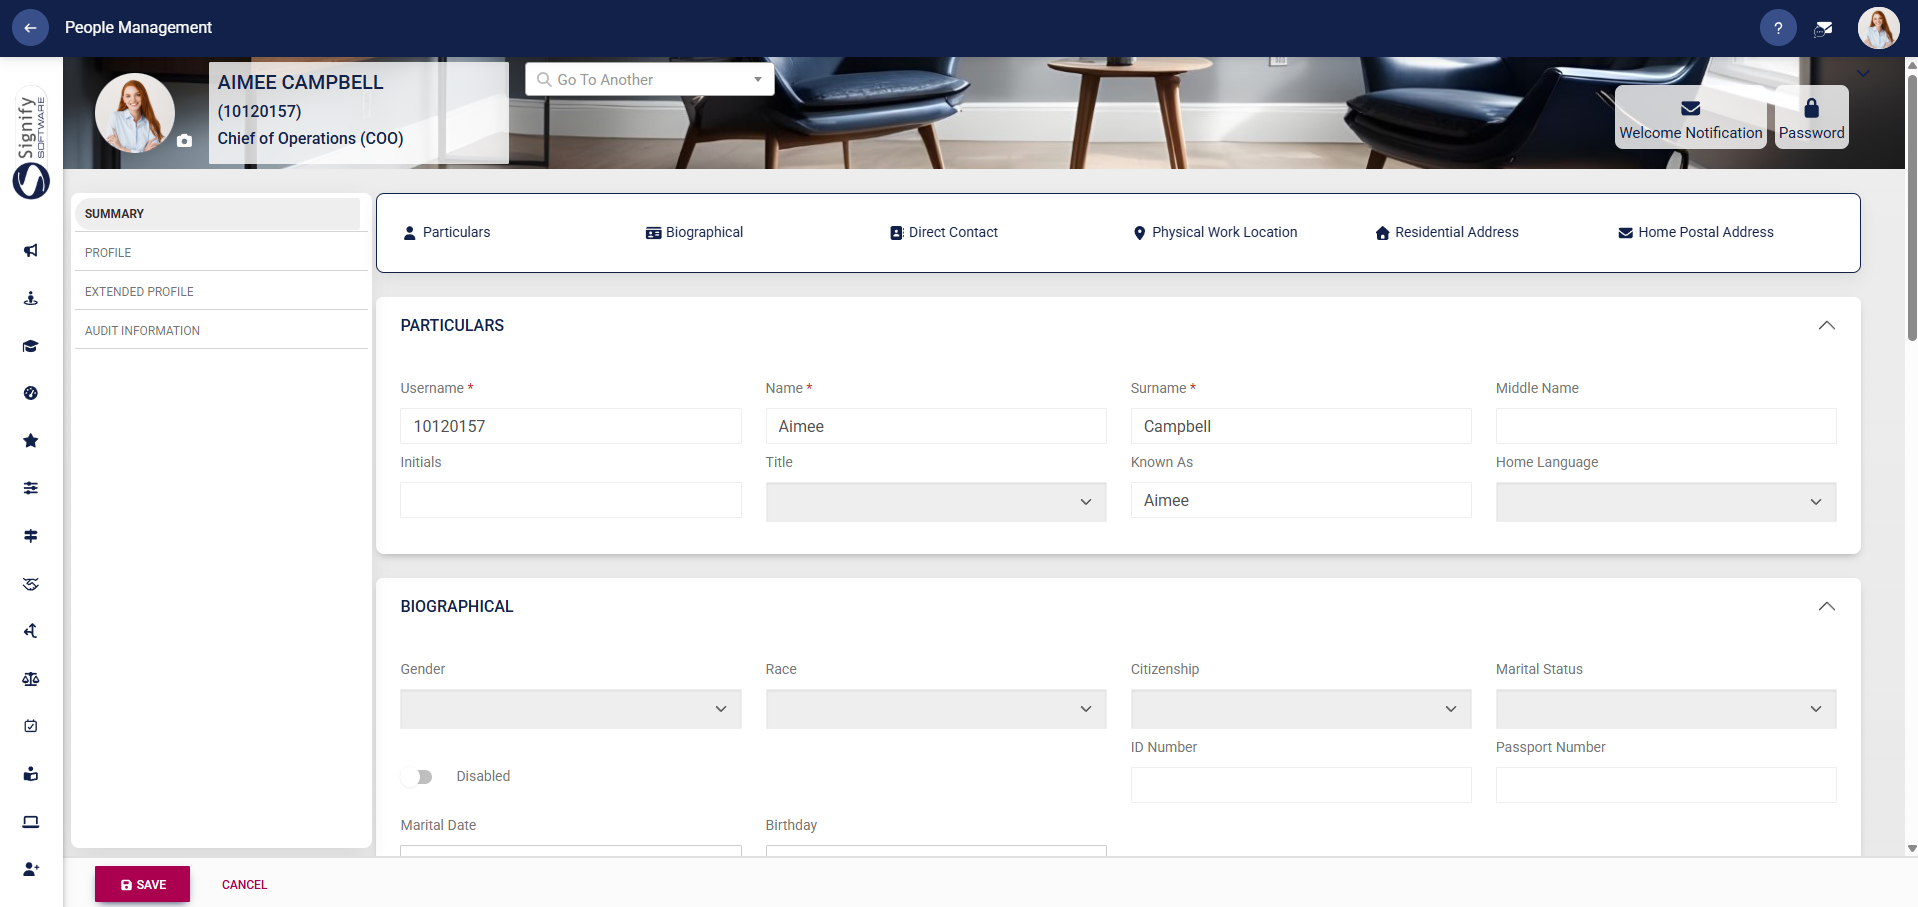
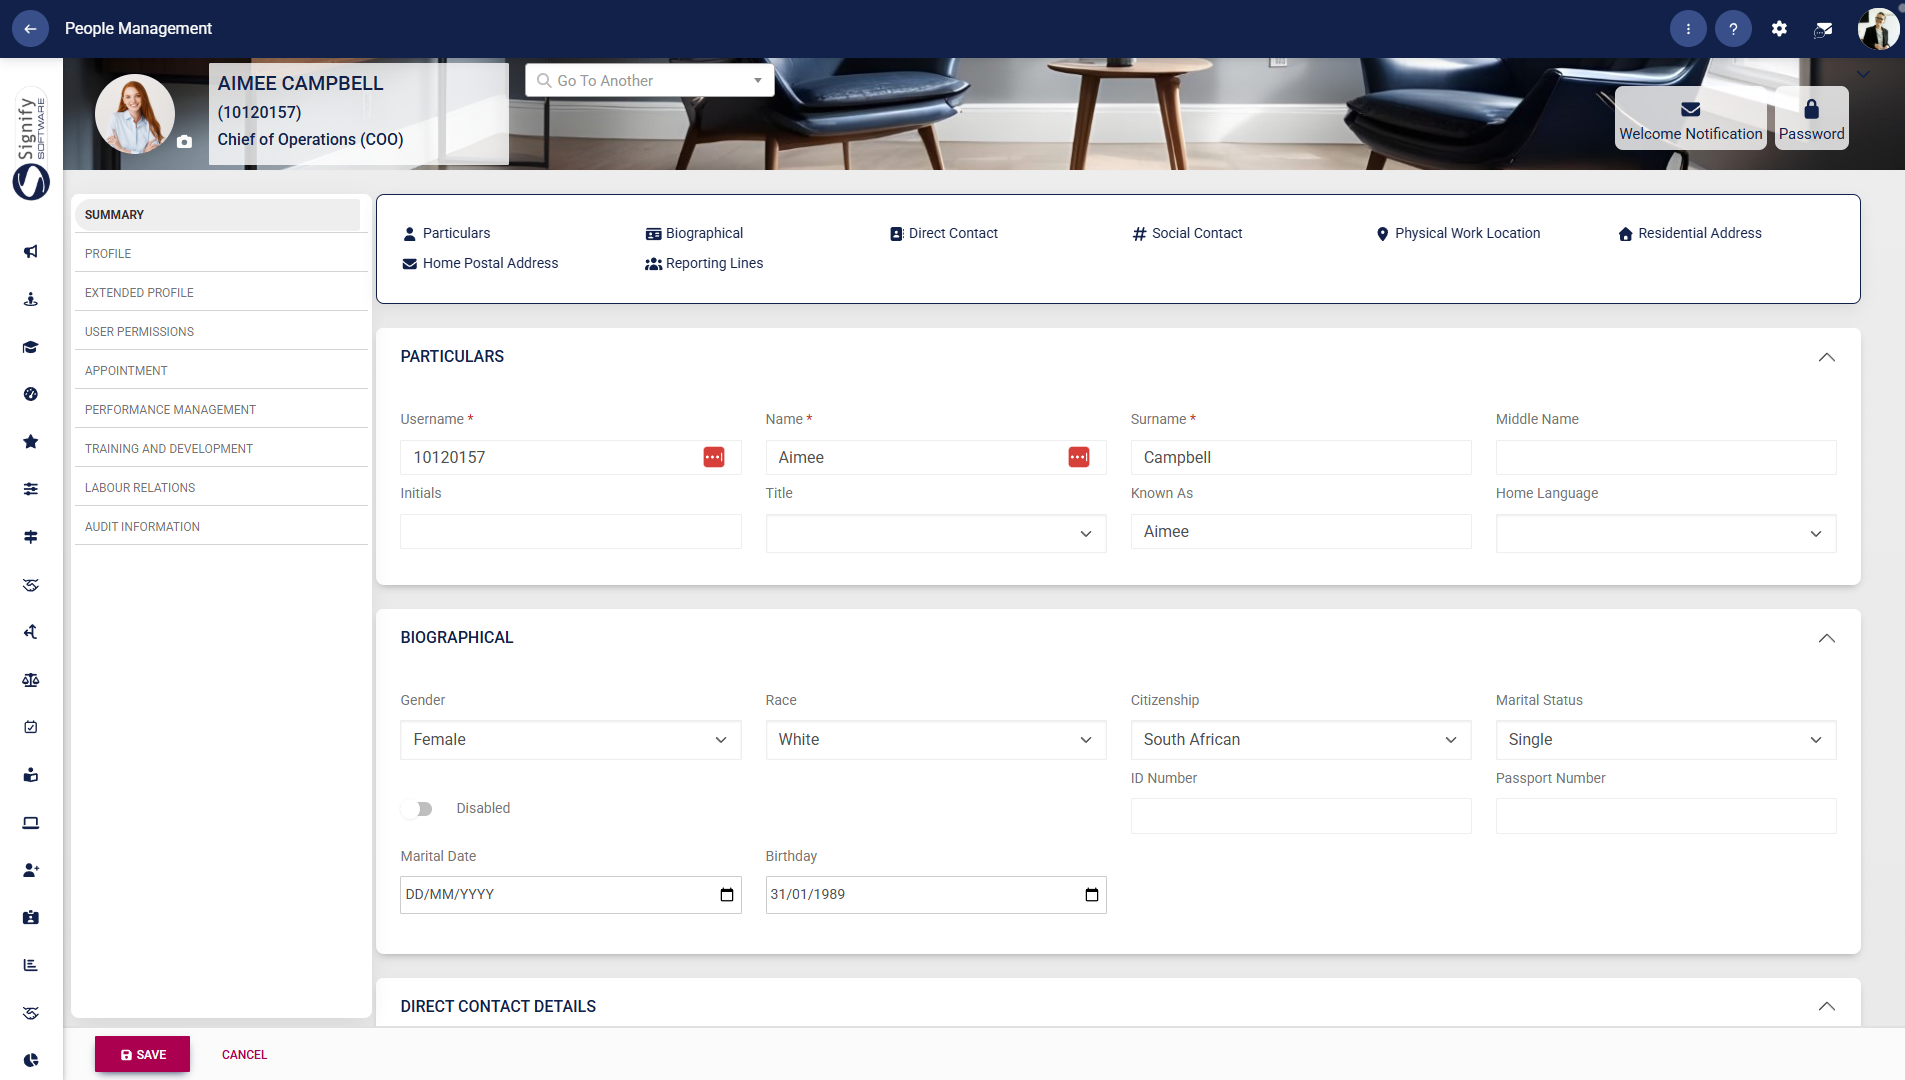
- Your profile will open. Use the left-hand menu to navigate to the profile section you would like to update. Fields that are not editable will be greyed out. Update your information as necessary, then click SAVE to update your profile, or CANCEL to discard your edits.
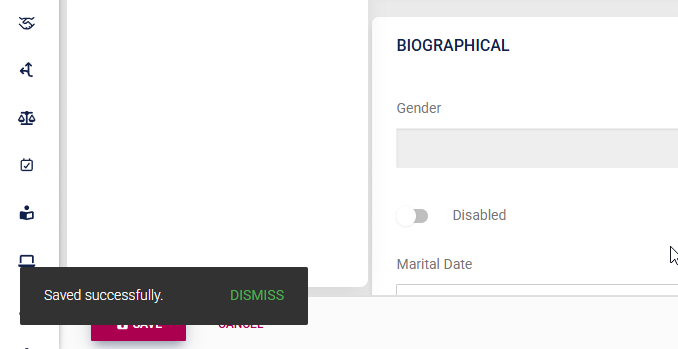
- A message will pop up to confirm that your profile's details have been updated.
- Please note that, based on your access permissions, you may not be able to view or edit some sections of your profile. If you encounter a problem, contact your system administrator to help with updating your information.
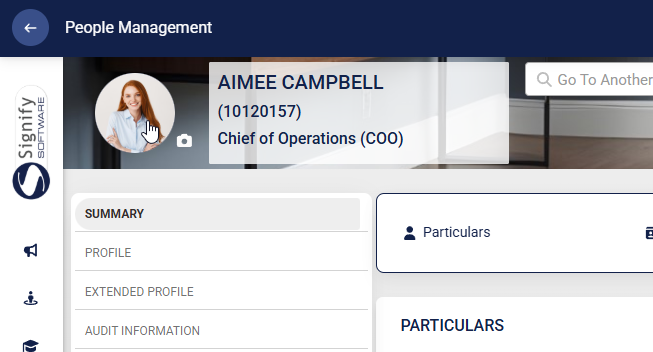
- Click on your profile picture on your profile banner to update your photo.
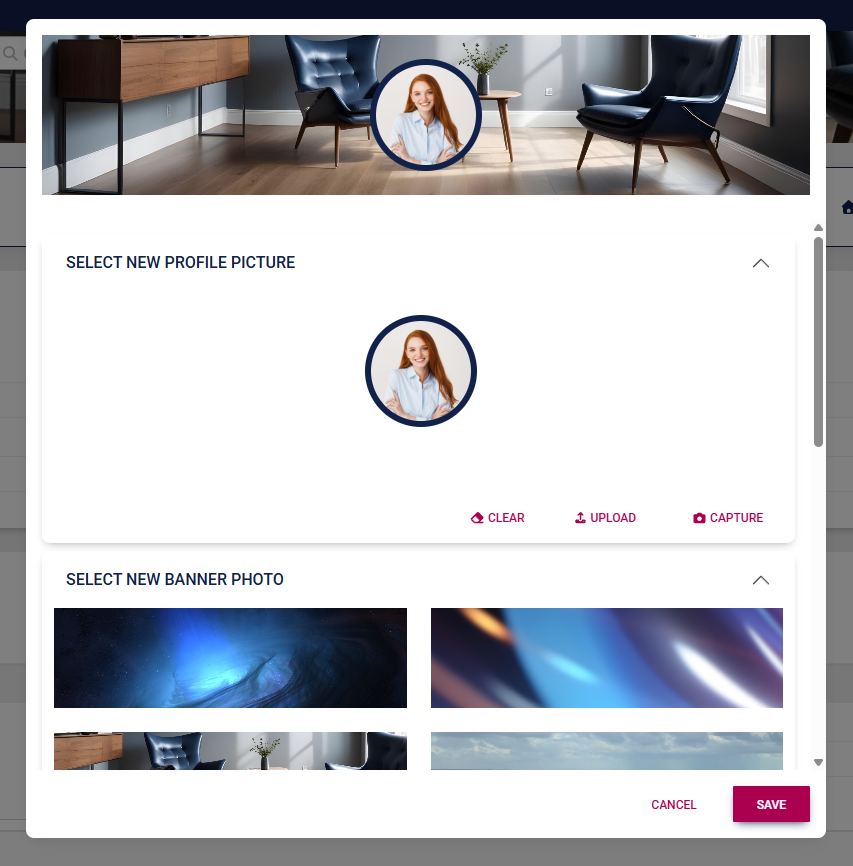
- Upload your new photo using the options provided. If enabled, you may also update your banner image. Click SAVE to update your profile, or click CANCEL to discard your edits.
For administrators: Update a user's profile
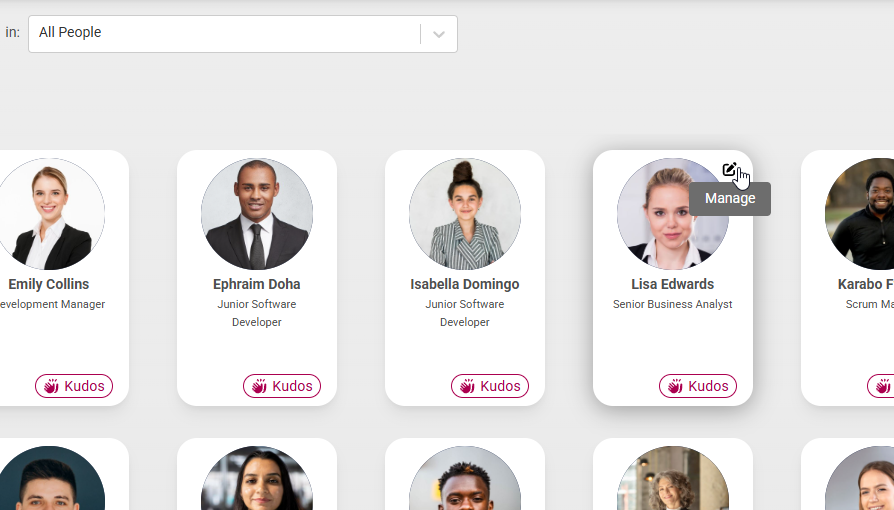
- Locate the person you would like to update, then click the pencil icon to manage their profile.
- The person's profile will open. Use the left-hand menu to navigate to the profile section you would like to update.
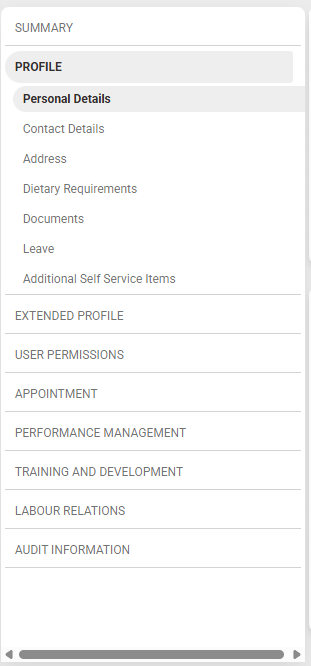
Summary
Profile
Personal details
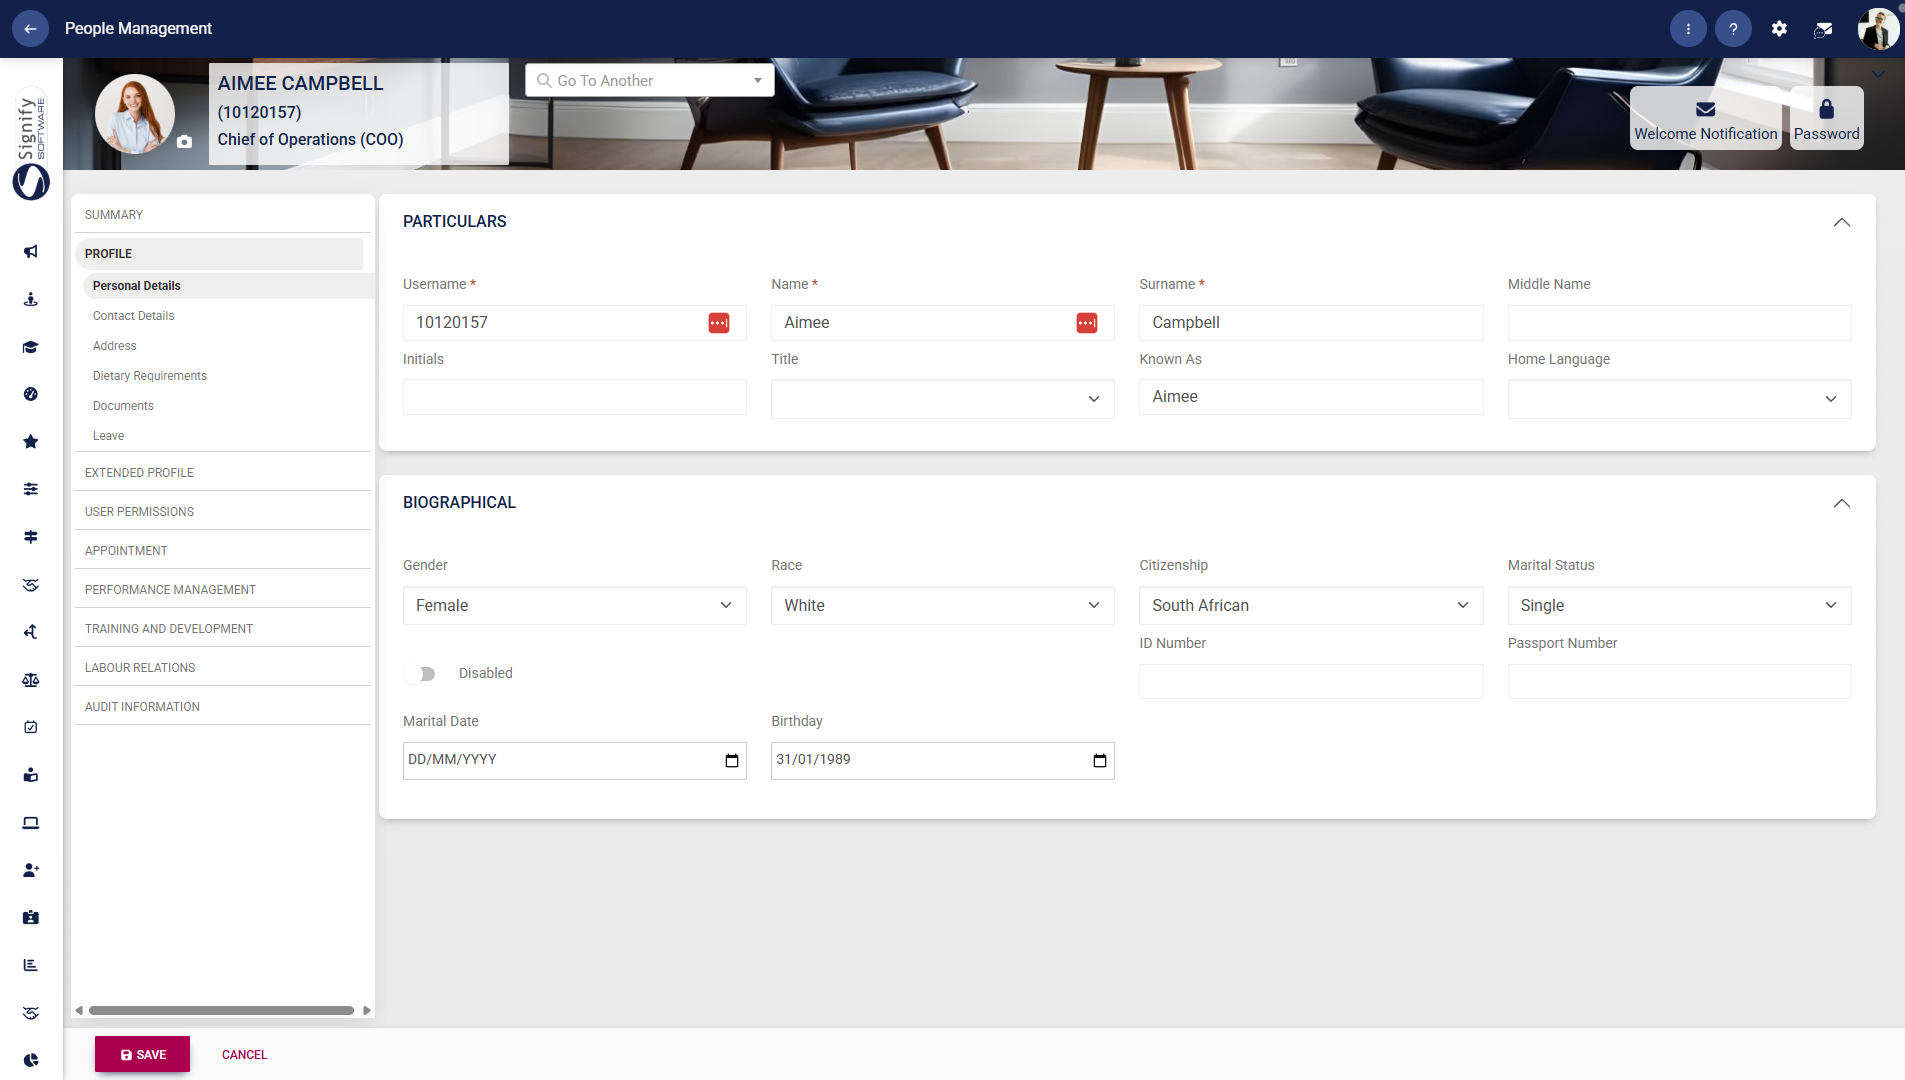
Contact details
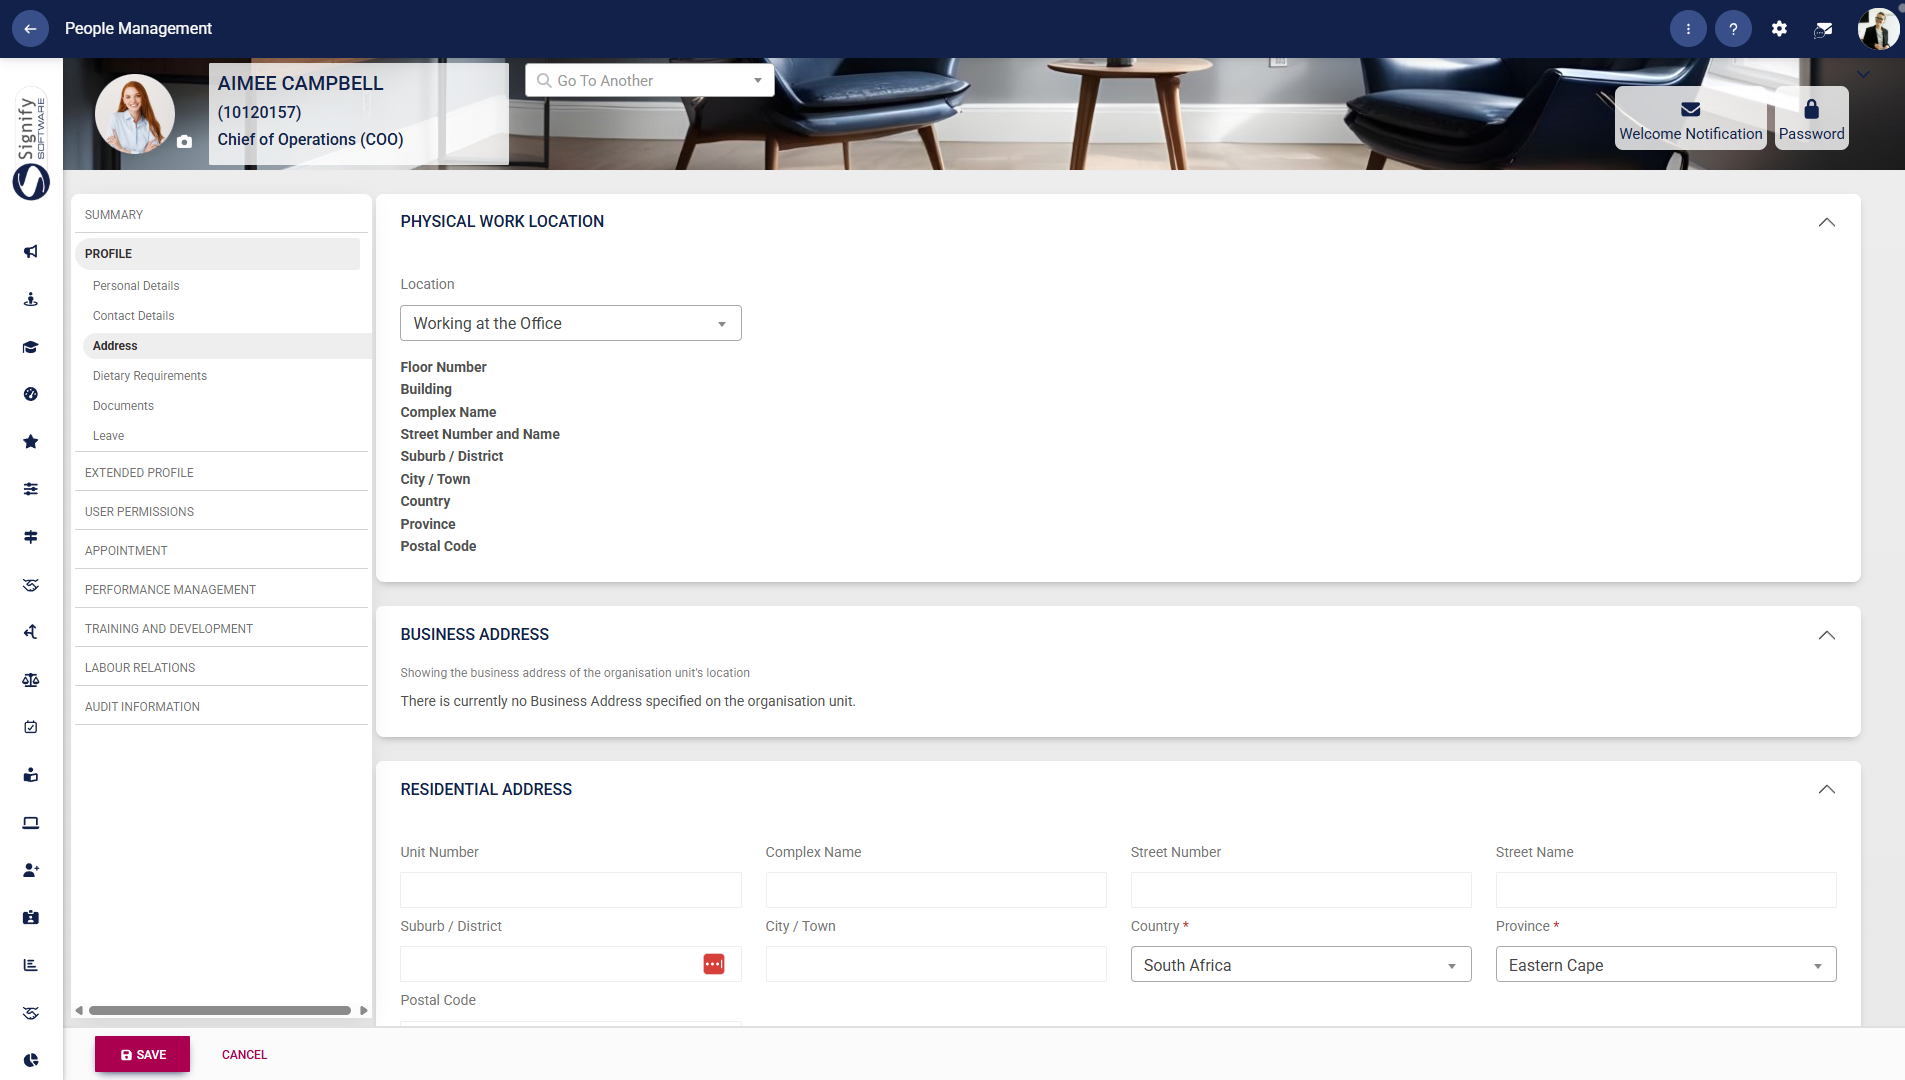
Address
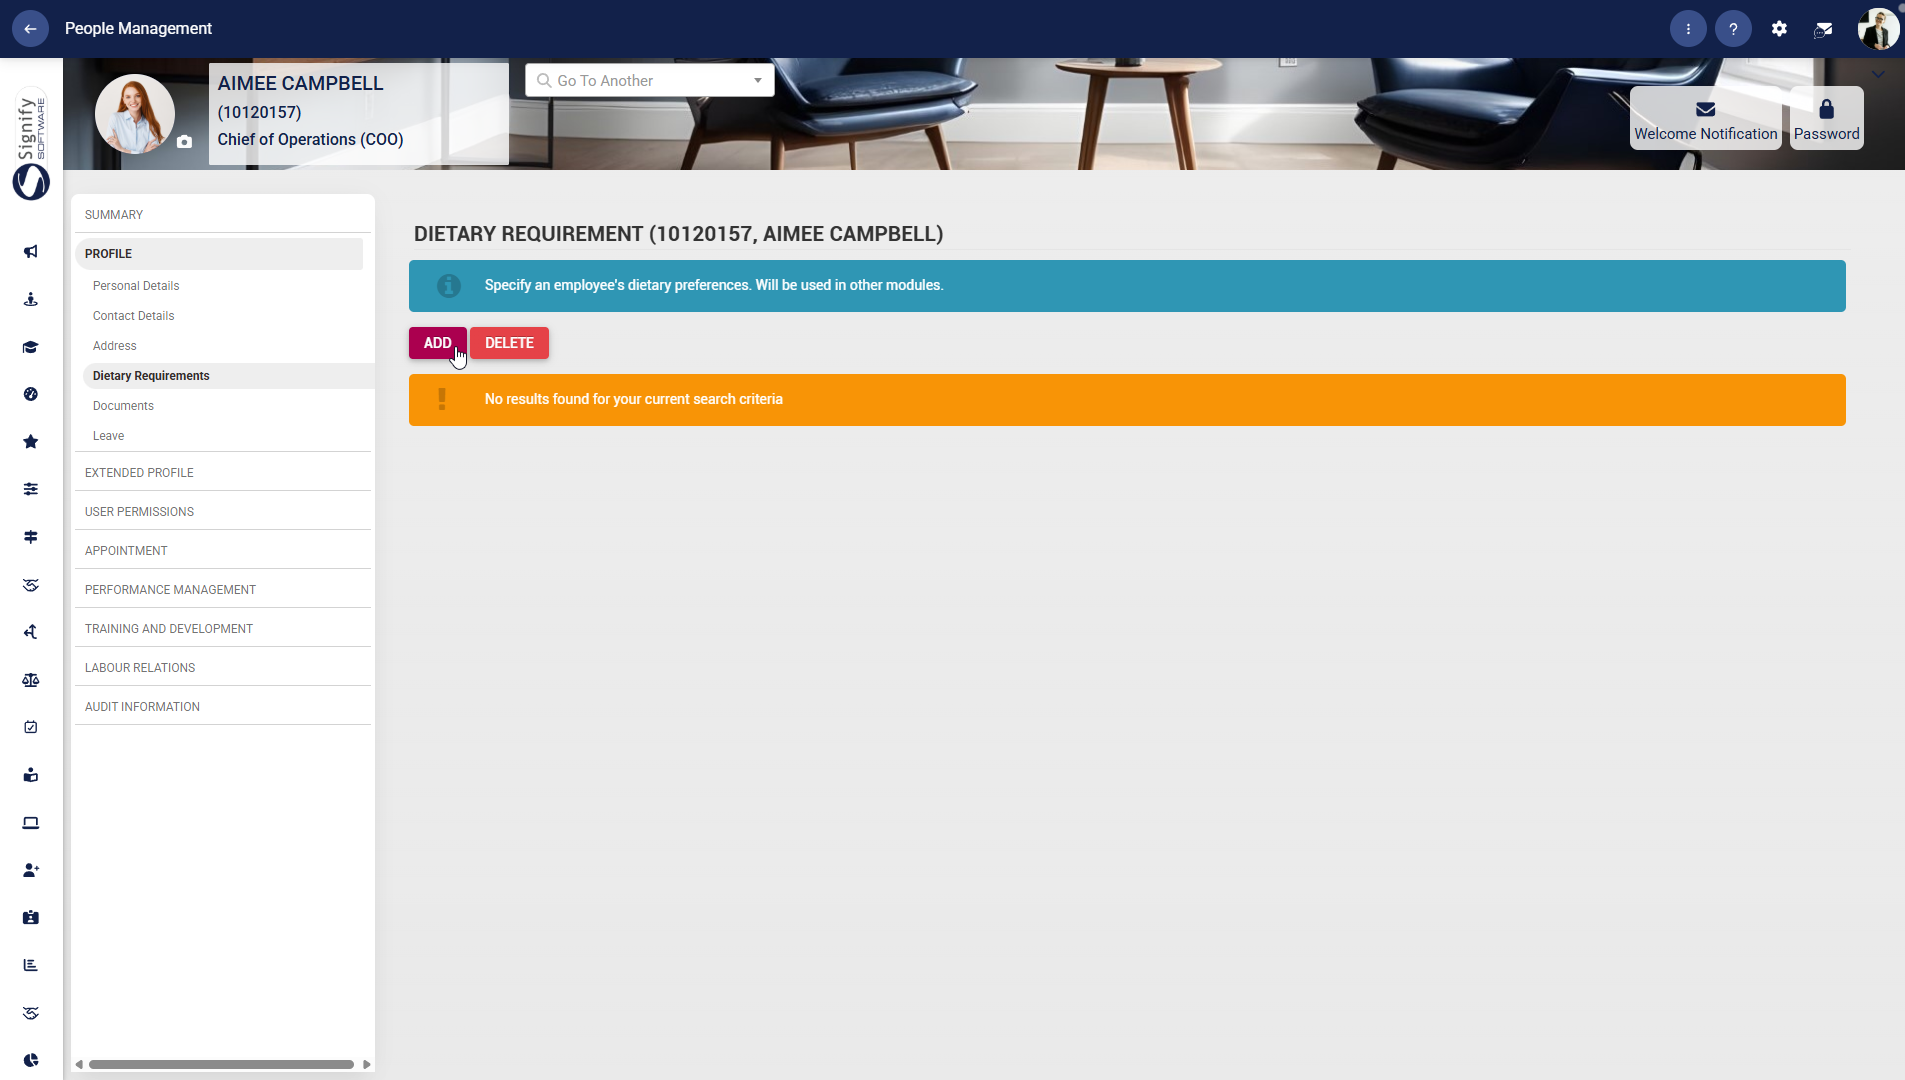
Dietary requirements
Documents

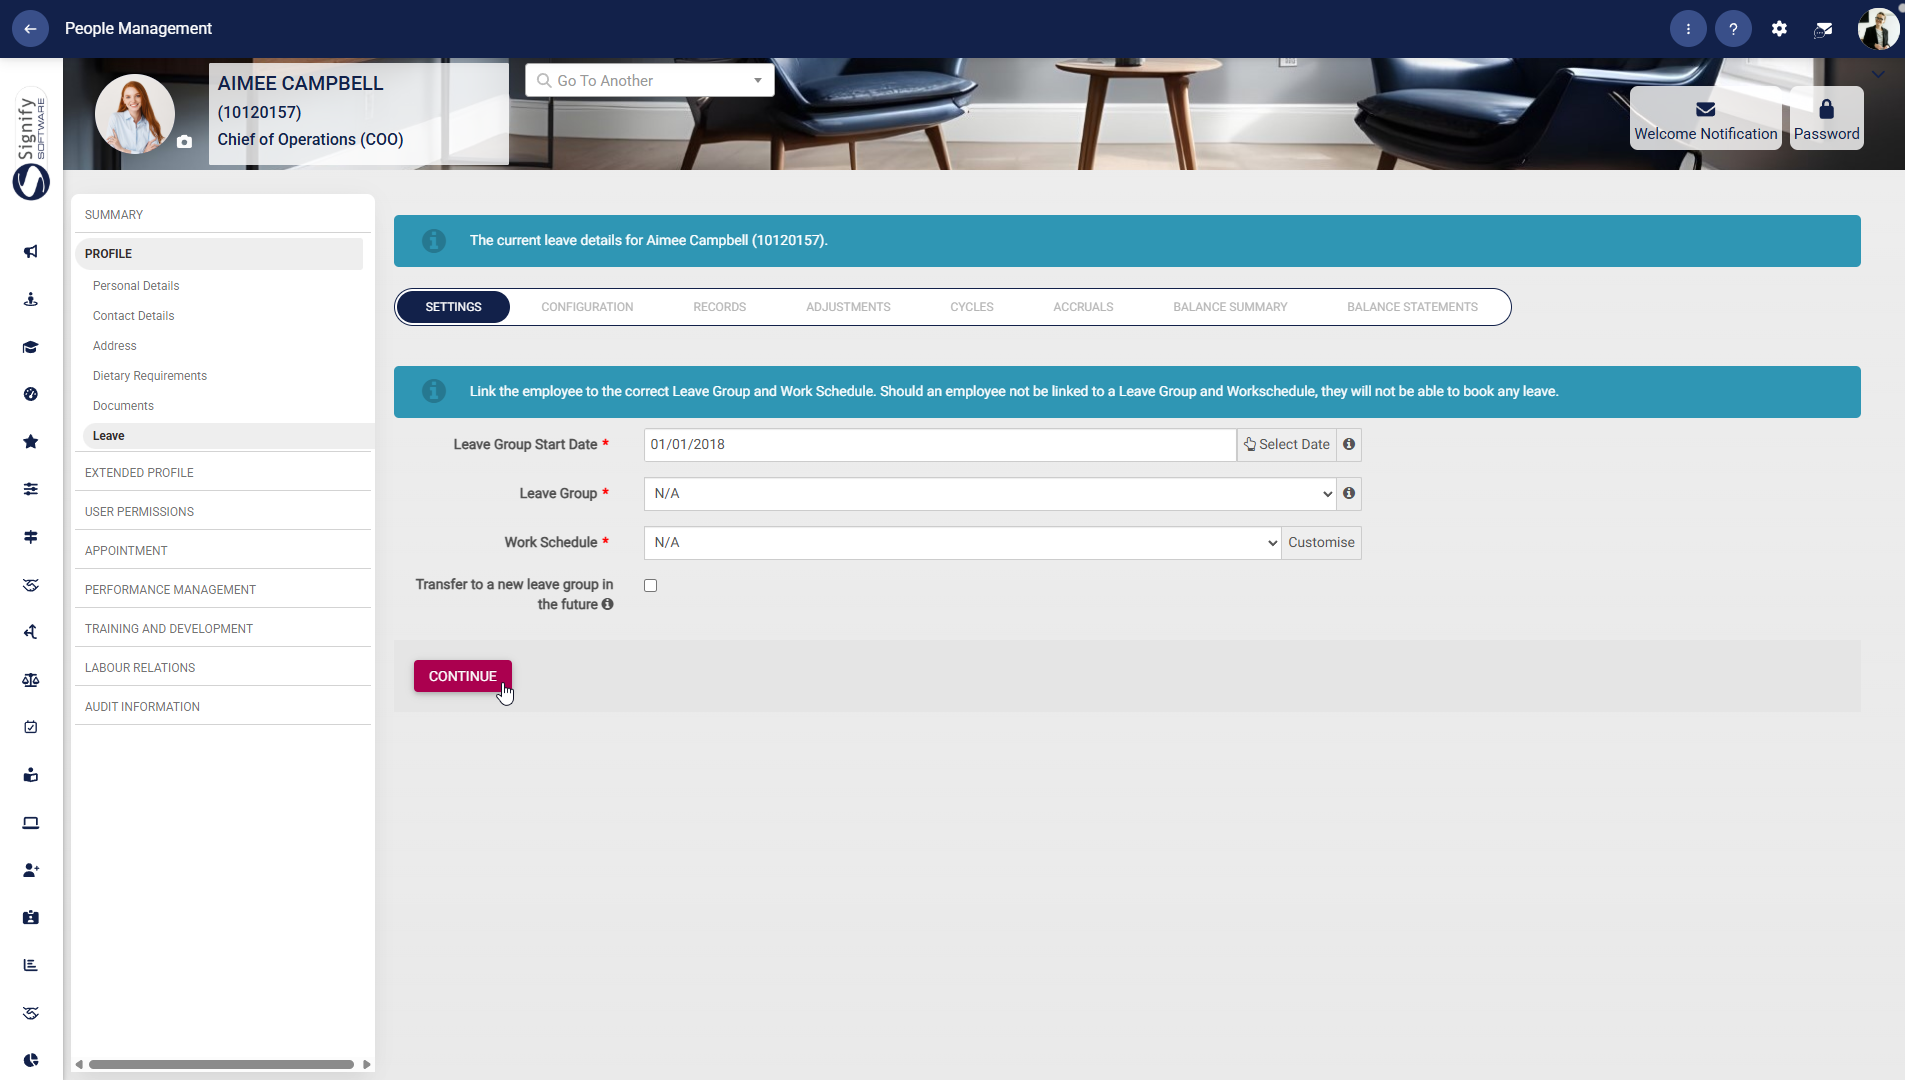
Leave
Extended Profile
- Click on EXTENDED PROFILE to access the Extended CORE module’s advanced people management features.
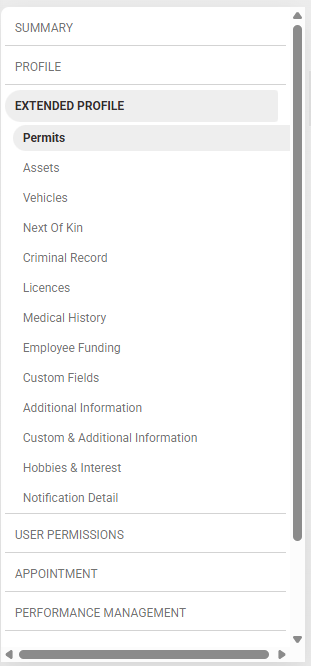
Permits
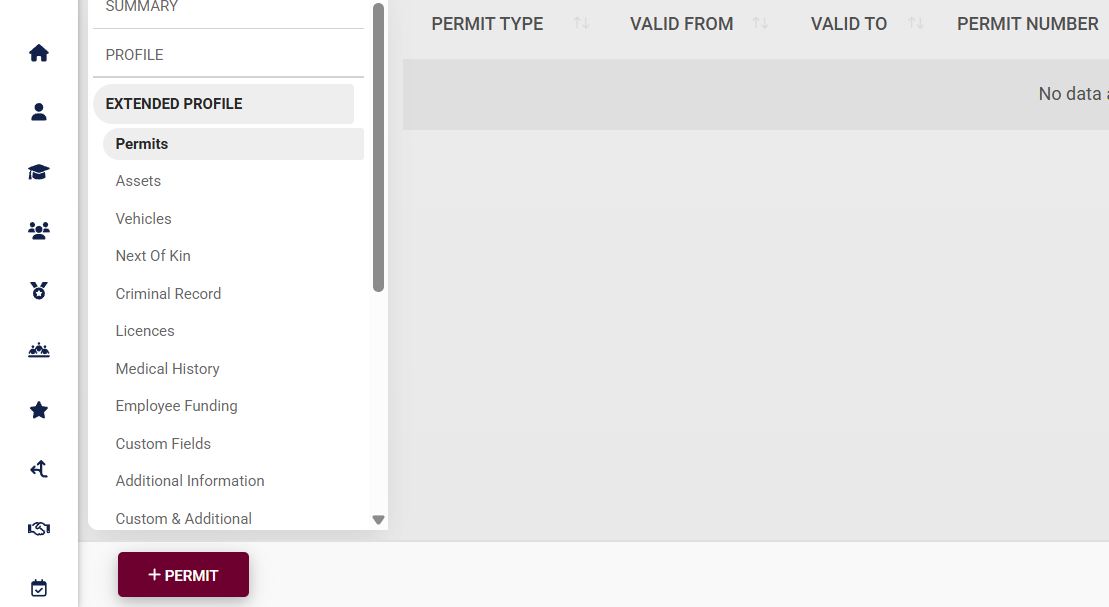
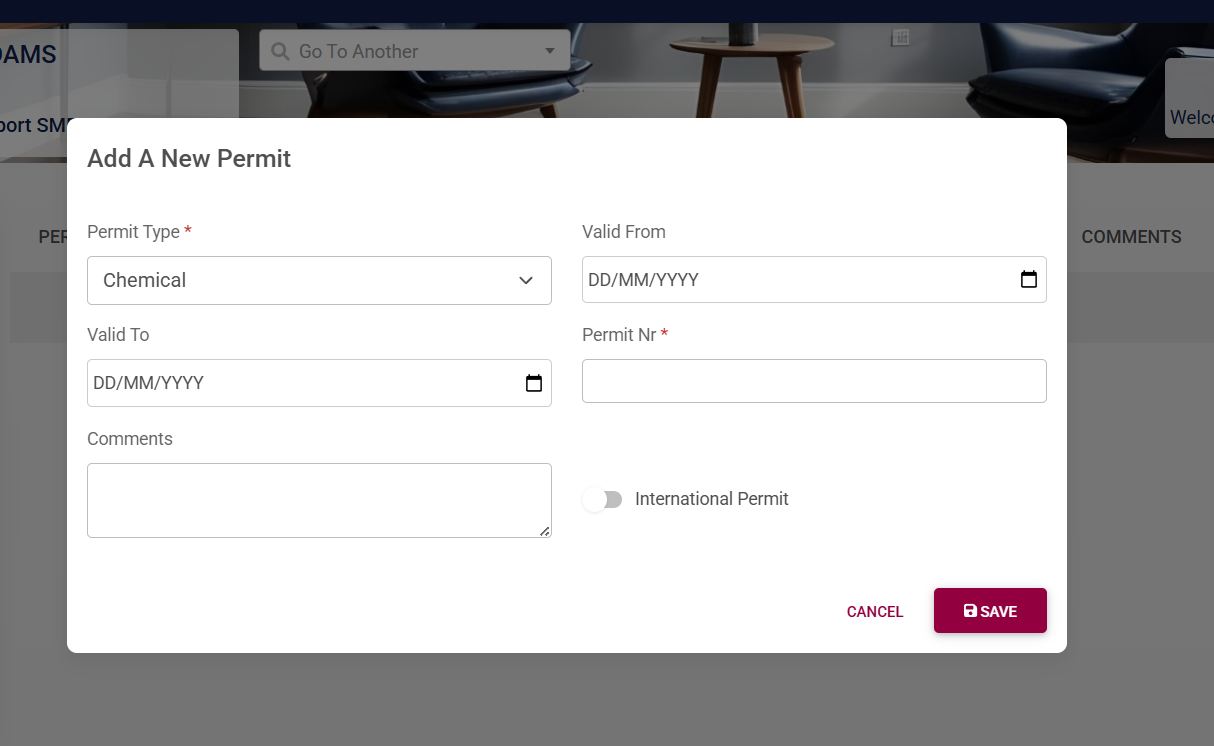
- Fill in the permit information, including the permit type, number, and validity. Please note that the fields marked with a red asterisk (*) are compulsory.
-
- The permit type forms part of the master data. To configure this, please see the Master Data Maintenance section later in this chapter.
-
- Click SAVE when you are finished or click CANCEL to discard your edits.
Assets
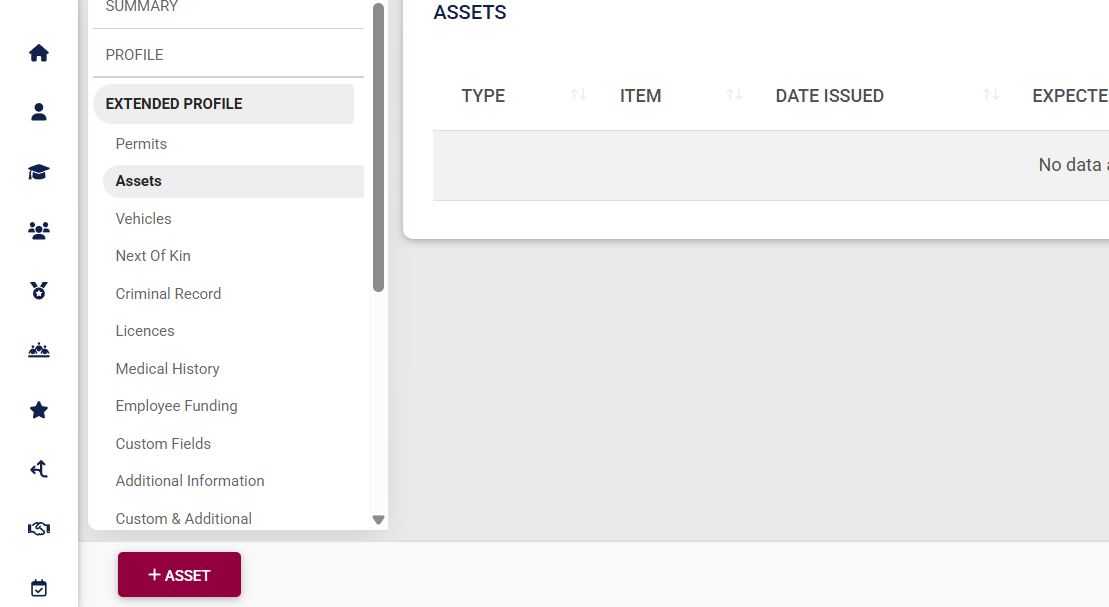
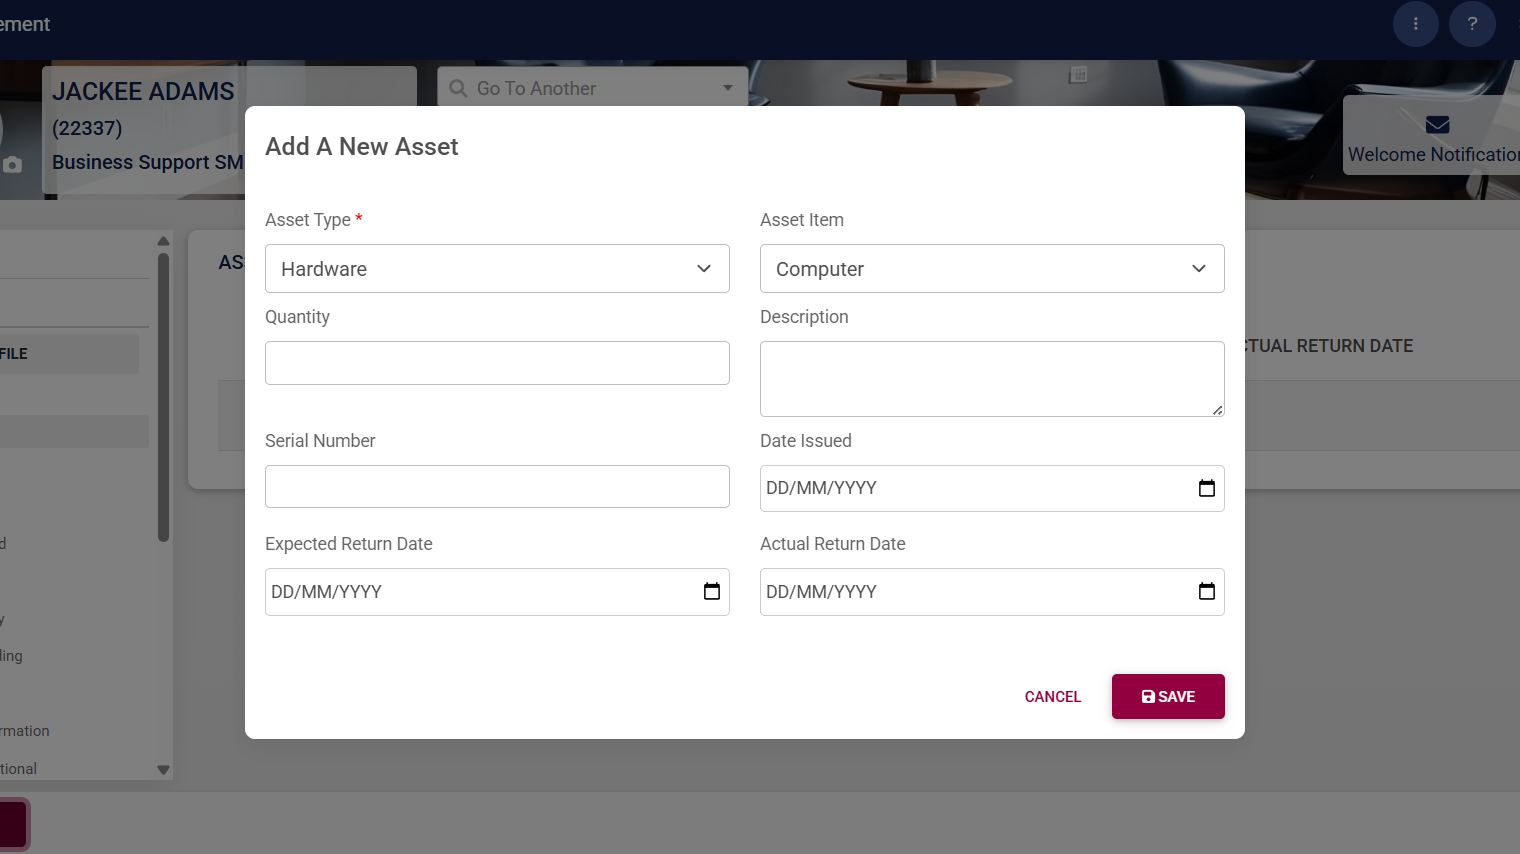
- Fill in the asset information, such as the:
-
- Asset type
- Asset item
- Quantity
- Description
- Serial number
- Issued date
- Expected return date
- Actual return date
-
- Please note that the fields marked with a red asterisk (*) are compulsory.
-
- The asset item and asset type form part of the master data. To configure this, please see the Master Data Maintenance section later in this chapter.
-
- Click SAVE when you are finished or click CANCEL to discard your edits.
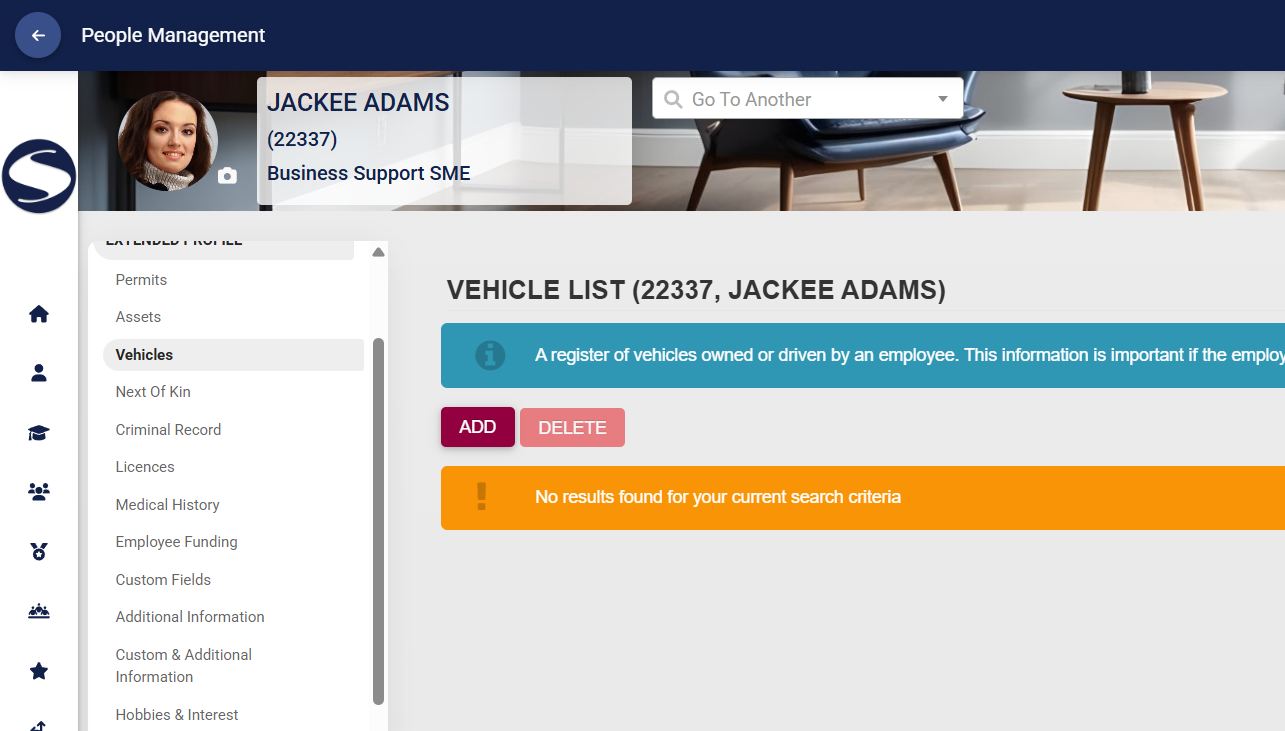
Vehicles
- If the employee is to bring vehicles onto the premises, the vehicle information can be captured by clicking Vehicles, then ADD.
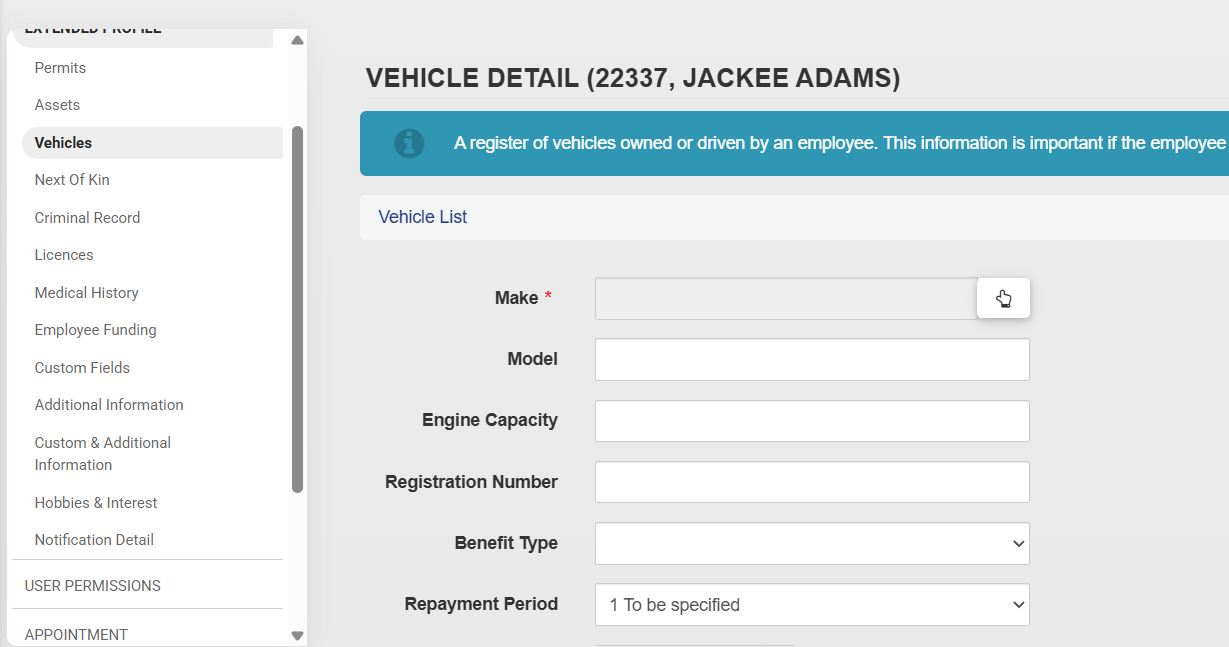
- Fill in the vehicle’s information, such as the make, model, registration number, manufacture year, benefit type, and other useful information. Please note that the fields marked with a red asterisk (*) are compulsory.
- Click SAVE when you are finished, SAVE ADD NEW to add another vehicle, or click BACK TO LIST to discard your edits.
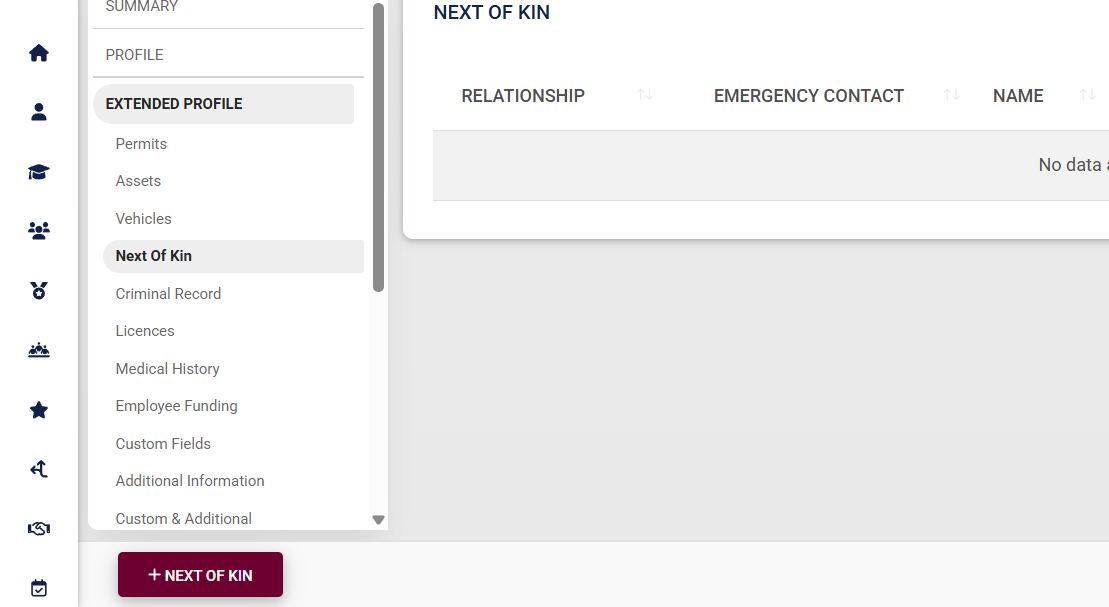
Next of Kin
- To capture the person’s emergency contacts or dependents’ information, click Next of Kin and then click +NEXT OF KIN.
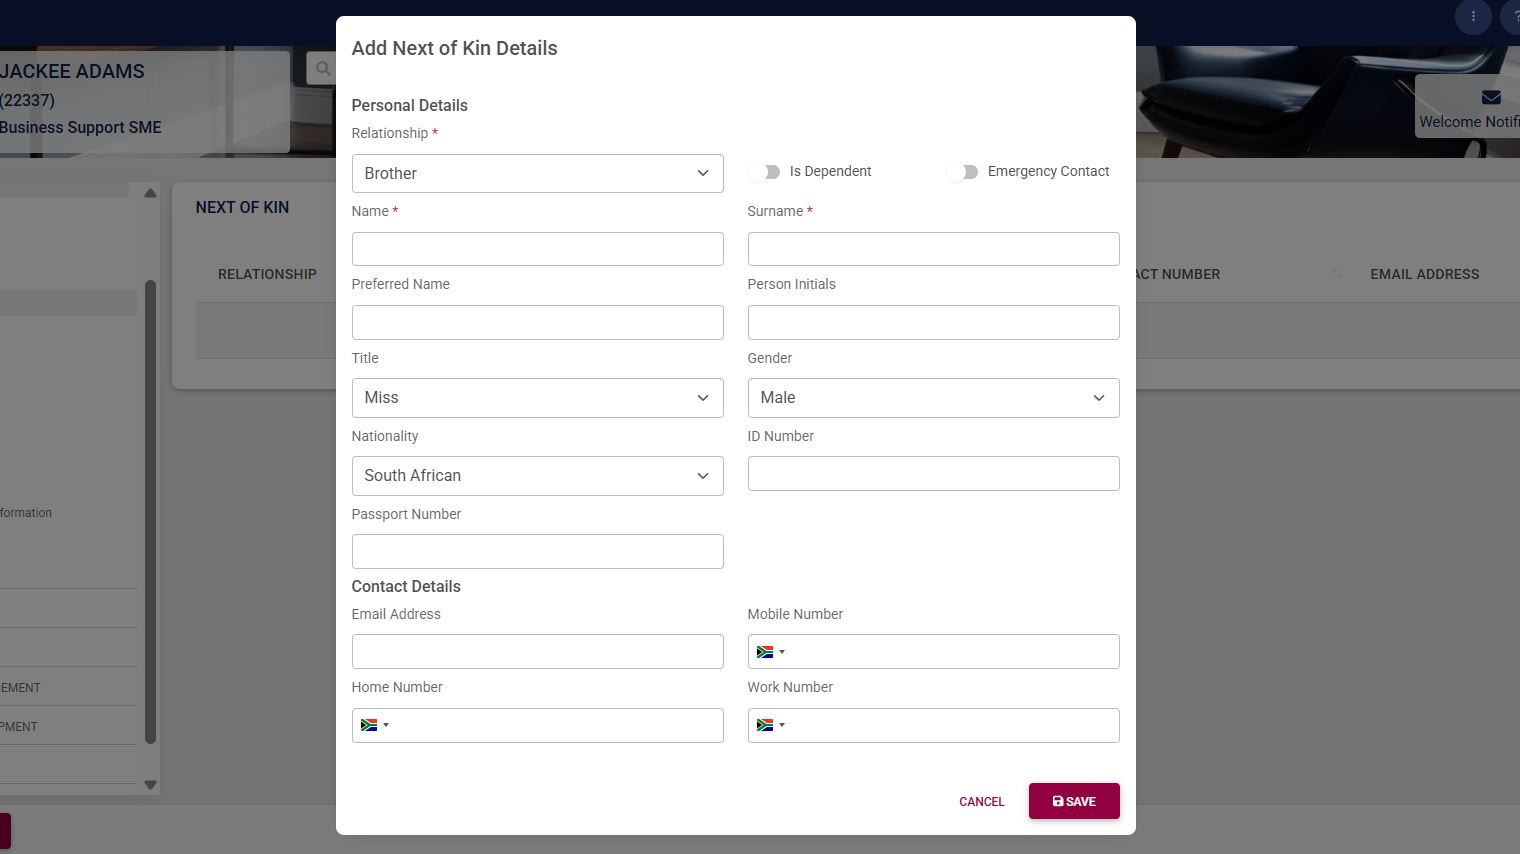
- Use the form to capture the next of kin’s contact information. Please note that the fields marked with a red asterisk (*) are compulsory.
-
- The relationship type forms part of the master data. To configure this, please see the Master Data Maintenance section later in this chapter.
-
- Click SAVE when you are finished or click CANCEL to discard your edits.
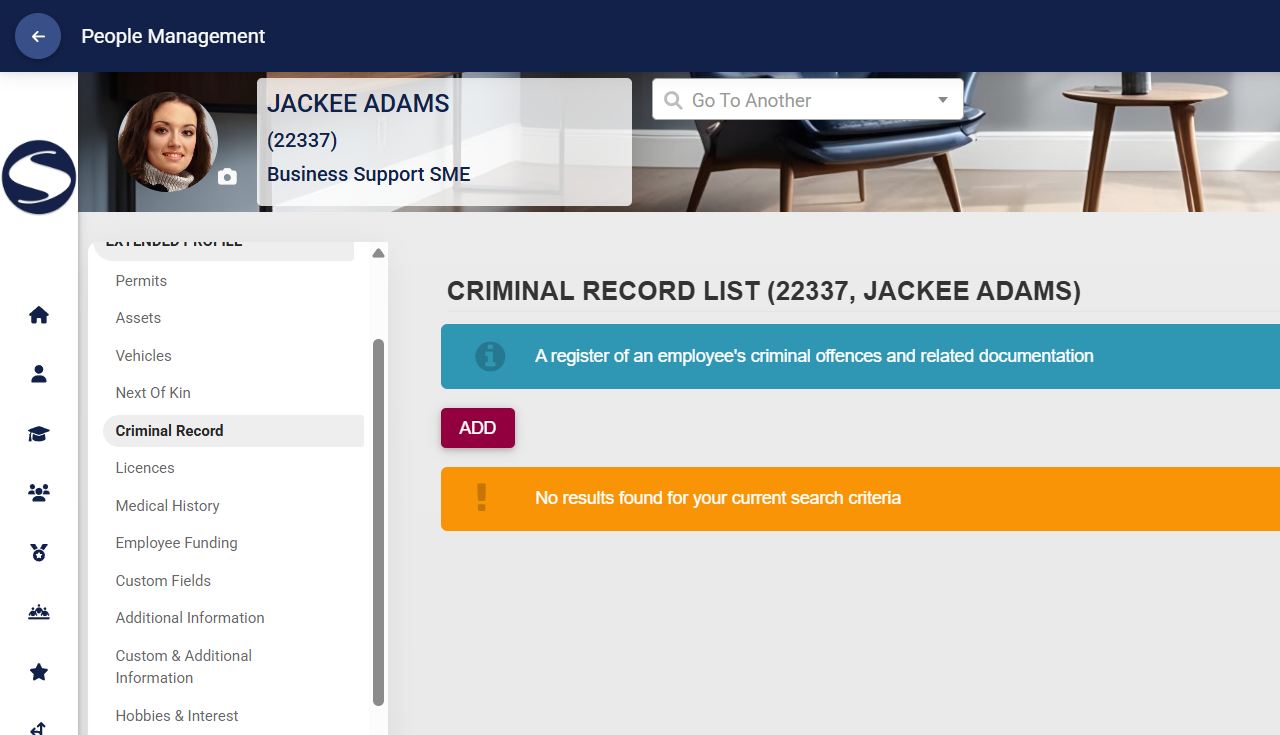
Criminal Record
- If the employee has a criminal record, the information can be documented by clicking Criminal Record, then ADD.
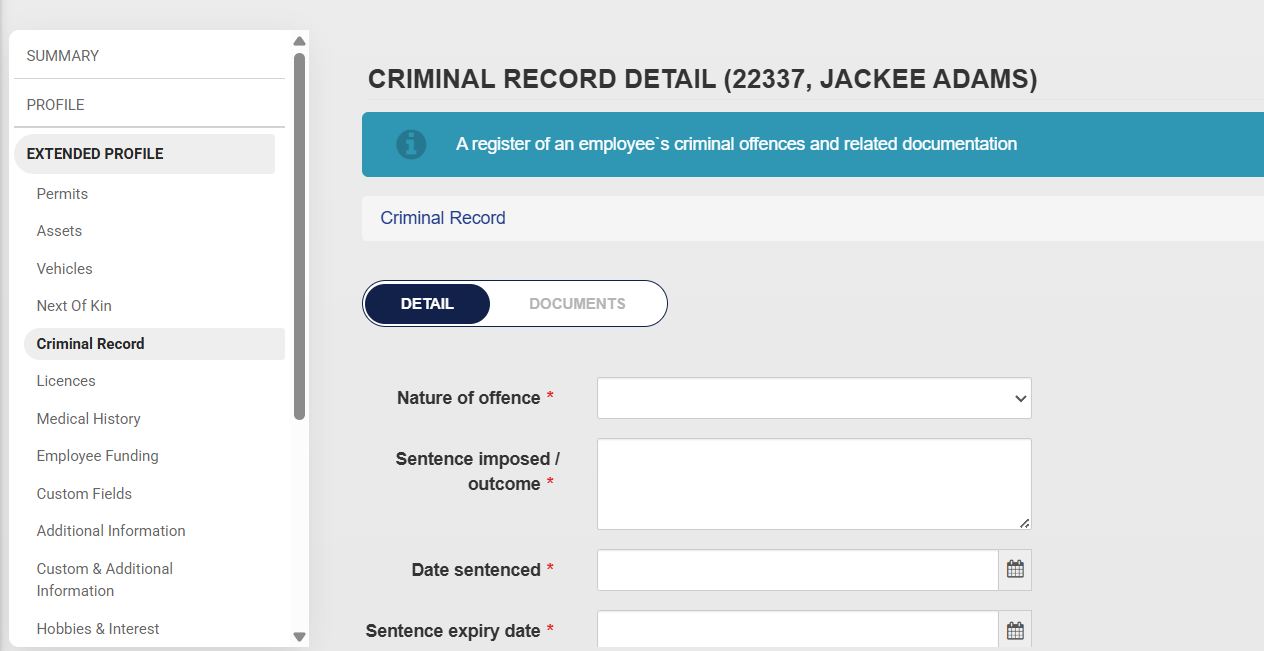
- Capture the employee’s criminal record details, such as:
-
- Nature of the offence
- Sentence imposed
- Sentencing date
- Sentence expiry date
- Case number
- Police station where the case was registered
- Court name
-
- Please note that the fields marked with a red asterisk (*) are compulsory.
-
- The nature of the offence forms part of the master data. To configure this, please see the Master Data Maintenance section later in this chapter.
-
- Click SAVE when you are finished, SAVE ADD NEW to add another record entry, or click BACK TO LIST to discard your edits.
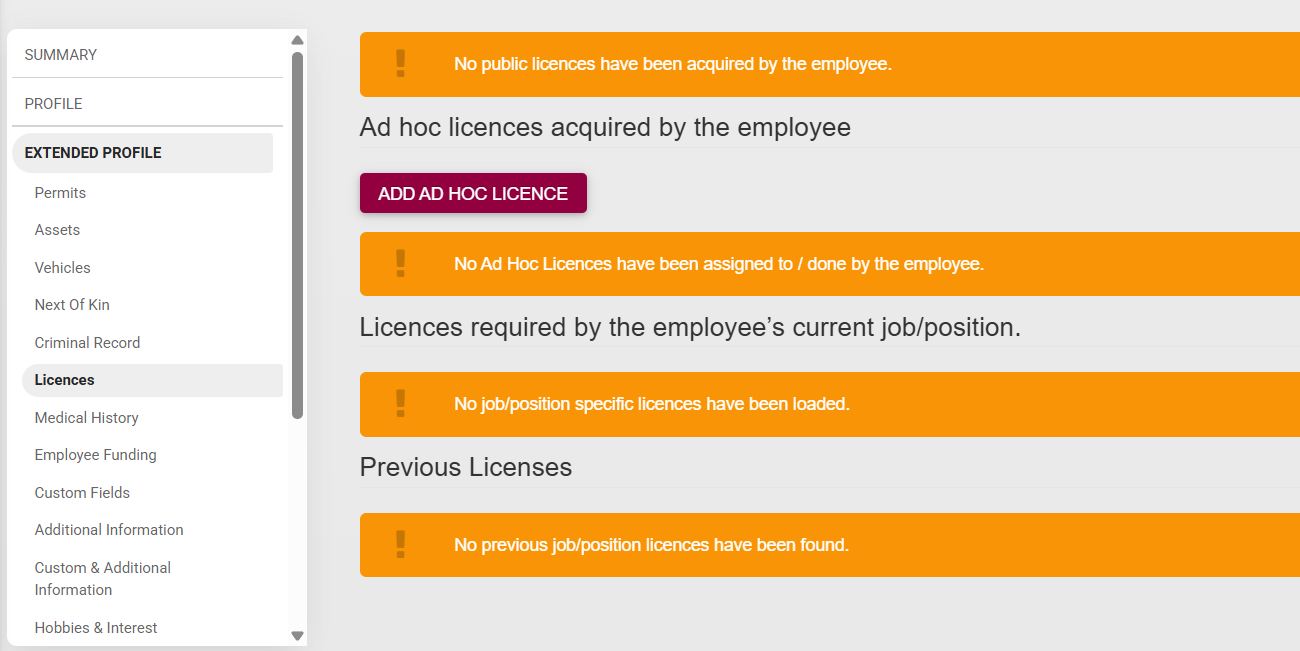
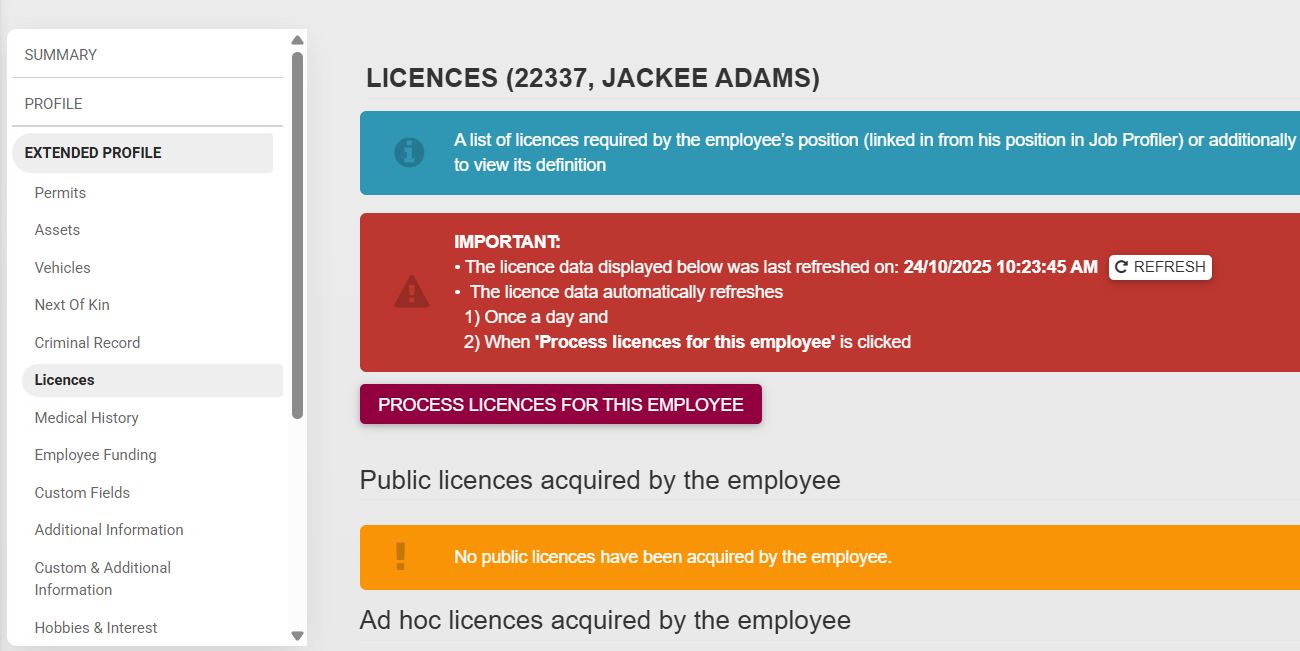
Licences
- A list of licences required for the employee’s position, as well as any other licences the employee holds, can be documented by clicking Licences. To add a new licence, click Add Ad Hoc Licence.
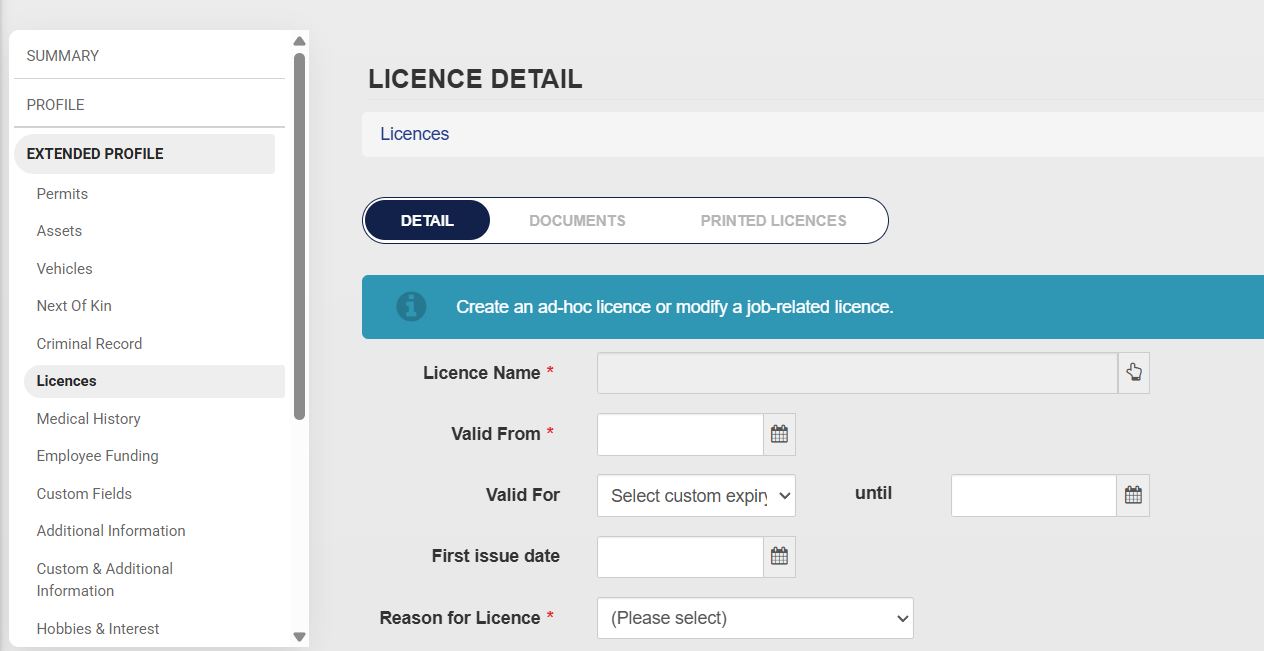
- Complete the licence detail form. Please note that the fields marked with a red asterisk (*) are compulsory.
-
- Some of the licence detail fields can be set up in the master data. To configure this, please see the Master Data Maintenance section later in this chapter.
-
- Click SAVE to update the profile, or BACK to discard your edits.
- The licence data can be refreshed by clicking on Process Licences for this Employee.
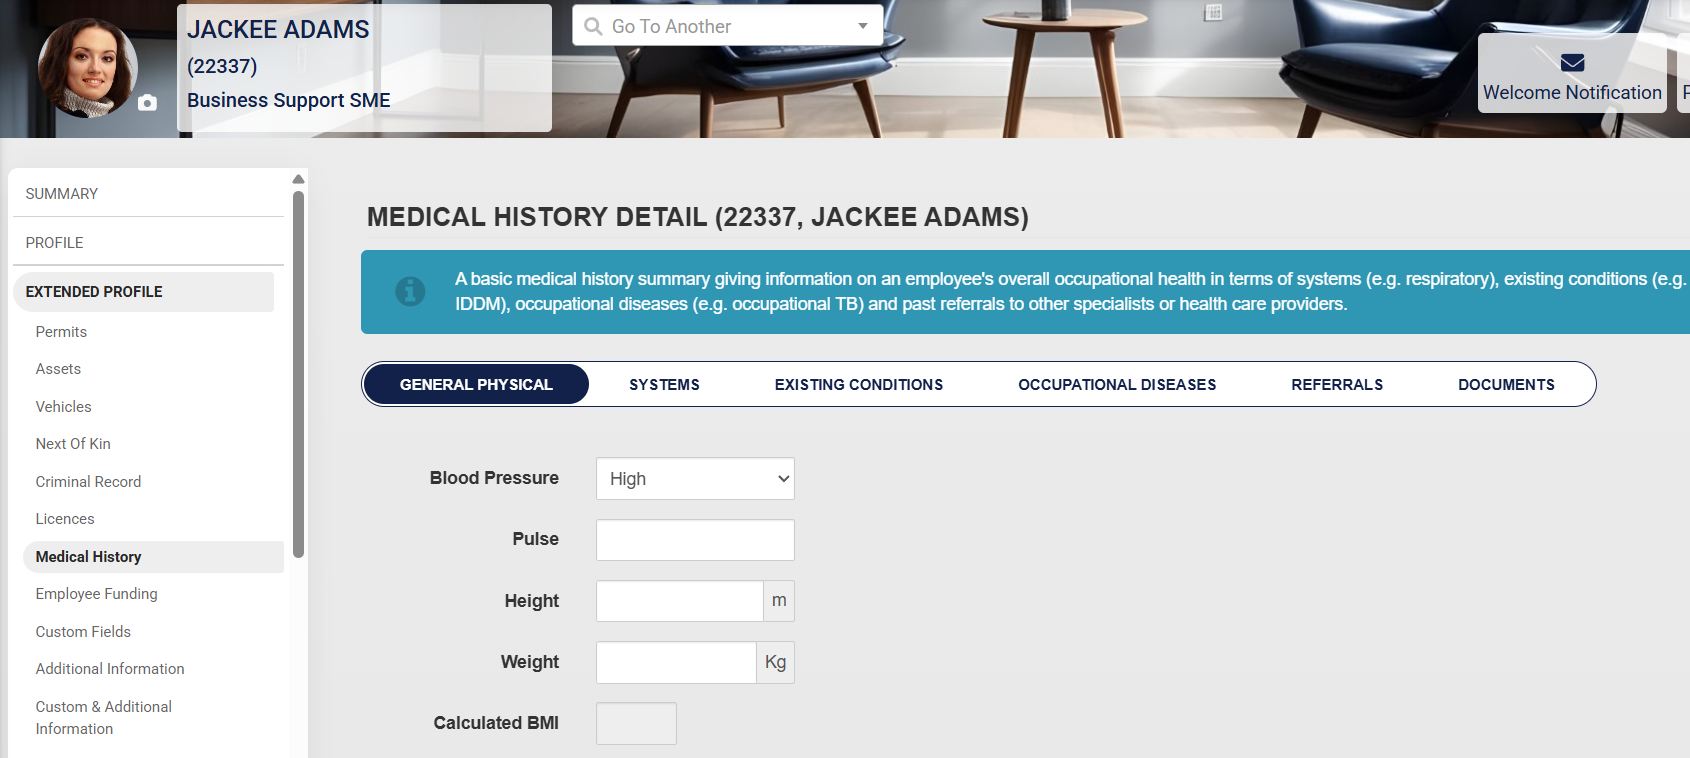
Medical History
- The employee’s medical history can be documented by clicking on Medical History.
- Capture the relevant details of the employee’s medical history, such as:
-
- General physical health
- Systems’ health
- Existing medical conditions
- Occupational diseases
- Past referrals to other specialists
- Important medical history documents
-
- Some of the medical history fields can be set up in the master data. To configure this, please see the Master Data Maintenance section later in this chapter.
Employee Funding
- Employee funding, such as a bursary or an employee personal loan, can be documented by clicking on Employee Funding and then clicking on ADD.
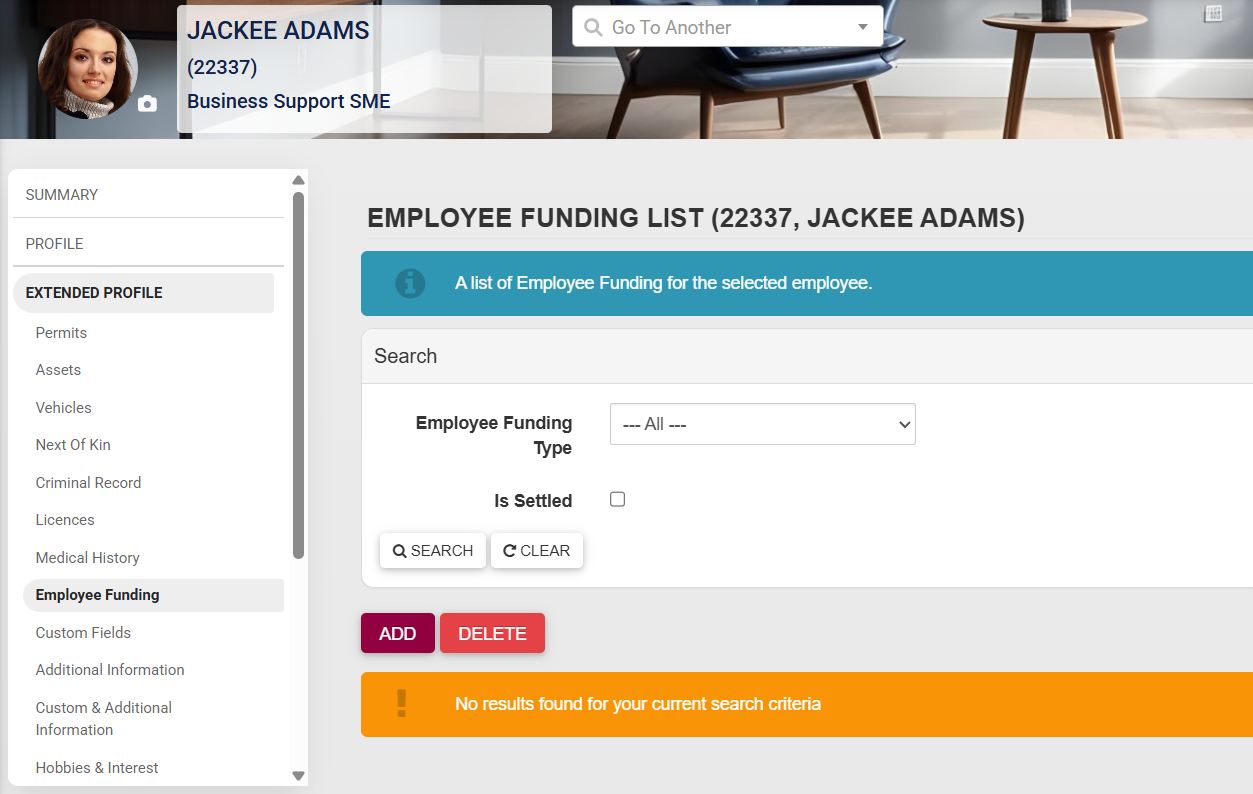
- Details of the employee’s funding can be captured by filling in the form. Please note that the fields marked with a red asterisk (*) are compulsory.
-
- Some of the employee funding fields can be set up in the master data. To configure this, please see the Master Data Maintenance section later in this chapter.
-
- Click SAVE when you are finished, SAVE ADD NEW to add another record entry, or click BACK to discard your edits.

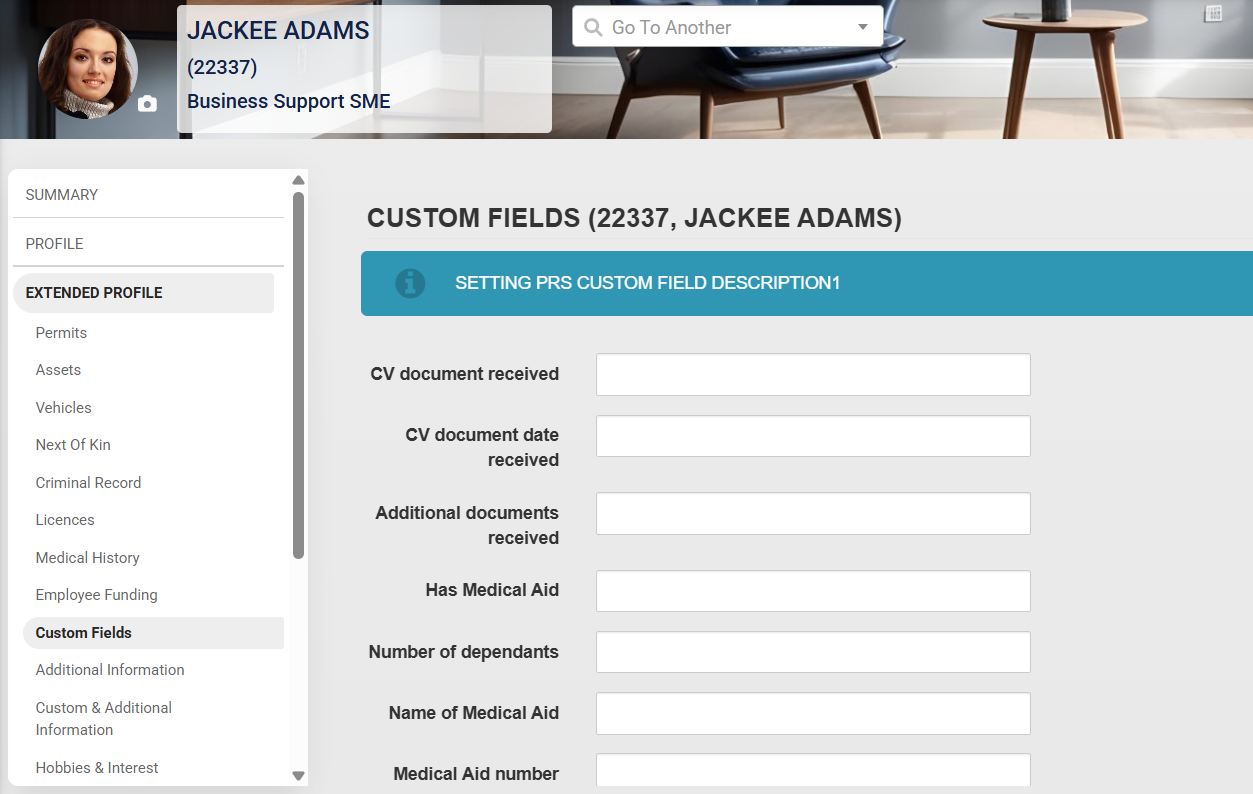
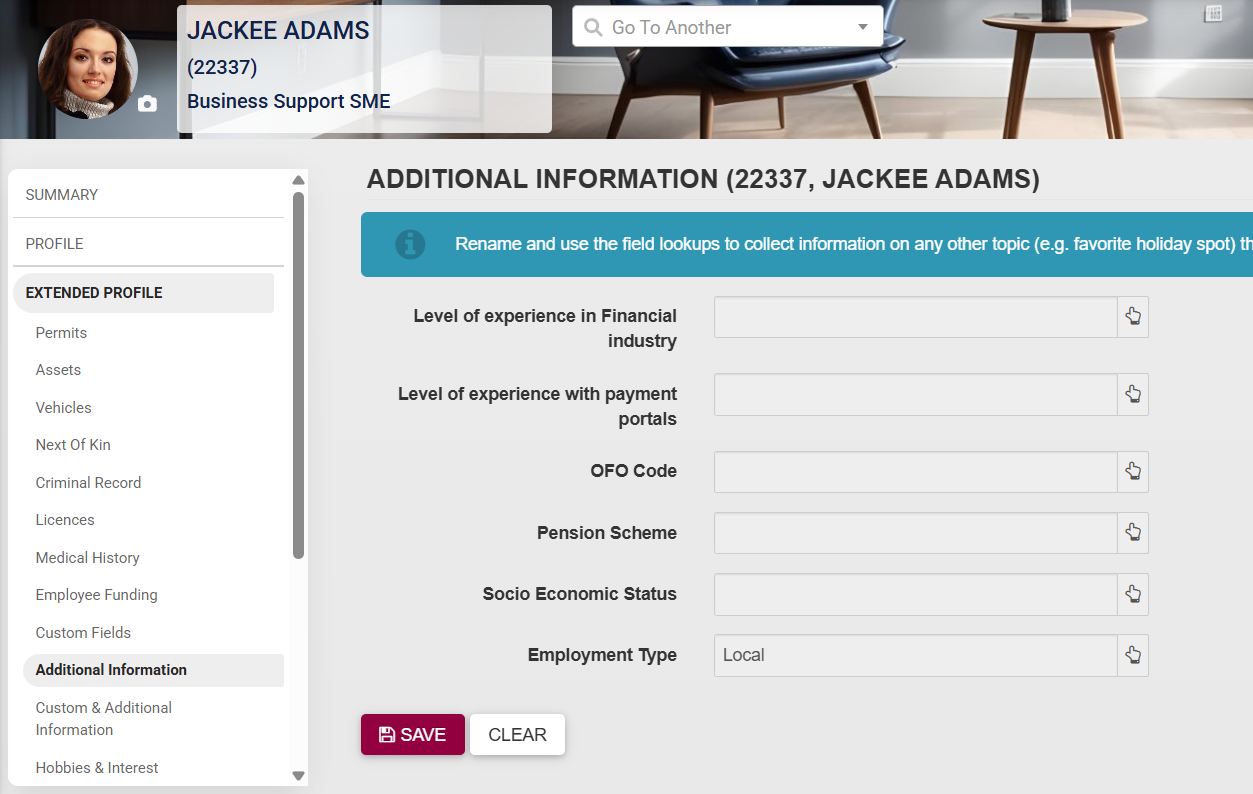
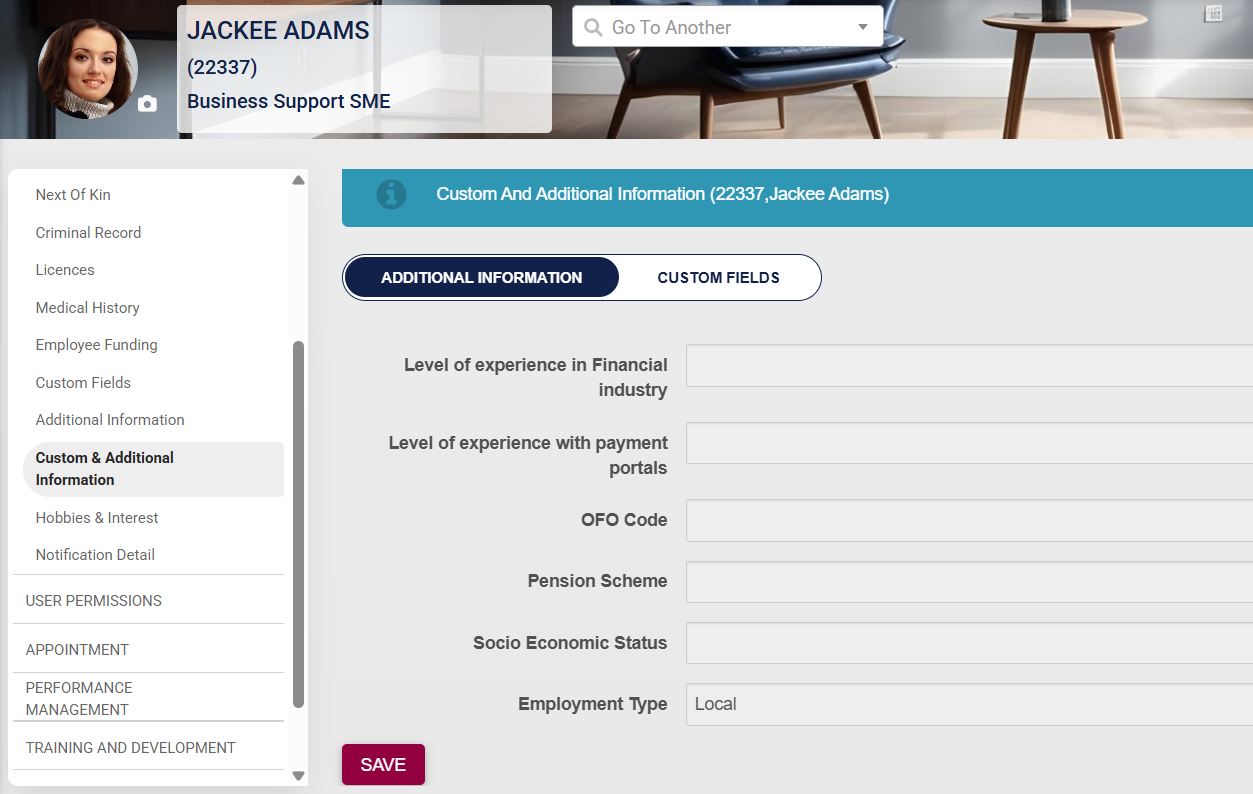
Custom and Additional Fields
- Custom Fields, Additional Information, and Custom and Additional Information are menu items that can be used to document additional information about the employee. These fields can be set up in the master data. To configure this, please see the Master Data Maintenance section later in this chapter.
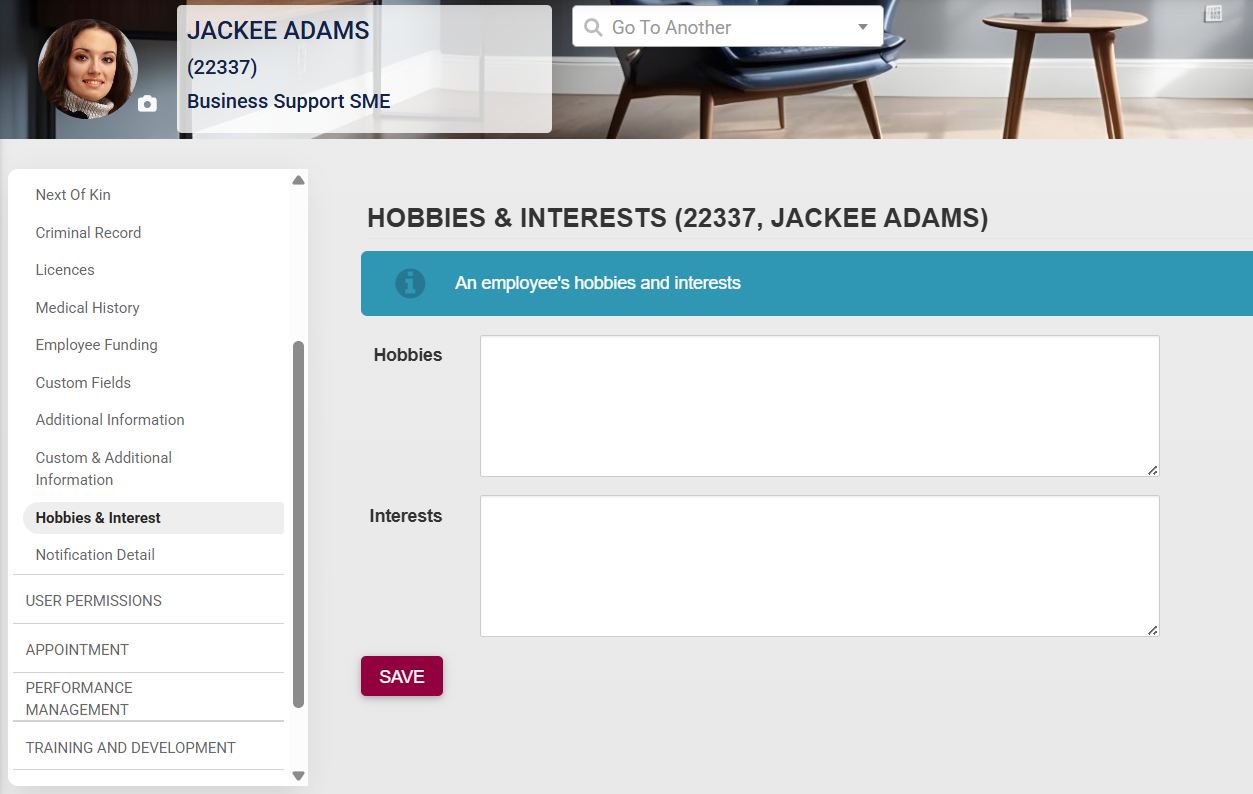
Hobbies and Interests
- The employee’s hobbies and interests can be noted by clicking on Hobbies and Interests. Fill in the details about their hobbies and interests, then click SAVE when you are finished.
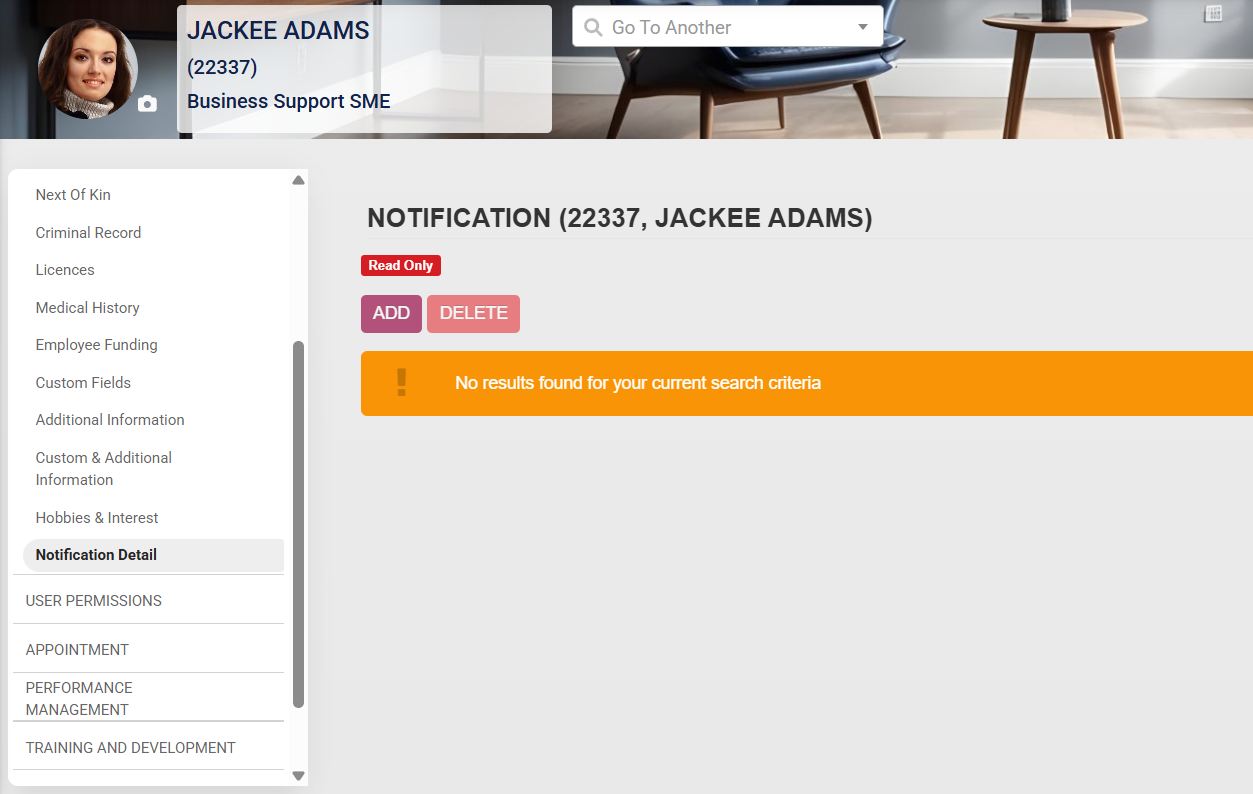
Notification Detail
- Details about the employee’s notifications can be viewed by clicking on Notification Detail.
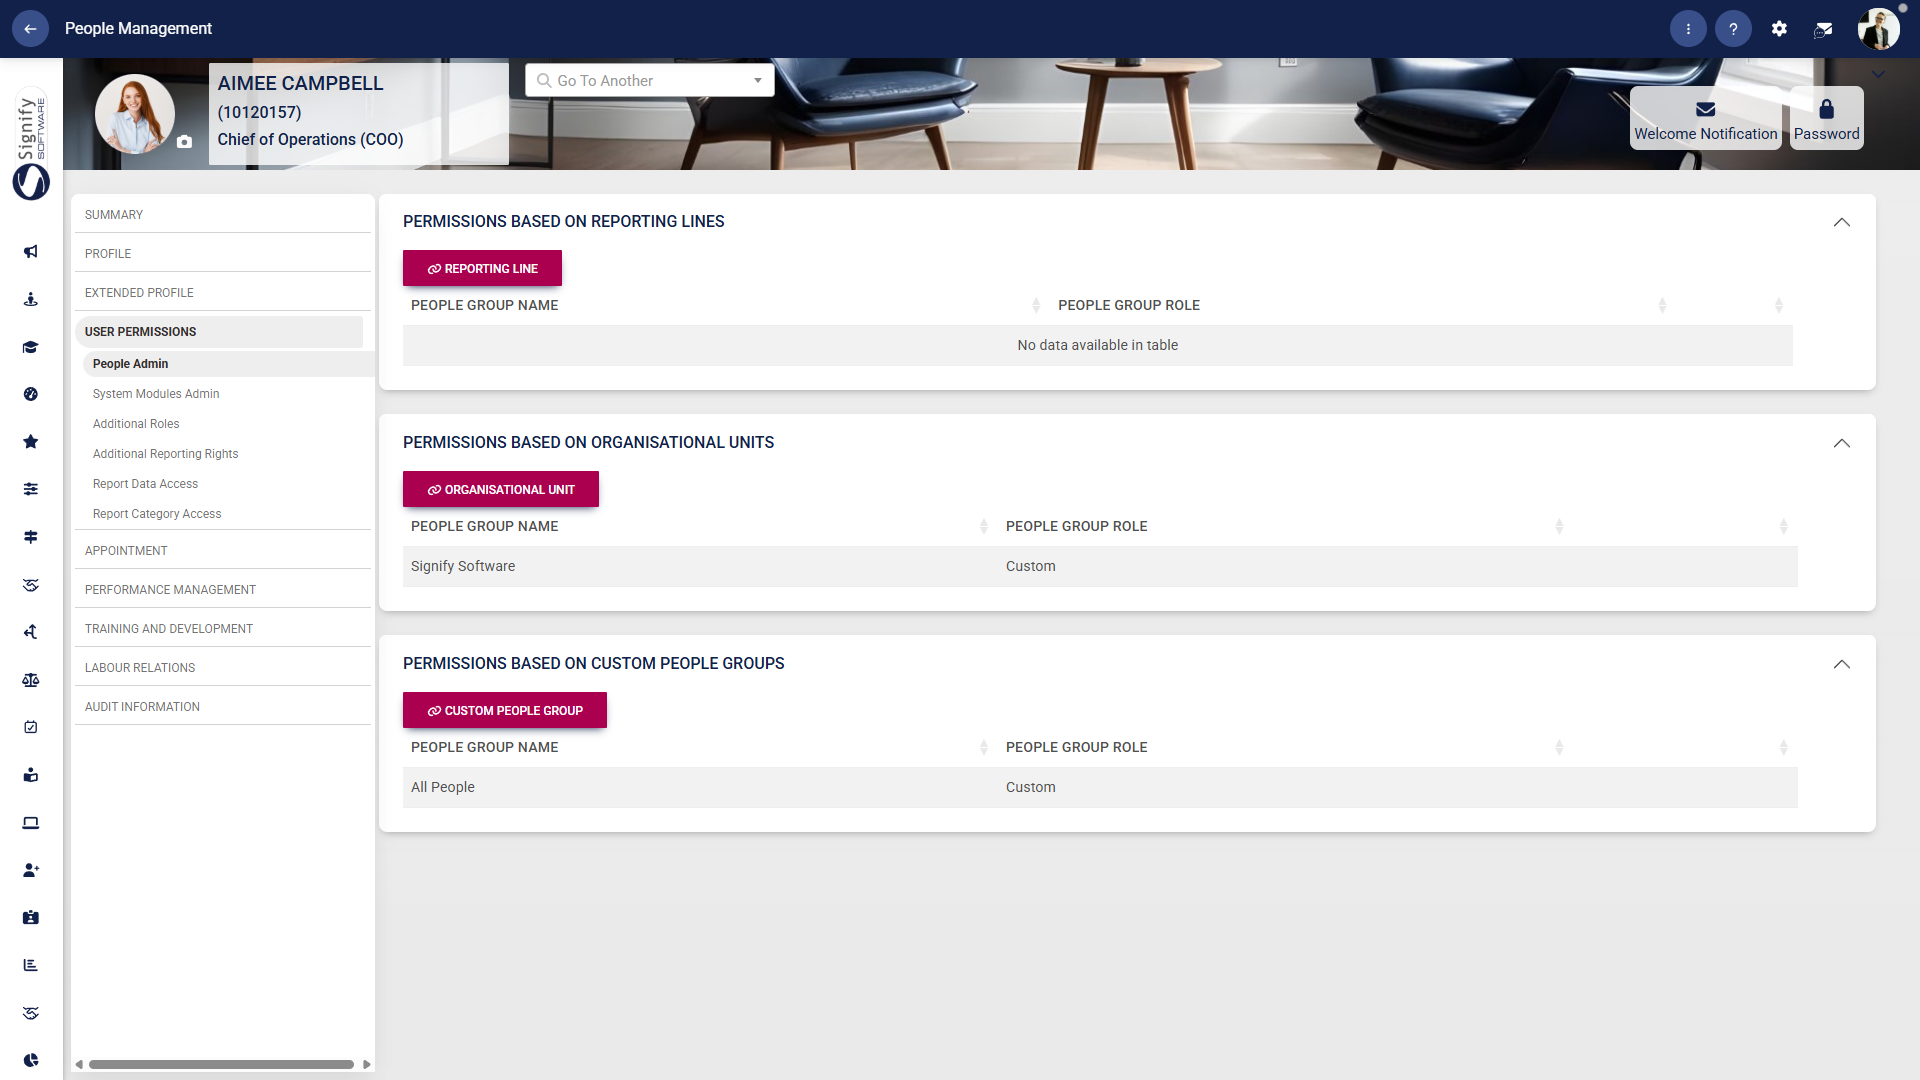
User Permissions
Please see the User and Access Management section of this chapter for more information.
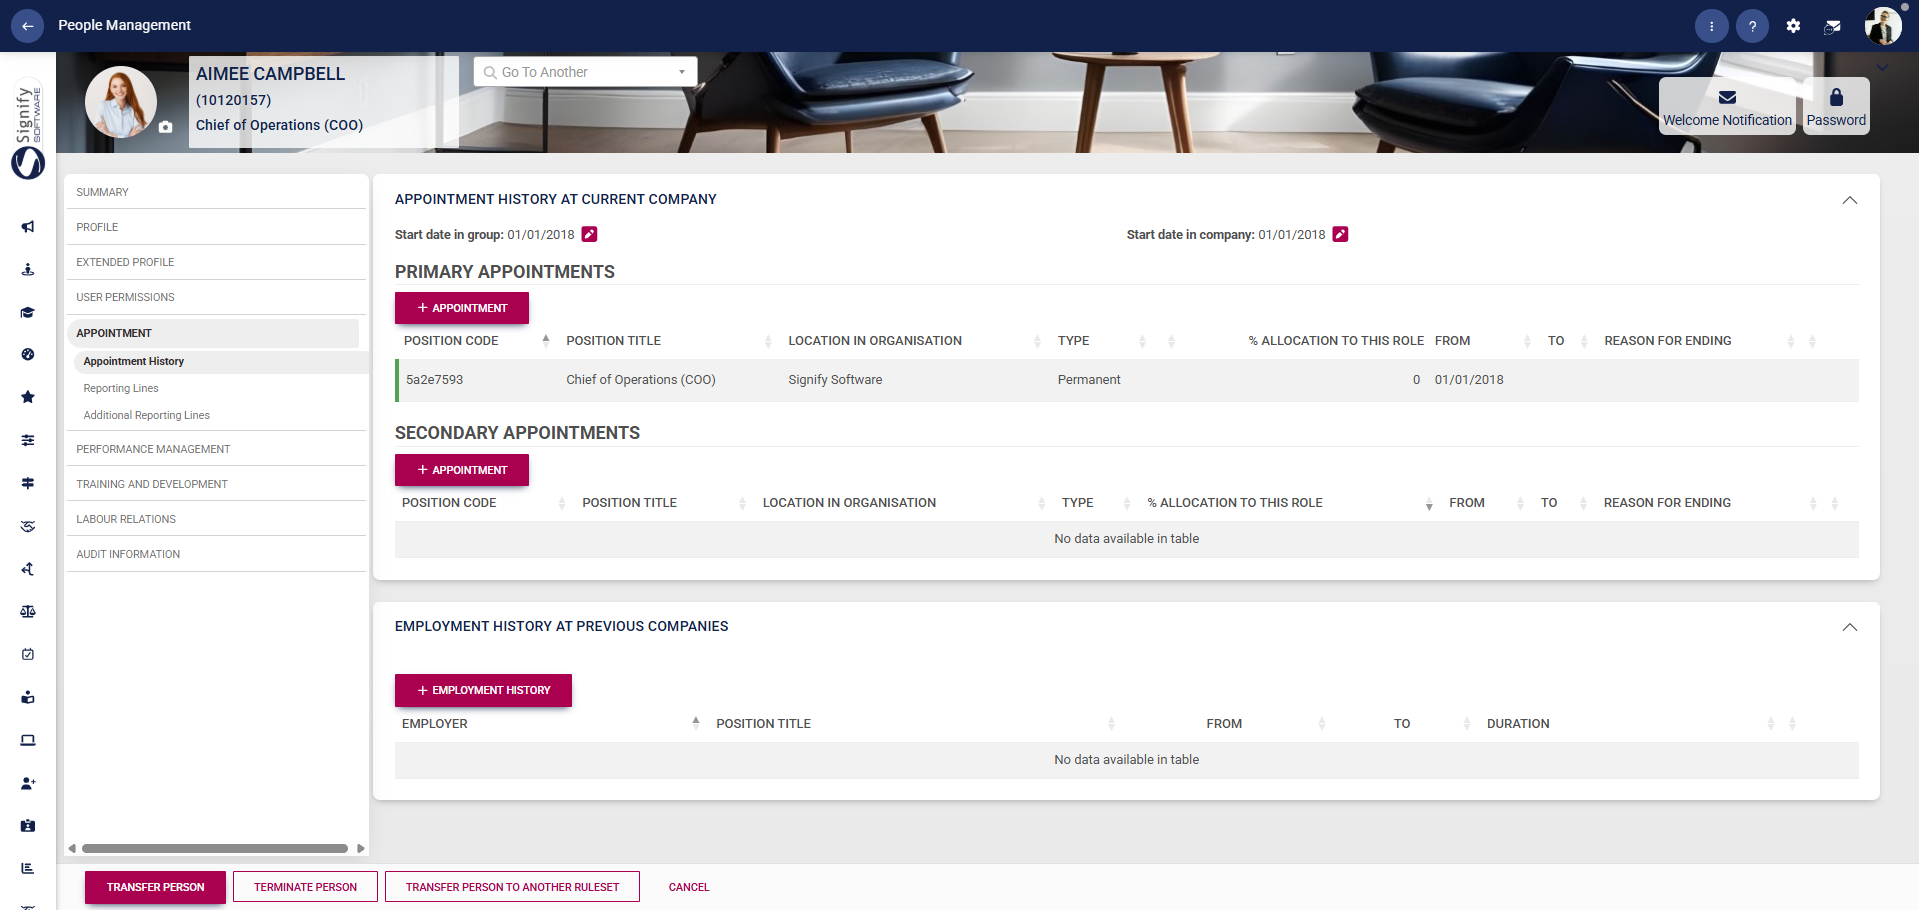
Appointment
Appointment history
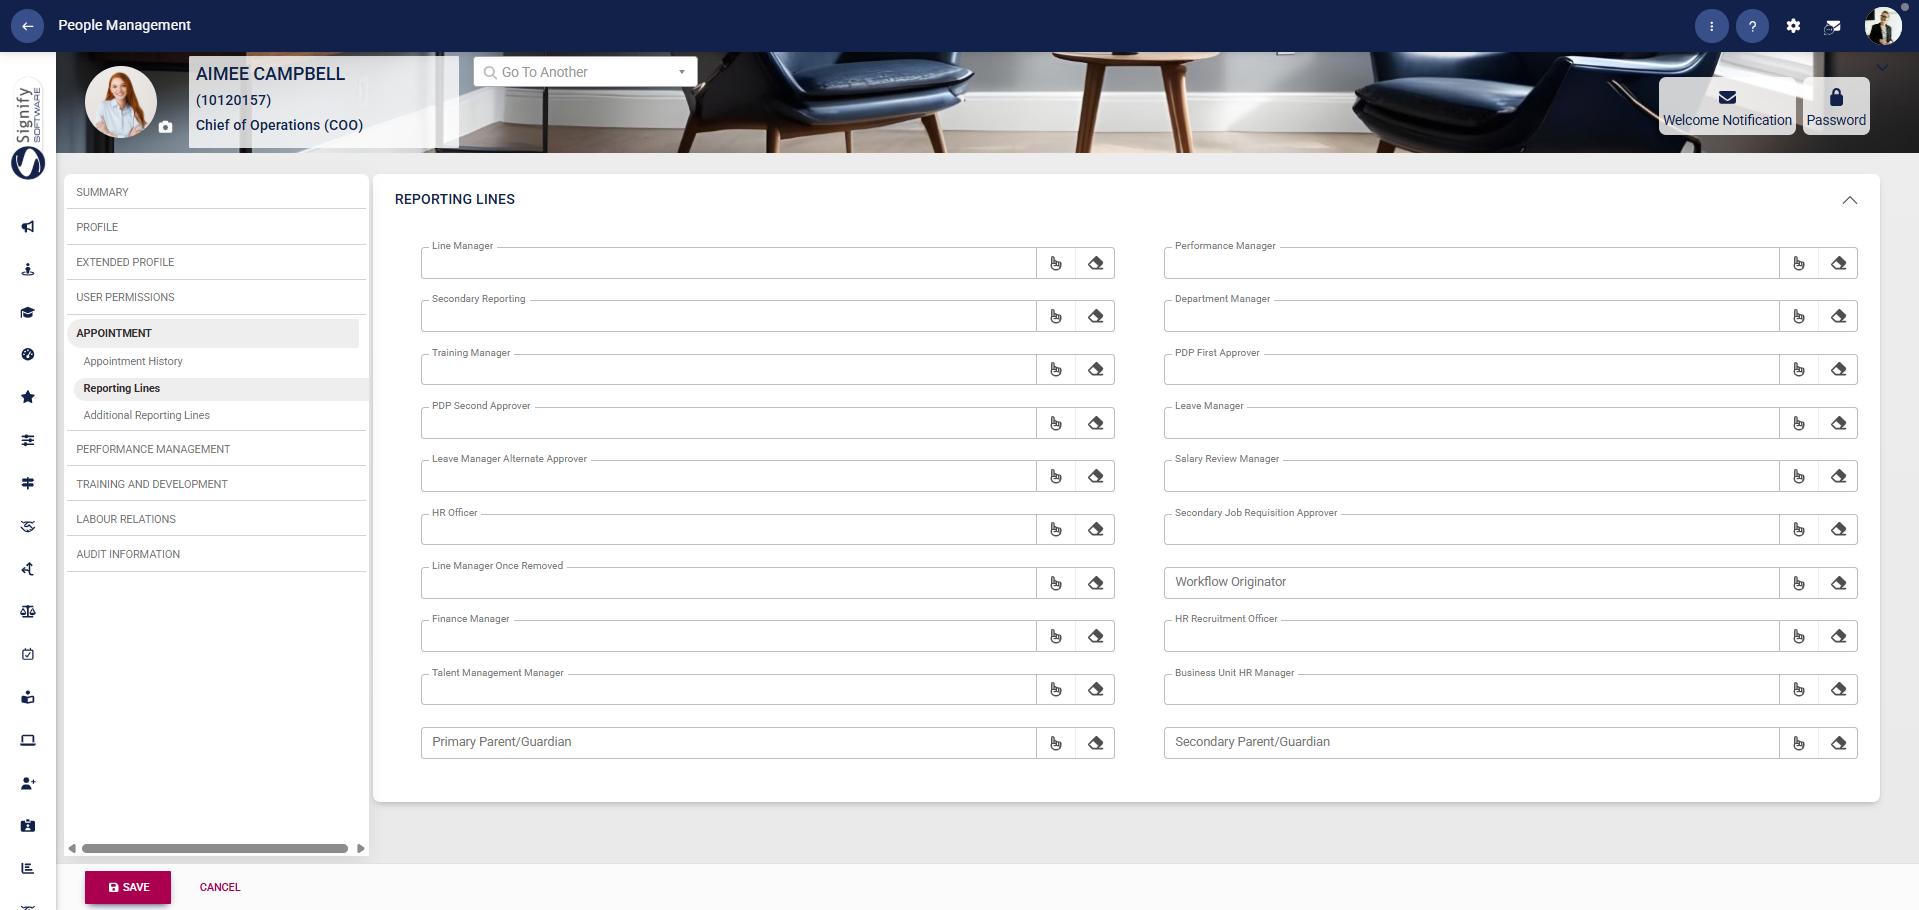
Reporting lines
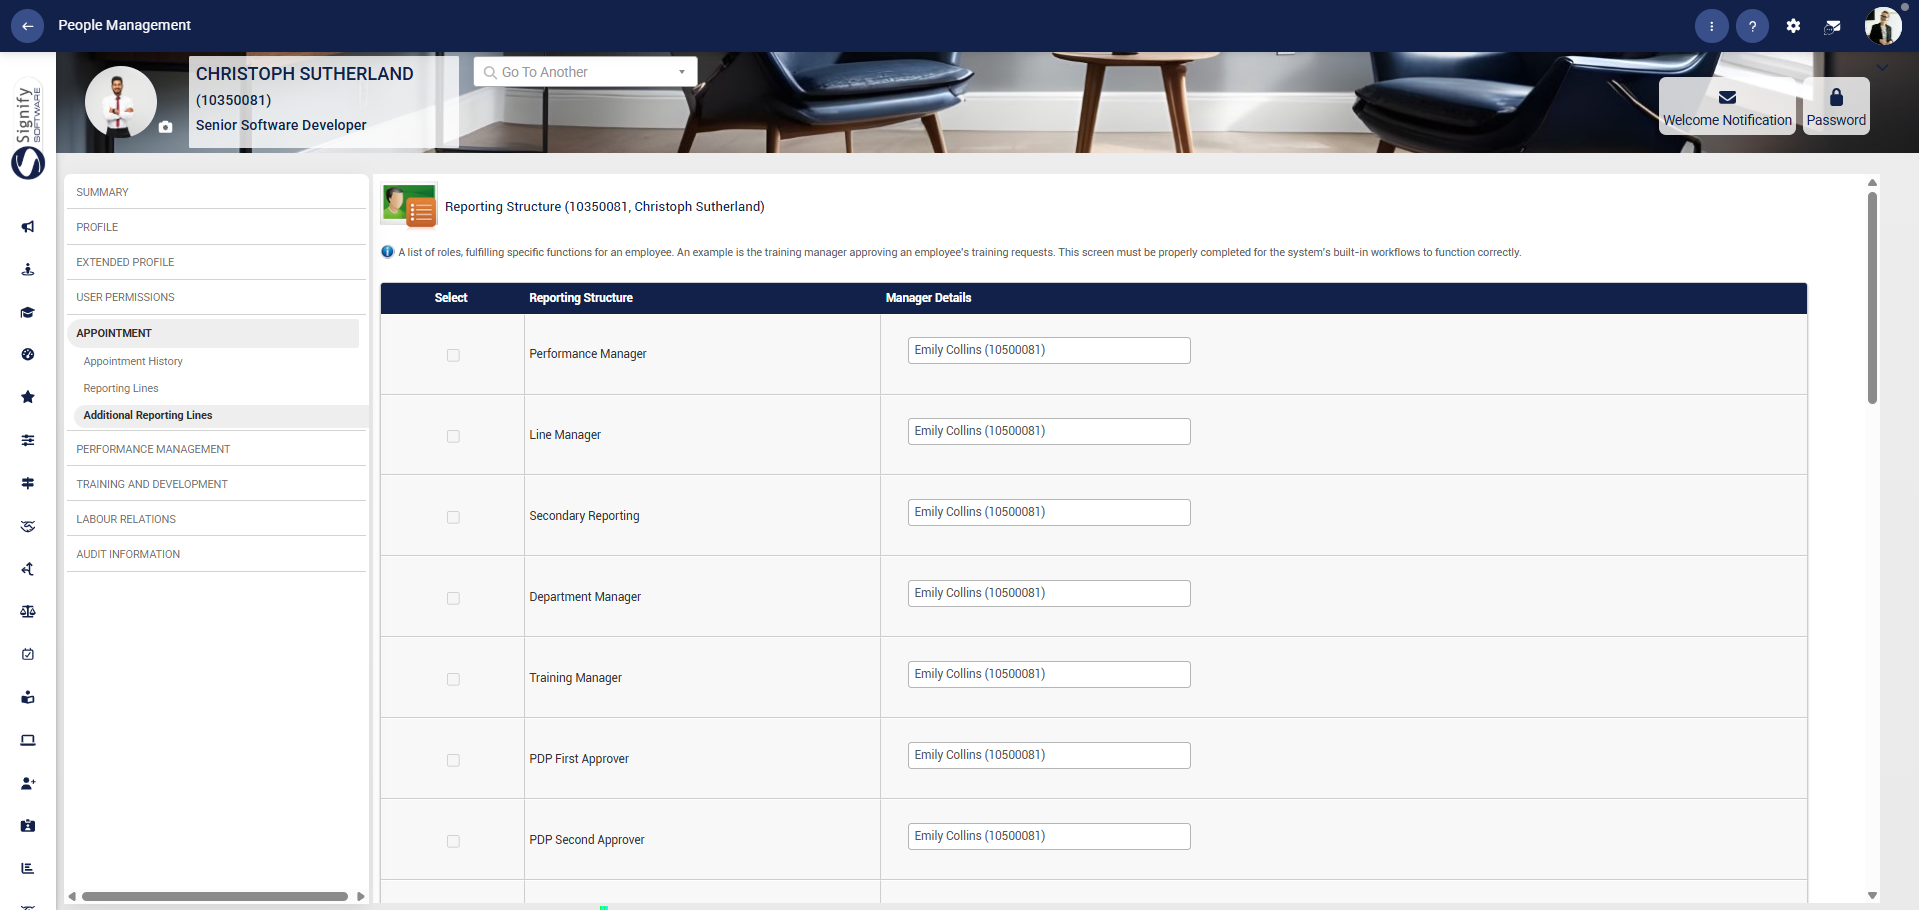
Additional reporting lines
- Use the left-hand menu to navigate to Additional Reporting Lines.
- Select the required reporting structure from the list.
- Review the available roles, such as Performance Manager, Line Manager, Department Manager, Training Manager, and PDP Approvers, and assign the relevant manager details for each one.
- This screen supports the system’s built-in workflows, so ensure the reporting structure is completed correctly before continuing.
- Click SAVE when you are finished or CANCEL to discard your edits.
Performance Management
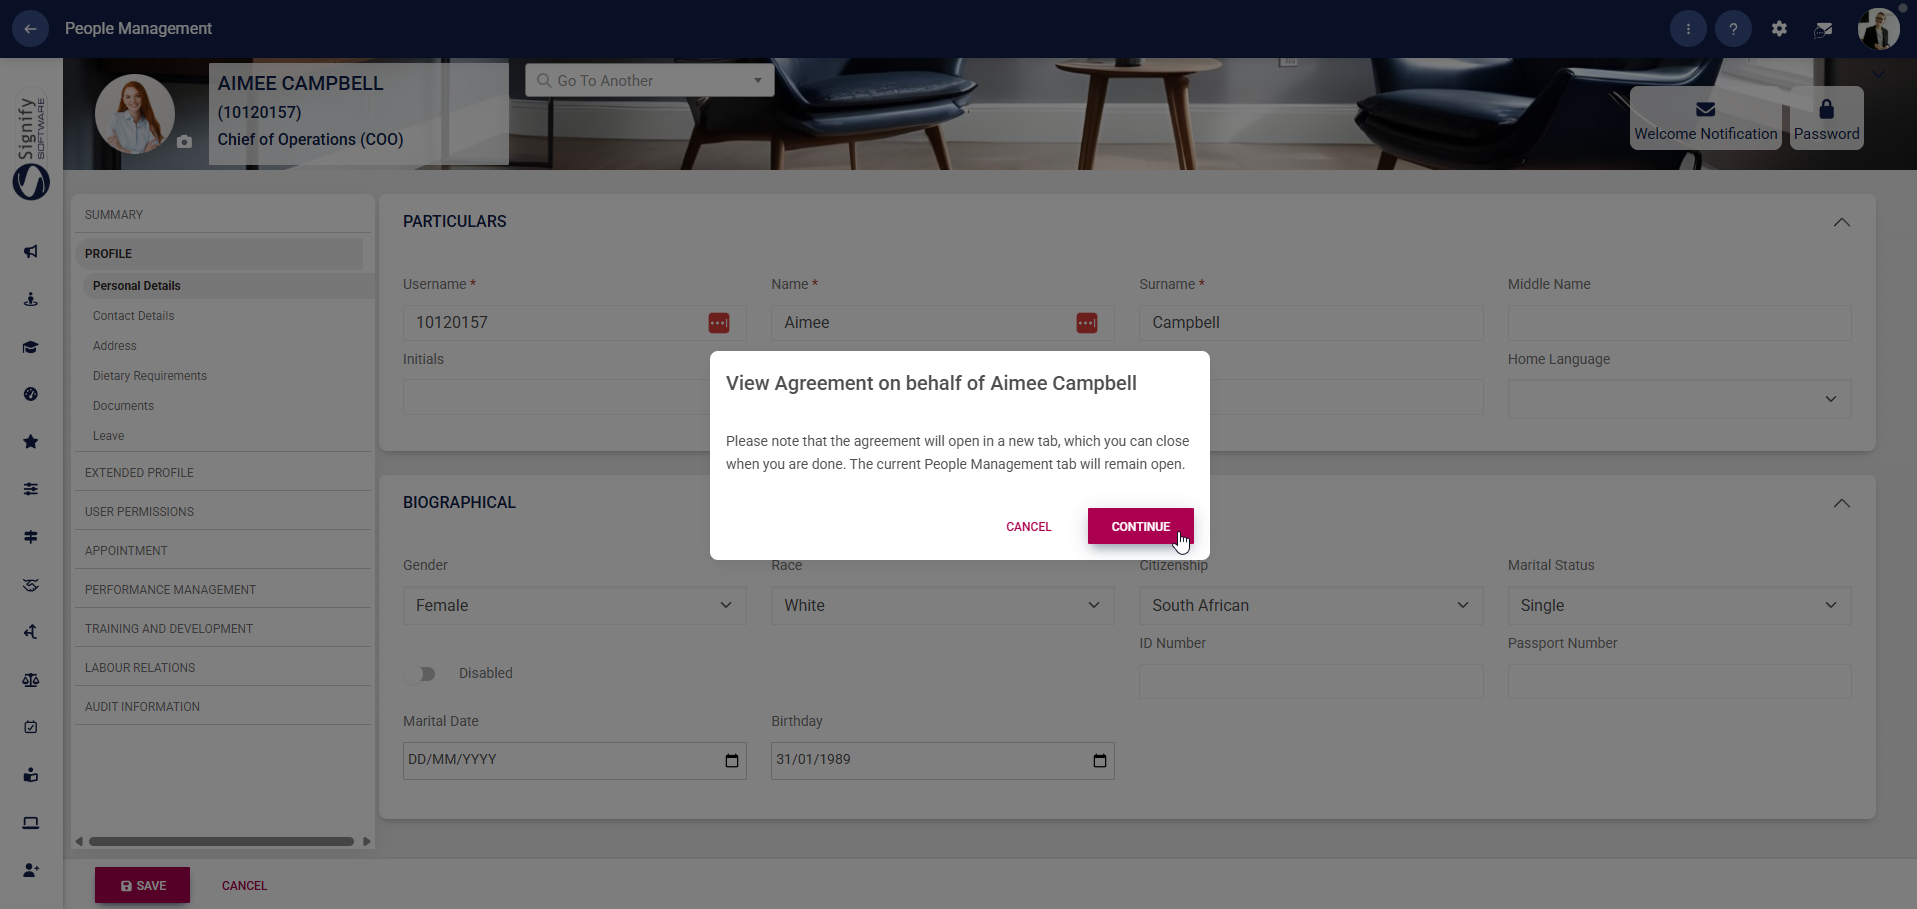
- Use the left-hand menu to navigate to Performance Management.
- This feature allows you to view the user's performance agreement on their behalf.
- Click CONTINUE to go to the Performance Management module.
Training and Development
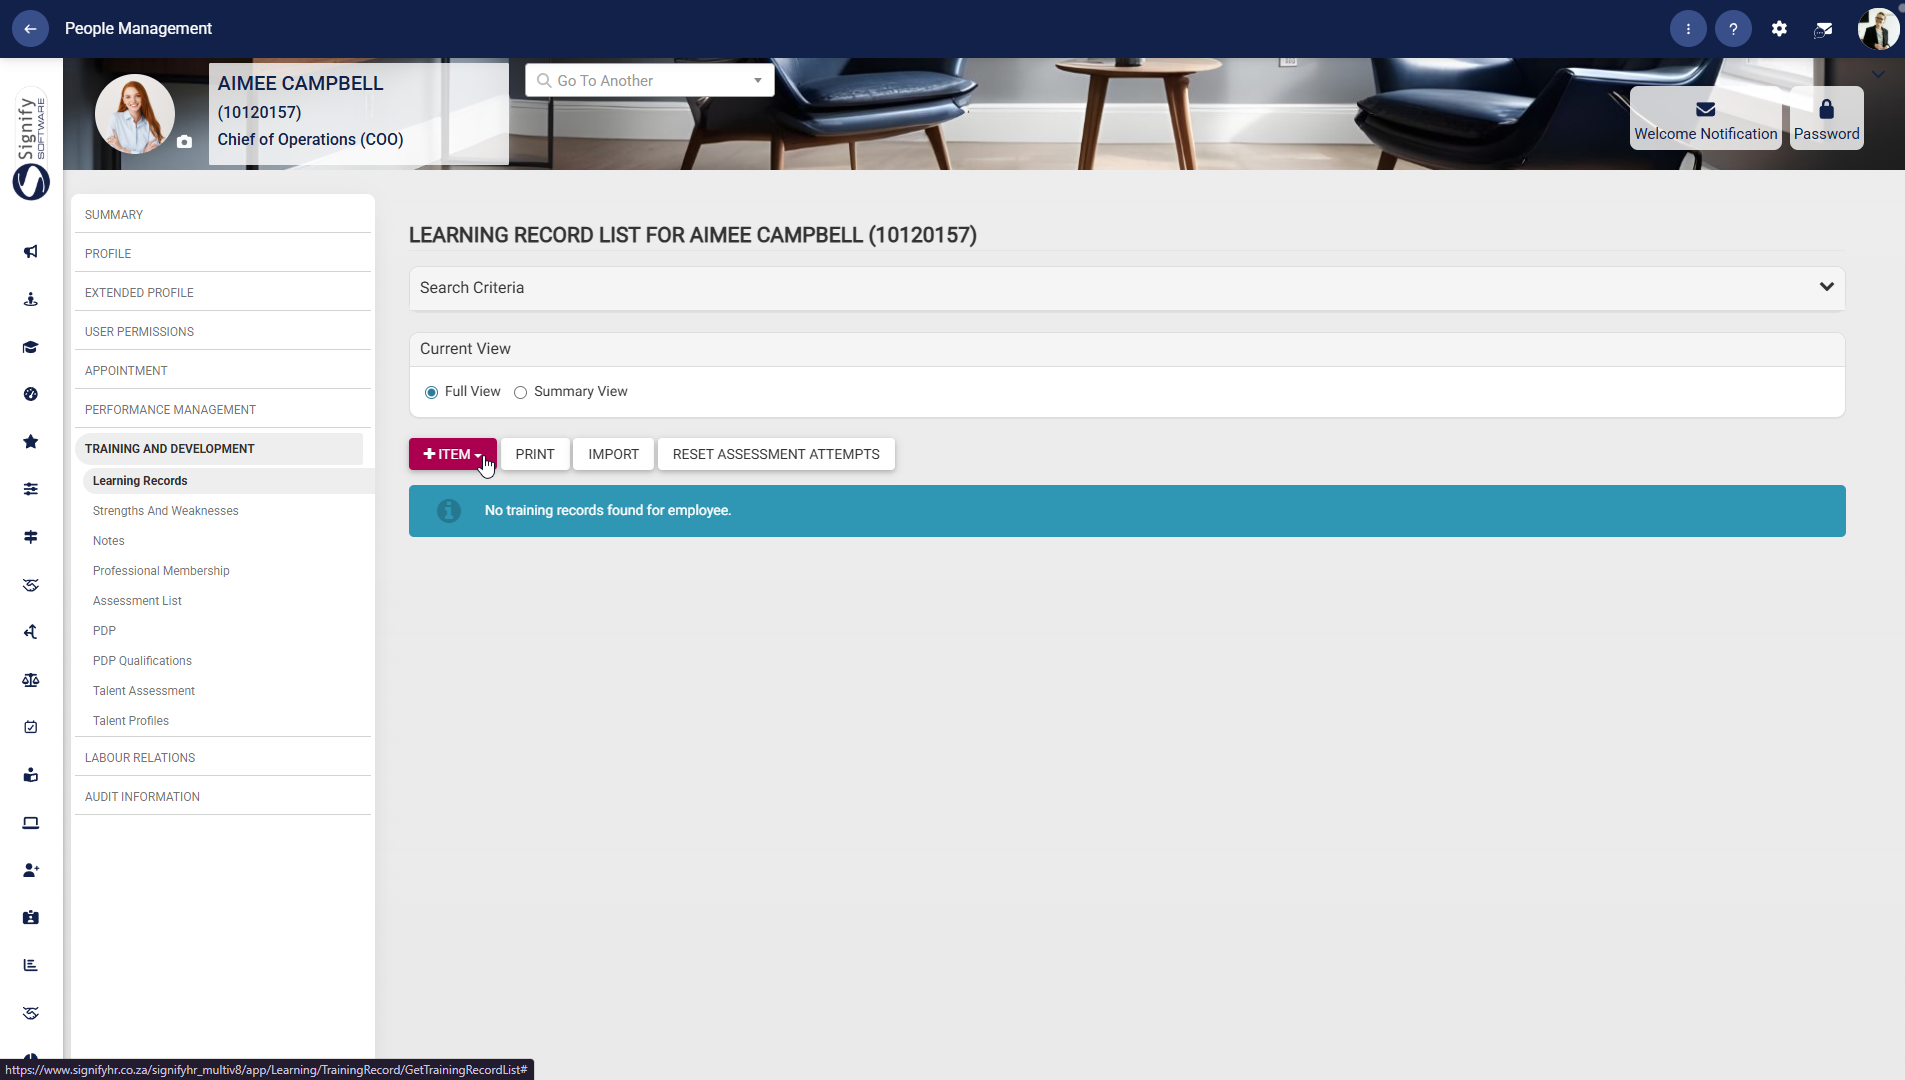
Learning Records
Strengths and Weaknesses
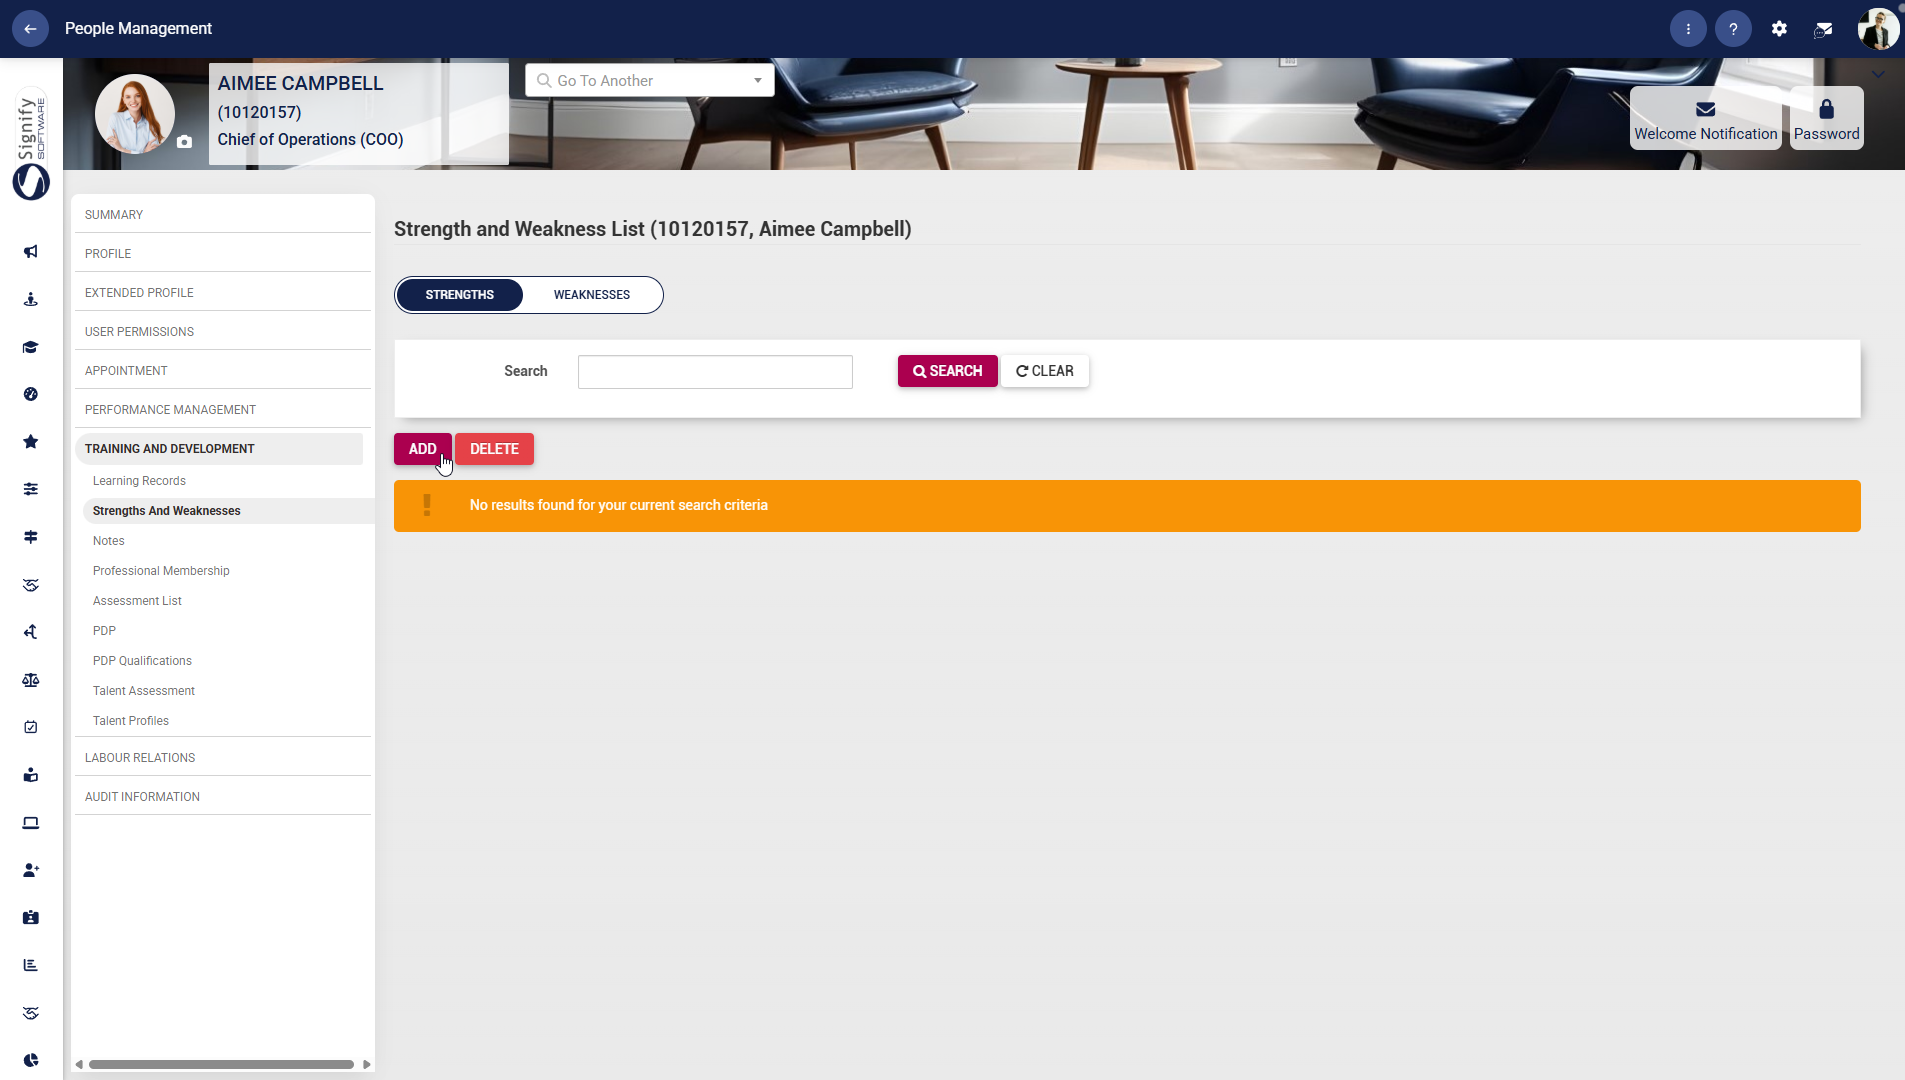
- Use the left-hand menu to navigate to Strengths and Weaknesses, then use the Strengths or Weaknesses tab to view the relevant records.
- Click ADD to create a new entry or DELETE to remove an existing one, where applicable.
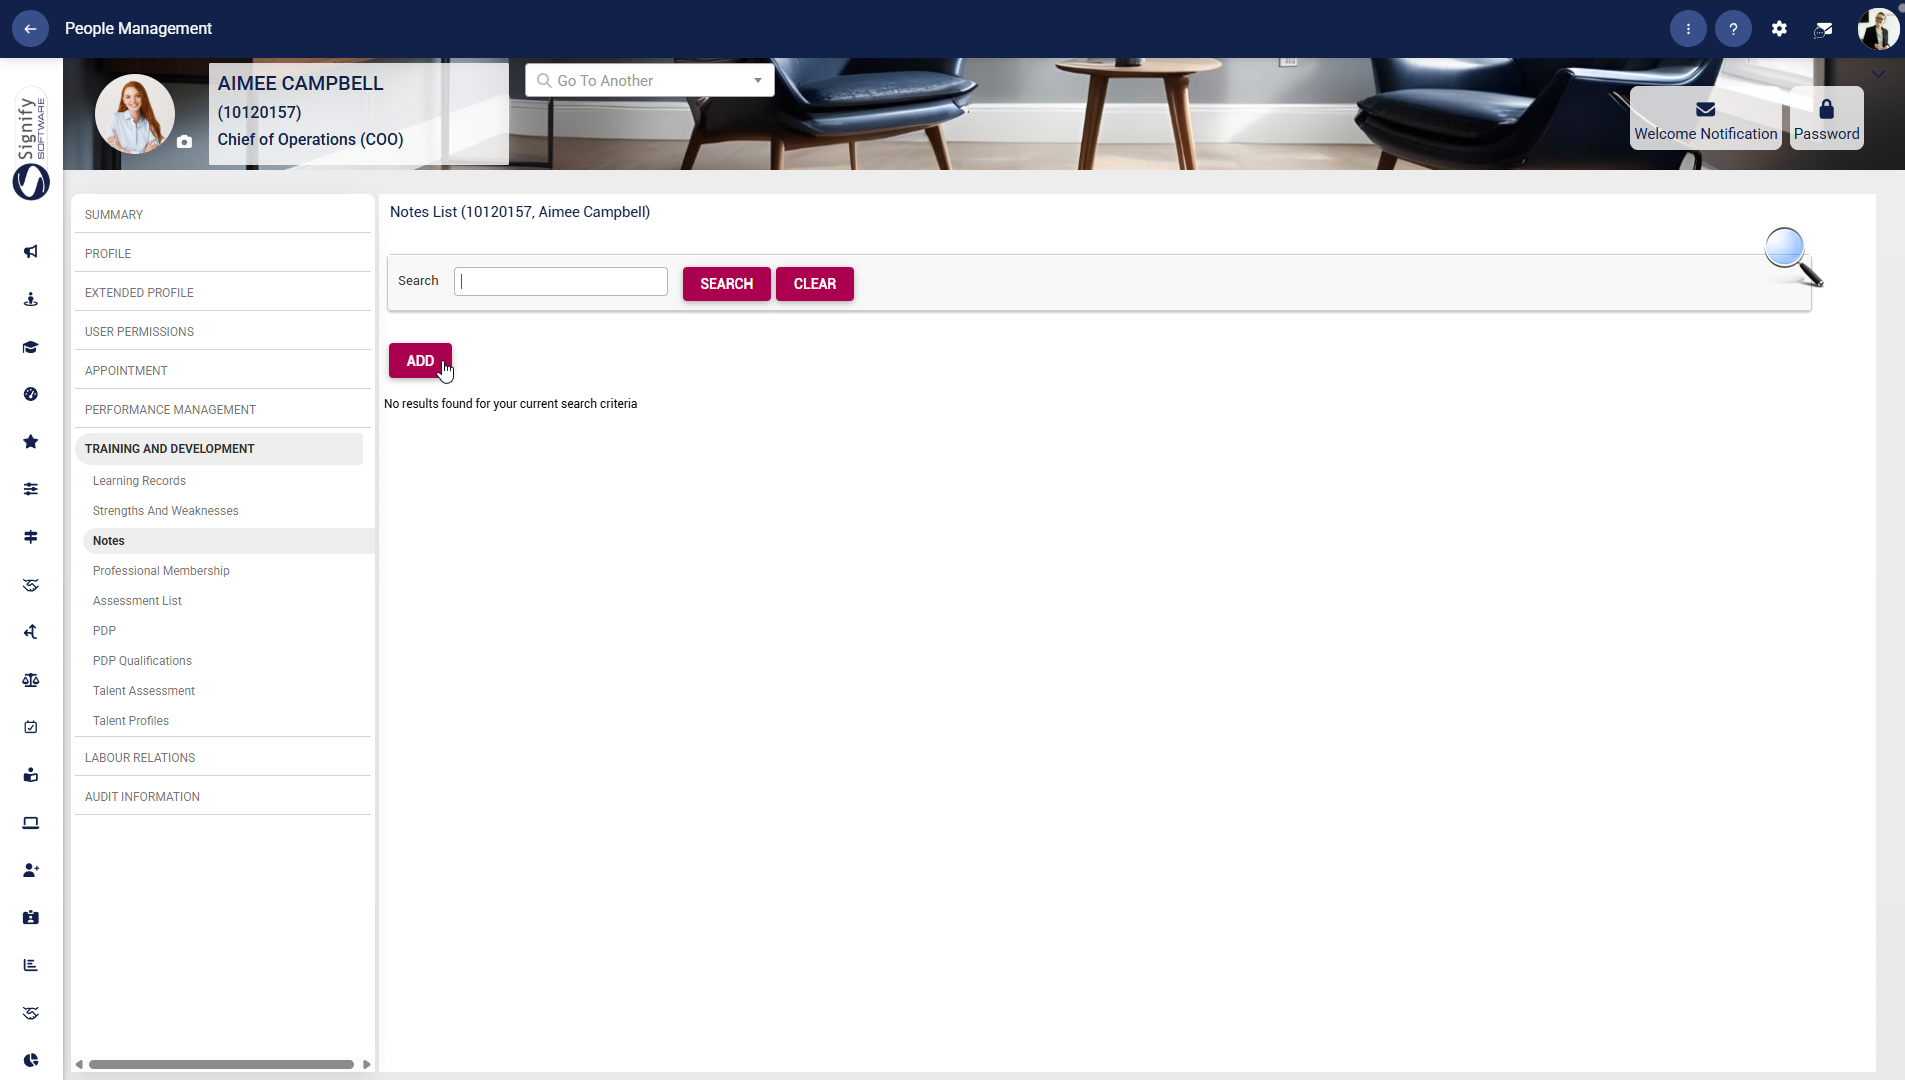
Notes
- Use the left-hand menu to navigate to Notes and use the search field to find an existing note.
- Click ADD to record a new note or DELETE to remove an existing note, where permitted.
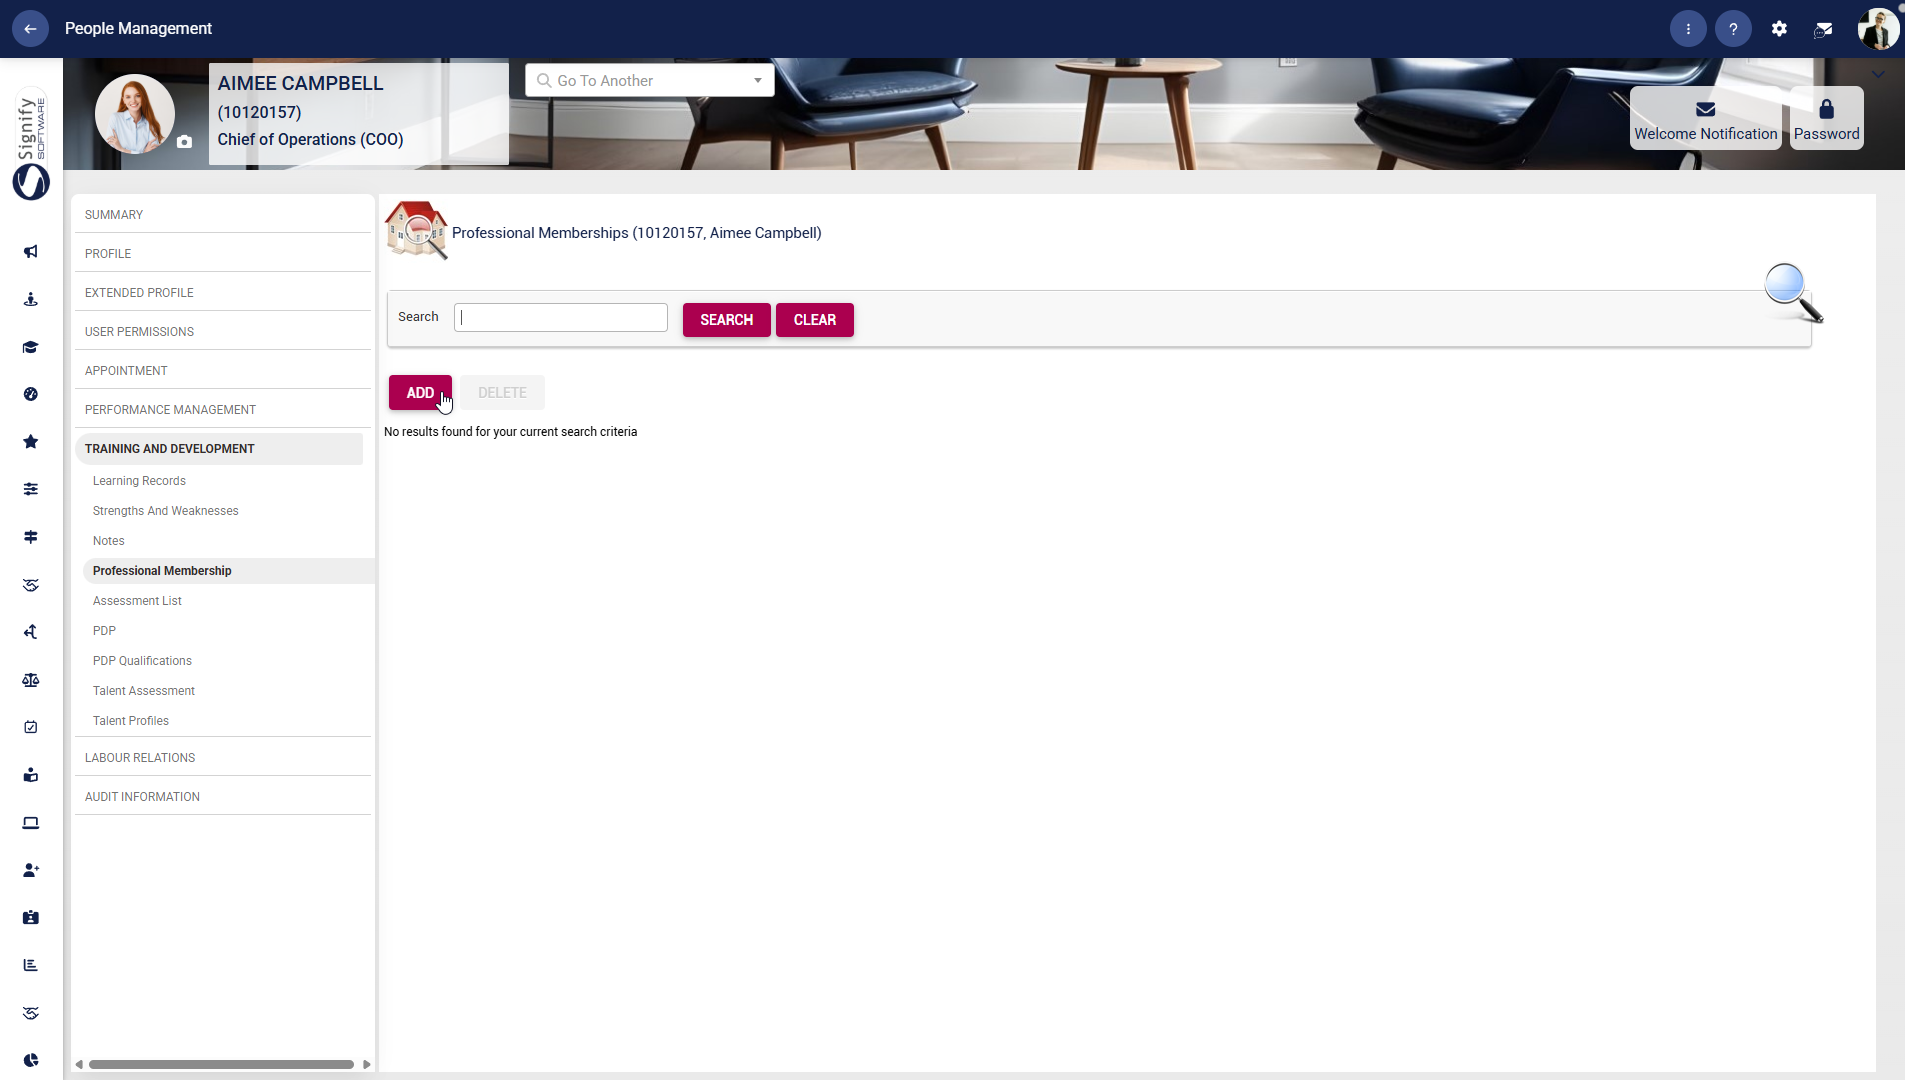
Professional Membership
- Use the left-hand menu to navigate to Professional Membership and search for the relevant membership record.
- Click ADD to capture a new professional membership or DELETE to remove an existing one, where applicable.
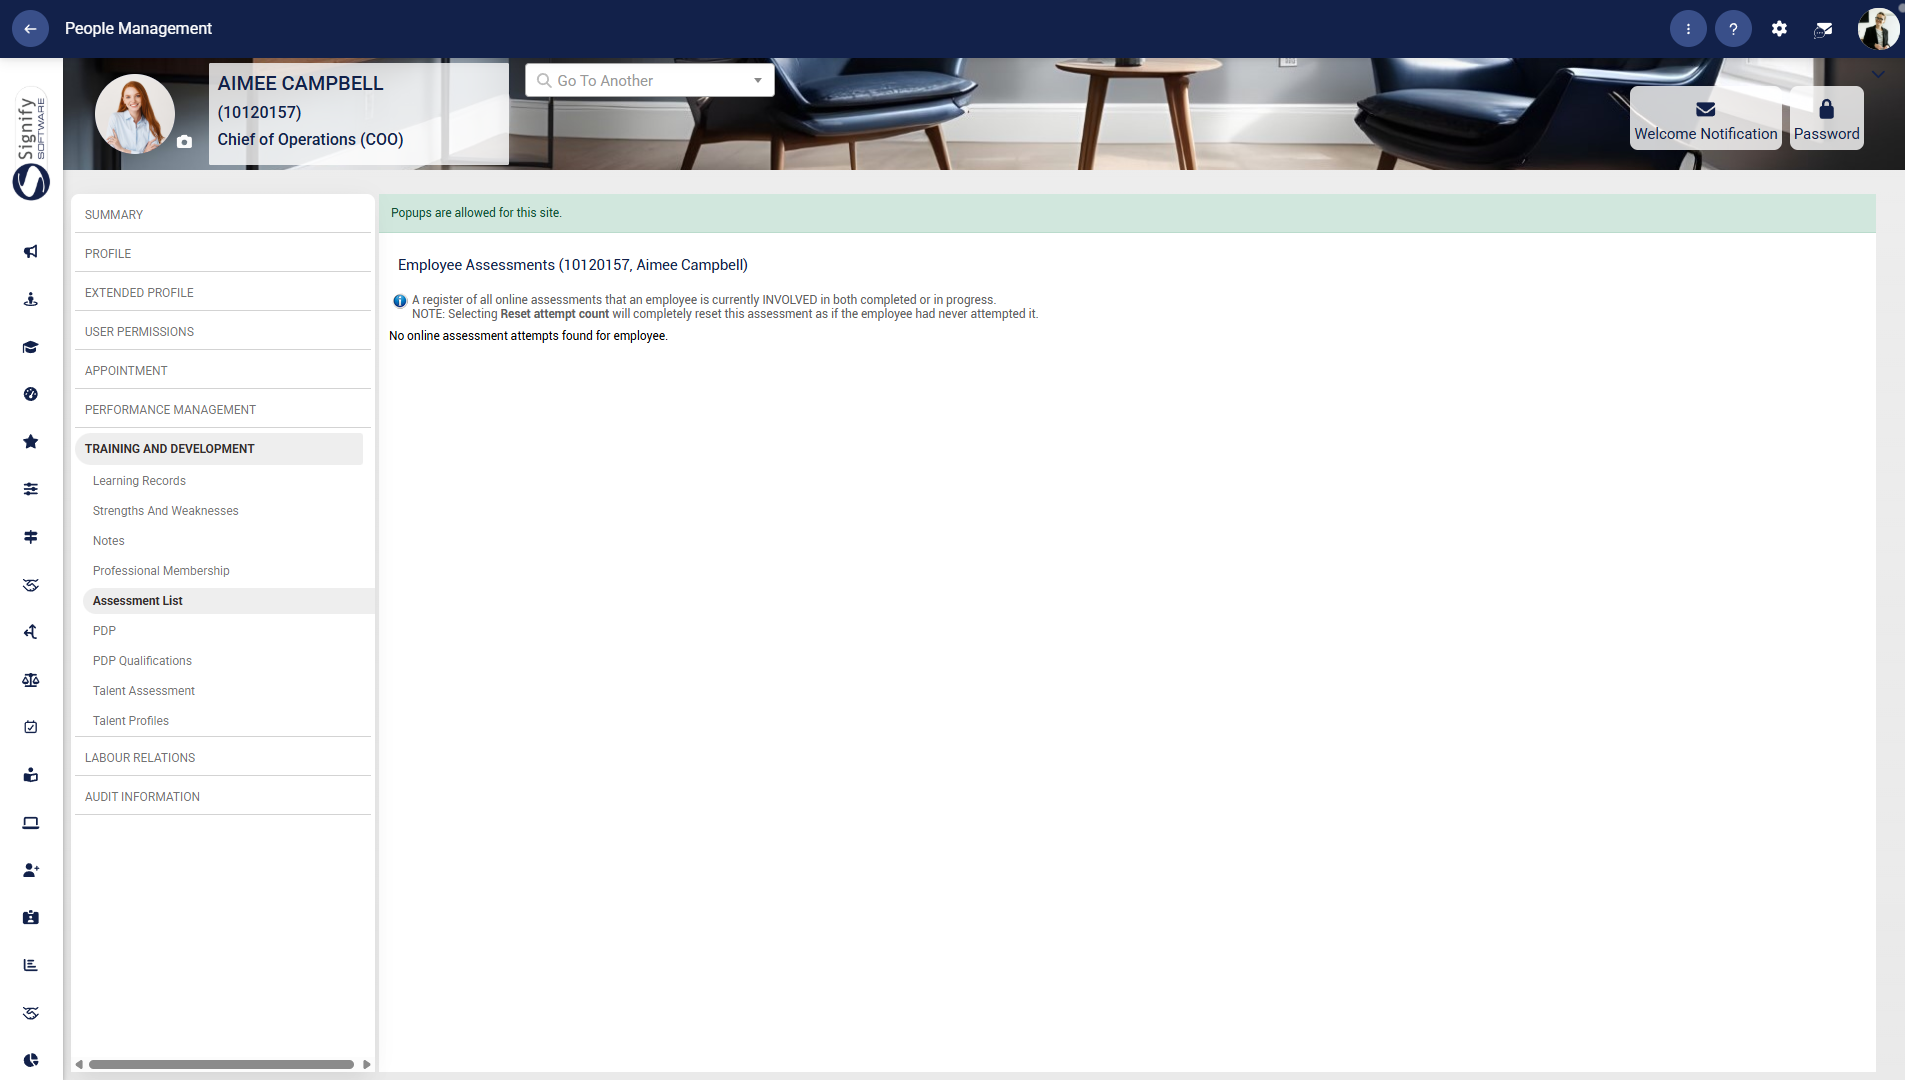
Assessment List
- Use the left-hand menu to navigate to Assessment List to review the employee’s online assessment information.
- Review the note on the screen carefully, as resetting assessment attempts will completely reset the assessment if the employee is involved in completed or in-progress attempts.
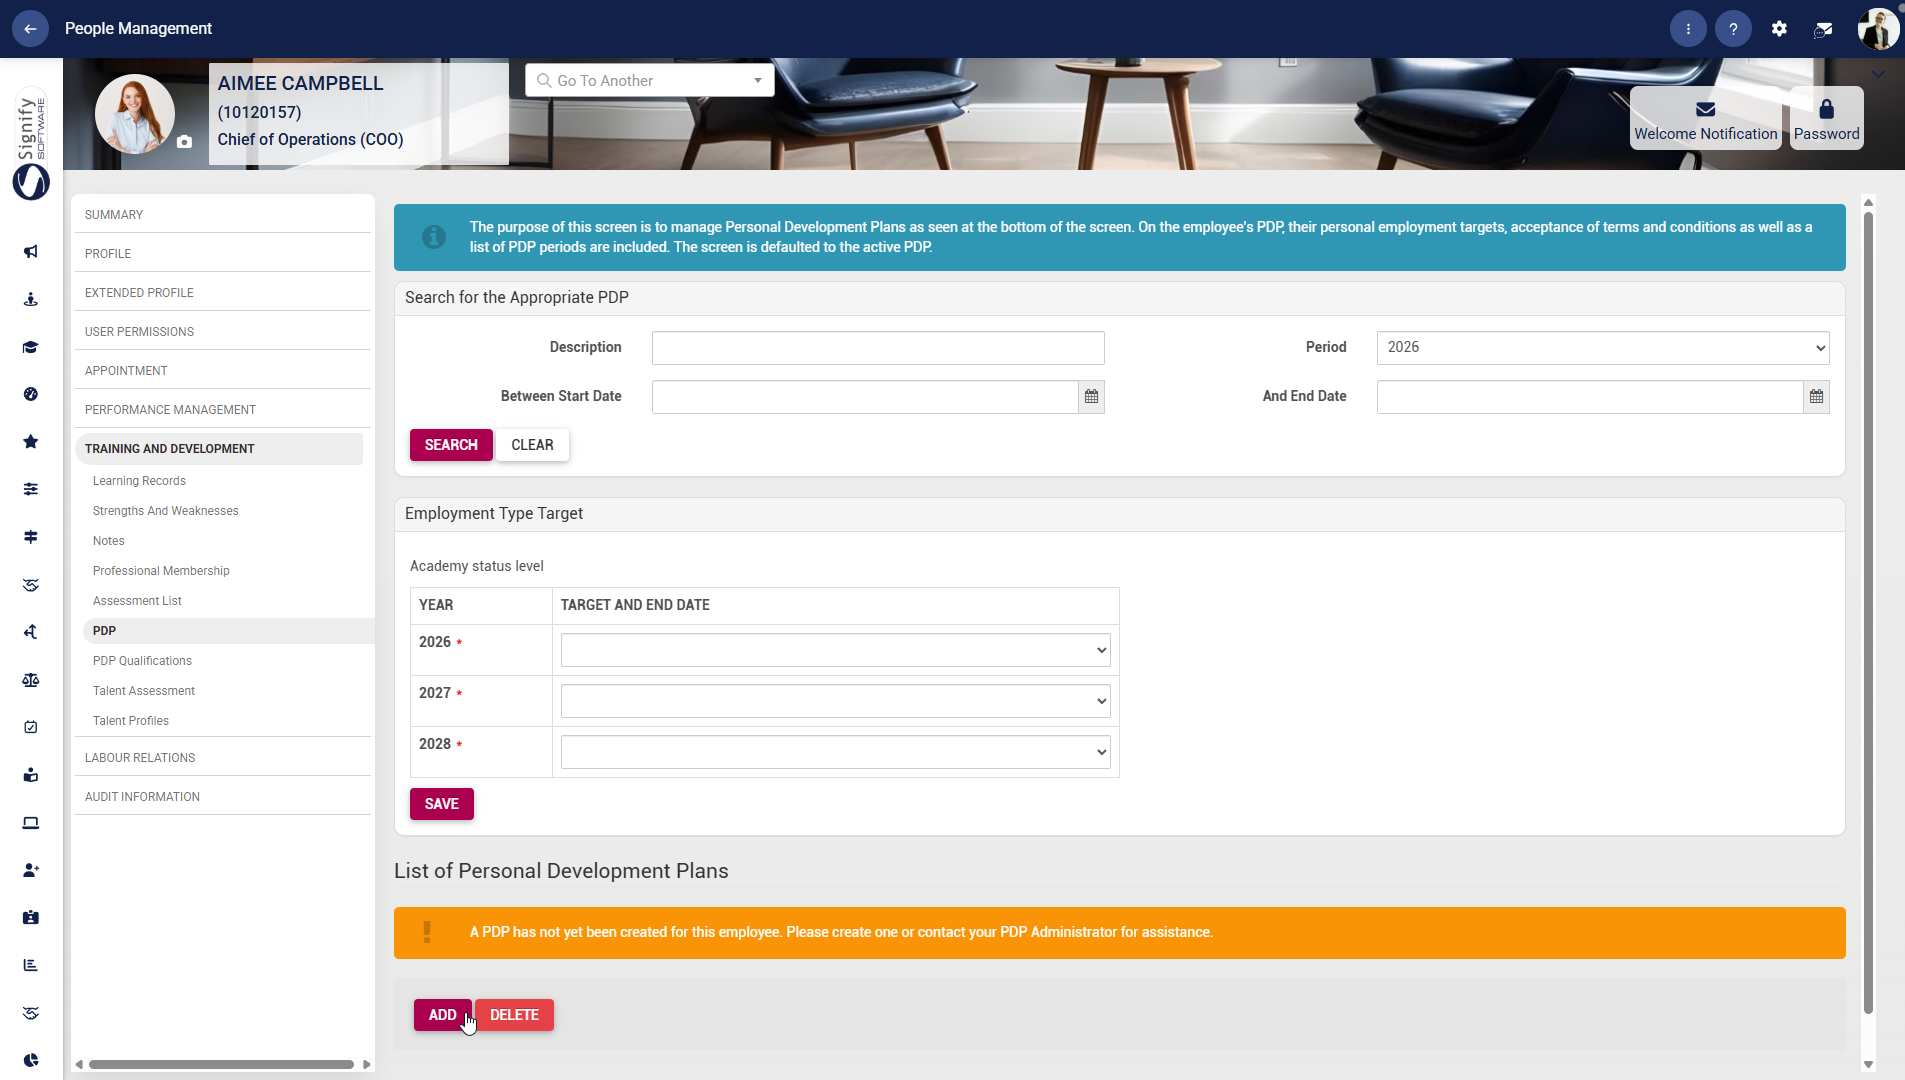
PDP
- Use the left-hand menu to navigate to PDP.
- Search for the appropriate personal development plan using the description, period, and date fields.
- Complete the employment type target section for each relevant year, then click SAVE to store your changes.
- Use ADD to create a new PDP or DELETE to remove one, where permitted.
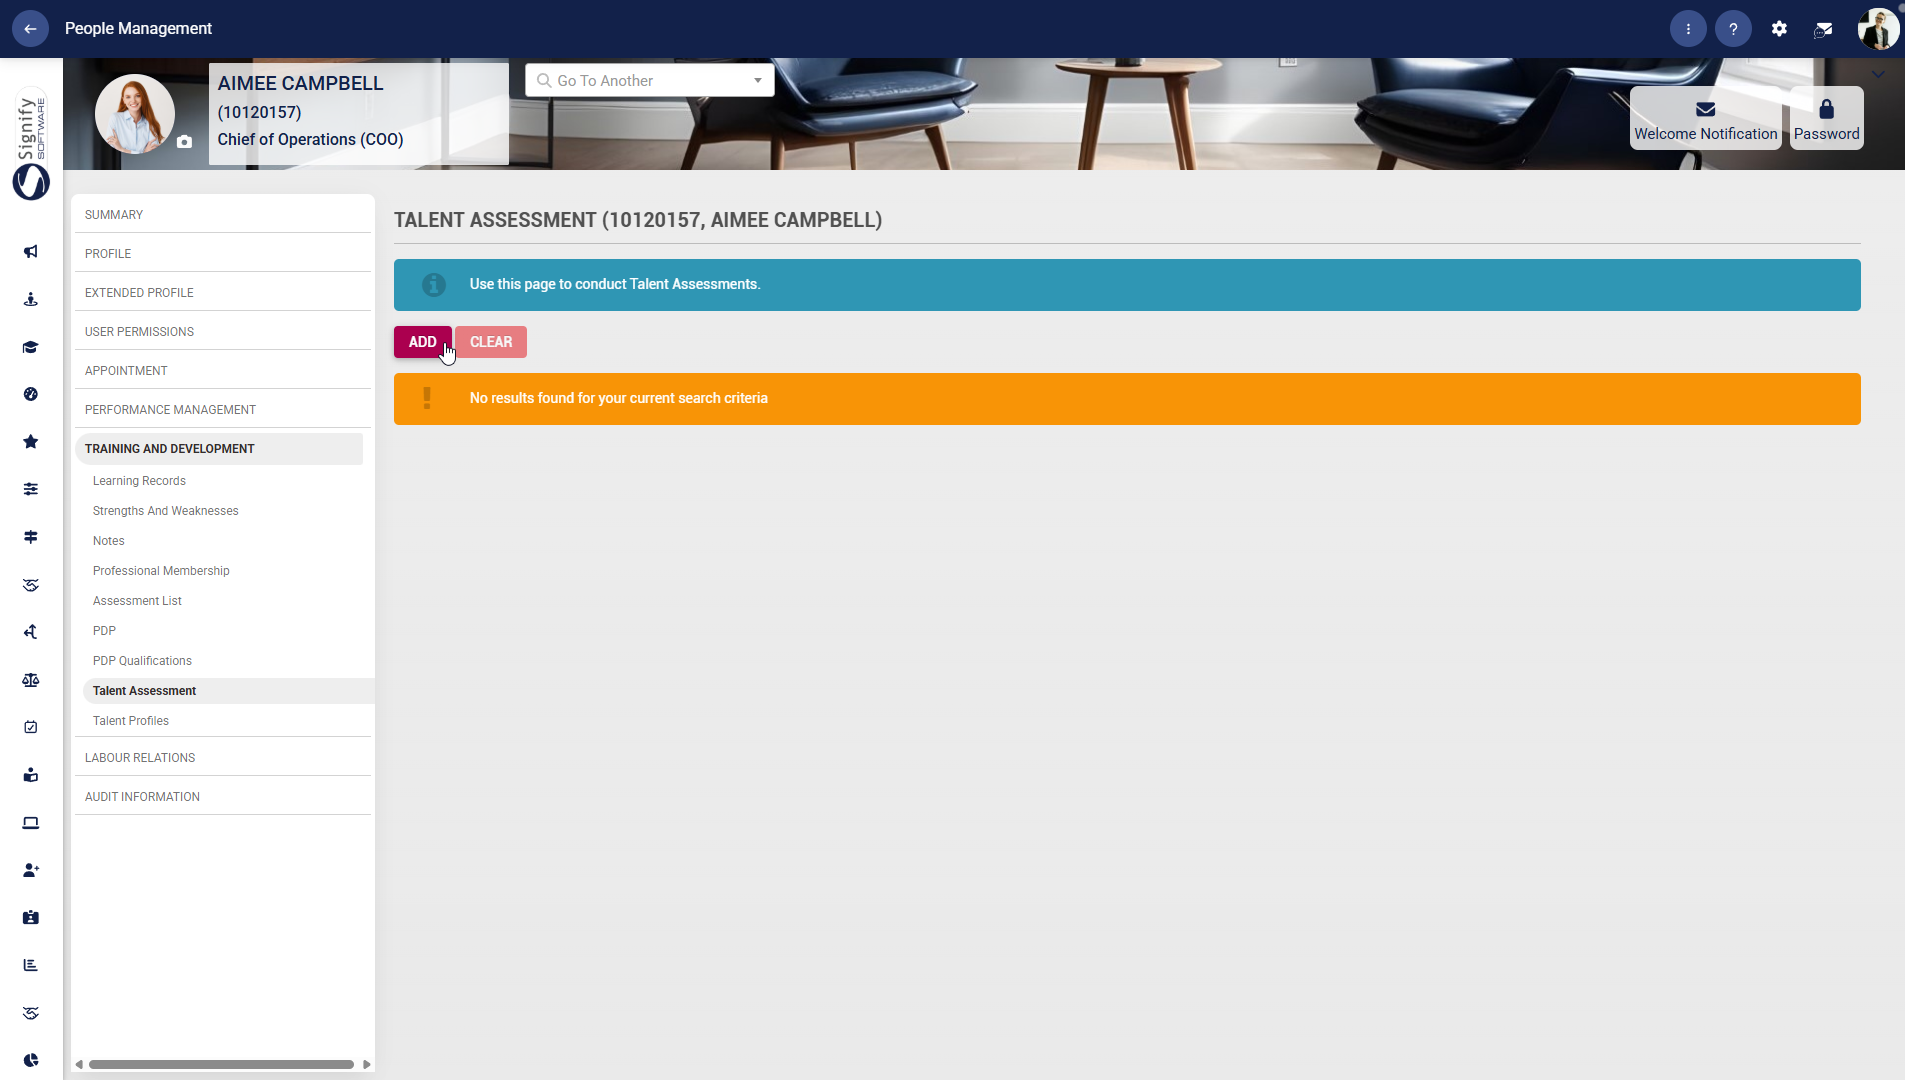
Talent Assessment
- Use the left-hand menu to navigate to Talent Assessment.
- Use the ADD button to start a new assessment.
- Use CLEAR to clear the current criteria or search results when needed.
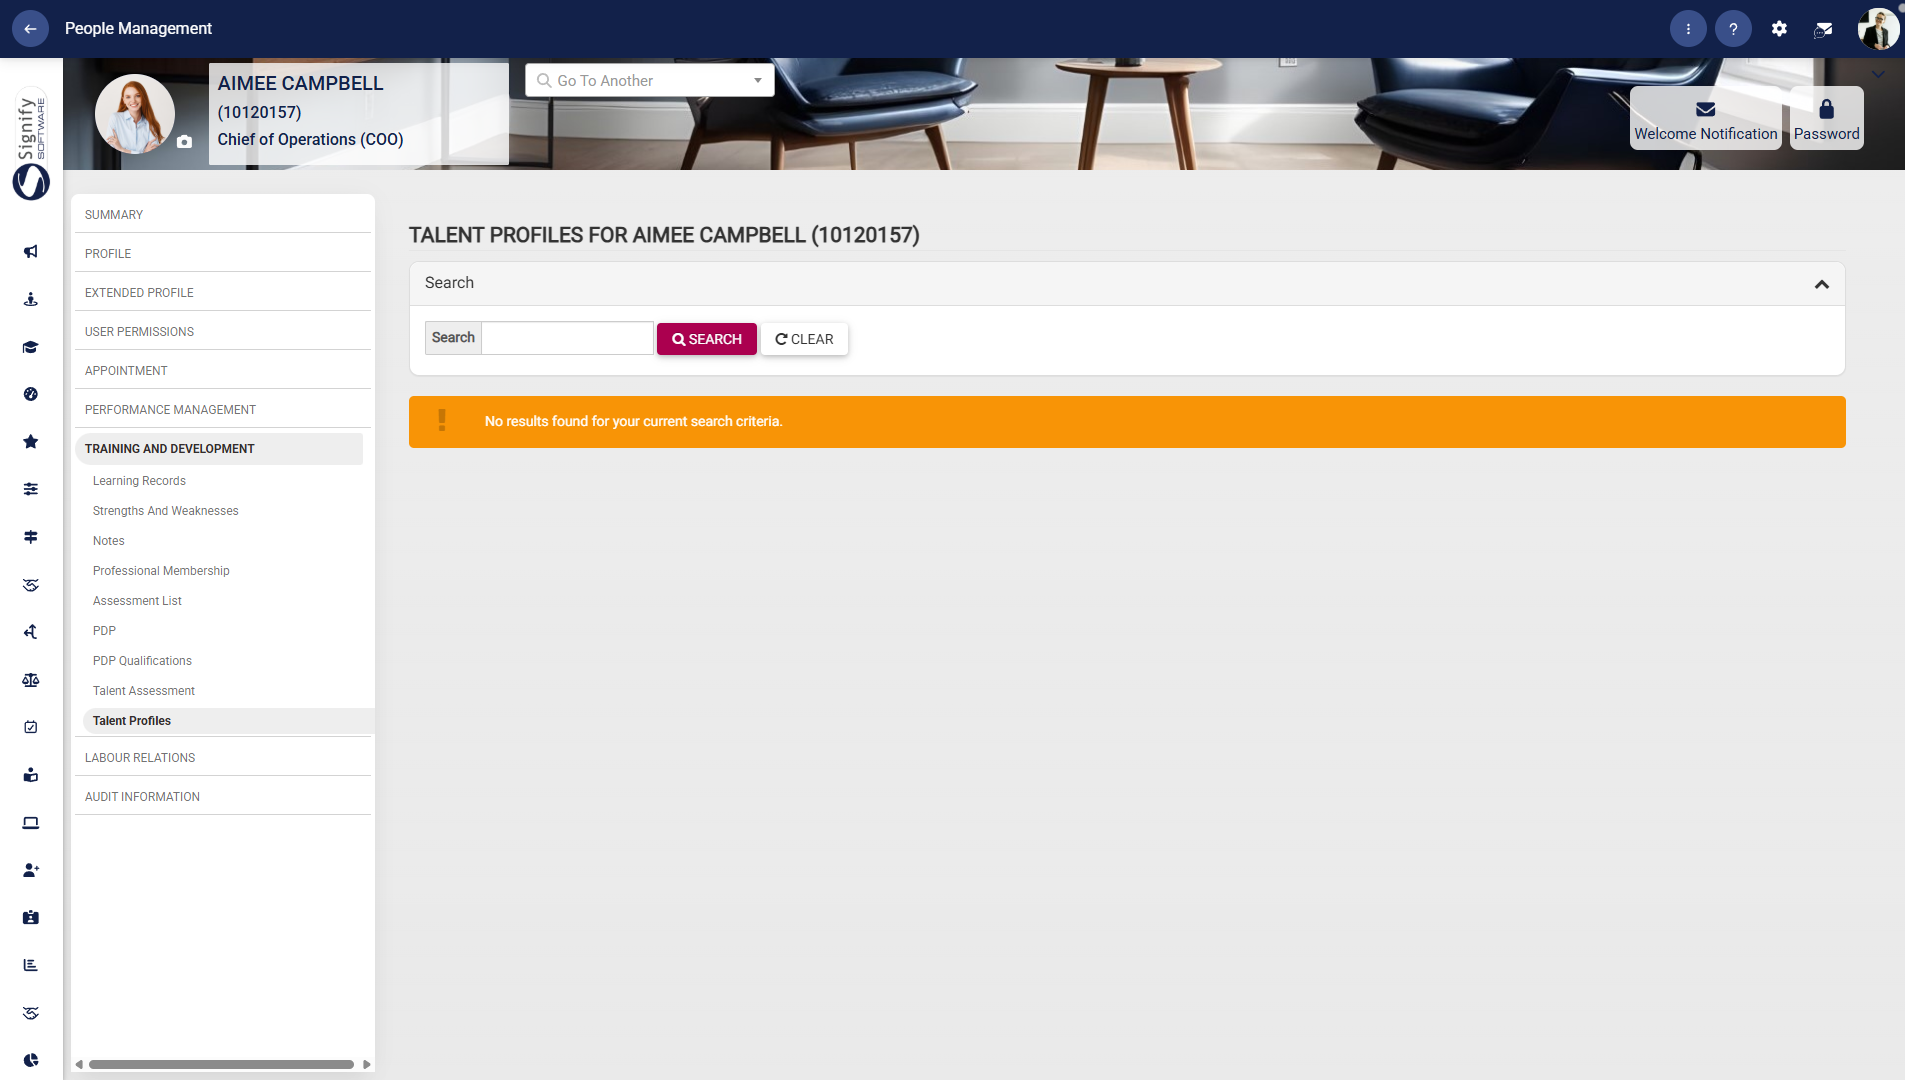
Talent Profiles
- Use the left-hand menu to navigate to Talent Profiles.
- Search for the required profile using the search field.
- Click ADD to create a new talent profile or DELETE to remove an entry, where applicable.
Labour Relations
Complaints
- Use the left-hand menu to navigate to Complaints.
- Use the Search fields to find an existing record by name or date range.
- Click ADD to capture a new complaint or DELETE to remove an entry, where permitted.

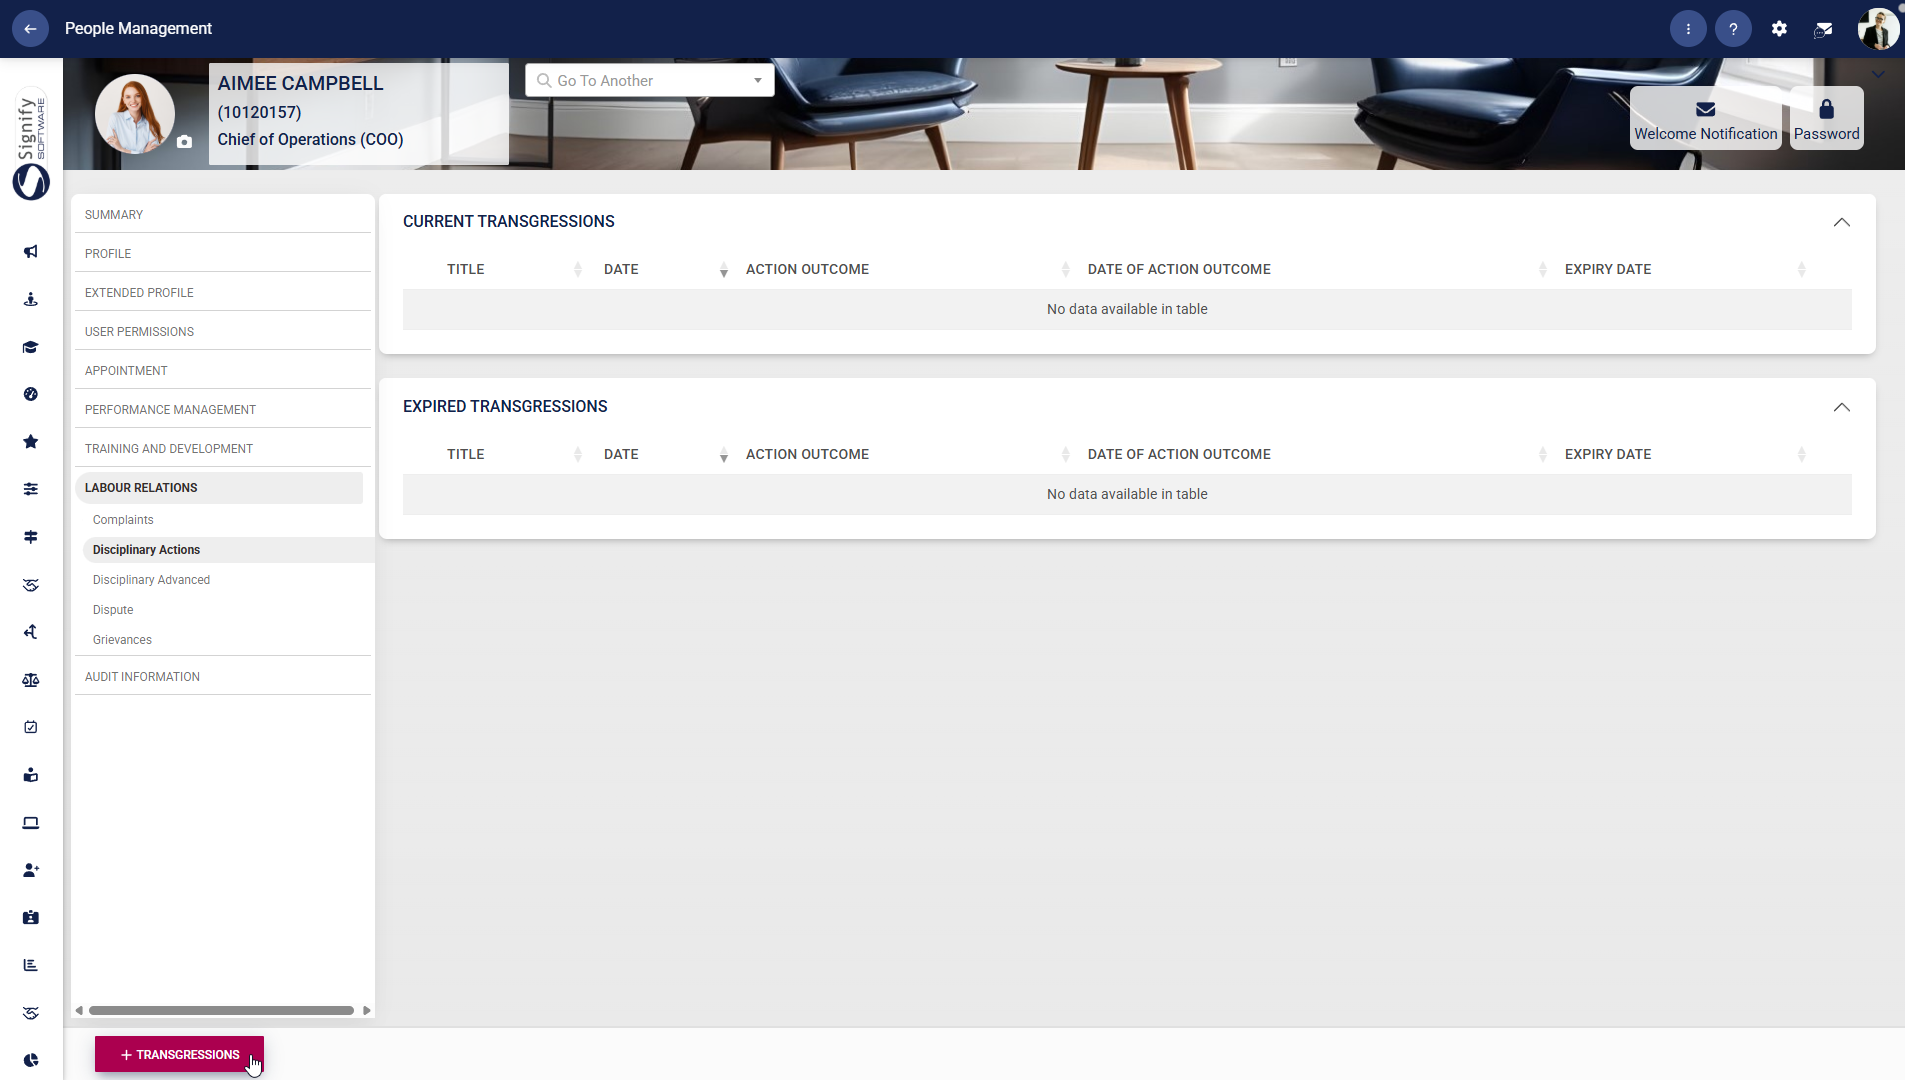
Disciplinary Actions
- Use the left-hand menu to navigate to Disciplinary Actions.
- Review the employee’s Current Transgressions and Expired Transgressions.
- Click +TRANSGRESSIONS to add a new disciplinary transgression record.
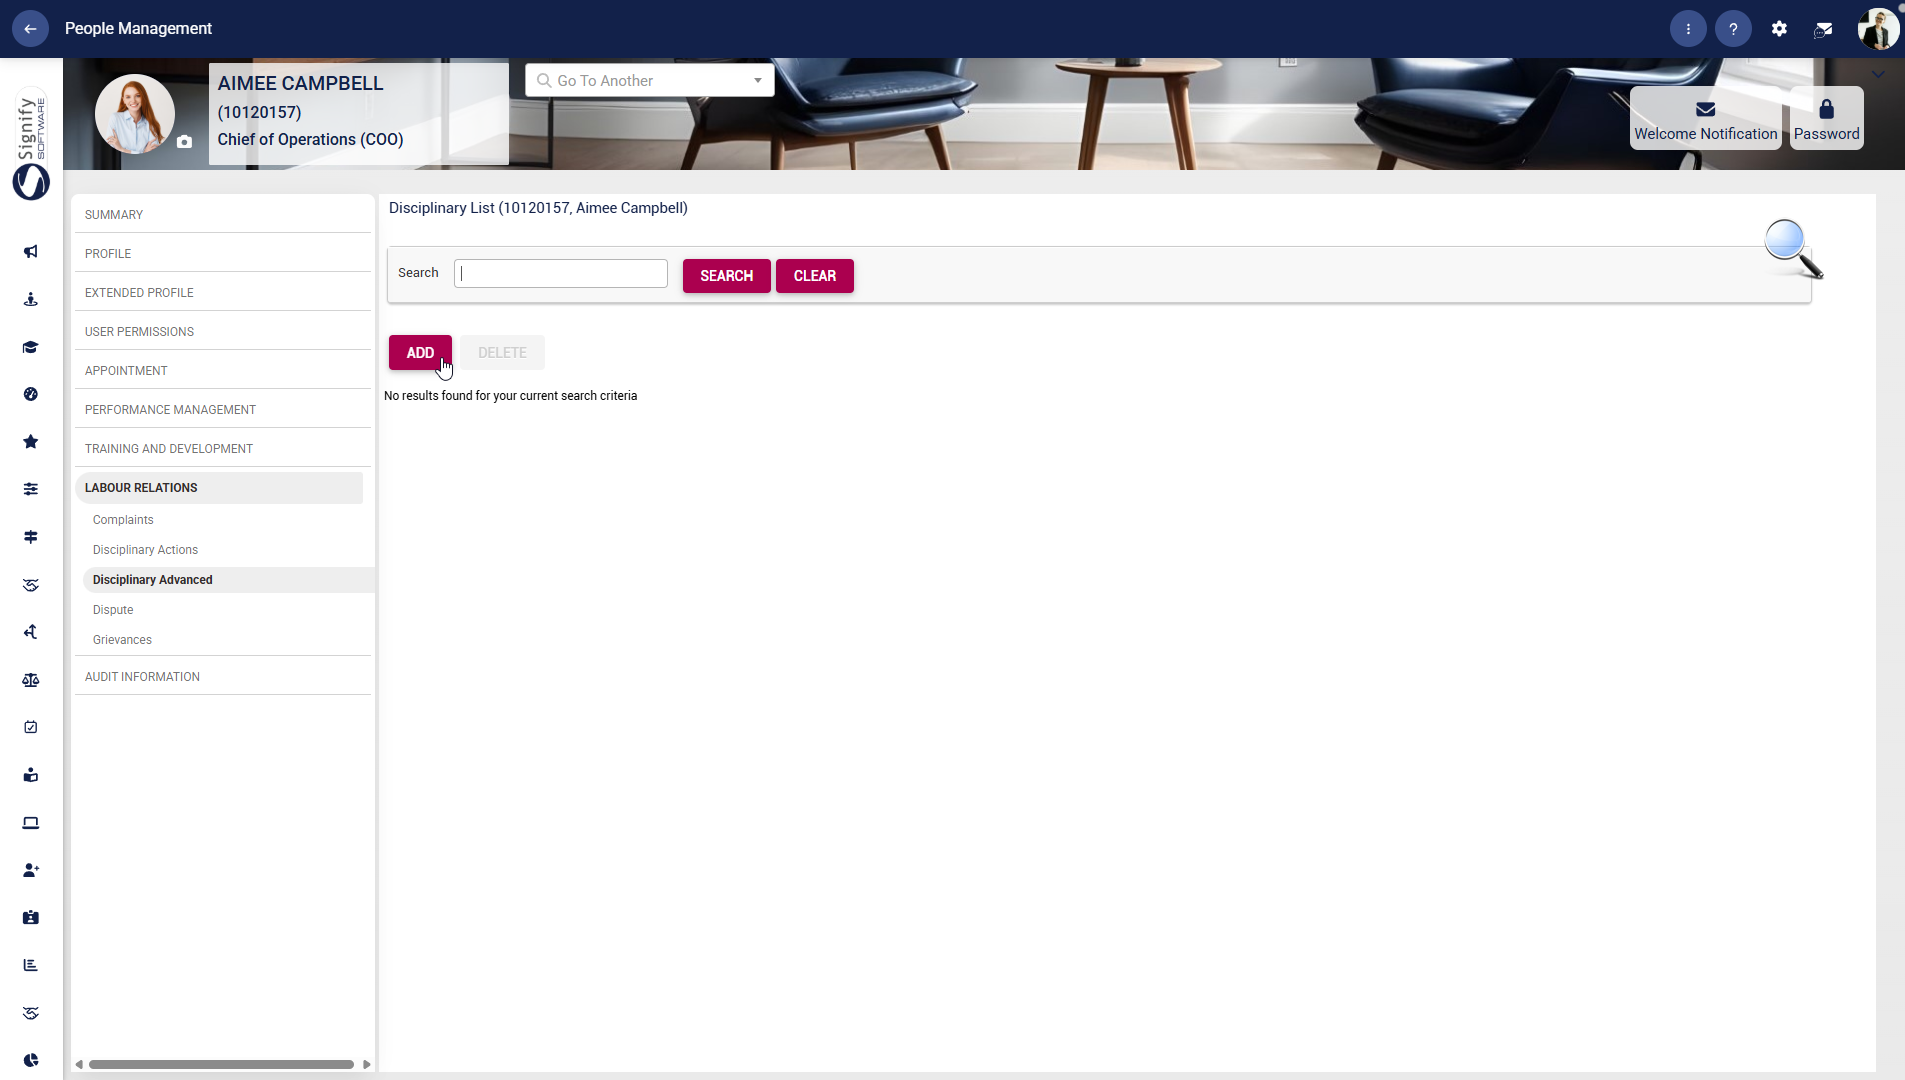
Disciplinary Advanced
- Use the left-hand menu to navigate to Disciplinary Advanced.
- Use the search bar to find the required disciplinary record.
- Click ADD to create a new disciplinary entry or DELETE to remove an entry, where permitted.
Dispute
- Use the left-hand menu to navigate to Dispute.
- Use the search criteria to locate the relevant dispute record.
- Click ADD to create a new dispute record or DELETE to remove an existing one, where applicable.

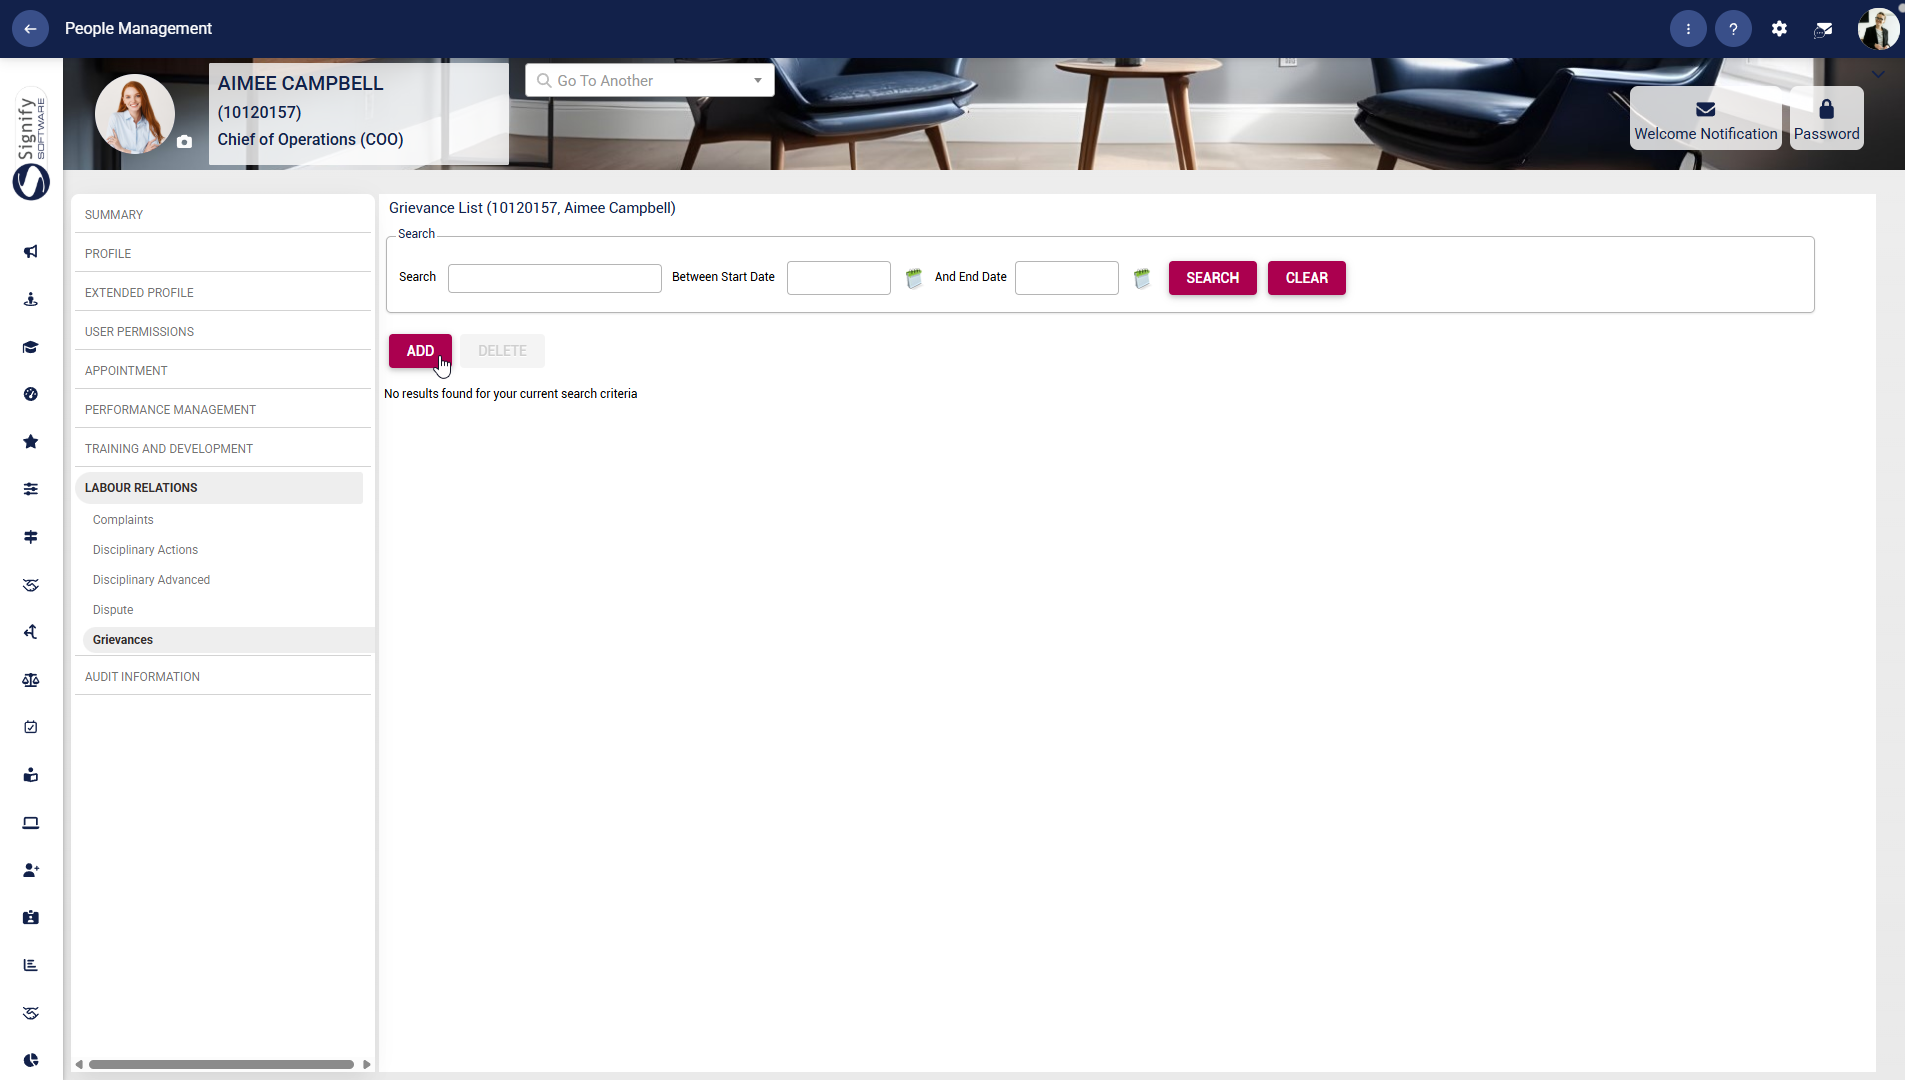
Grievances
- Use the left-hand menu to navigate to Grievances.
- Use the search fields to find an existing grievance record by name or date range.
- Click ADD to capture a new grievance or DELETE to remove an entry, where permitted.
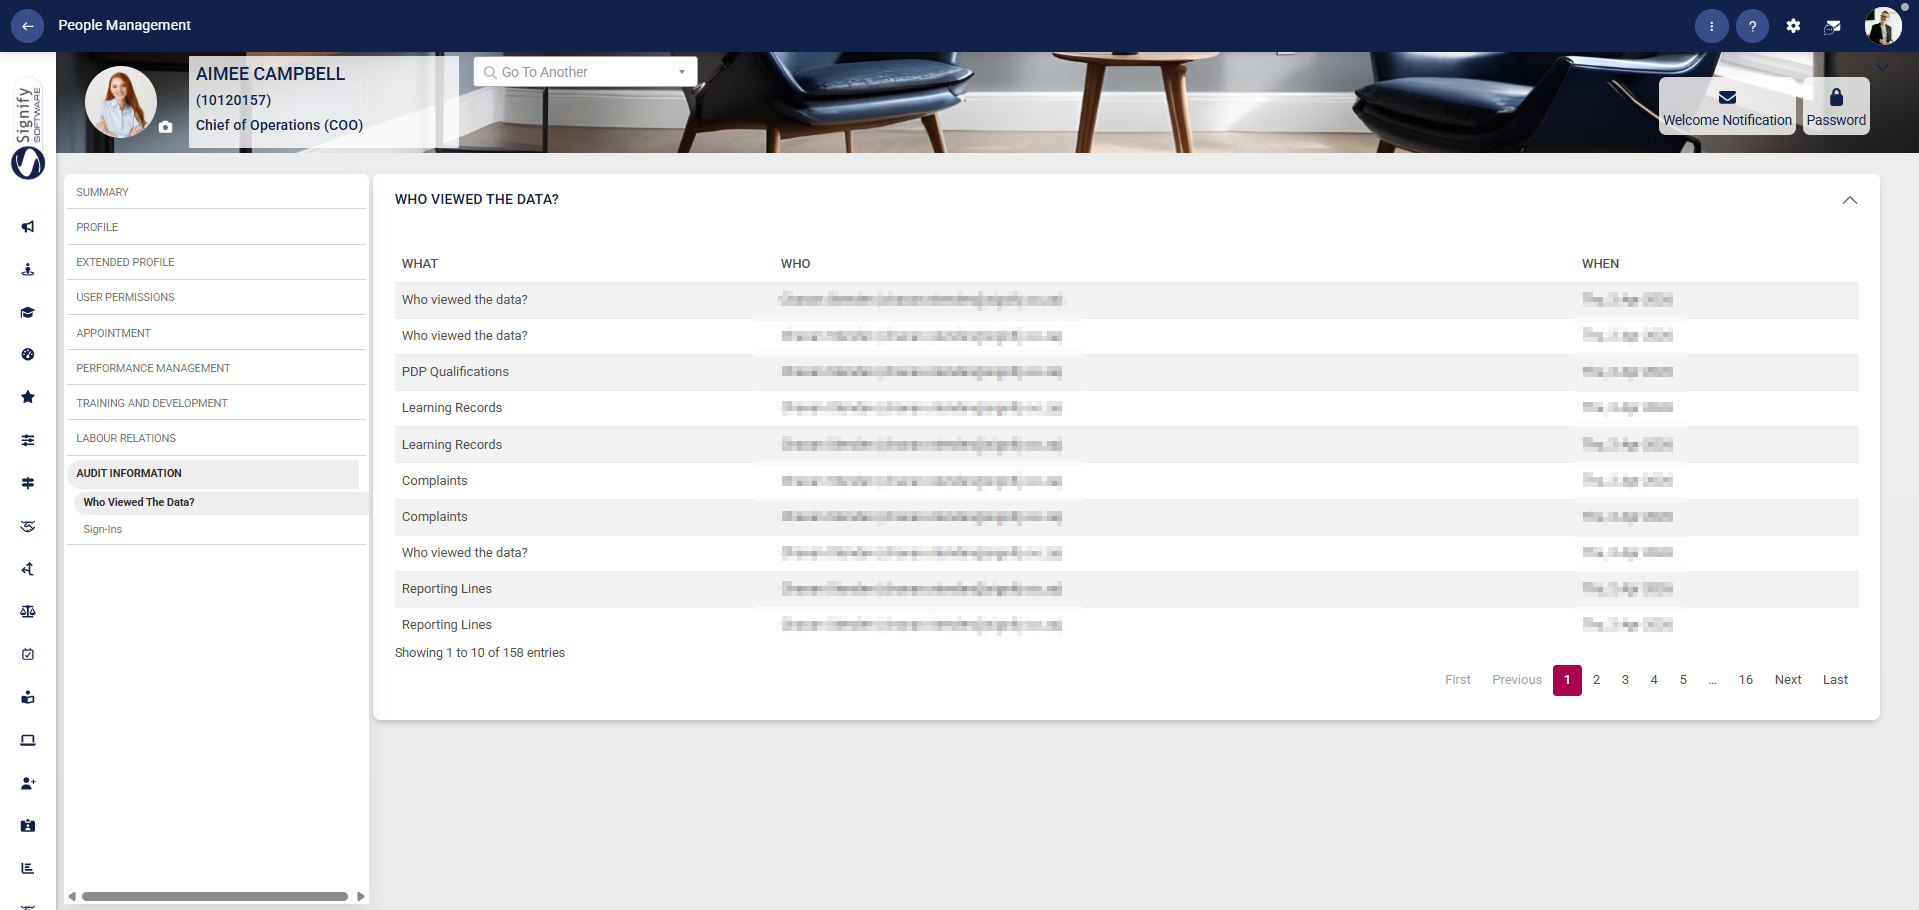
Audit information
Who viewed the data?
Tracks access logs showing who has viewed the employee’s data, supporting transparency and compliance.
Sign-ins
Monitors the employee’s system access history, including login activity for security and audit purposes.

