Create a People Group

Create people groups
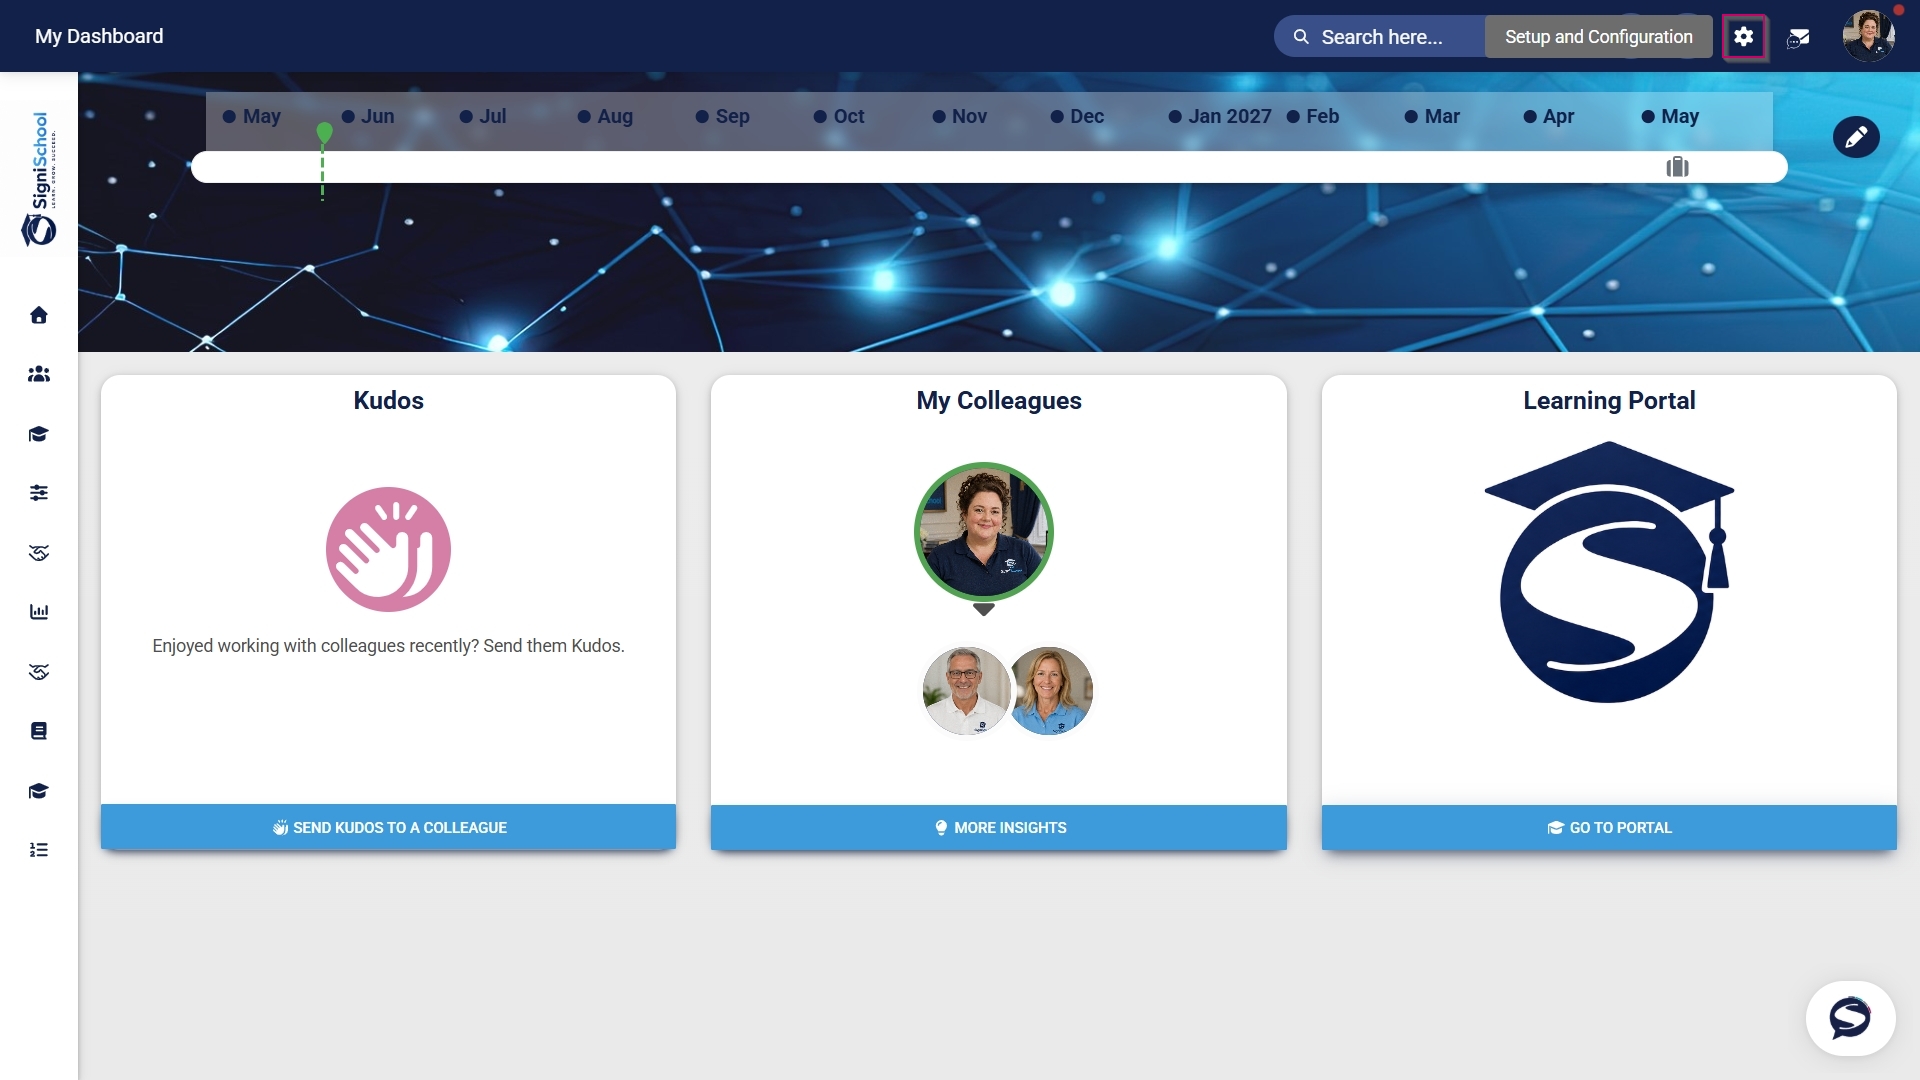
- Click the gear icon to access the Setup and Configuration menu.
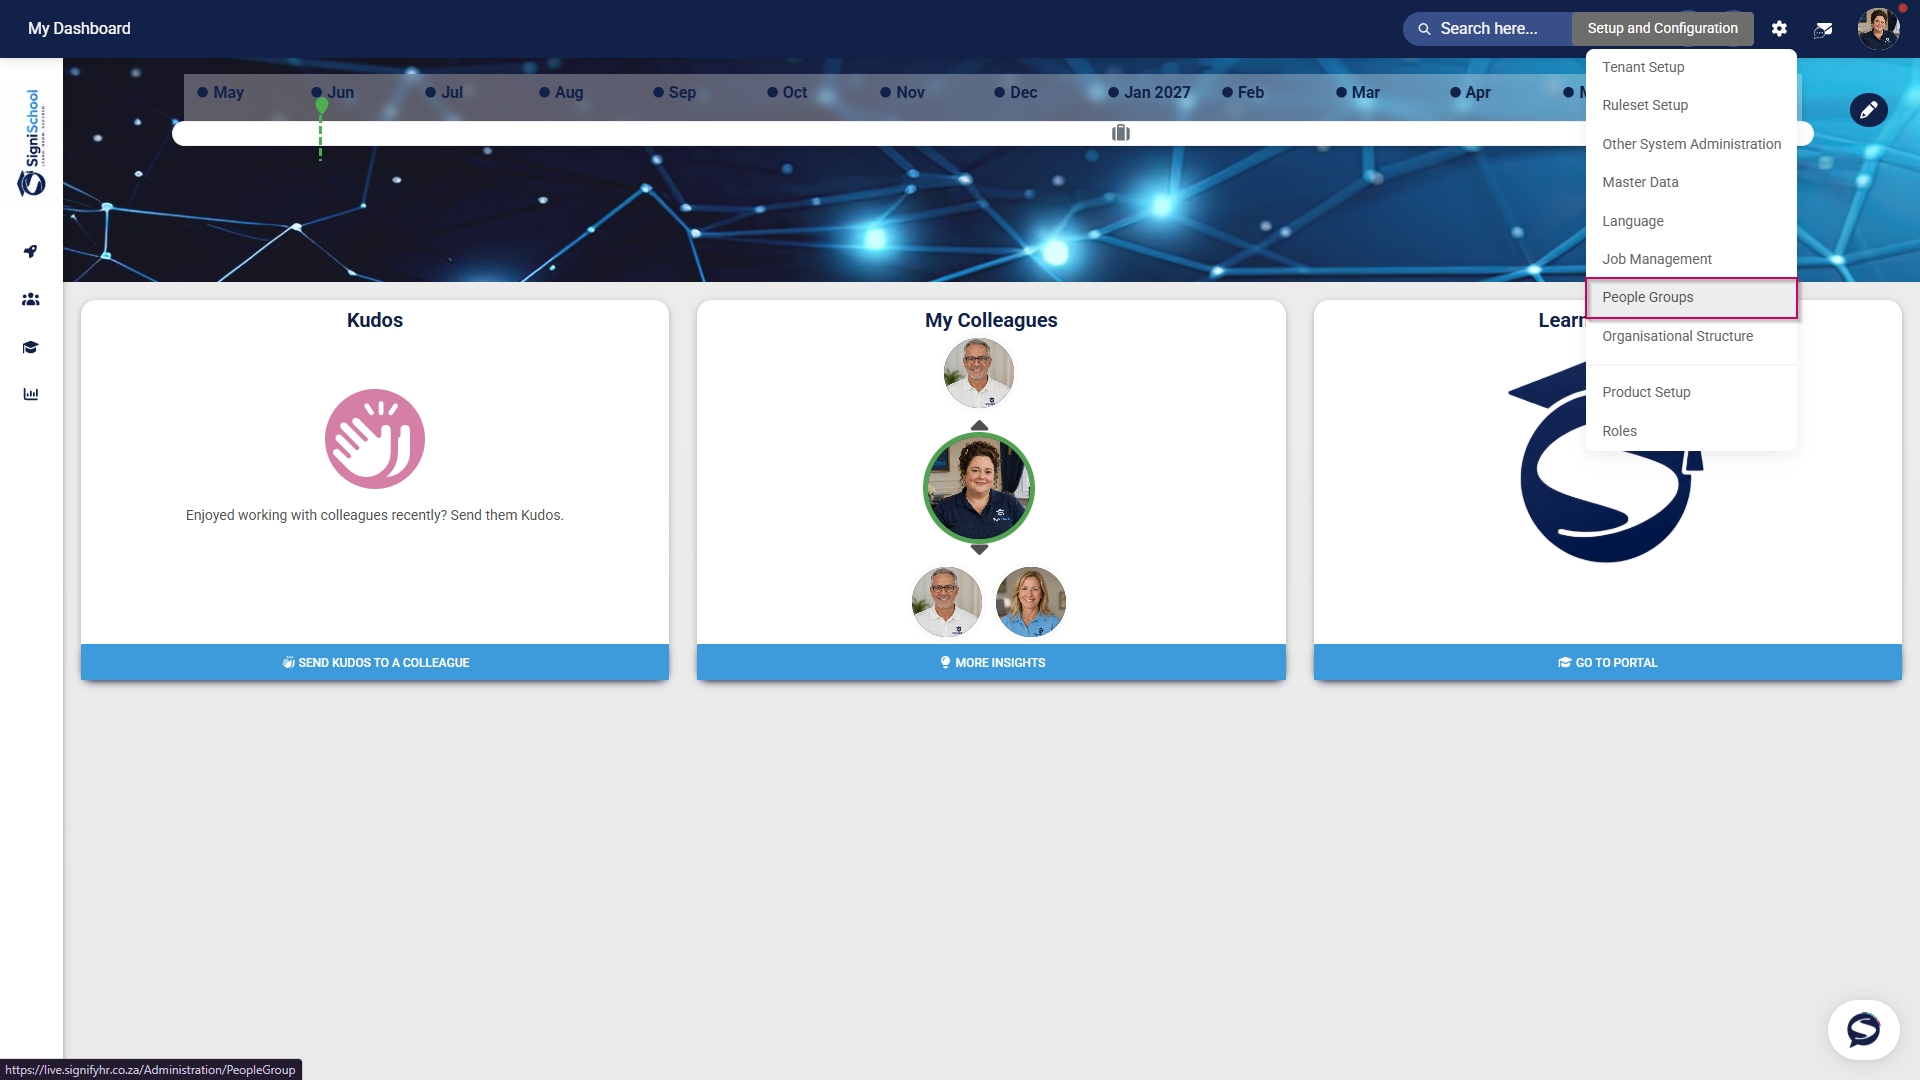
- Click People Groups.
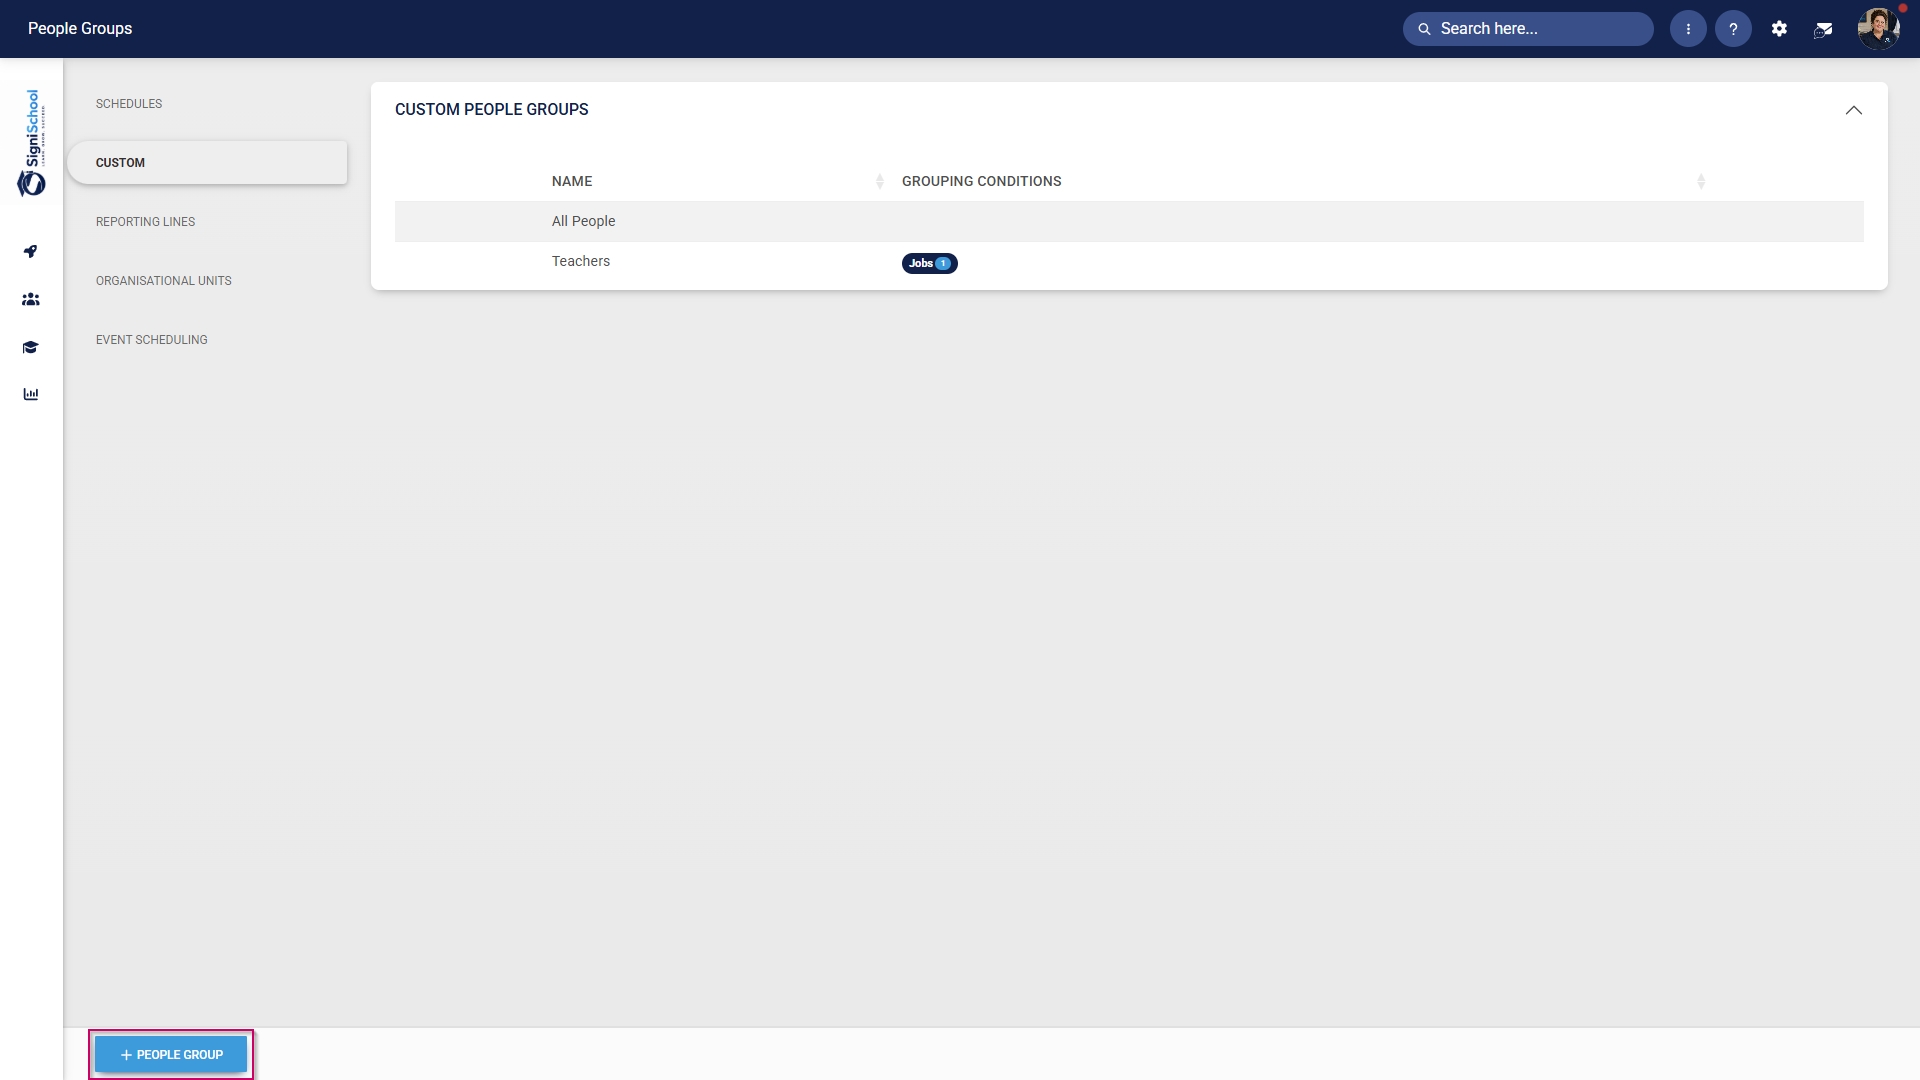
- In the left-hand menu, navigate to Custom, then click +PEOPLE GROUP.
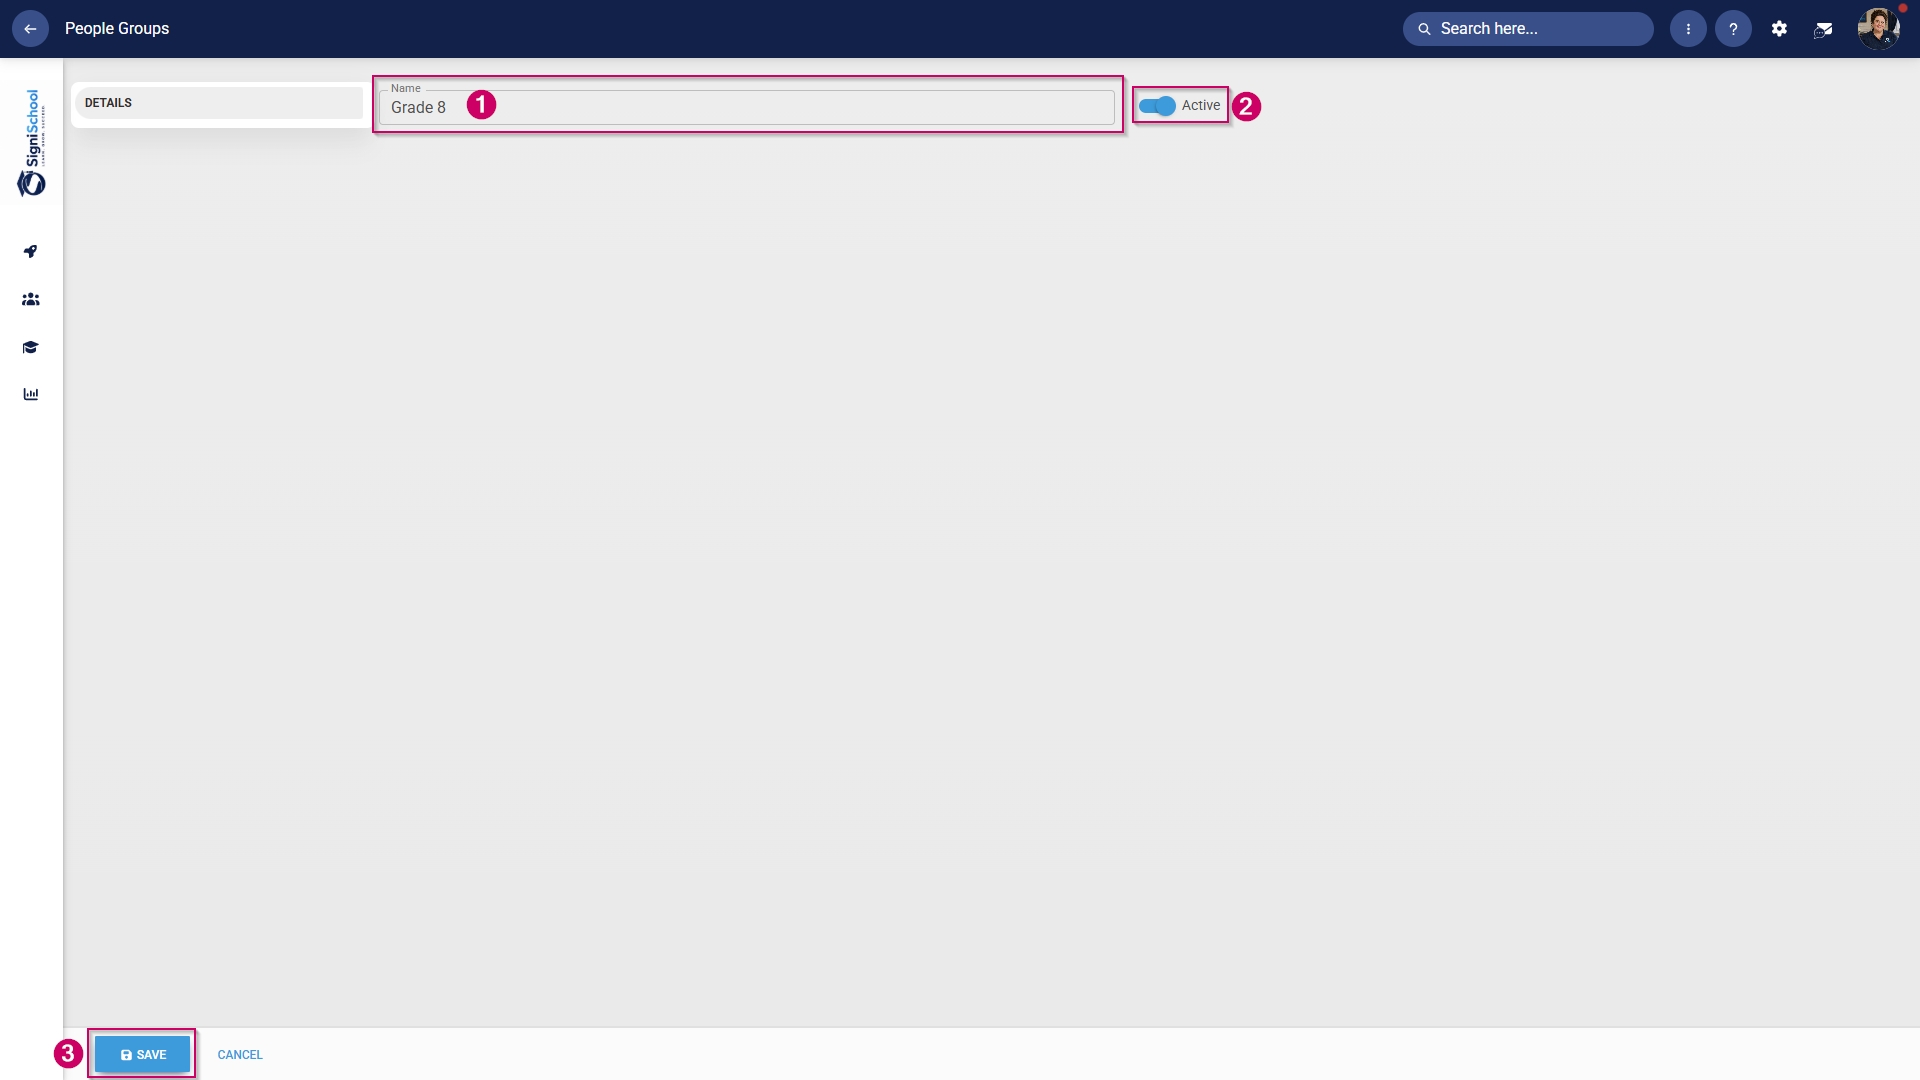
- Enter a descriptive name for the people group.
- Click the toggle button to set the status to Active.
- Click SAVE when you are finished or click CANCEL to discard your edits.
- Once the people group has been created, you can select the people to add to it.
Included: Individuals
- In the left-hand menu, click to navigate to the Included section, then click People to add individuals.
- Click the PEOPLE button.

- Use the search bar to find a person based on their name, surname, username, or job title.
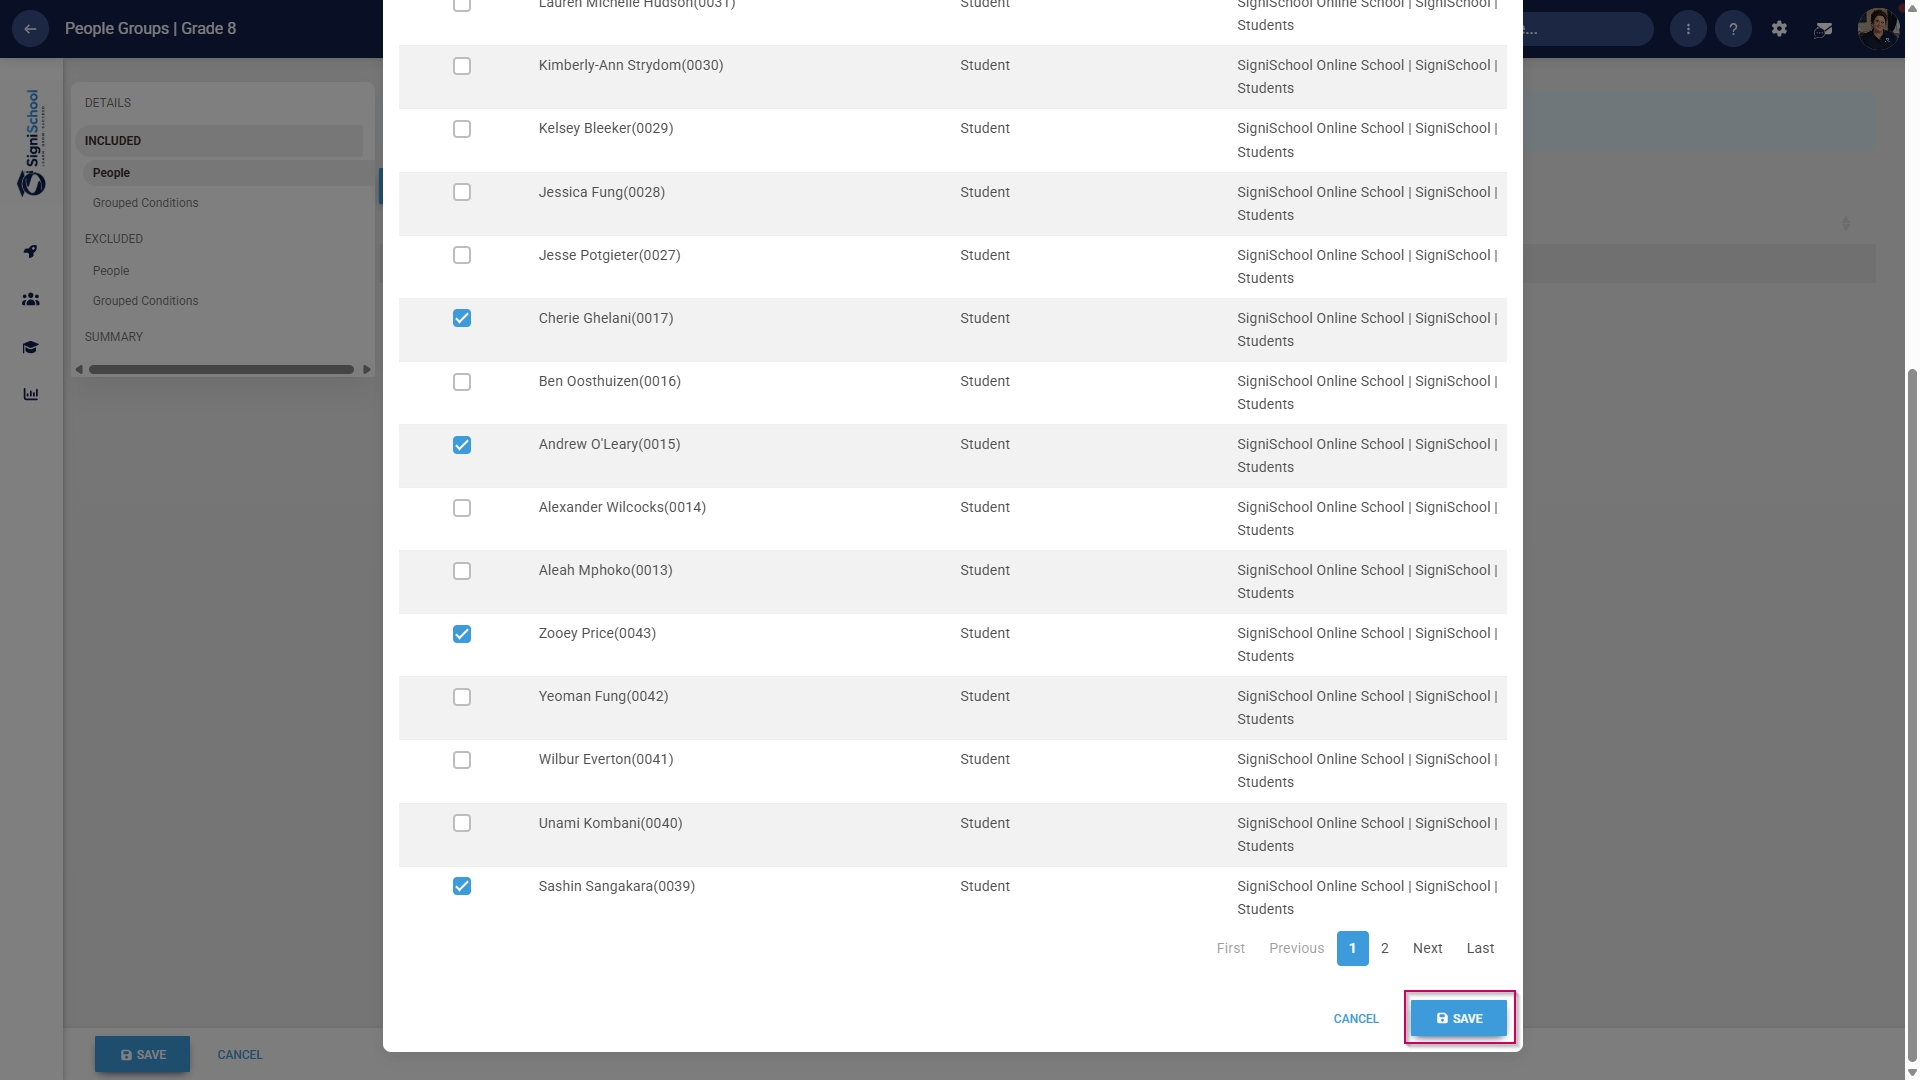
- Tick the checkbox to select a person.

- Click SAVE when you are finished or click CANCEL to discard your edits.
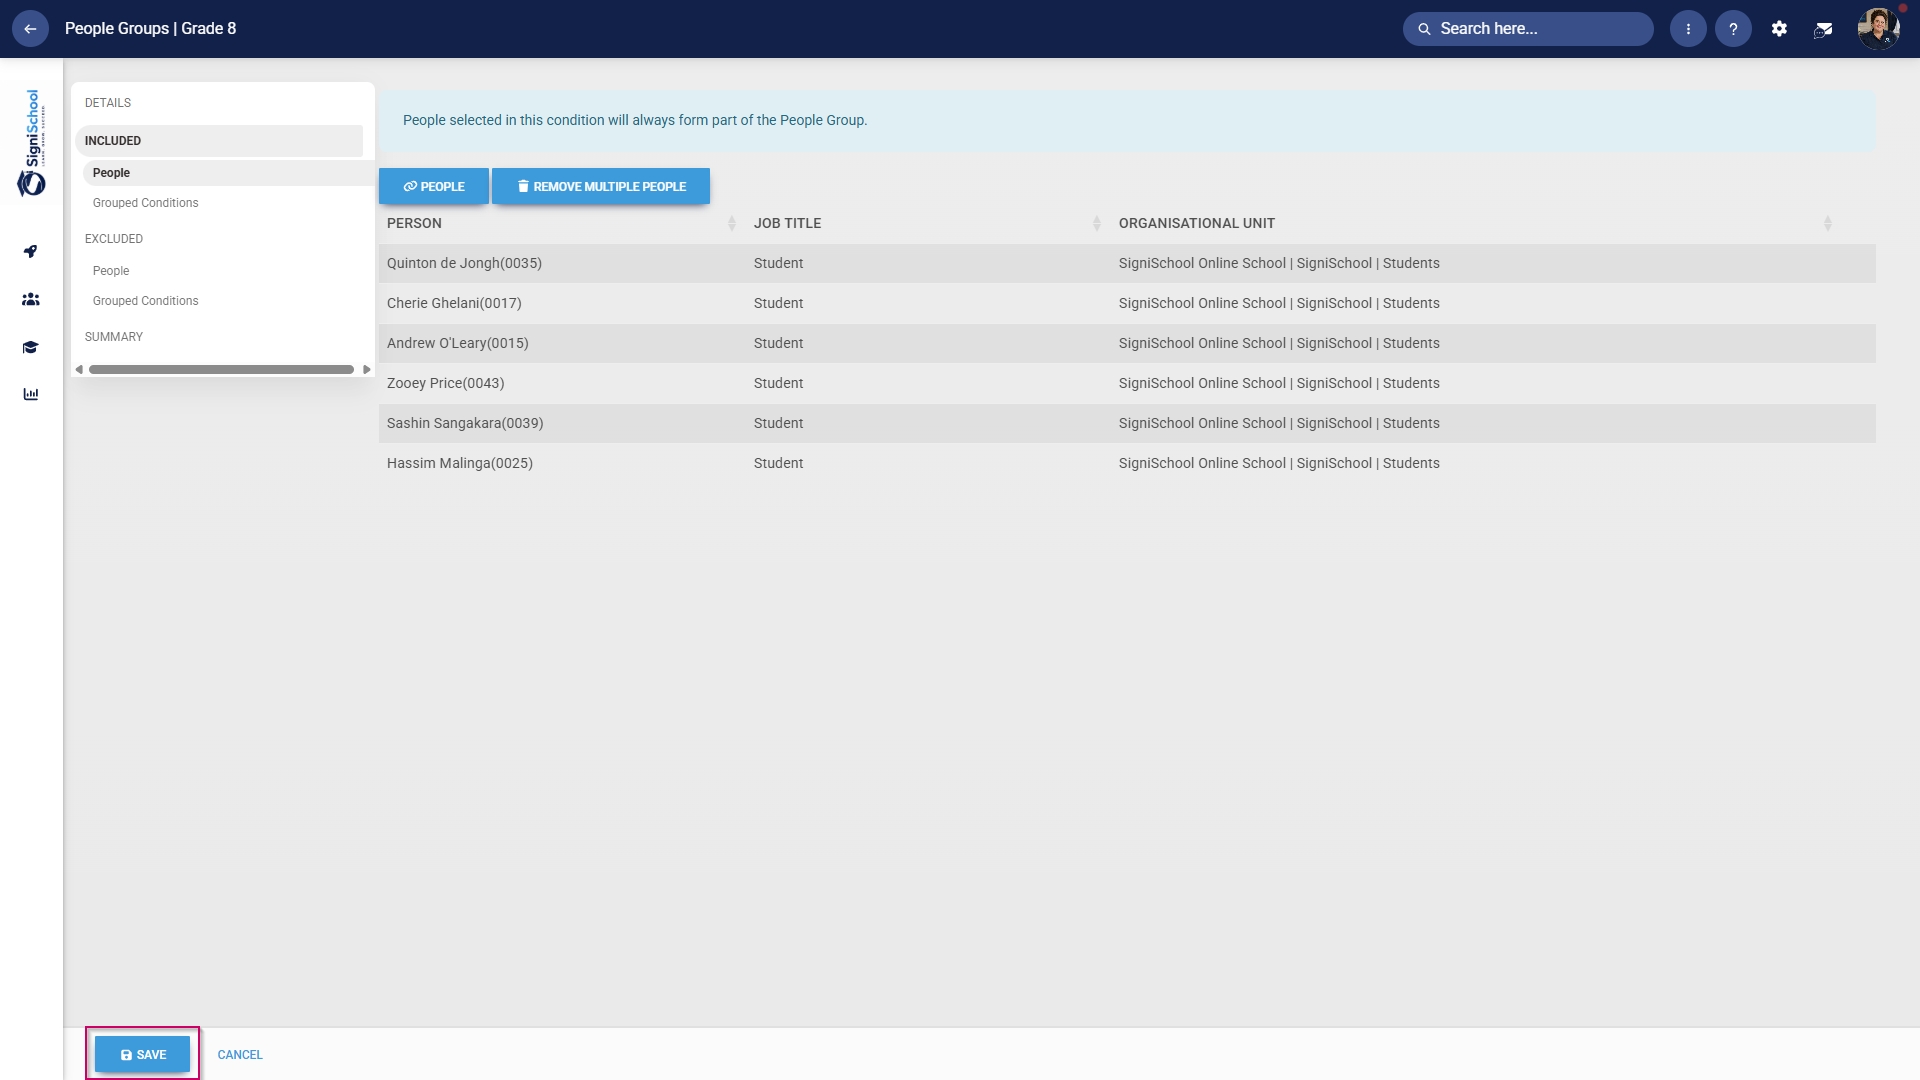
- Review the users added to your people group, then click SAVE when you are finished or click CANCEL to discard your edits.
Included: Grouped conditions
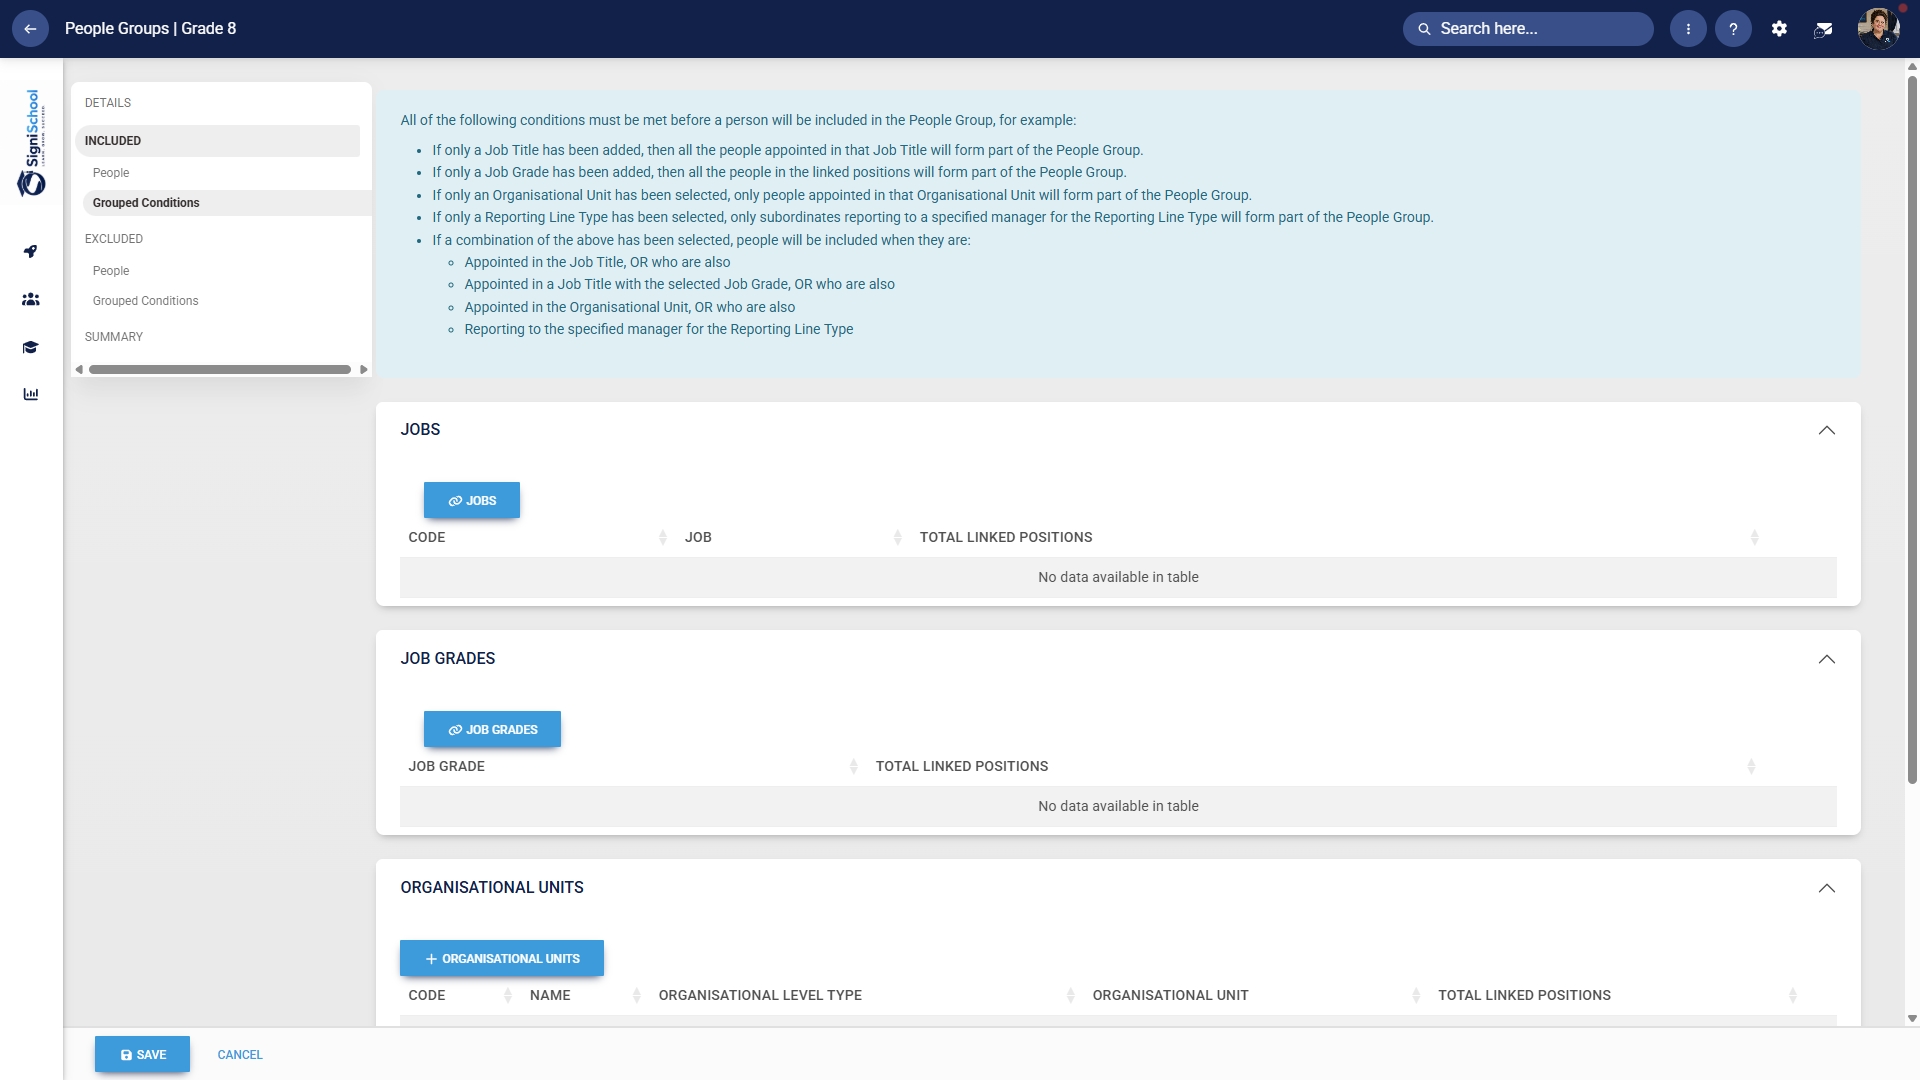
- Click Grouped Conditions to add groups of people based on criteria such as job titles, organisational nodes, etc.
- Click SAVE when you are finished or click CANCEL to discard your edits.
Included: Individuals
- In the left-hand menu, click to navigate to People in the Excluded section.
-
- Click the PEOPLE button.
- Select the people you would like to exclude.
- Click SAVE when you are finished or click CANCEL to discard your edits.
-

Excluded: Grouped conditions
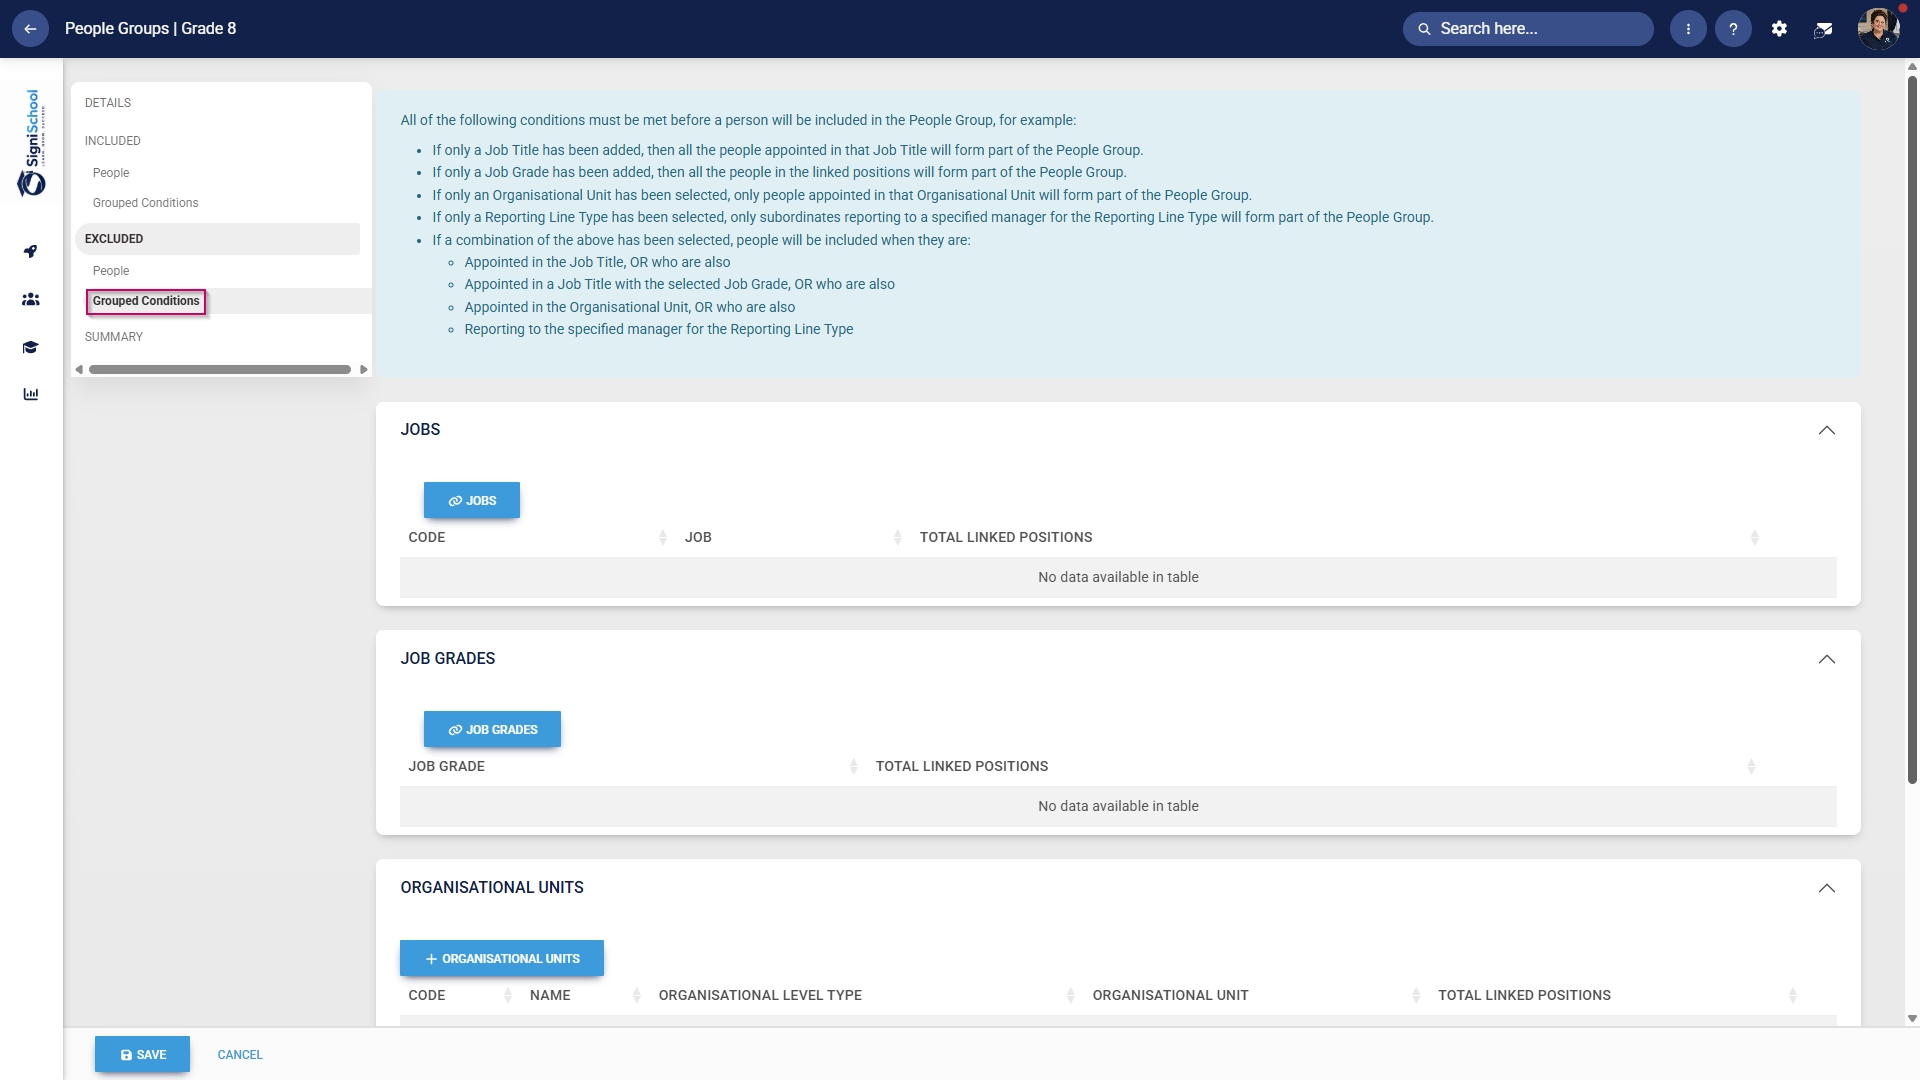
- Click Grouped Conditions to exclude groups of people based on criteria such as job titles, organisational nodes, etc.
- Click SAVE when you are finished or click CANCEL to discard your edits.
Summary
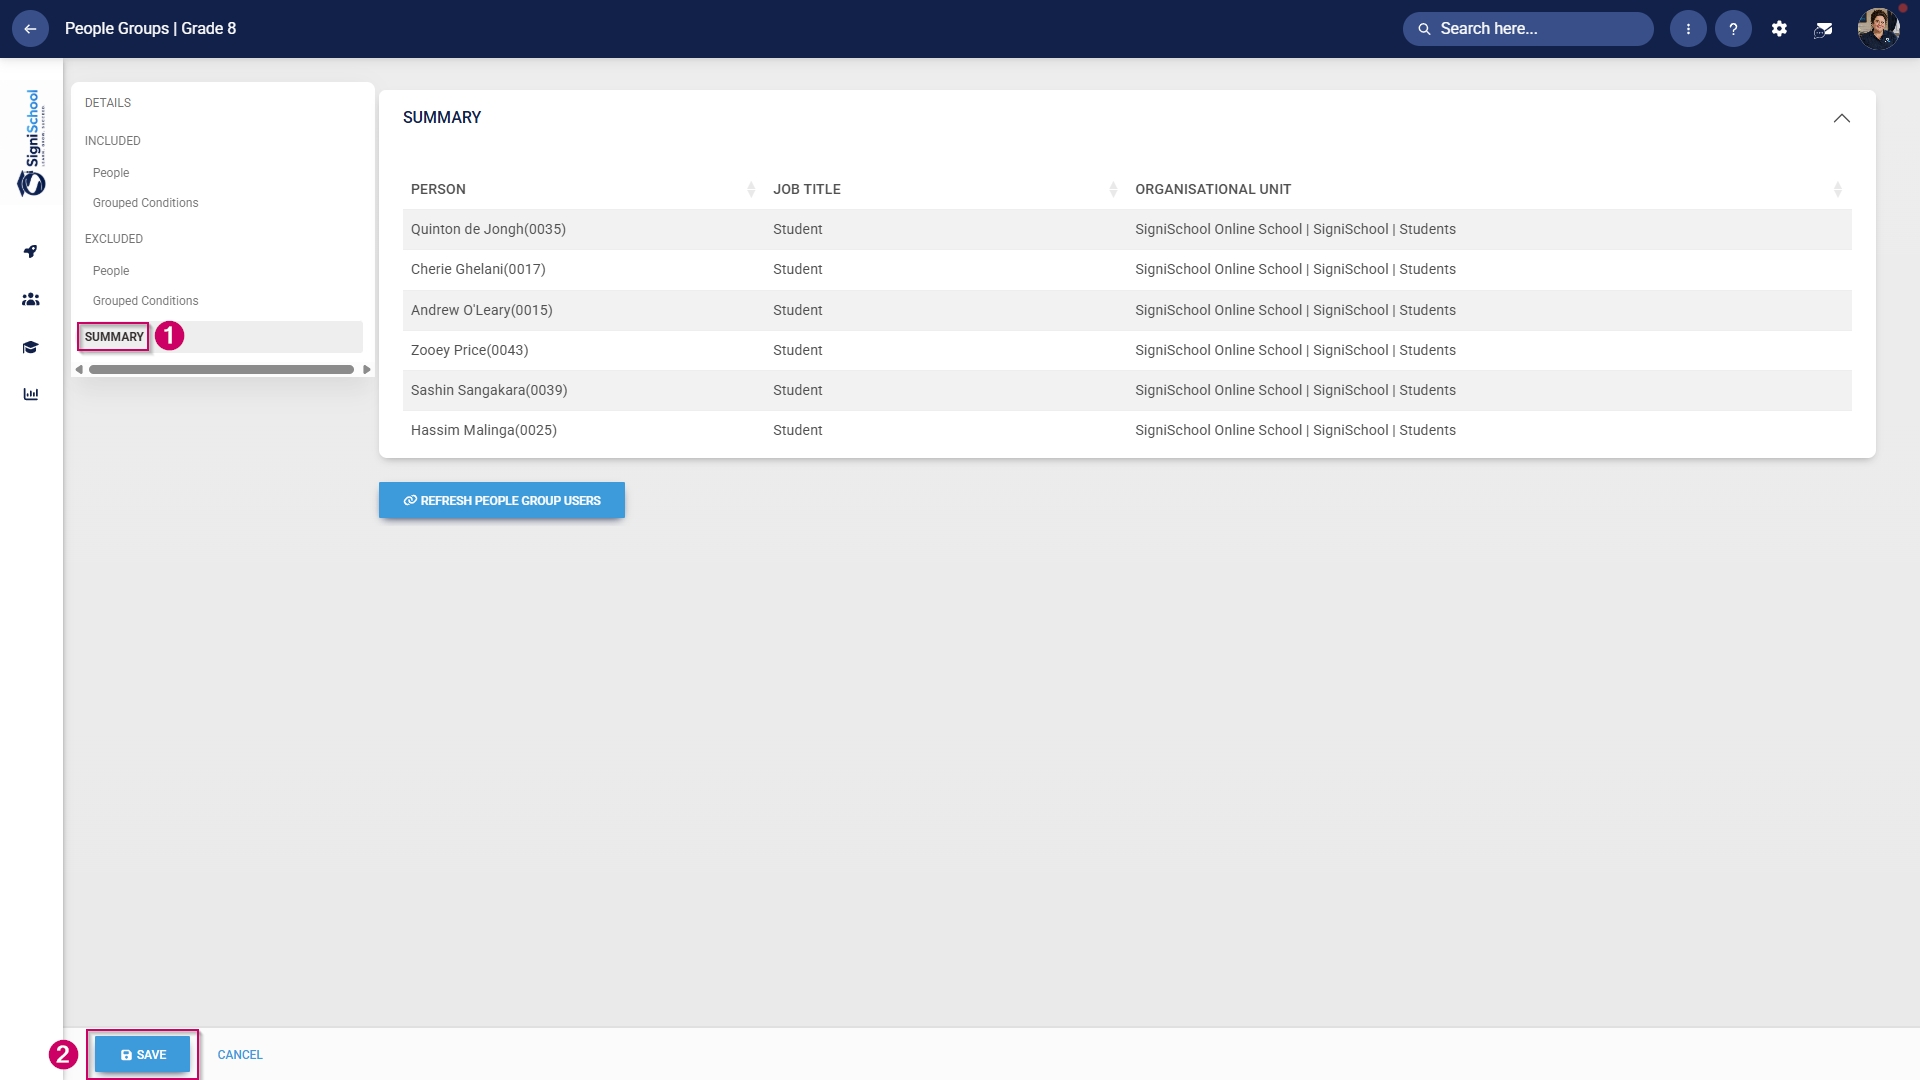
- In the left-hand menu, click Summary to view all the users included in your people group.
-
The people groups take some time to synchronise on the system once they're created. This can take anywhere from 10 minutes to 12 hours, depending on the number of changes.
- To synchronise the newly-created or updated people groups manually, follow the steps in the next section.
Manually syncing people groups
- Click the gear icon to access the Setup and Configuration menu.
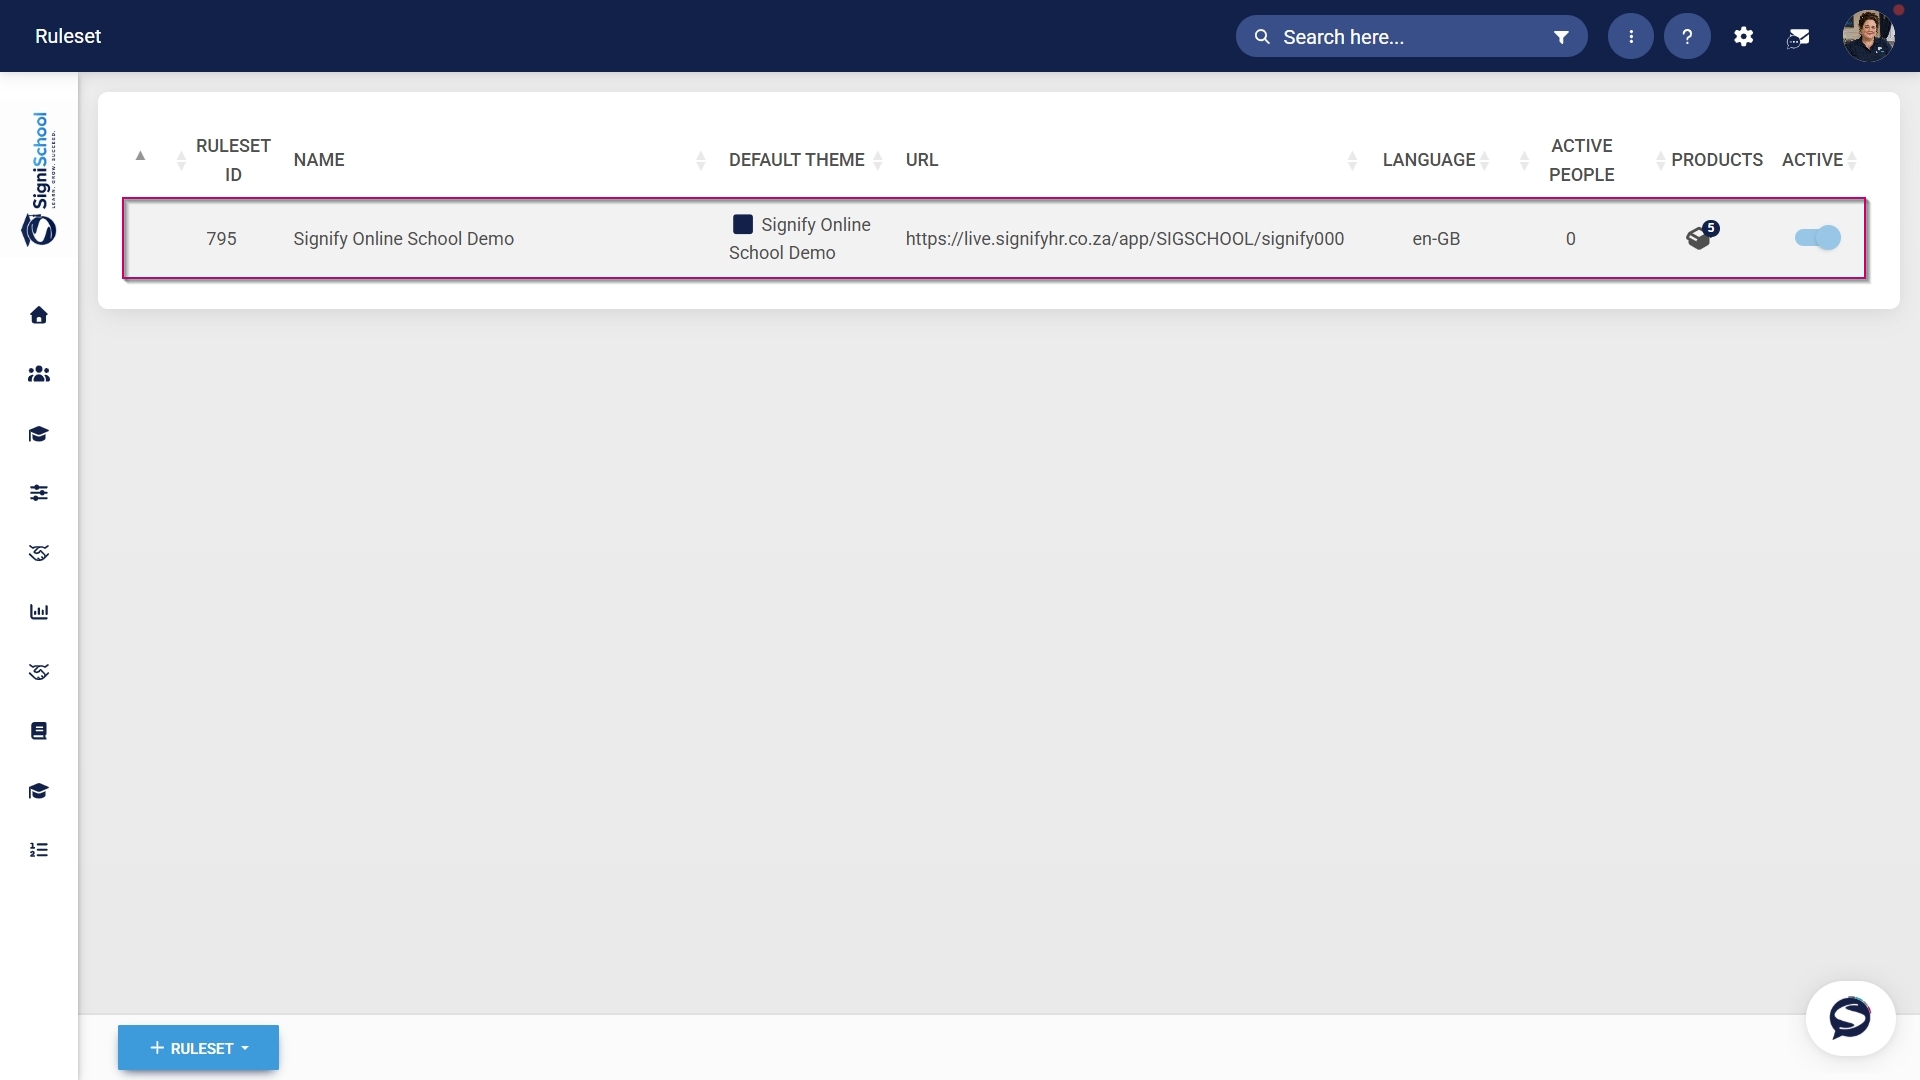
- Click Ruleset Setup.

- Select the ruleset you would like to update.
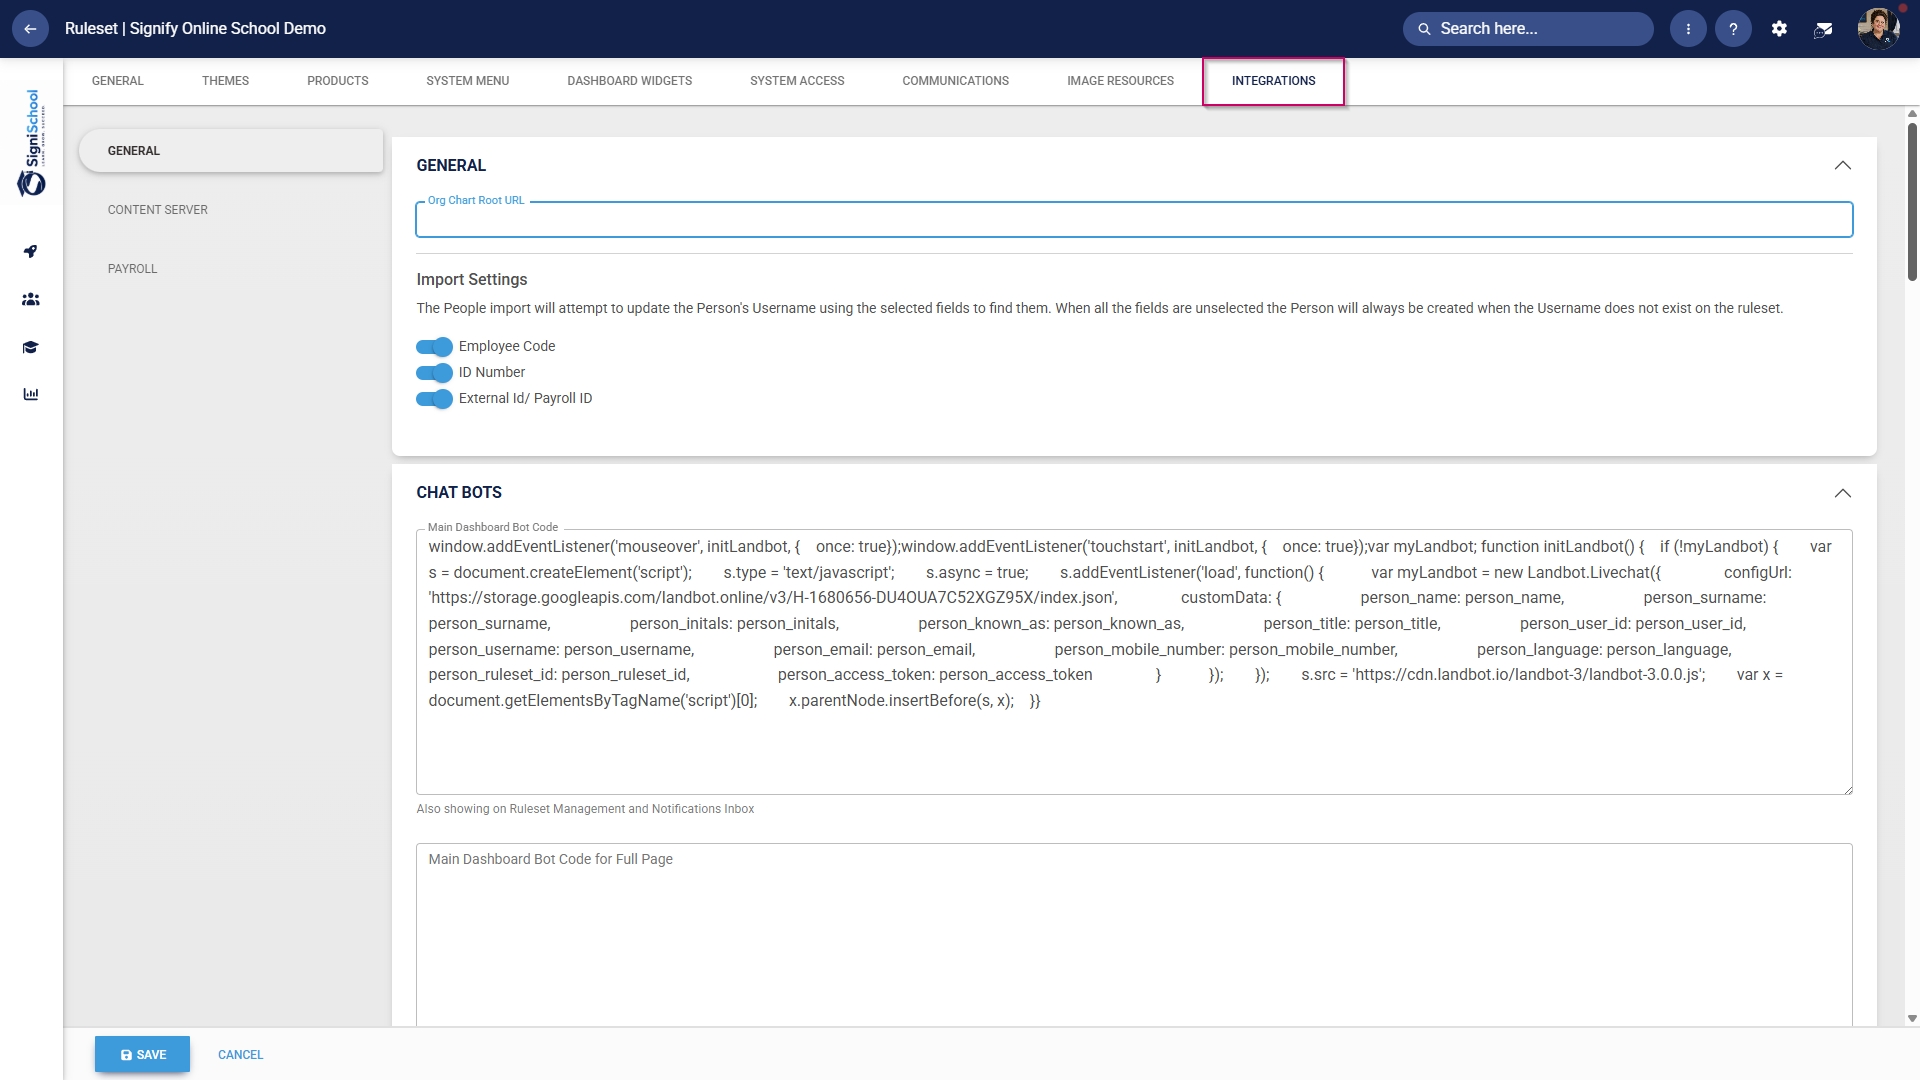
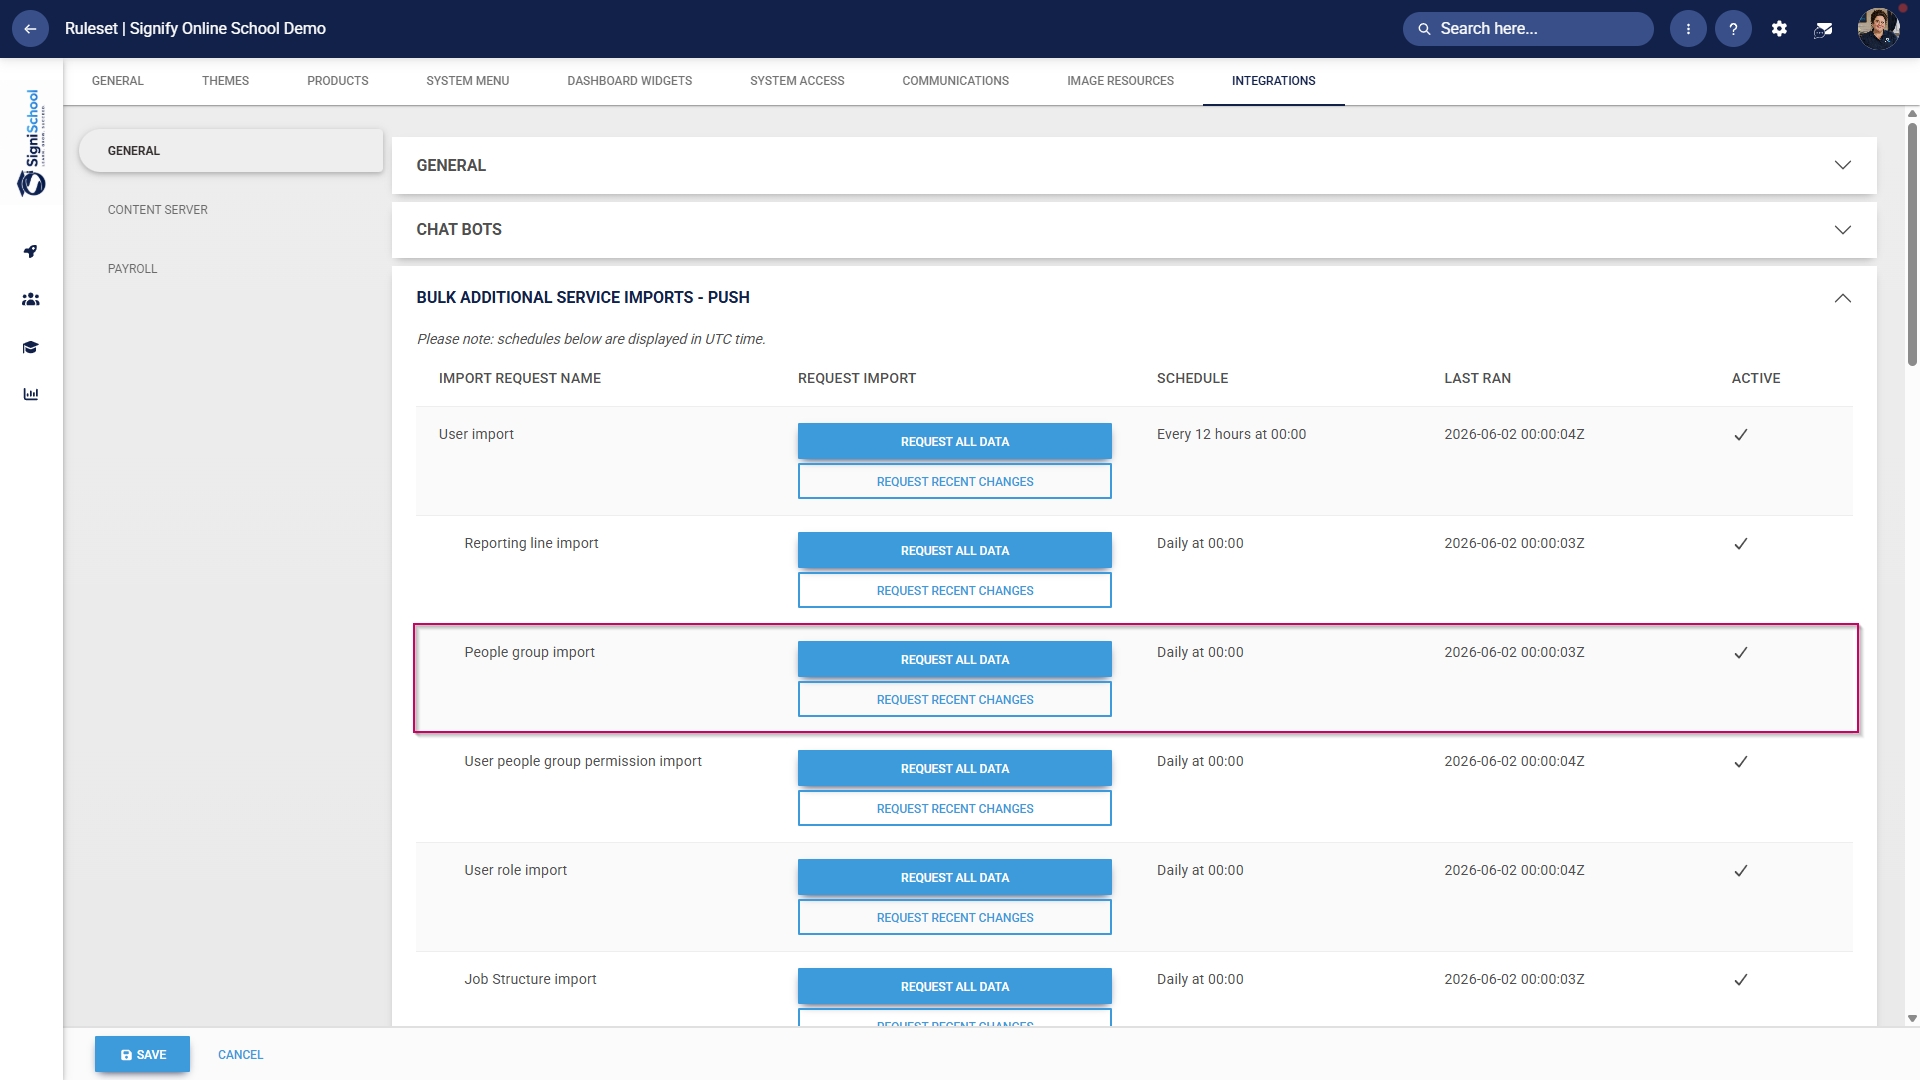
- Scroll down to the Bulk Additional Service Imports – Push section.
- For the People group import function, you have two options when synchronising manually:
-
- Click REQUEST ALL DATA to synchronise all the people groups.
-
- This is a time-consuming operation because all the people groups' data is overwritten and synchronised from scratch.
-
- Click REQUEST ALL DATA to synchronise all the people groups.
-
Please be very careful when selecting this option, as it can affect system performance and speed, particularly during business hours.
-
-
- Click REQUEST RECENT CHANGES to synchronise only recent changes to your people groups.
-
- This is a time-efficient option because only the changes are synchronised, and the previous data remains unchanged.
-
- Click REQUEST RECENT CHANGES to synchronise only recent changes to your people groups.
-
- Once you have selected a synchronisation method, a message will appear stating that the import has been requested. You can monitor the synchronisation progress by navigating to your System Inbox.
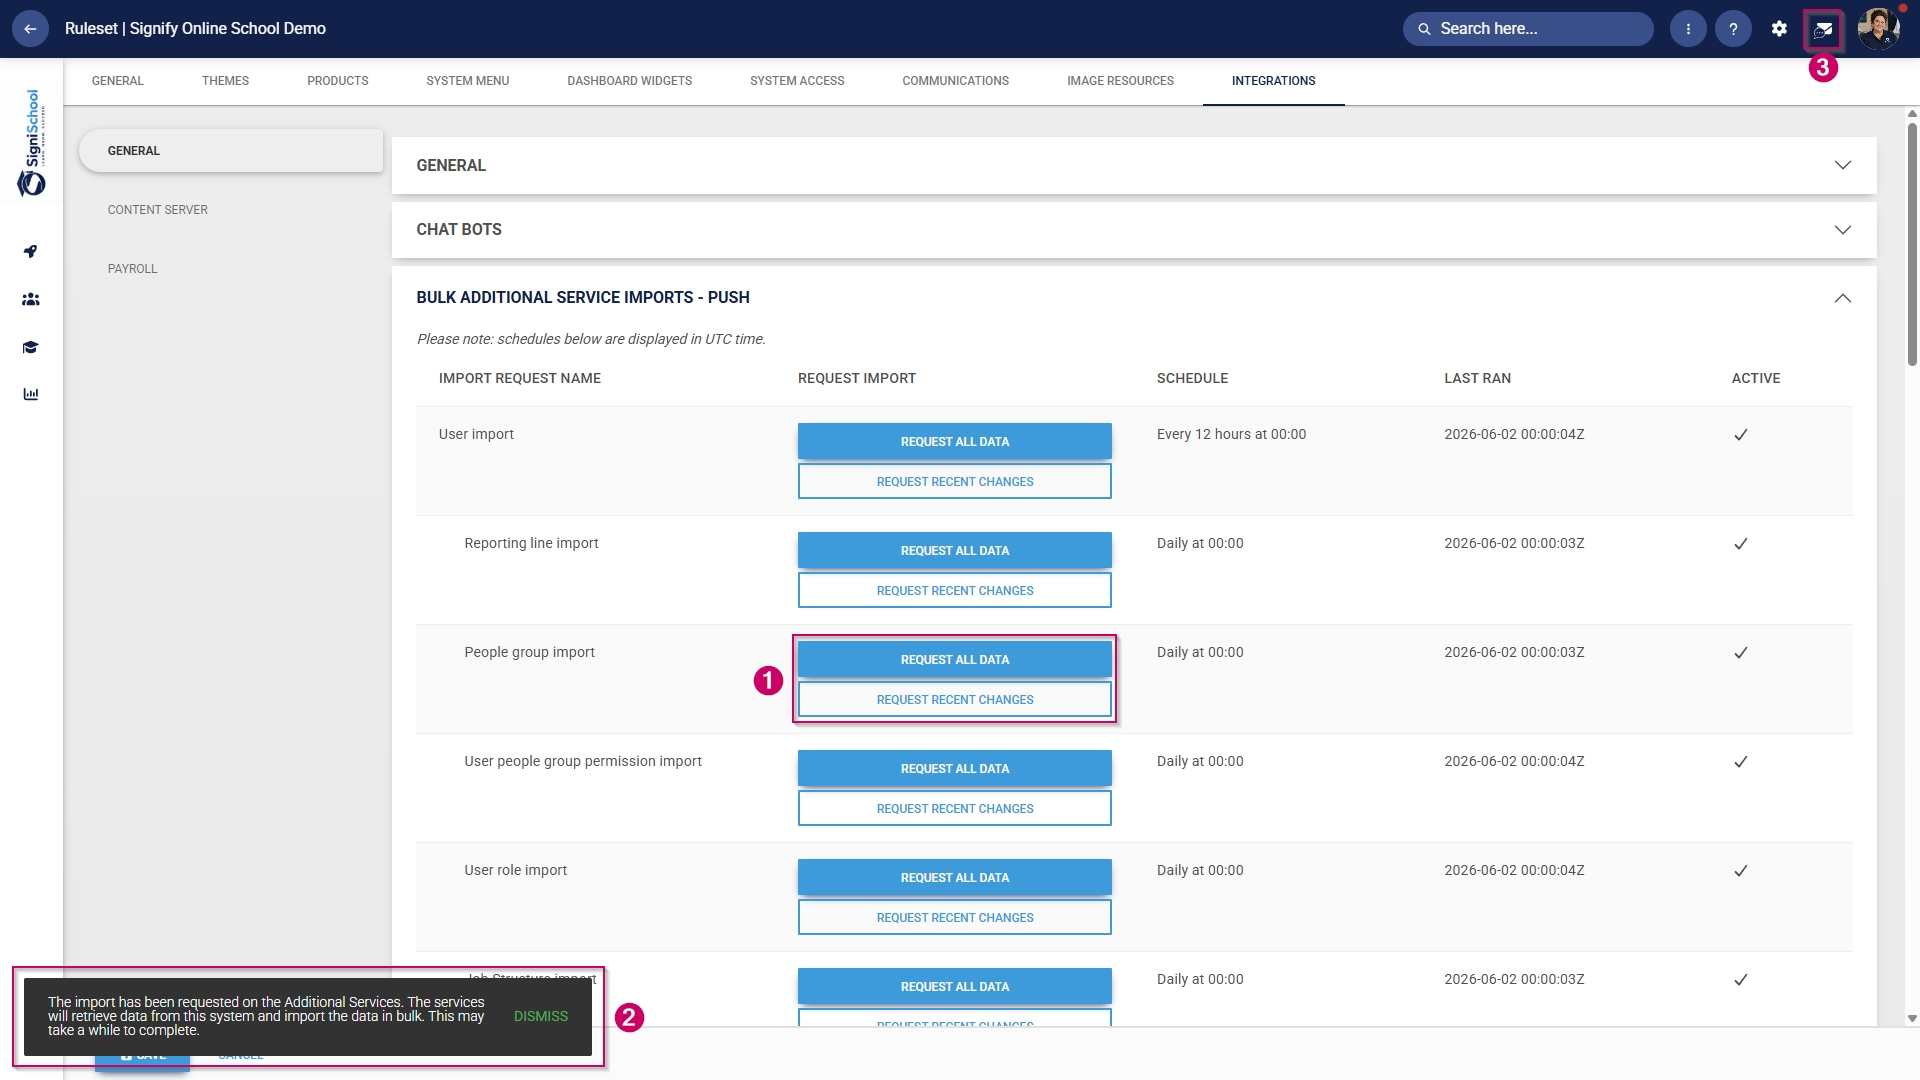
- Click the envelope icon at the top of your screen to navigate to your System Inbox, then click Imports.
- You can monitor the status of your imports and system processes here:
-
- Staged means the task has been added to the queue and will begin once the current tasks have been completed.
- Started means the task is currently running.
- Completed with Errors means the task has been completed, although only partially, due to detected errors.
- Completed means the task has been successfully executed.
- Failed means the task could not be completed.
-
- For a Completed with Errors or Failed task, you can download an Excel document with a breakdown of the errors.
-
- Click on the kebab icon next to the task.
- Click Export Errors.
- Review the errors, then re-attempt the task using the steps above.
-
