Create an Assessment

For this example, we will import assessments into the system. For more information on building assessments using the Assessment Builder module, please refer to the Assessment Builder guide.
- Hover over the sidebar menu, then click Learning Portal.

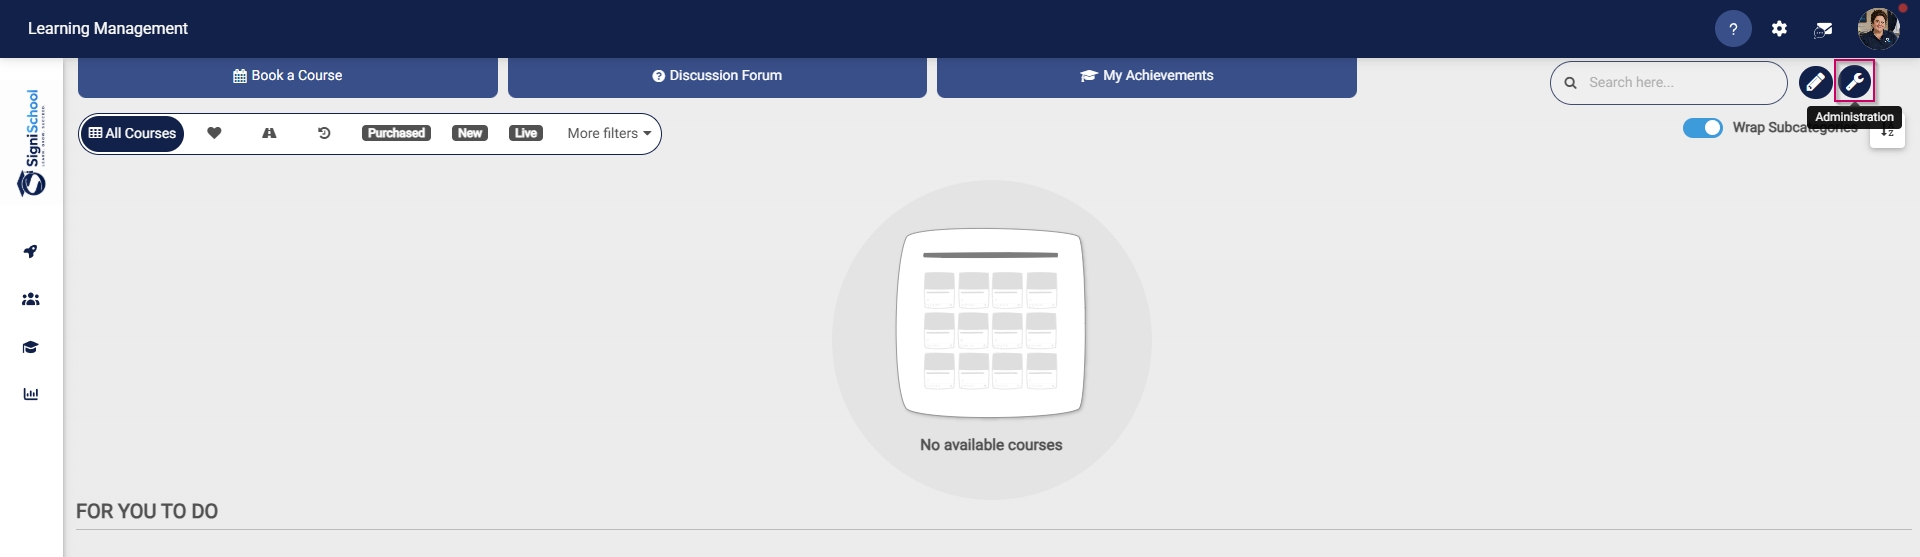
- Click the spanner icon to access the system's Administration menu.
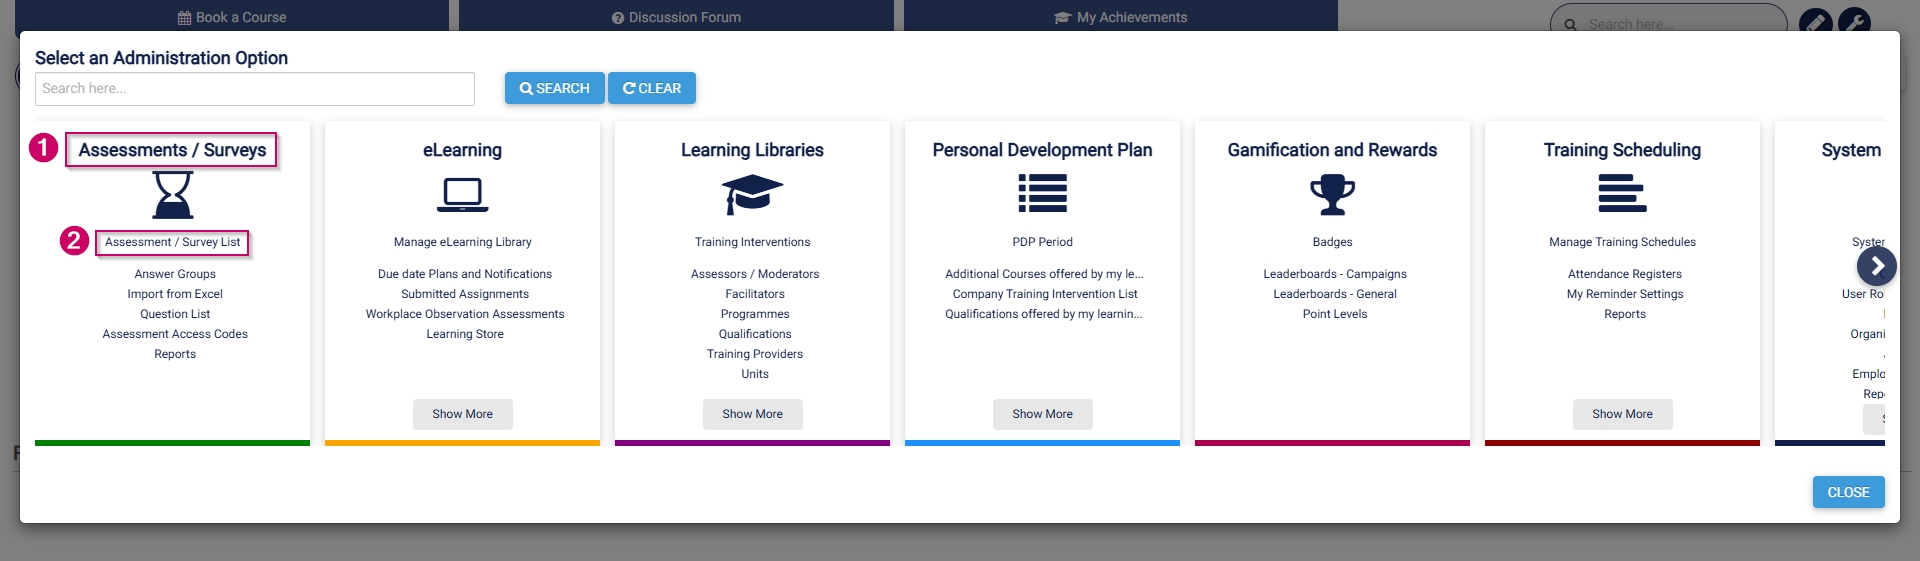
- On the Assessments/Surveys card, click Assessment/Survey List.
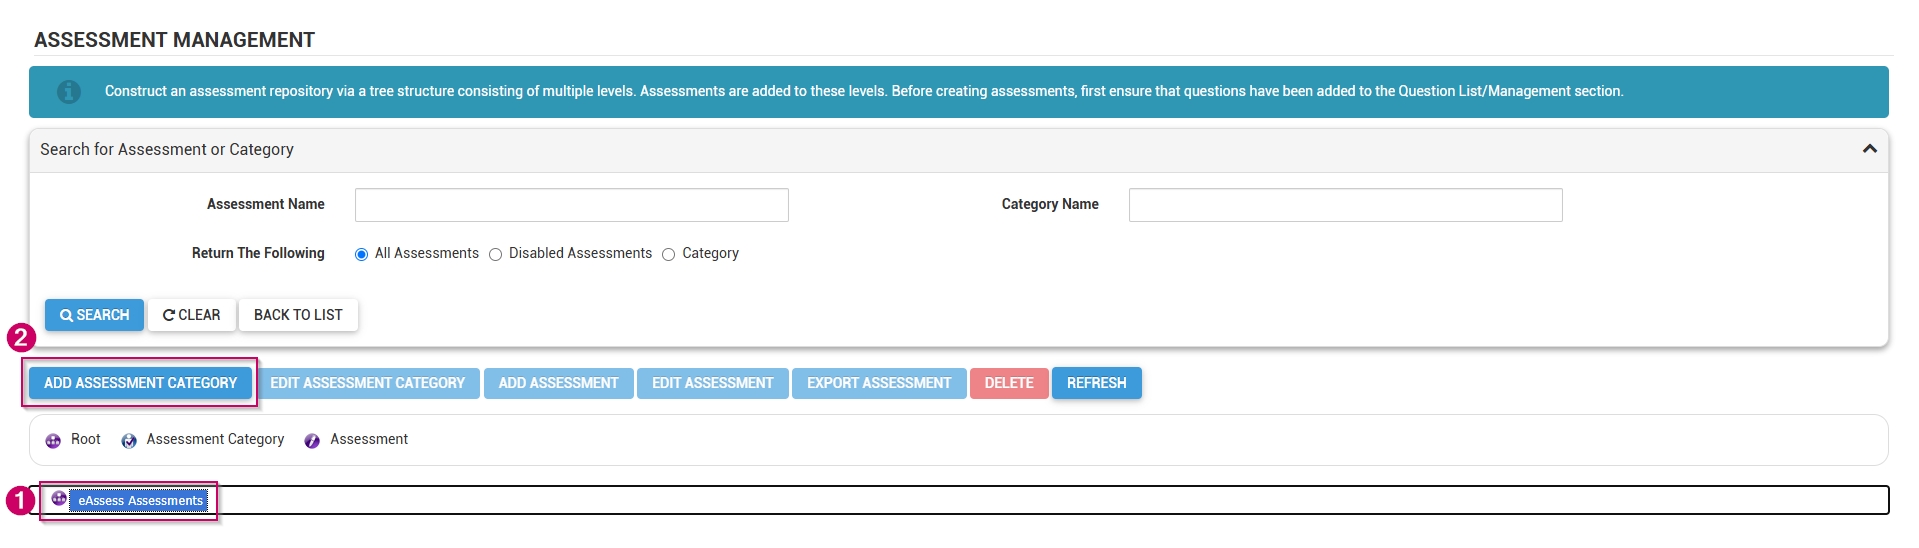
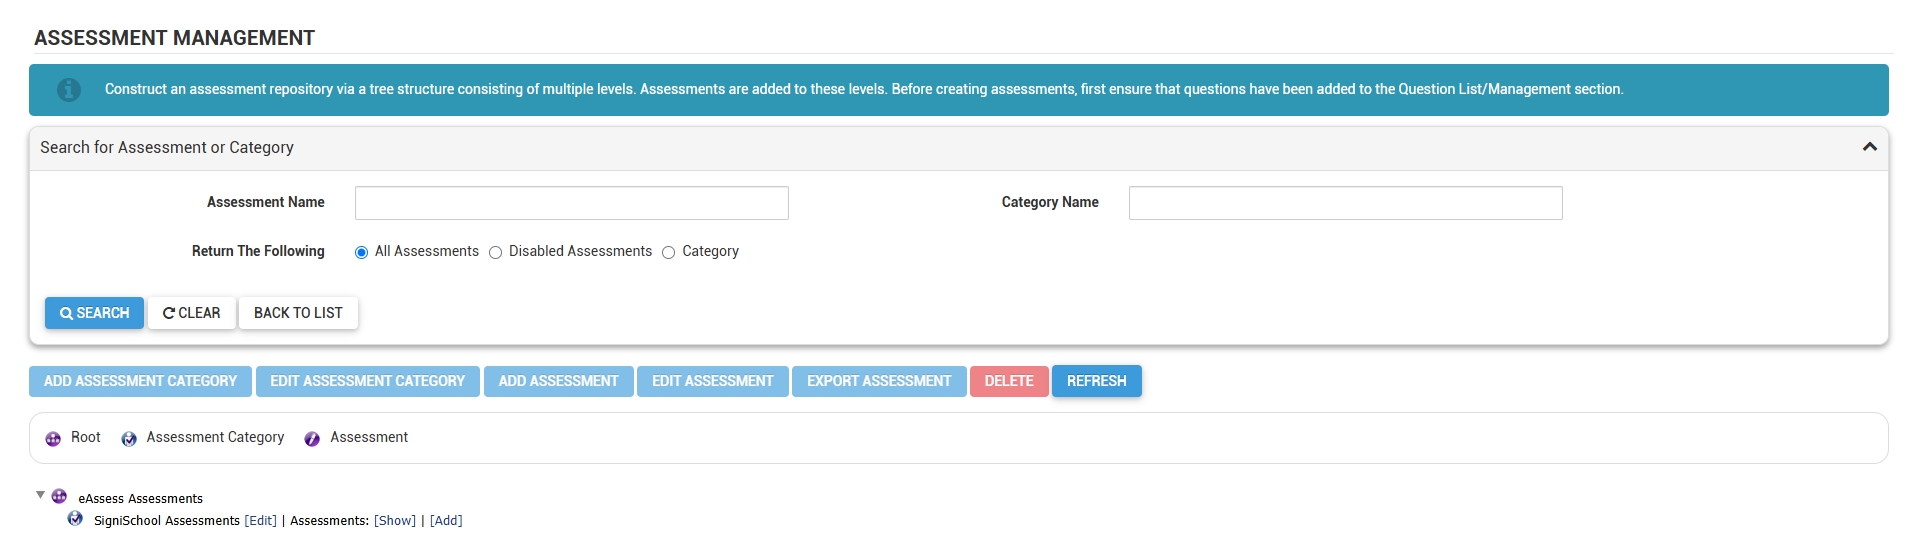
- The assessment management screen will open in a new tab.
- Click on eAssess Assessments, then click the ADD ASSESSMENT CATEGORY button.
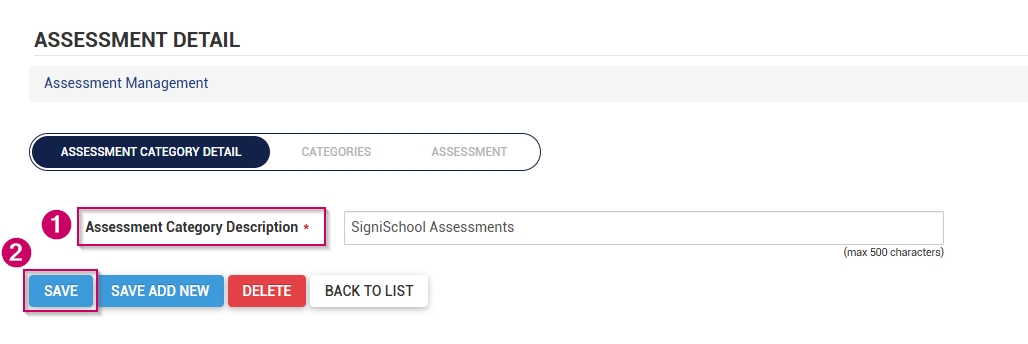
- Add a name for the assessment category.
- Click SAVE when you are finished, SAVE ADD NEW to add another assessment category, or click CANCEL to discard your edits.
- The new category has been added to the assessment management list.
- Close the tab and return to the Learning Portal tab.
- On the Assessments/Surveys card, click Question List.
- The question management screen will open in a new tab.
- Click on eAssess Questions, then click the ADD CATEGORY button.
- Add a name for the question category.
- Click SAVE when you are finished, SAVE ADD NEW to add another question category, or click CANCEL to discard your edits.
- The new category has been added to the question management list.
- Close the tab and return to the Learning Portal tab.
- On the Assessments/Surveys card, click Import from Excel.
- The Excel import screen will open in a new tab.
- Click on BROWSE.
- Click DOWNLOAD TEMPLATE to populate, or click DOWNLOAD EXAMPLE to view an assessment example file.
- Populate the file with the questions for your assessment. Please keep the following in mind:
-
- Ensure the Activity name in column B is exactly the same as the AssessmentName in column Y.
- For single-selection questions, ensure that only one correct answer is assigned a score.
- For multiple-selection questions, ensure the question score in column AJ equals the sum of all correct answers.
- For the match column A with B questions, ensure each answer is assigned a score, and that column AS is populated with a statement.
- If options should be randomised, ensure the answer order for each option is 0 in column AY.
- When providing standard feedback (in column AV), ensure that each option has feedback. Adding feedback to one option will not apply it to the others.
- Should your import fail, download the error export file, and check the feedback provided in the Status column (column AZ). Follow the instructions to correct the assessment, then re-upload the file.
-
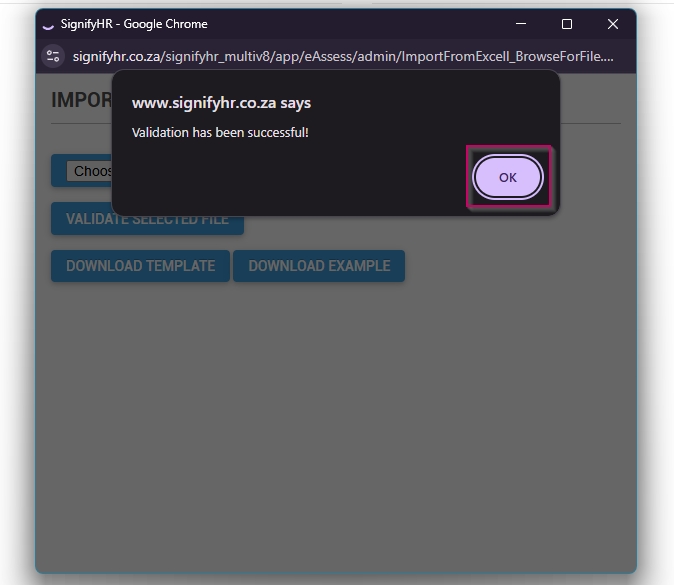
- Click CHOOSE FILE to upload your assessment, then click VALIDATE SELECTED FILE.

- If the validation is successful, click OK to proceed.
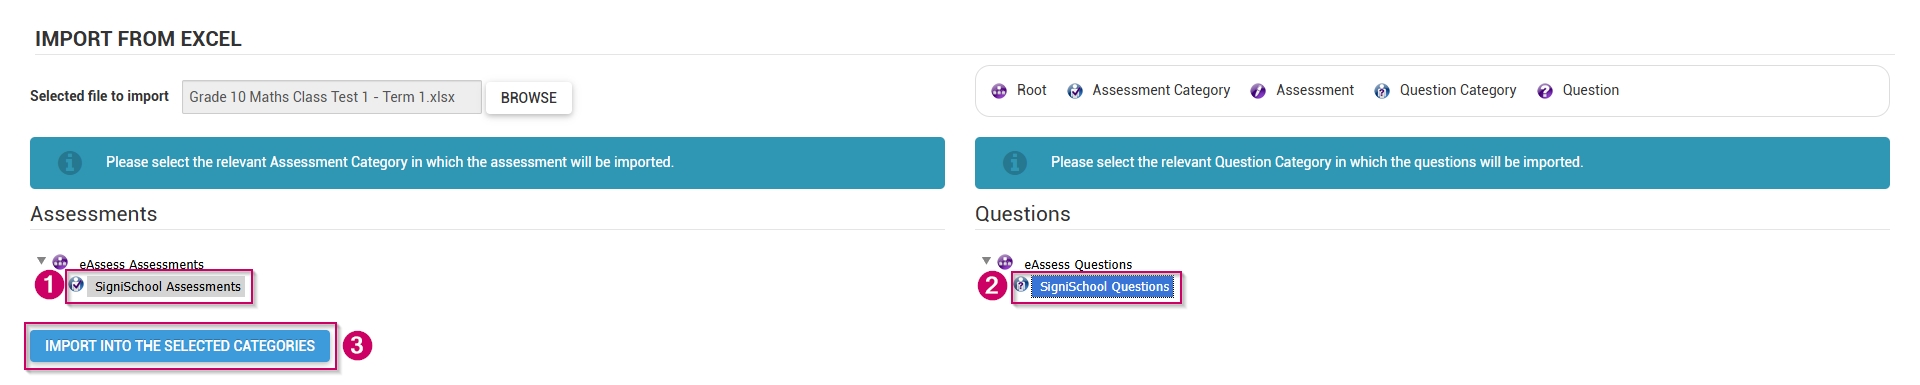
- Click the assessment category and the question category to which the assessment should be added.
- Click IMPORT INTO THE SELECTED CATEGORIES.
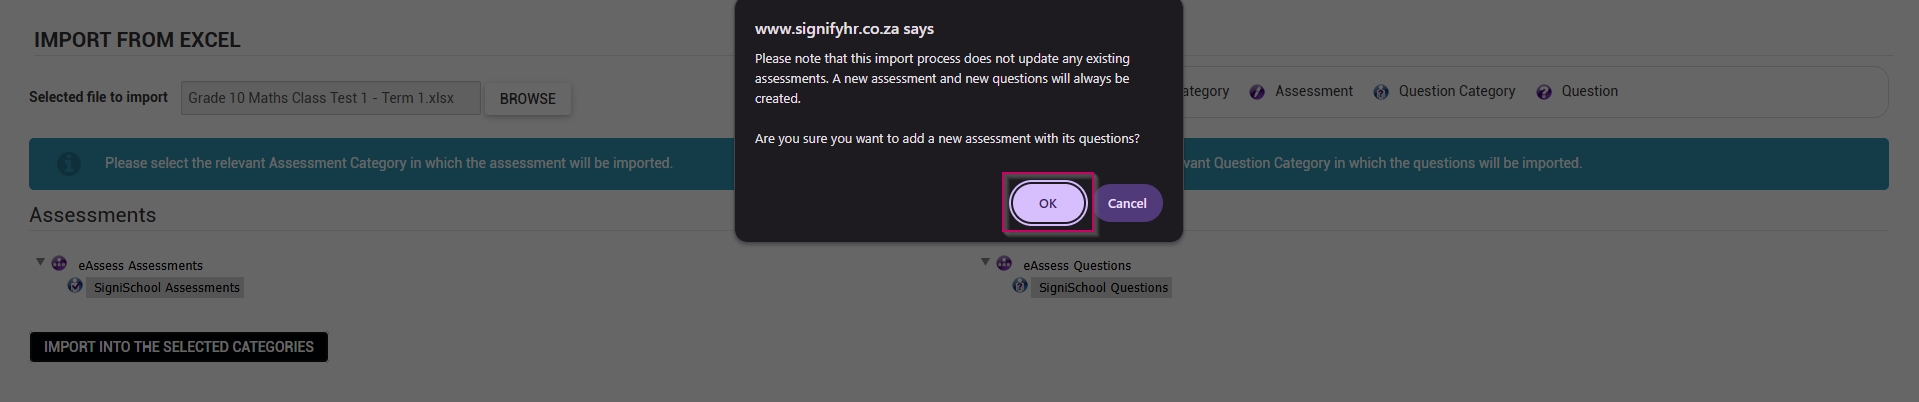
- On the warning message, click OK to proceed.
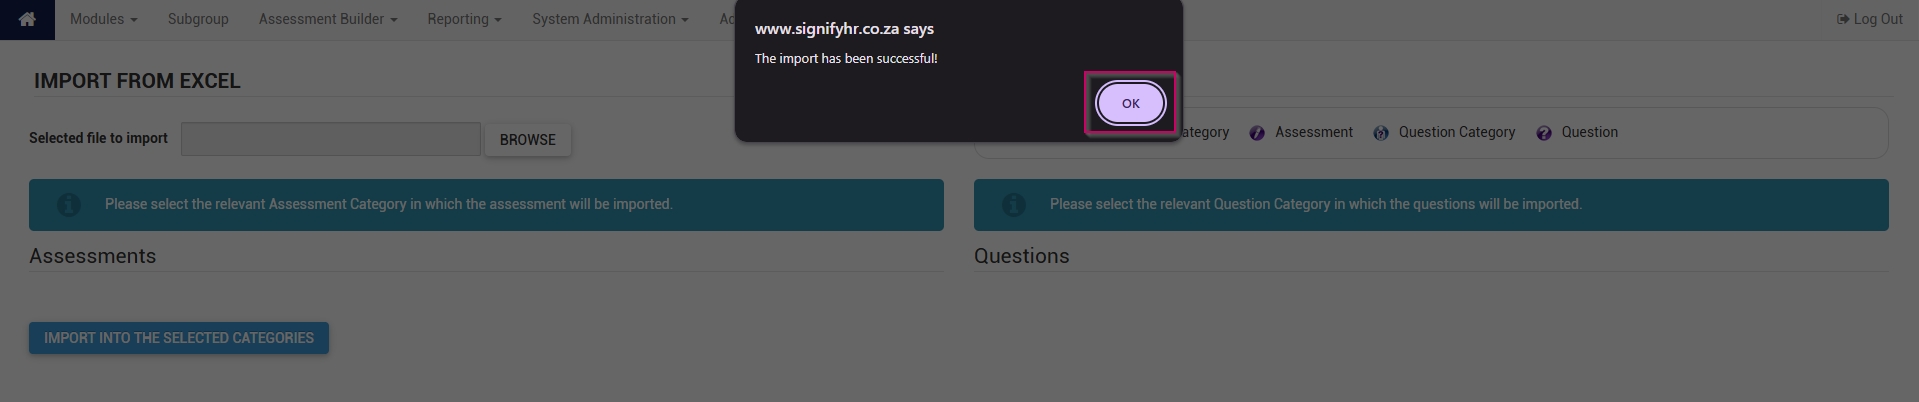
- If the import is successful, click OK to proceed.
- The new assessment has been added to the system.
