How To Upload An Image
How to get there?
Click on System Administration (1), then with your cursor hover over System Administration (2) | Tools (3) | Configuration (4).


What to do?
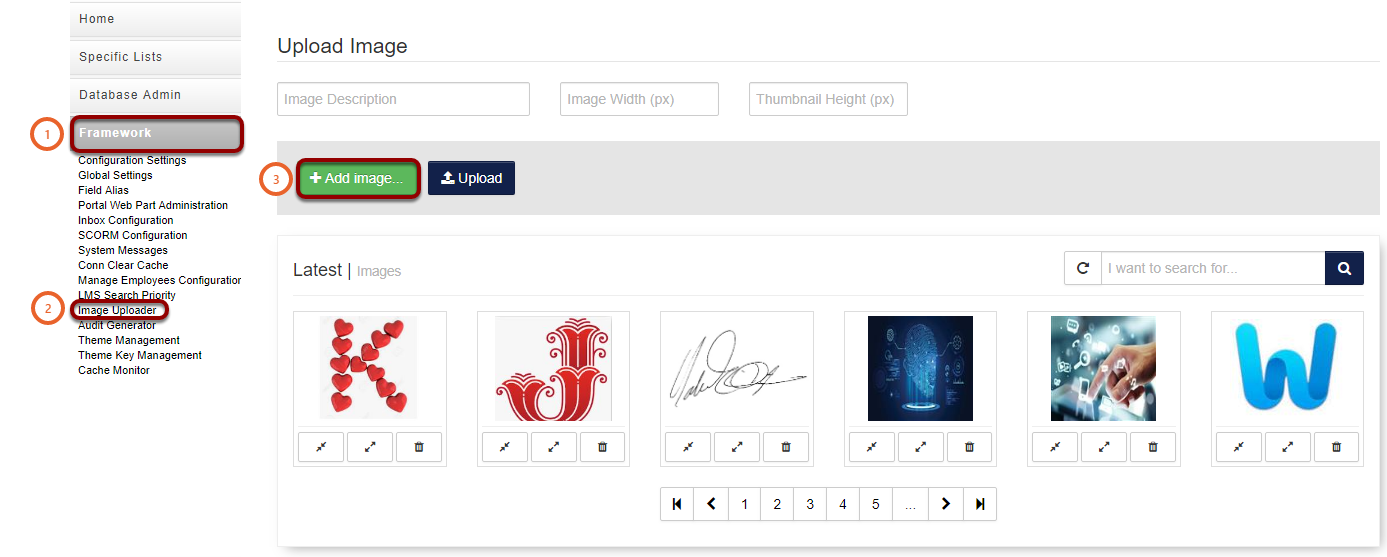
- Click on Framework (1).
- Then Navigate to Image Uploader (2).
- Click on the Add image... (3) button.
- A new file explorer window will open.
- Navigate to and select your image you would like to upload (4).
- Click on open (5).

- You can now enter a name for your image (6) to make searching easier.
- Click on the Upload button (7) to upload your image.
- A new window will open.

- Two links will appear (8):
- Image Url: (This is the original size image that you have uploaded).
- Thumbnail Url: (This is a smaller size image than what you have uploaded).
- Now you can click on Done (9).

- Click on the icon at (10) to open the Thumbnail in you browser.
- Click on the icon at (11) to open the original size image in your browser.
- Click on the Delete icon (12) to delete your image

You can copy any of these links at step (8) or (13) when you would like to add the image.

Add an image to a pathway step
How to get there
Click on System Administration (1), then with your cursor hover over Module (2) | e-Learning (3) | Learning Management (4) | Maintain Learning Pathway (5), then select the pathway you would like to edit (6).


What to do?
- Click on the Preview (1) tab.
- Ensure you are in Edit (2) mode.
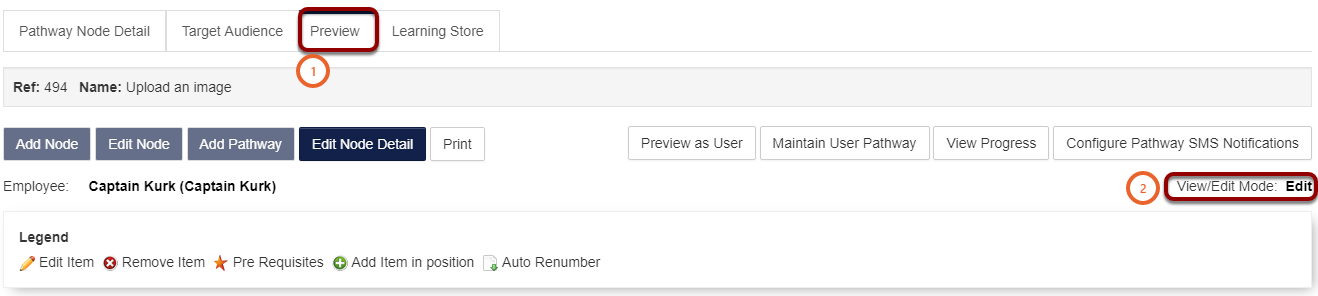
- Click on the edit symbol (3) were you would like to insert the image.
- A new window will open.

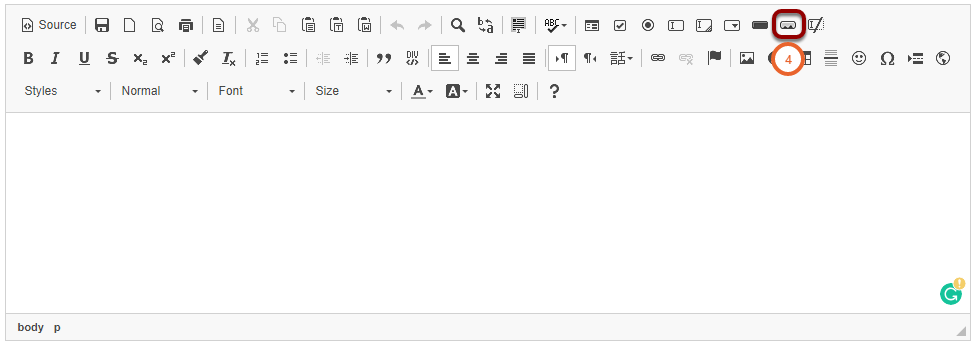
- Click on the image symbol (4).
- A new window will open.
- You can edit the dimensions of the image (6).
- Preview the image in the Preview field (7).
- Click on OK (8) when you are done.

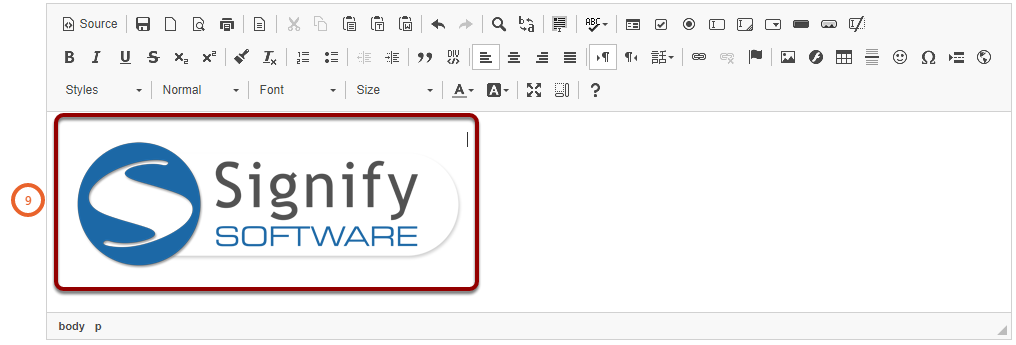
- Ensure that the image you inserted is correct (9).
- Then click on Save (10).
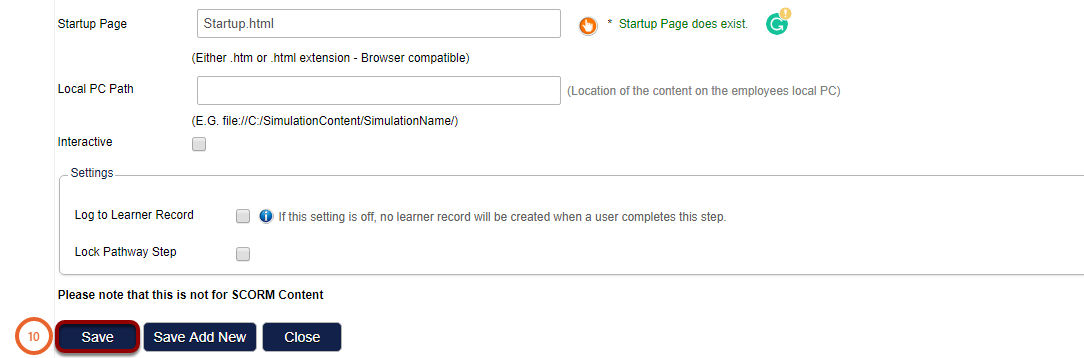
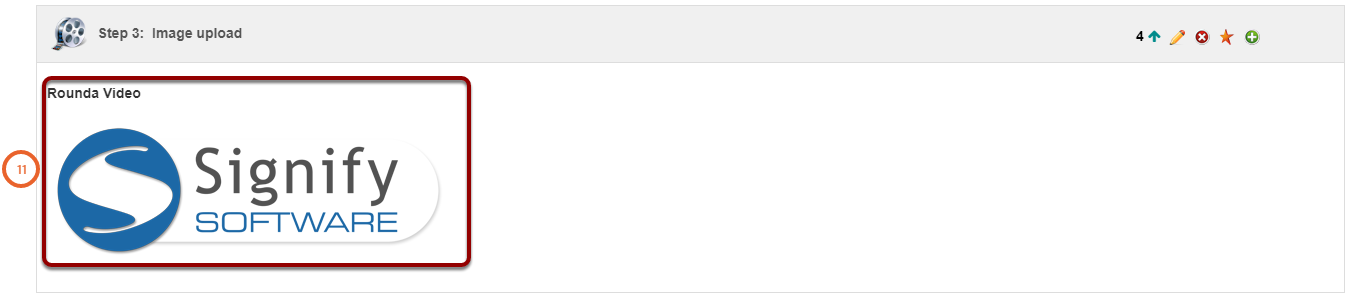
- Ensure that you are happy with the image in the pathway step (11).